
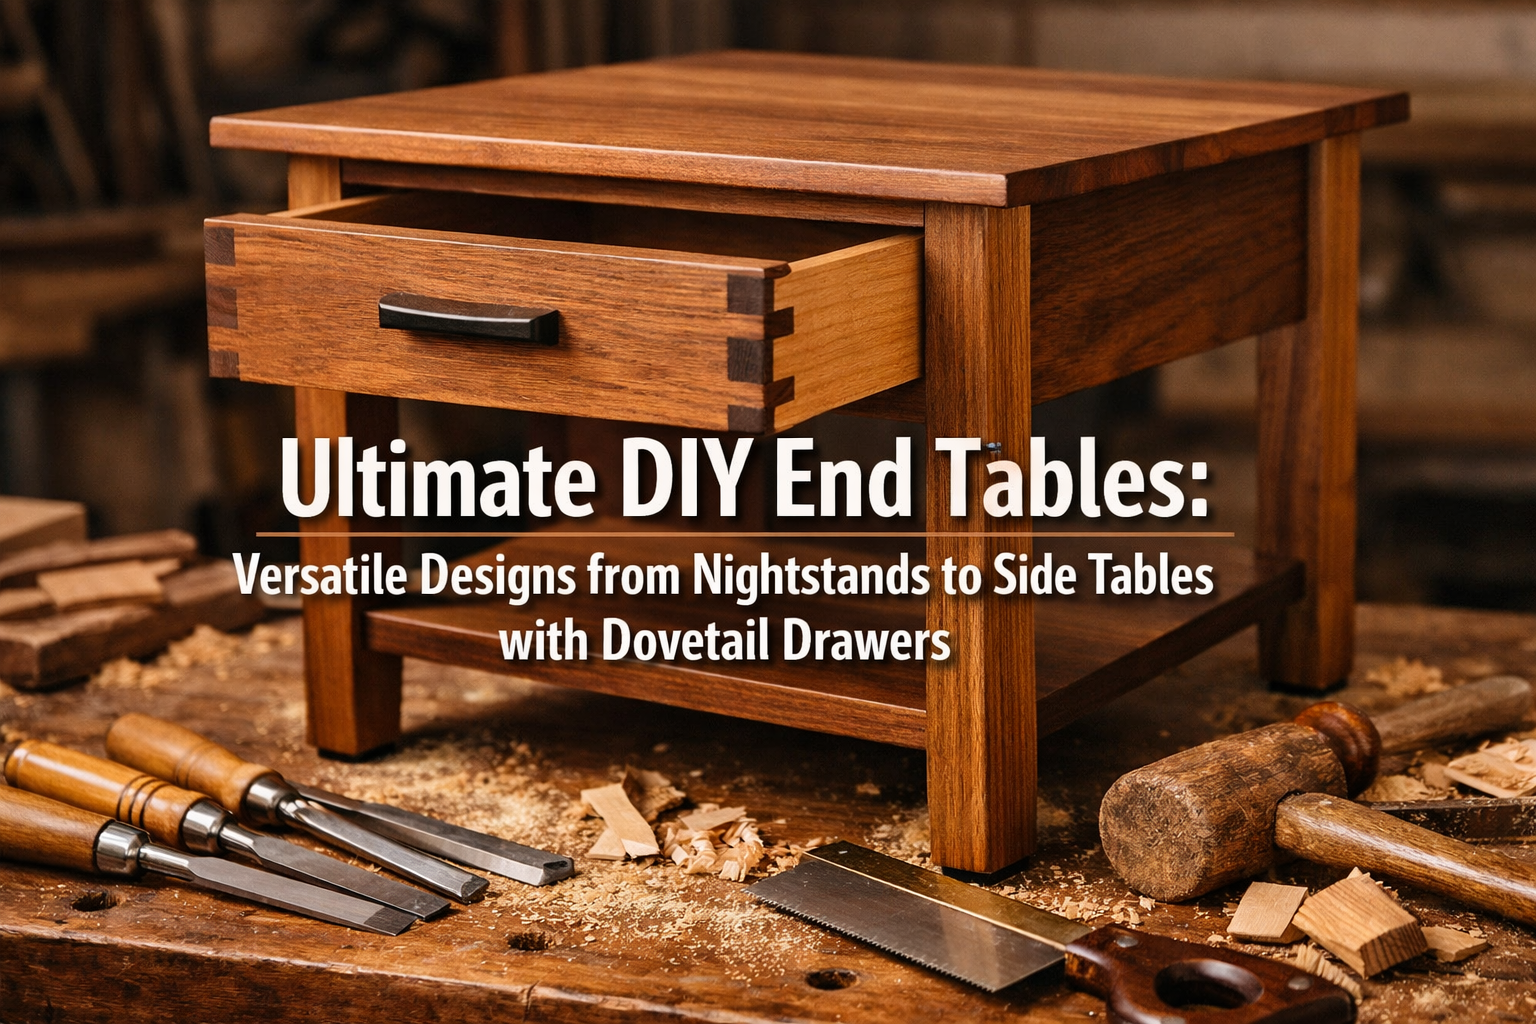

Embarking on a woodworking project offers a unique blend of creativity, skill development, and the satisfaction of crafting something truly functional and beautiful for your home. Among the most rewarding projects are Ultimate DIY End Tables: Versatile Designs from Nightstands to Side Tables with Dovetail Drawers. These pieces, whether serving as a cozy nightstand beside your bed or a practical side table next to your sofa, provide essential storage and a surface for everyday items. This comprehensive guide will equip you with the knowledge and techniques to build exceptional end tables, ranging from simple, flat-pack designs to intricate heirloom pieces featuring classic dovetail joinery. We’ll delve into the nuances of advanced hand joinery, explore how to maximize shop scraps for budget-friendly builds, and provide expert tips on achieving a professional, polished finish.
Key Takeaways
- Start Simple, Grow in Skill: Begin with basic designs and gradually advance to complex joinery like dovetails, using resources like shop scraps to minimize costs.
- Master Dovetail Joinery: Learn the art of hand-cut dovetails for strong, beautiful, and lasting drawer construction, a hallmark of quality woodworking.
- Versatility in Design: Understand how to adapt a basic end table design into different styles—from minimalist nightstands to intricate side tables—to suit various home aesthetics.
- Smart Material Sourcing: Utilize available shop scraps and reclaimed wood effectively to create stunning, sustainable, and economical end tables.
- Achieve a Professional Finish: Follow detailed finishing guides to ensure your DIY end table not only looks exquisite but also stands the test of time, elevating it to an heirloom piece.
Crafting the Foundation: From Simple Structures to Dovetail Mastery
Creating Ultimate DIY End Tables: Versatile Designs from Nightstands to Side Tables with Dovetail Drawers begins with understanding the core elements of table construction and then progressing to more refined techniques. This section will guide you through the initial steps, emphasizing the use of readily available materials and the beauty of traditional joinery.

Sourcing Materials and Planning Your Build
One of the most appealing aspects of DIY woodworking is the potential to create high-quality pieces without breaking the bank. For end tables, particularly smaller designs, your existing shop scraps can be a goldmine. Hardwood offcuts, plywood remnants, or even salvaged timber can be transformed into beautiful components. Before you even touch a tool, a thorough plan is essential.
Consider the following:
- Design Purpose: Is it a nightstand requiring drawer space for essentials, or a side table meant for a lamp and a book? This dictates dimensions and features. For inspiration on bedroom furniture, you might explore “Crafting Your Dream Retreat: The Ultimate Guide to a Woodworking Bedroom in 2026” on Wood Craft Wiz.
- Dimensions: Measure your space accurately. A typical nightstand might be 20-24 inches wide, 16-18 inches deep, and 24-28 inches high. Side tables can vary more widely.
- Wood Type: Common choices include pine, poplar, oak, maple, or cherry. The choice often depends on budget, desired aesthetic, and what scraps are available.
- Joinery Method: For beginner projects, simple butt joints with screws, pocket holes, or dowels are effective. For advanced builds aiming for heirloom quality, dovetails are the gold standard for drawer construction.
- Tool Availability: Assess the tools you have. Basic projects might only require a hand saw, drill, and sandpaper. More complex projects benefit from a table saw, router, and chisels. For those looking to optimize their workshop, our guide on the 113.298762 Craftsman Table Saw: Overview, Tips, and Upgrades can be very helpful.
💡 Pro Tip: When using shop scraps, try to sort them by wood species and thickness. This makes it easier to find matching pieces for different parts of your end table, ensuring a cohesive look.
The Art of Hand Joinery: Dovetails for Durability and Beauty
While modern fasteners offer convenience, hand joinery elevates a piece from mere furniture to a work of art. Dovetail joints, in particular, are renowned for their incredible strength, resistance to being pulled apart, and their exquisite visual appeal. They are the ideal choice for constructing drawers for your Ultimate DIY End Tables, ensuring they stand the test of time.
Why Dovetails?
- Mechanical Strength: The interlocking pins and tails create a joint that is virtually impossible to pull apart.
- Aesthetic Appeal: The alternating pattern of wood grain is visually striking and a hallmark of quality craftsmanship.
- Symbol of Skill: Successfully cutting dovetails by hand is a proud achievement for any woodworker.
Essential Tools for Hand-Cut Dovetails:
- Dovetail Saw: A fine-toothed saw designed for precise cuts.
- Chisels: A set of sharp chisels, particularly a skew chisel, for cleaning out waste.
- Mallet: For light tapping on chisels.
- Marking Gauge: For precise marking of shoulders and depths.
- Dovetail Marking Gauge/Template: To lay out the pins and tails accurately.
- Coping Saw: For removing large waste sections between tails.
<code>"Dovetail Joints: The Gold Standard for Drawer Construction"
| Feature             | Description                                                   | Benefit                                                   |
| :------------------ | :------------------------------------------------------------ | :-------------------------------------------------------- |
| **Interlocking Pins & Tails** | Wedge-shaped projections and recesses fit together precisely. | Unmatched resistance to forces that would pull the joint apart. |
| **Large Gluing Surface** | The intricate shape provides extensive surface area for glue. | Creates an incredibly strong and durable bond.                 |
| **Visual Appeal**    | Exposed joinery showcases craftsmanship and wood grain.      | Adds a sophisticated, traditional aesthetic to the piece.  |
| **Heirloom Quality** | Historically used in fine furniture for its longevity.       | Ensures your piece can last for generations.              |
</code>
Learning to cut dovetails requires patience and practice, but the rewards are immense. Start with practice pieces using scrap wood. There are numerous tutorials and guides available, often emphasizing the “pins first” or “tails first” method. Regardless of the approach, accuracy in marking and cutting is paramount. For a comprehensive guide on woodworking for bedroom furniture, including drawers, check out our article on “Crafting Your Perfect Woodworking Nightstand: A Comprehensive Guide for 2026”.
Versatile Designs: From Flat-Pack to Heirloom Pieces
The beauty of DIY end tables lies in their adaptability. You can scale your project from a simple, easy-to-assemble piece for a beginner to a complex, multi-drawer heirloom that showcases advanced woodworking skills. This section explores different design complexities and how to integrate storage solutions like dovetail drawers effectively.
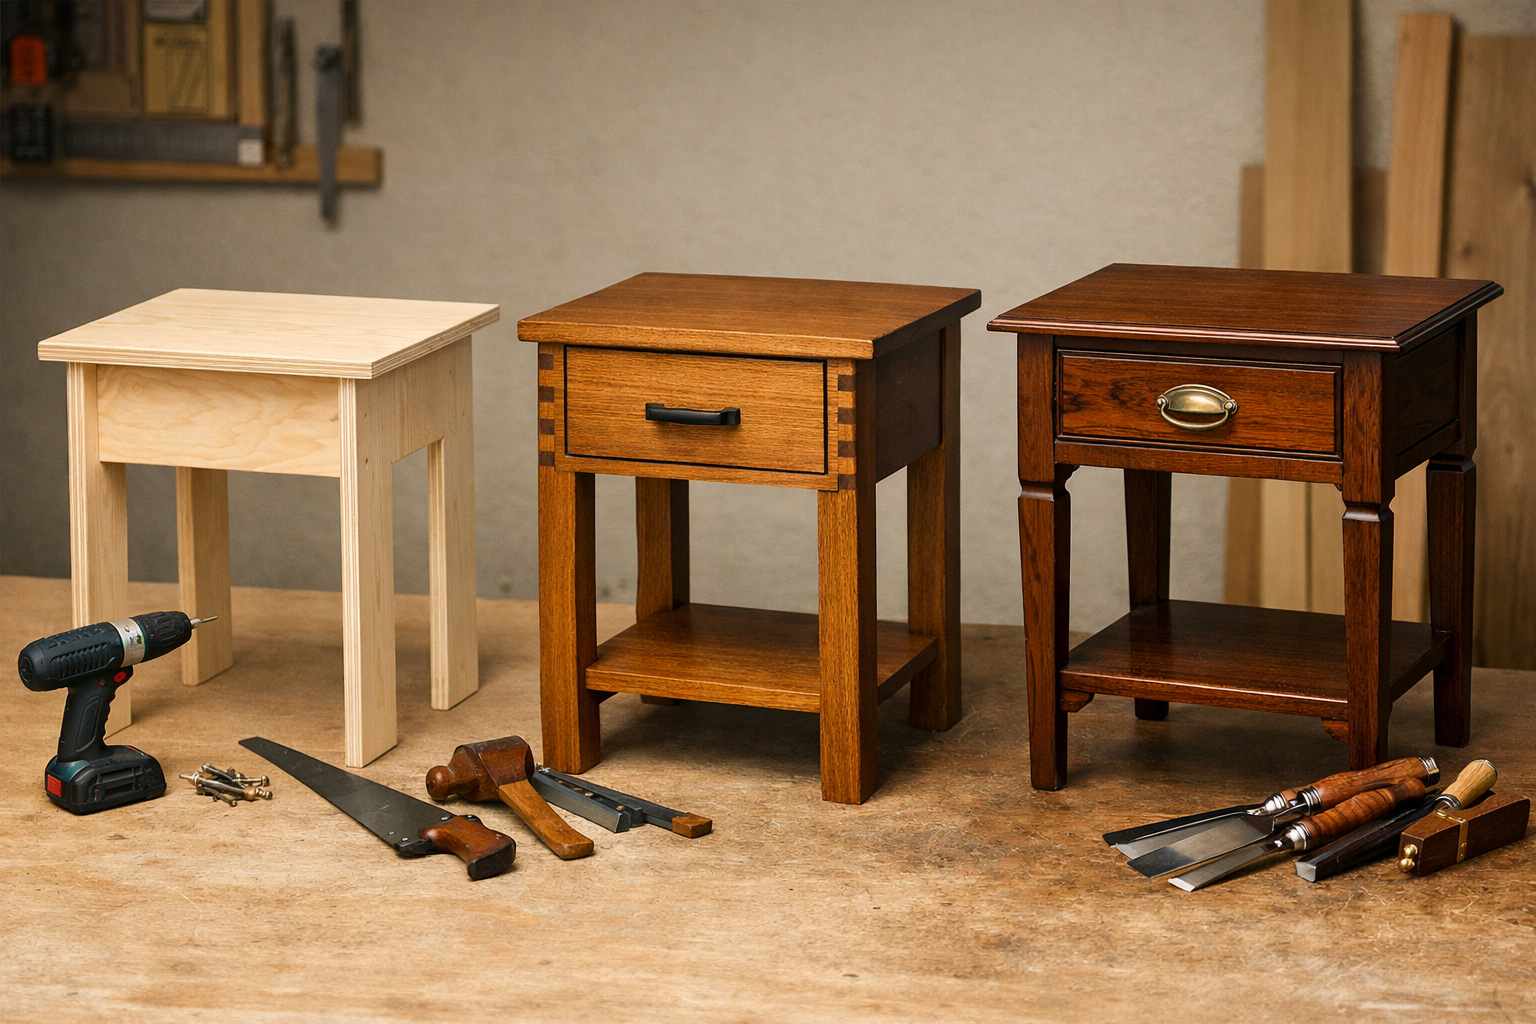
Scaling Your Project: Beginner to Advanced
The journey of building Ultimate DIY End Tables: Versatile Designs from Nightstands to Side Tables with Dovetail Drawers can evolve with your skills.
Beginner-Friendly Flat-Pack Designs:
- Concept: Simple, geometric shapes often assembled with minimal fasteners like screws or cam locks. Materials typically include plywood or MDF.
- Construction: Focus on accurate cuts and straightforward assembly. Edges can be finished with iron-on veneer banding or painted.
- Storage: Open shelves or simple box structures. No complex joinery required for storage components.
- Benefits: Quick to build, budget-friendly, excellent for practicing basic cutting and finishing techniques.
- Example: A minimalist side table with two open shelves, perfect for books or small decor items.
Intermediate Designs with Simple Drawers:
- Concept: Introduce more refined joinery for the main structure (e.g., mortise and tenon, biscuit joints) and incorporate basic drawers.
- Construction: Learn to use jigs for repeatable cuts and practice basic drawer construction techniques like dado joints or rabbet joints for the drawer box.
- Storage: Single or multiple drawers. Drawer slides can be used for smooth operation.
- Benefits: Builds confidence in more precise joinery and introduces the mechanics of functional drawers.
- Example: A classic nightstand with a single drawer and an open cubby, offering both concealed and accessible storage.
Advanced Heirloom Pieces with Dovetail Drawers:
- Concept: Emphasizes traditional woodworking, high-quality solid wood, and intricate joinery. Dovetail drawers are a must.
- Construction: Master hand-cut dovetails for all drawer boxes. The main table structure might feature through mortise and tenon joints, tapered legs, or detailed moldings.
- Storage: Multiple drawers, often with wooden drawer runners, and perhaps hidden compartments.
- Benefits: Creates a piece of furniture that is structurally superior, visually stunning, and designed to last for generations. It showcases a high level of craftsmanship.
- Example: A stately bedside table with two solid wood dovetail drawers, a pull-out shelf, and gracefully tapered legs, finished to perfection.
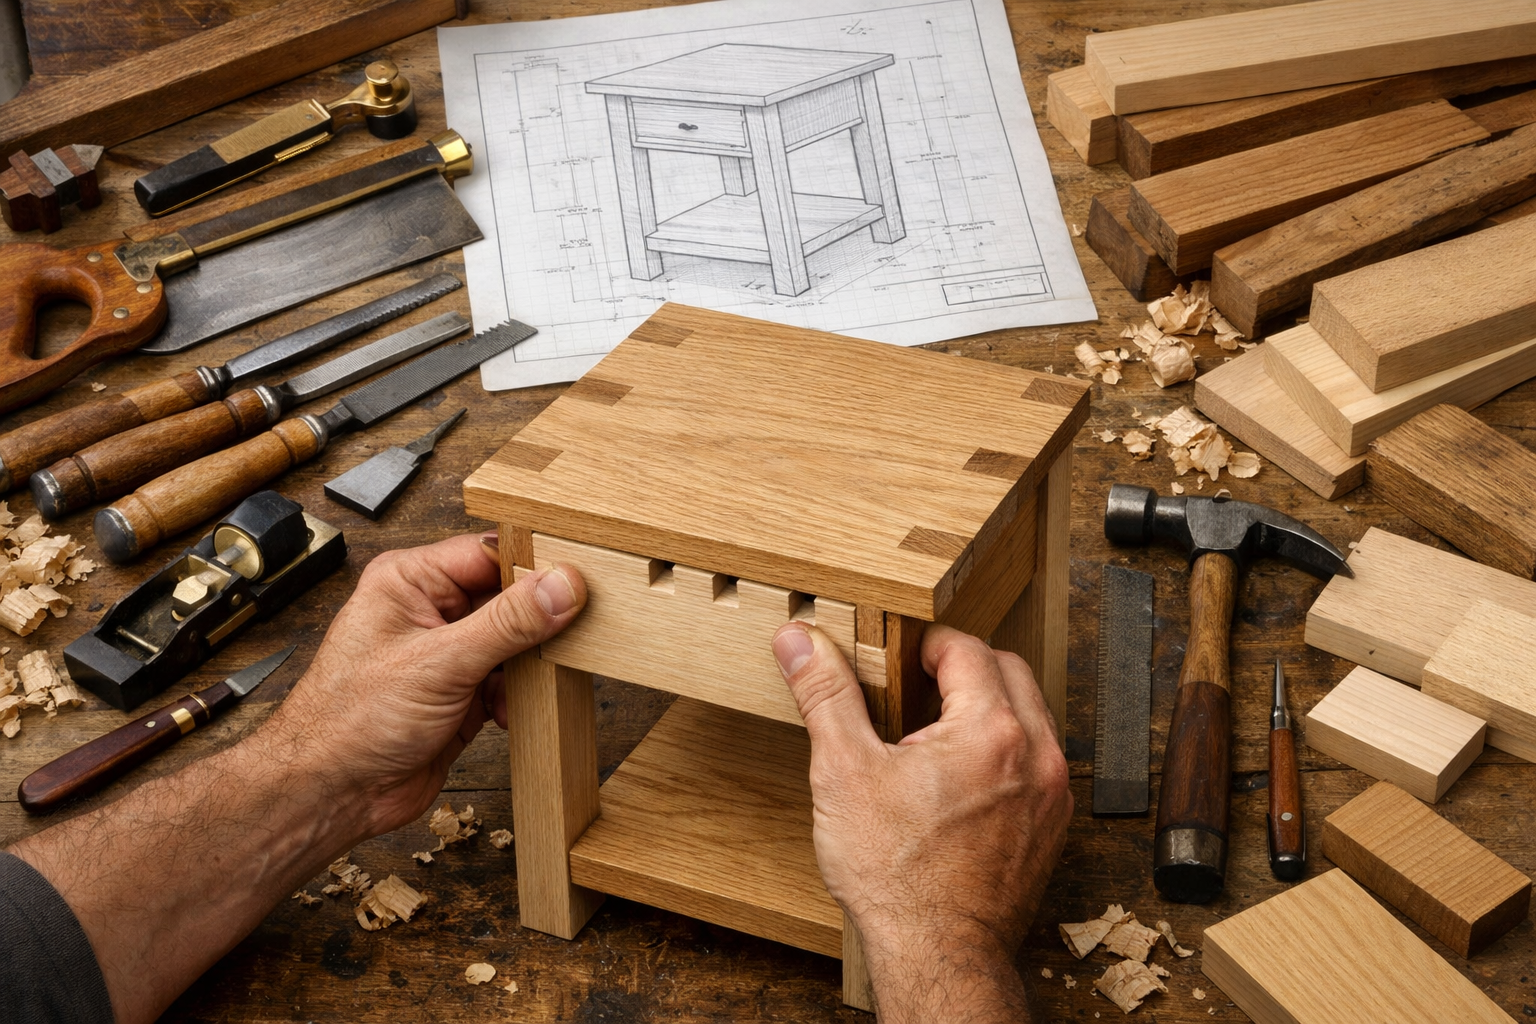
Integrating Dovetail Drawers: A Step-by-Step Overview
Adding dovetail drawers to your DIY end tables is a transformative step, elevating both function and form. This process involves precision and careful execution.
1. Drawer Box Construction:
- Material Selection: Use stable, attractive wood for drawer fronts, sides, and backs. Plywood is often used for drawer bottoms.
- Dimensioning: Accurately cut all drawer components to size. Remember to account for the thickness of the drawer sides when planning the opening.
- Layout: Carefully mark the pins and tails on the drawer sides and fronts/backs. Consistency is key.
- Cutting Dovetails:
- Start by cutting either the pins or tails first, then transferring their pattern to the mating piece.
- Use a dovetail saw for the initial cuts, staying just outside your lines.
- Utilize chisels and a coping saw to remove waste precisely.
- Practice fitting the joint dry before applying glue.
- Assembly: Apply a quality wood glue to the joint surfaces and carefully tap the pieces together. Use clamps to hold the drawer square while the glue dries.
- Drawer Bottom: Cut a groove (dado) on the inside bottom edge of the drawer box components before assembly to house the drawer bottom, allowing for wood movement.
2. Drawer Runners/Slides:
- Wooden Runners: For traditional heirloom pieces, wooden runners are often preferred. These can be simple strips of hardwood carefully sized to fit grooves in the drawer sides and table frame.
- Metal Slides: For smoother operation and modern convenience, various types of metal drawer slides (e.g., side-mount, under-mount, push-to-open) can be installed. Ensure proper clearance is planned during the design phase.
3. Fitting and Adjustment:
- Once assembled, the drawer must fit snugly within its opening. Minor adjustments, such as light sanding or planing, may be needed to achieve the perfect fit.
- Ensure the drawer operates smoothly without binding.
Integrating dovetail drawers requires attention to detail, but the resulting strength and beauty are unparalleled. It’s a skill that significantly enhances the perceived value and longevity of your DIY furniture.
Finishing Touches: Polishing Your Heirloom Piece

The final stage of creating your Ultimate DIY End Tables: Versatile Designs from Nightstands to Side Tables with Dovetail Drawers is the finish. A high-quality finish protects the wood, enhances its natural beauty, and ultimately determines the longevity and aesthetic appeal of your heirloom piece. This section will guide you through sanding, staining, and applying protective coatings.
Preparing the Surface: The Importance of Sanding
No matter how perfectly you’ve constructed your end table, a poor sanding job will ruin the final finish. Proper surface preparation is crucial.
- Progressive Grits: Always start with a coarser grit sandpaper (e.g., 80-100 grit) to remove major imperfections, glue squeeze-out, and tool marks. Gradually work your way up through finer grits (e.g., 120, 150, 180, 220). For most furniture, 220 grit is sufficient, but for an exceptionally smooth, heirloom finish, you might go up to 320 or even 400 grit.
- Even Pressure: Apply even pressure and sand with the grain of the wood. Sanding across the grain can leave noticeable scratches that become amplified once a stain or finish is applied.
- Dust Removal: After each grit, thoroughly clean the surface to remove all dust. A shop vacuum, compressed air, and a tack cloth are essential tools. Any dust left behind will be trapped under the finish, creating an uneven texture.
- Water Popping (Optional): For open-grained woods (like oak or ash) or before applying water-based stains, lightly dampen the wood surface with a damp cloth. This raises the grain, which you then lightly sand with your final grit. This process, known as “water popping,” helps achieve a smoother final finish and can allow the wood to absorb stain more evenly. For specific wood types like oak, refer to our guide on oak wood finishing techniques.
“A well-sanded surface is the canvas upon which a beautiful finish is painted. Skip this step, and even the finest finishes will disappoint.” — Wood Craft Wiz Finishing Expert
Staining and Coloring for Desired Aesthetic
Stain is often applied to enhance the wood’s natural color, alter its hue, or create a uniform look across different wood types used in your Ultimate DIY End Tables.
- Test Patches: Always test your chosen stain on a scrap piece of the same wood used for your table. Wood species absorb stain differently, and the final color can vary significantly.
- Application Method: Apply stain evenly following the grain. Use a brush, foam applicator, or rag. Allow the stain to penetrate for the recommended time (check product instructions), then wipe off any excess. Multiple thin coats can build up color gradually.
- Wood Conditioner: For woods prone to blotching (e.g., pine, maple, birch), apply a pre-stain wood conditioner. This helps the wood absorb the stain more uniformly, preventing uneven coloration.
- Specialty Finishes: Explore options like gel stains for more control, or dyes for vibrant, transparent colors. For alternative finishing ideas, check out natural wood finishing techniques.
Applying Protective Topcoats for Longevity
The topcoat is what protects your end table from daily wear and tear, moisture, and UV damage. Choosing the right topcoat depends on the desired durability, appearance, and ease of application.

- Polyurethane: A popular choice for its durability and resistance to water and chemicals.
- Oil-based polyurethane: Offers excellent protection, a warm amber tone, and is very durable. Takes longer to dry.
- Water-based polyurethane: Dries faster, less odor, and clearer finish, ideal for preserving the natural wood color.
- Application: Apply thin coats with a high-quality brush or by spraying. Lightly sand between coats with fine grit (320-400) sandpaper to ensure good adhesion and a smooth finish. For spray vs. brush techniques, consult spray vs brush polyurethane: pros, cons, and guidance.
- Varnish: Similar to polyurethane, often used for outdoor furniture due to its UV resistance, but also great for indoor pieces requiring high durability.
- Shellac: A traditional finish that provides a beautiful, amber glow. It dries quickly and is easy to repair but offers less water resistance than polyurethane or varnish.
- Oil Finishes (e.g., Tung Oil, Linseed Oil): These penetrate the wood, enhancing its natural beauty and providing a rich, “in-the-wood” feel. They offer less surface protection but are easy to repair and maintain. For discontinued products and alternatives, see Formbys Tung Oil Discontinued: Finding Alternatives and DIY Mixes.
- Wax (Optional): After your primary topcoat has fully cured, you can apply a layer of furniture wax for an extra layer of protection and a silky smooth feel. This is a common practice for heirloom pieces. Our articles on wax on top of polyurethane: achieving a smooth finish and wax over polyurethane: benefits, application tips, and maintenance provide in-depth information.
Application Best Practices:
- Cleanliness: Work in a dust-free environment. Dust is the enemy of a smooth finish.
- Thin Coats: Multiple thin coats are always better than one thick coat. This prevents drips, bubbles, and promotes even curing.
- Proper Drying Time: Adhere to the manufacturer’s recommended drying times between coats.
- Ventilation: Ensure adequate ventilation when working with solvent-based finishes.
- Final Buffing: For a truly high-gloss, mirror-like finish, consider wet sanding with very fine abrasives (2000+ grit) and then buffing with a polishing compound. This is advanced but yields stunning results, as explored in high gloss wood finishing techniques.
By meticulously following these steps, your Ultimate DIY End Tables: Versatile Designs from Nightstands to Side Tables with Dovetail Drawers will not only be structurally sound but also possess a professional, lasting finish worthy of an heirloom.
Conclusion
Building your own Ultimate DIY End Tables: Versatile Designs from Nightstands to Side Tables with Dovetail Drawers is a rewarding journey that combines practicality with artistic expression. From conceptualizing a design that perfectly fits your space and needs, to expertly cutting and assembling components, and finally applying a finish that brings out the wood’s inherent beauty, each step offers an opportunity to hone your woodworking skills.
We’ve covered everything from leveraging shop scraps for economical and sustainable builds to mastering the timeless art of hand-cut dovetail joinery for drawers that are both strong and visually appealing. Whether you choose to construct a simple, functional flat-pack nightstand or an intricate, heirloom-quality side table, the principles of careful planning, precise execution, and meticulous finishing remain paramount.
The ability to create furniture that is not only functional but also tells a story through its craftsmanship is truly empowering. As you refine your skills, you’ll find that these end tables, built with your own hands, will become cherished pieces in your home for years to come.
Actionable Next Steps
- Sketch Your Design: Begin by drawing out your desired end table, noting dimensions, features (like drawers or shelves), and the type of joinery you plan to use.
- Inventory Scraps: Go through your workshop and identify suitable wood scraps. This will help inform your design and reduce material costs.
- Practice Joinery: If new to dovetails, practice cutting them on scrap pieces until you achieve consistent, tight-fitting joints.
- Gather Tools: Ensure you have all the necessary hand and power tools. If you’re looking to upgrade or maintain your tools, consider resources like our guide on the Craftsman Table Saw Switch Wiring Diagram: Step-by-Step Guide.
- Plan Your Finish: Research different stains and topcoats, and test them on scrap wood before applying them to your final project.
Happy woodworking!
References
- Fine Woodworking Magazine. (n.d.). Dovetail Joints. Retrieved from FineWoodworking.com
- Schwarz, C. (2012). The Anarchist’s Tool Chest. Lost Art Press.
- Woodcraft. (n.d.). Finishing Wood: A Beginner’s Guide. Retrieved from Woodcraft.com
