
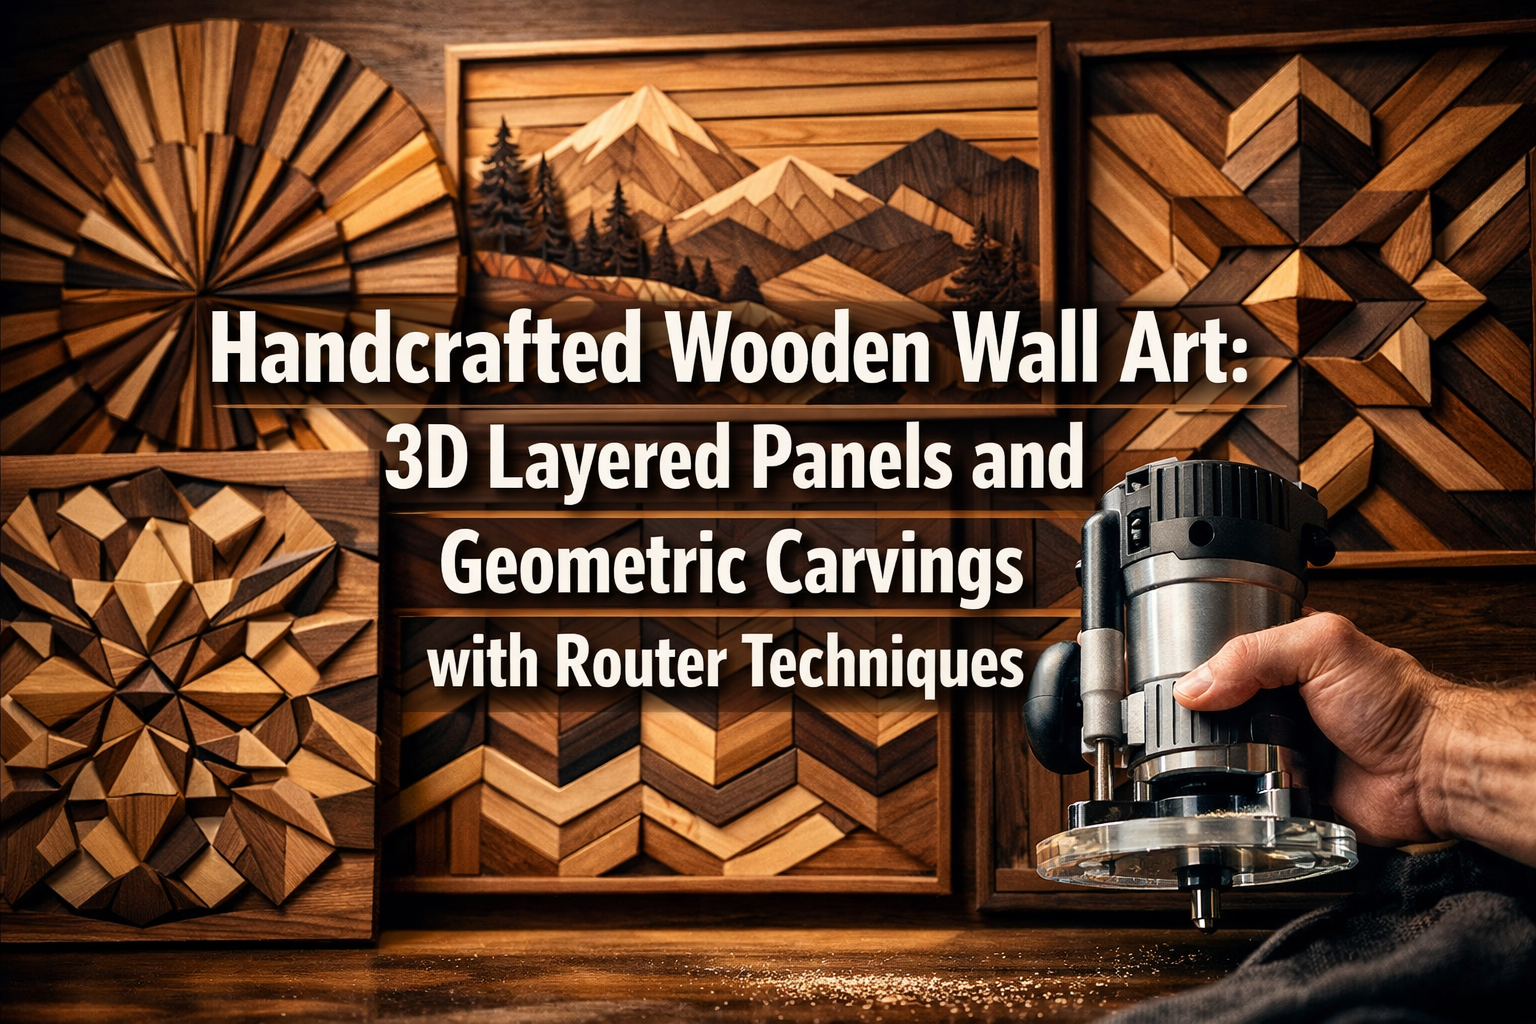

In the ever-evolving world of interior design, there’s a growing demand for unique, artisanal pieces that add warmth, character, and a touch of the natural world to modern spaces. Among the most captivating trends is Handcrafted Wooden Wall Art: 3D Layered Panels and Geometric Carvings with Router Techniques. This art form transcends simple decor, offering intricate depth, rich textures, and stunning visual complexity that elevate any room. For seasoned woodworkers and ambitious beginners alike, mastering advanced router and CNC guides to create these depth-creating designs, often using mixed woods for texture, presents a lucrative opportunity. This article serves as a comprehensive guide, exploring the artistry, techniques, and practical steps involved in crafting profitable decor that perfectly complements today’s warm minimalism trends.
Key Takeaways
- Elevated Aesthetics: Handcrafted wooden wall art with 3D layered panels and geometric carvings adds unique depth, texture, and natural beauty to modern interior designs.
- Router & CNC Mastery: Advanced router and CNC techniques are crucial for achieving precise geometric patterns and intricate 3D layering, enabling complex designs.
- Material Selection Matters: Choosing appropriate wood species (e.g., maple, walnut, cherry) and understanding their characteristics is fundamental for successful carving and aesthetic appeal.
- Finishing Enhances Artistry: Proper finishing techniques, from sanding to applying sealants and oils, are vital for protecting the artwork and enhancing its natural beauty and durability.
- Profitable Craft: This niche offers significant potential for woodworkers to create high-value, sought-after decor pieces that align with current interior design trends, scaling from hobby to profitable business.
The Allure of 3D Layered Panels and Geometric Carvings
The appeal of Handcrafted Wooden Wall Art: 3D Layered Panels and Geometric Carvings with Router Techniques lies in its ability to transform a flat surface into a dynamic visual experience. Unlike traditional flat artwork, these pieces invite the viewer to explore their contours, shadows, and the interplay of light on their carved surfaces. This unique dimensionality creates a focal point that draws attention and adds a sophisticated, tactile quality to a room.

Why Wood? The Timeless Medium
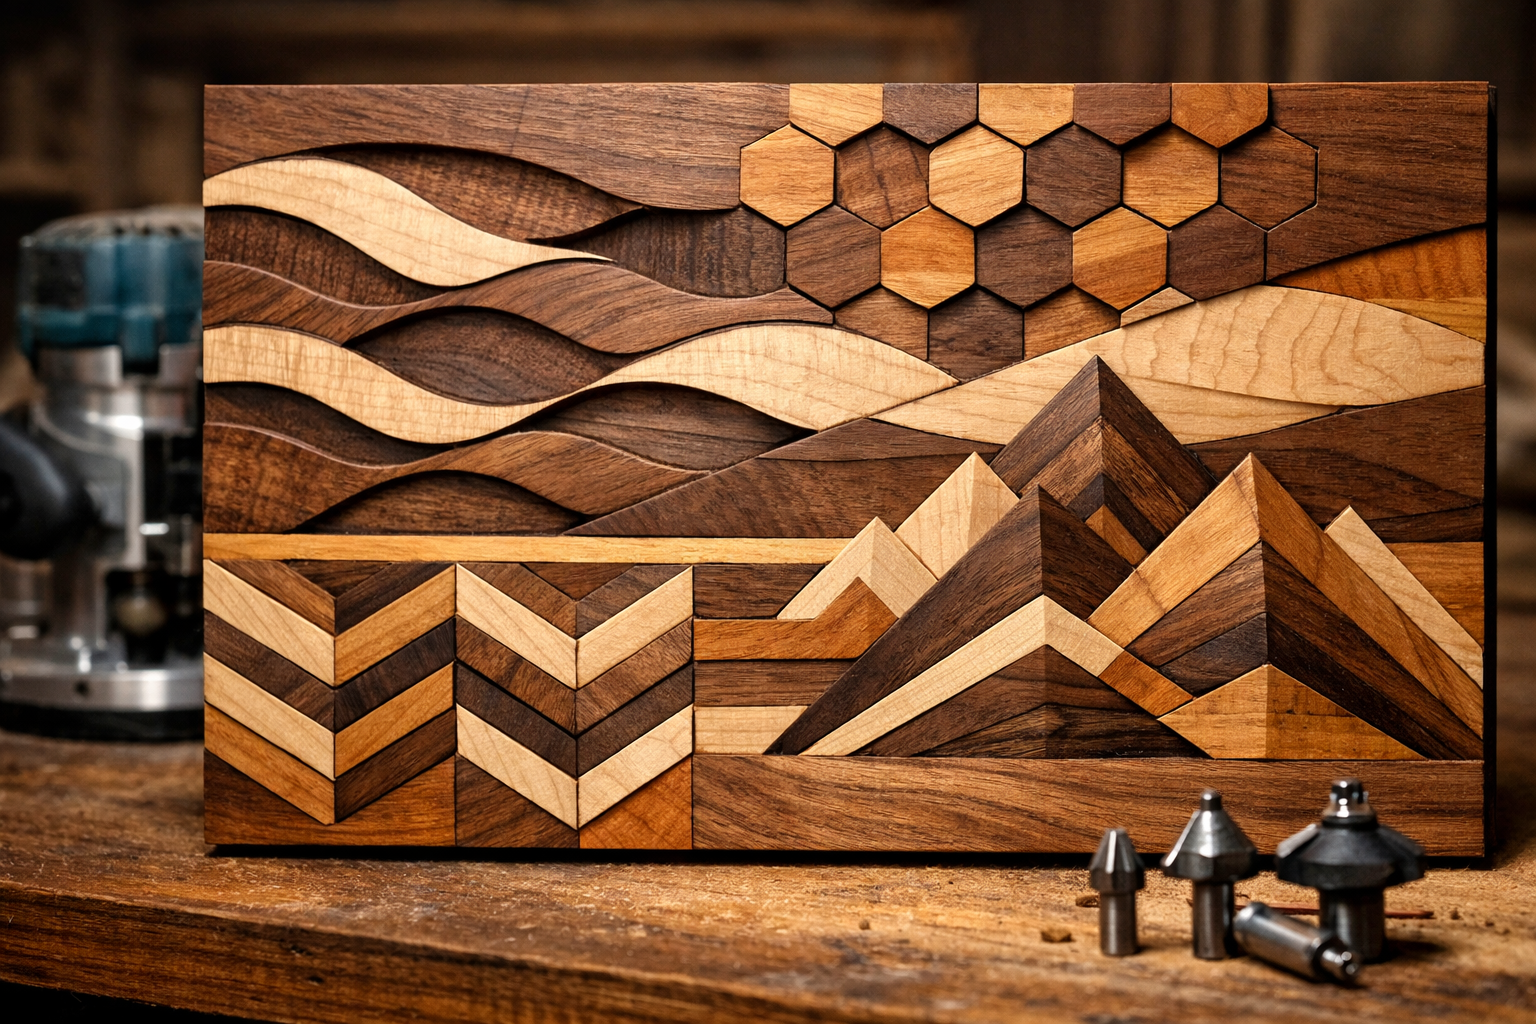
Wood, as a medium, brings an inherent warmth and organic beauty that man-made materials struggle to replicate. Each species offers a distinct grain pattern, color, and texture, providing an endless palette for artists. When used in layered panels, different wood types can be combined to create stunning contrasts and harmonious blends, enhancing the visual interest of the piece. The natural variations within wood ensure that no two pieces of handcrafted art are ever exactly alike, making each creation truly unique.
Consider the aesthetic impact of a piece crafted from alternating layers of dark walnut and light maple, carved with a repeating geometric pattern. The contrast in color and grain alone adds significant depth before any carving even begins. The longevity and durability of wood also mean these art pieces can become cherished heirlooms, adding value beyond their initial aesthetic appeal.
The Rise of Geometric Design in 2026
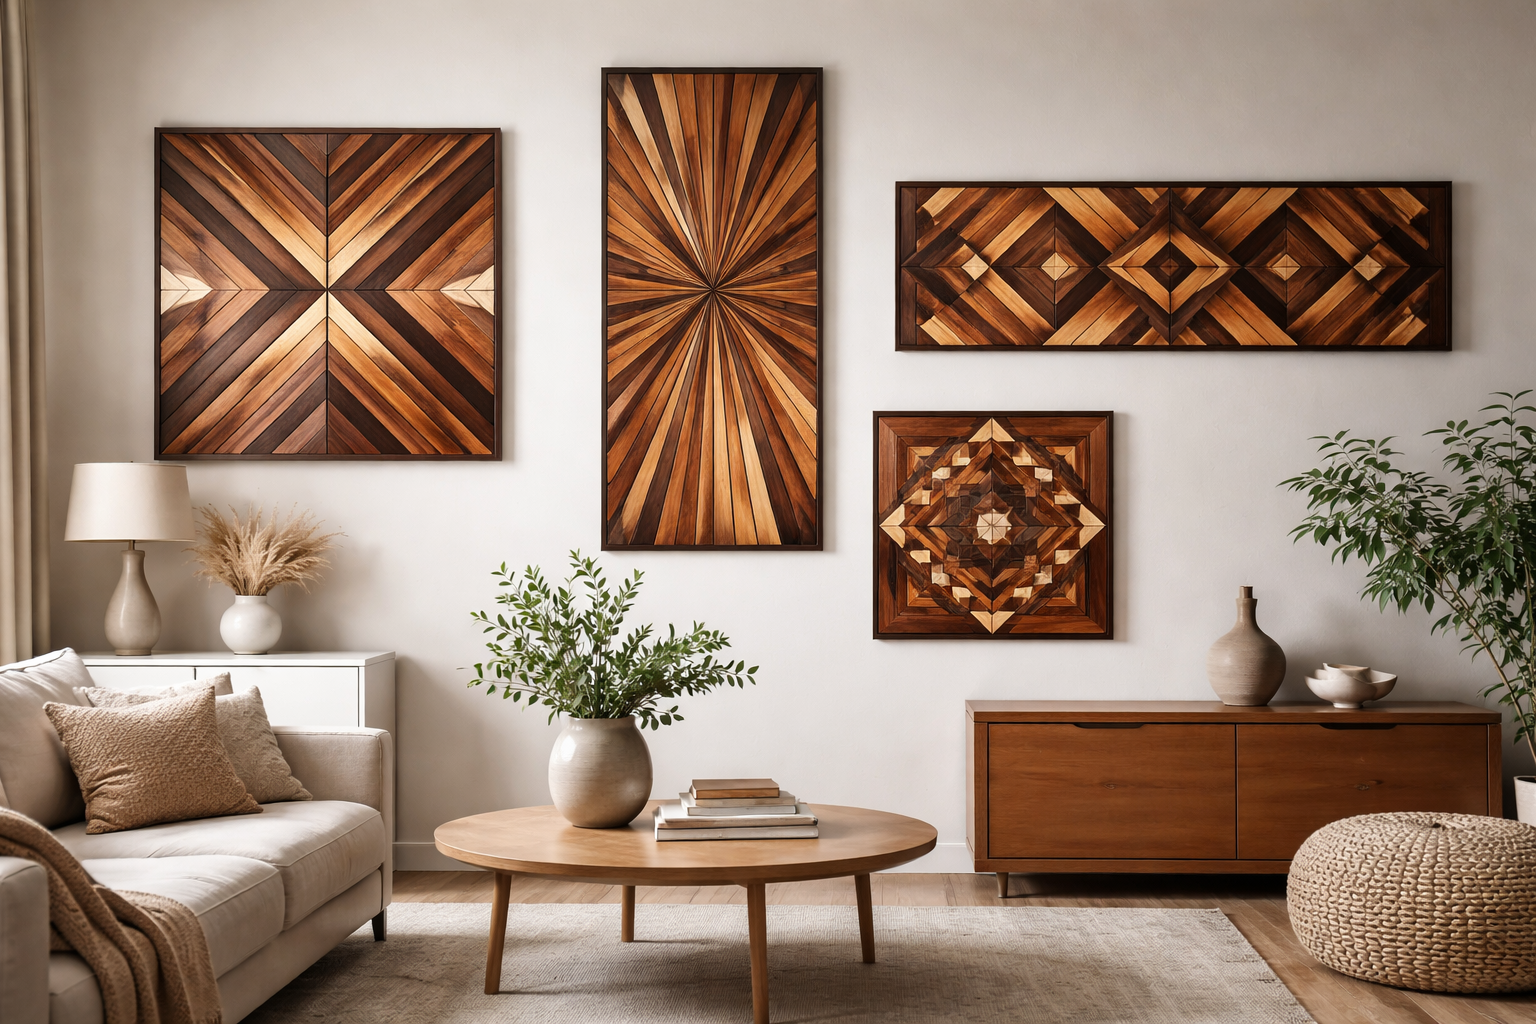
Geometric designs have seen a significant resurgence in interior decor in 2026, driven by a desire for clean lines, order, and a minimalist aesthetic. These patterns, whether intricate mandalas, tessellating shapes, or abstract angular forms, offer a sense of modern elegance. When rendered in 3D layered wood, geometric carvings gain an added dimension, literally, allowing light and shadow to play across their surfaces, highlighting the precision of the cuts and the natural beauty of the wood grain. This blend of classic material and contemporary design makes Handcrafted Wooden Wall Art: 3D Layered Panels and Geometric Carvings with Router Techniques particularly sought after in current home decor trends.
Mastering Router Techniques for 3D Wooden Art
The router is an indispensable tool for creating the intricate details, precise cuts, and varying depths required for 3D layered wooden wall art. Whether using a handheld router or a CNC machine, understanding its capabilities and mastering various techniques is key to bringing complex designs to life.
Essential Router Types and Bits
Selecting the right router and bits is the first step toward successful 3D carving.
Router Types
- Handheld Routers: Versatile for freehand carving, edge detailing, and smaller projects. Plunge routers are particularly useful for creating dadoes, grooves, and intricate relief carvings where precise depth control is needed.
- Router Tables: Offer greater stability and precision for shaping edges, cutting dados, and creating consistent profiles on multiple pieces. Essential for repetition and accuracy in layered designs.
- CNC Routers (Computer Numerical Control): The ultimate tool for precision and complex 3D designs. CNC machines allow artists to translate digital designs into physical carvings with unparalleled accuracy and repeatability. They are ideal for creating highly intricate geometric patterns and maintaining consistent depth across multiple layers.
Router Bits for 3D Carving
A diverse collection of router bits is essential for tackling various aspects of 3D layered art:
| Bit Type | Primary Use | Ideal for… |
|---|---|---|
| Straight Bits | Cutting dados, grooves, and rabbets; creating channels for layering. | Defining layer boundaries, initial material removal. |
| V-Groove Bits | Creating sharp, angled V-cuts; adding etched lines and decorative details. | Geometric line work, creating visual texture, text. |
| Roundover Bits | Softening edges; creating smooth, curved profiles. | Finishing edges of layers, decorative transitions. |
| Core Box Bits | Cutting concave grooves; creating flutes and rounded channels. | Adding sculpted, organic curves; relief carving. |
| Ball Nose Bits | Ideal for 3D contouring and detailed relief carving with CNC. | Sculpting undulating surfaces, intricate organic forms. |
| Carbide Tipped Bits | Durable for hardwoods, maintaining sharpness longer. | All general carving, especially for dense woods. |
“The choice of router bit can fundamentally alter the visual texture and depth perception of your Handcrafted Wooden Wall Art: 3D Layered Panels and Geometric Carvings with Router Techniques, transforming a simple cut into a dynamic design element.”
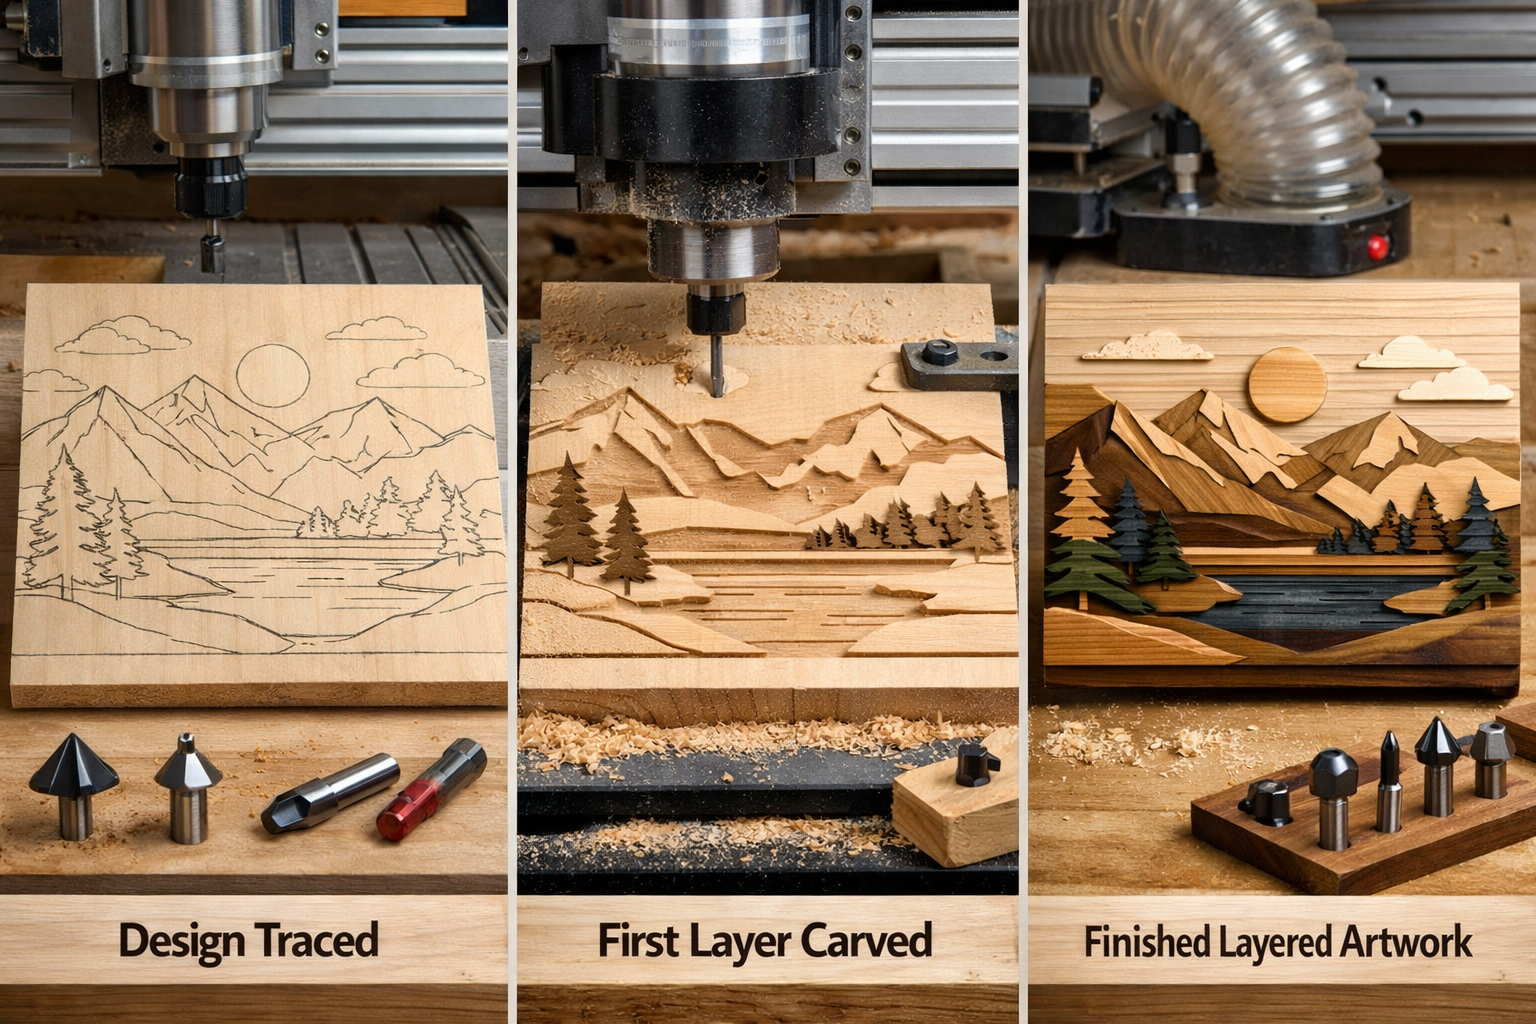
Step-by-Step Router Techniques for Layered Art
Creating 3D layered panels involves a methodical approach, whether by hand or with a CNC.
- Design Conception: Start with a detailed design. For geometric patterns, precise measurements and templates are crucial. Digital design software (CAD/CAM) is highly recommended for CNC work, allowing for intricate layering and depth mapping.
- Material Preparation: Select appropriate wood species. Hardwoods like maple, cherry, walnut, and oak are excellent choices due to their stability and fine grain, which holds intricate details well. Softwoods can be used but may splinter more easily. Ensure wood is properly milled, planed, and sanded. For larger pieces, consider laminating smaller boards to achieve the desired dimensions. For guidance on optimizing performance, see our guide on RBI Planer: A Comprehensive Guide to Benefits, Setup, and Maintenance.
- Layer Separation & Cutting:
- Manual Method: Cut individual layers using a bandsaw or jigsaw. For precise interior cuts, a scroll saw is invaluable. This is where pieces are cut out and then stacked.
- Router Carving Method: For designs where layers are carved into a single board or multiple boards are joined and then carved, the router is used to remove material at different depths. For example, a straight bit can create a recess for the ‘lower’ layer, while a V-groove bit adds detail to the ‘upper’ layer.
- Geometric Carving:
- Templates & Jigs: For handheld routers, templates and jigs are indispensable for replicating geometric patterns accurately. Create templates from MDF or plywood. A sturdy workbench with T-track or dog holes can greatly assist in securing your workpiece and templates.
- Plunge Router Control: Use a plunge router for controlled depth cuts. Set the depth stop precisely for each layer or pattern element. Make multiple shallow passes rather than one deep cut to prevent burning the wood and to achieve cleaner results.
- CNC Precision: For CNC routers, the design software defines all carving paths and depths. The machine then executes these with extreme precision, allowing for complex multi-axis carving and highly detailed geometric patterns that would be incredibly challenging by hand.
- Assembly (for separate layers): Once individual layers are carved and shaped, they are typically glued together. Use wood glue and clamps, ensuring perfect alignment.
- Sanding and Finishing: Thorough sanding is critical to smooth any rough edges or router marks. Start with a coarser grit (e.g., 120) and progress to finer grits (220 or 320). Finishing options include natural oils (like Danish oil), waxes, or clear lacquers to protect the wood and enhance its natural beauty. For an in-depth comparison of finishes, explore our guide on Danish Oil vs Linseed: The Ultimate Wood Finishing Guide.
Advanced Techniques and Design Considerations for Handcrafted Wooden Wall Art
Beyond the basics, several advanced techniques and design considerations can elevate Handcrafted Wooden Wall Art: 3D Layered Panels and Geometric Carvings with Router Techniques from attractive decor to truly exceptional pieces. Integrating these elements can significantly increase the perceived value and artistic impact of your creations.
Incorporating Mixed Woods for Texture and Contrast
One of the most powerful ways to enhance layered wooden art is through the strategic use of mixed wood species. Each wood possesses unique characteristics that can be leveraged for aesthetic effect:
- Color Contrast: Pairing light woods (maple, ash) with dark woods (walnut, wenge) creates dramatic visual separation between layers or within geometric patterns.
- Grain Patterns: Woods like oak have pronounced, open grain, while cherry and maple have finer, tighter grains. Using these differences can add subtle textural variations.
- Texture and Hardness: Some woods are naturally smoother, while others have a more tactile feel. Different hardnesses can also influence how the router cuts, offering distinct carved textures.
Example Combinations:
- Modern Contrast: Dark walnut base layer with light maple geometric overlays.
- Subtle Harmony: Cherry with a contrasting inlay of lighter padauk or darker purpleheart.
- Rustic Charm: Reclaimed barnwood with clean-cut pine or cedar layers.
When working with mixed woods, it’s important to consider their stability and expansion rates to ensure the final piece remains structurally sound over time. Proper acclimatization of all wood species to the workshop environment is crucial.
Leveraging CNC for Intricate Geometries and Deep Carvings
While handheld routers offer significant control, CNC (Computer Numerical Control) machines open up a world of possibilities for complex geometries, deep carvings, and intricate details that are difficult, if not impossible, to achieve manually.

- Precision and Repeatability: CNC routers can cut with extreme accuracy, reproducing designs perfectly across multiple pieces. This is invaluable for mass production or for intricate tessellations where every piece must fit flawlessly.
- Complex 3D Topography: Advanced CNC software and multi-axis machines can create truly sculptural forms, not just layered panels. This allows for undulating surfaces, complex curves, and highly detailed relief carvings that appear to flow seamlessly. This process often involves 3D woodworking plans and specialized CAM software.
- Time Efficiency: Once programmed, a CNC machine can execute complex carvings much faster than a human, freeing up the artisan for other tasks like finishing or design.
- Material Optimization: CNC software can optimize cutting paths to minimize material waste, a significant benefit when working with expensive hardwoods.
For those looking to scale their craft from personal projects to profitable decor, investing in or utilizing a CNC service can be a game-changer for creating high-demand, intricate pieces of Handcrafted Wooden Wall Art: 3D Layered Panels and Geometric Carvings with Router Techniques.
Finishing Touches: Enhancing and Protecting Your Art
The finish applied to wooden wall art is not merely for protection; it’s an integral part of its aesthetic appeal. The right finish can enhance the wood’s natural beauty, highlight carved details, and add to the tactile experience.
Finishing Options:
- Natural Oils (e.g., Danish Oil, Tung Oil): These penetrate the wood fibers, enhancing the natural grain and providing a subtle, matte to satin finish. They are easy to apply and repair, and they give a “warm” feel.
- Waxes: Often applied over an oil finish, waxes (like beeswax or paste wax) provide a silky smooth feel and a low-sheen protective layer. For more on this, see Johnson Paste Wax vs Minwax: A Comprehensive Comparison and Wax on Top of Polyurethane: Achieving a Smooth Finish.
- Clear Lacquer/Polyurethane: These create a durable, protective layer on the surface. Available in various sheens from matte to high-gloss, they offer excellent protection against moisture and wear. However, they can sometimes make the wood feel less “natural.” Learn more about application techniques in Spraying Water-Based Poly: Benefits, Techniques, and Tips or Spray Polyurethane vs Brush: Pros, Cons, and Tips.
- Stains: While natural wood is often preferred for these pieces, stains can be used to alter the wood’s color while still allowing the grain to show through. This can be effective for creating specific color palettes or mimicking aged wood. For specific wood types, consider Staining Birch Dark: Enhancing Grain Visibility and Care Tips.
- Milk Paint/Chalk Paint: For a more rustic or distressed look, these opaque paints can be used, often with a clear topcoat. Carved details can be subtly highlighted by sanding back the paint on raised areas.
Application Tips:
- Always prepare the surface thoroughly by sanding through progressively finer grits (up to 220 or 320 for most applications) to ensure a smooth, even finish. Avoid sanding marks after staining.
- Apply finishes in a well-ventilated area, following manufacturer instructions.
- Allow adequate drying time between coats.
- For carved pieces, pay extra attention to ensuring the finish gets into all recesses without pooling. Use brushes for carved areas and wiping cloths for flat surfaces.
The choice of finish should align with the overall aesthetic of the piece and the intended environment. A natural oil finish complements warm minimalism perfectly, allowing the wood’s inherent beauty to shine.
From Craft to Commerce: Scaling Your Handcrafted Wooden Wall Art Business in 2026
The demand for authentic, unique home decor is robust in 2026, making Handcrafted Wooden Wall Art: 3D Layered Panels and Geometric Carvings with Router Techniques a highly viable product for artisans looking to turn their passion into profit. Scaling from a hobbyist to a successful purveyor of high-quality decor requires strategic planning, efficient production, and effective marketing.
Understanding the Market: Warm Minimalism and Sustainable Decor
The current interior design landscape is heavily influenced by warm minimalism. This style emphasizes clean lines, uncluttered spaces, and natural materials, eschewing harsh whites for softer, earthy tones and textures. Handcrafted wooden wall art, with its organic materials, intricate details, and often geometric simplicity, fits perfectly within this aesthetic.
Furthermore, there is a growing consumer preference for sustainable and ethically sourced products. Highlighting the natural origins of your wood, any efforts to use reclaimed or sustainably harvested timber, and the longevity of your handcrafted pieces can be significant selling points. Emphasize the story behind your materials and the craftsmanship involved.
Pricing Your Art: Value, Time, and Materials
Determining the right price for your handcrafted wooden wall art is crucial for profitability. Consider these factors:
- Material Costs: Document every piece of wood, glue, finish, and hardware used.
- Labor Time: Accurately track the hours spent on design, cutting, carving, sanding, and finishing. This is often the most undervalued aspect for artisans. Calculate an hourly rate that reflects your skill and experience.
- Overhead: Account for workshop rent, tool maintenance, electricity, insurance, and marketing expenses.
- Market Value: Research similar pieces in the market. What are other artists charging for comparable quality and complexity? Don’t undervalue your work simply to compete on price.
- Uniqueness/Artistic Merit: Unique designs, complex carvings, and the prestige of particular wood species can command higher prices.
A common formula: (Material Cost + Labor Cost) x 2.5 to 3 = Retail Price
This multiplier helps cover overhead and provides a profit margin. Be prepared to adjust based on market feedback and your target audience.
Marketing and Selling Your Creations
Effective marketing is essential to connect your beautiful art with appreciative buyers.
- High-Quality Photography: Since your art is visual, professional-grade photographs are non-negotiable. Capture multiple angles, close-ups of texture and detail, and lifestyle shots showing the art in a well-designed room.
- Online Presence:
- Website/Portfolio: Create a dedicated website showcasing your work, process, and artistic vision.
- E-commerce Platforms: Utilize platforms like Etsy, Shopify, or your own e-commerce store to sell your pieces.
- Social Media: Instagram and Pinterest are powerful visual platforms for showcasing your wooden wall art. Use relevant hashtags (e.g., #woodart #handcrafteddecor #3dart #geometricwood #warmminimalism #routercarving) and engage with design communities. Share behind-the-scenes glimpses of your crafting process.
- Local Markets & Galleries: Participate in local art fairs, craft markets, and consider consigning pieces to local galleries or interior design showrooms. This allows potential customers to experience the 3D nature and texture of your art firsthand.
- Collaborations: Partner with interior designers, architects, or home staging companies. Offer custom commissions to cater to specific client needs.
- Content Marketing: Create blog posts or videos about your process, the types of wood you use, or the inspiration behind your designs. This builds authority and connects with your audience on a deeper level. For example, a post about “The Beauty of Blue Wood Natural” in your art could attract specific interest.
Scaling Production: Efficiency and Tool Investment
As demand grows, consider ways to scale your production without compromising quality.

- Optimizing Workflow: Streamline your cutting, carving, sanding, and finishing processes. Efficient workshop layout and organized storage (perhaps a woodworking storage bench) can save significant time.
- Templates and Jigs: Invest time in creating robust templates and jigs for common patterns or recurring elements. This ensures consistency and speeds up manual carving.
- Tool Upgrades: As discussed, a CNC router is a major investment but can dramatically increase production capacity and enable more complex designs. Other tools like a high-quality bandsaw (e.g., Reliant 14 Bandsaw or Delta 28-160 Band Saw) or a reliable table saw (like the Pro Tech 10 Table Saw) are essential for efficient material preparation.
- Outsourcing: For certain repetitive tasks, consider outsourcing elements like initial material milling or precise CNC cutting, allowing you to focus on the intricate carving and finishing that truly defines your handcrafted style.
By combining artistic vision with smart business strategies, creating Handcrafted Wooden Wall Art: 3D Layered Panels and Geometric Carvings with Router Techniques can evolve from a rewarding hobby into a thriving, profitable venture in 2026.
Conclusion
Handcrafted Wooden Wall Art: 3D Layered Panels and Geometric Carvings with Router Techniques represents a powerful intersection of traditional craftsmanship and contemporary design. It offers a unique opportunity for artisans to create truly captivating pieces that add depth, warmth, and a natural aesthetic to modern interiors. By mastering router and CNC techniques, thoughtfully selecting mixed wood species for texture and contrast, and applying meticulous finishing touches, woodworkers can produce artwork that is not only visually stunning but also highly sought after.
The journey from a raw slab of wood to a finished, three-dimensional masterpiece is a testament to patience, precision, and artistic vision. In an era where mass-produced items often lack soul, the authenticity and unique character of handcrafted wooden art resonate deeply with consumers seeking meaningful and beautiful additions to their homes.
Actionable Next Steps:
- Refine Your Skills: Practice various router techniques on scrap wood to perfect your precision and control, especially with V-groove and ball-nose bits for intricate details.
- Explore Design Software: If you haven’t already, begin learning 2D and 3D design software (e.g., Inkscape, Fusion 360, Vectric Aspire) to translate your artistic visions into digital models, especially if considering CNC.
- Experiment with Wood Combinations: Start small projects using two or three contrasting wood species to understand how different grains and colors interact in a layered design.
- Build a Portfolio: Begin documenting your work with high-quality photographs. Even practice pieces can contribute to building a visual record of your developing skills.
- Connect with the Community: Join woodworking forums, local craft groups, or online communities to share ideas, gain feedback, and find inspiration from fellow artisans.
Embrace the tools, techniques, and artistic possibilities that Handcrafted Wooden Wall Art offers. Your journey into creating these magnificent 3D layered panels and geometric carvings with router techniques is just beginning, promising both artistic fulfillment and the potential for a thriving creative enterprise in 2026.
