

The average city dweller in 2026 faces a common dilemma: a yearning for lush greenery and fresh produce, often constrained by the reality of limited living space. Yet, even the most modest balcony, patio, or kitchen wall holds untapped potential. The solution lies in vertical gardening, a transformative approach that reclaims unused vertical space. This article provides a comprehensive guide to Building a DIY Vertical Garden Planter for Small Spaces: Maximizing Greenery with Woodwork, transforming your compact area into a thriving oasis. We’ll delve into design principles, material selection, step-by-step construction, and essential tips to ensure your woody creation flourishes.
Key Takeaways
- Vertical gardens are ideal for maximizing greenery in limited spaces like balconies or small patios.
- Woodwork offers durability, aesthetic appeal, and customization for DIY vertical planters.
- Careful planning, material selection, and understanding plant needs are crucial for success.
- Construction involves precise cutting, joinery, and protective finishes for longevity.
- Regular maintenance and strategic plant placement ensure a thriving vertical garden for years to come.
Planning Your Vertical Garden: Design and Material Selection
Successfully Building a DIY Vertical Garden Planter for Small Spaces: Maximizing Greenery with Woodwork begins long before any wood is cut. Thoughtful planning and material selection are paramount. Consider the available space, the amount of sunlight, and the types of plants you intend to grow. A well-designed planter not only looks good but also provides the optimal environment for your plants.

Assessing Your Space and Sunlight
Before sketching out any designs, meticulously assess the area where your vertical garden will reside.
- Footprint: Measure the width, height, and depth available. Remember, vertical gardens save floor space but still project outwards slightly.
- Sunlight Exposure: Observe how many hours of direct sunlight the area receives daily. This will dictate your plant choices.
- Full Sun (6+ hours): Ideal for most vegetables, herbs, and flowering plants.
- Partial Sun (3-6 hours): Suitable for leafy greens, some herbs, and shade-tolerant flowers.
- Shade (less than 3 hours): Best for ferns, mosses, and certain low-light tolerant plants.
- Weight Capacity: If hanging your planter, ensure the wall or railing can support the combined weight of the wood, soil, water, and mature plants.
- Water Source & Drainage: Plan how you will water your garden and how excess water will drain without causing damage to your structure or surrounding areas. Integrated drainage systems are critical.
Choosing the Right Wood and Materials
The choice of wood greatly influences the planter’s durability, appearance, and suitability for outdoor use.
Wood Types: Durability and Aesthetics
| Wood Type | Pros | Cons | Best Use Case |
|---|---|---|---|
| Cedar | Naturally rot-resistant, insect-resistant, aromatic | Can be more expensive, softer wood (dents easily) | Ideal for long-lasting outdoor planters |
| Redwood | Excellent rot and insect resistance, beautiful color | Very expensive, often sustainably sourced options limited | Premium outdoor projects, high-end aesthetic |
| Treated Pine | Affordable, widely available, resists rot & insects | Contains chemicals (check for food-safe ratings), less aesthetic appeal | Budget-friendly outdoor planters (avoid direct food contact unless rated) |
| Douglas Fir | Strong, readily available, good value | Requires sealing/staining for outdoor use, less rot-resistant than cedar | Structural components, covered outdoor areas |
| Pallet Wood | Free/cheap, sustainable, rustic aesthetic | Varies greatly in quality, can be treated with chemicals, requires cleaning/sanding | Rustic designs, requires careful sourcing for safety |
- Sustainability Note: When selecting wood, consider sustainably harvested options with FSC (Forest Stewardship Council) certification. For upcycled pallet projects with premium positioning, ensure pallets are “HT” (heat treated) and not “MB” (methyl bromide treated) for safety, especially if growing edibles.
Fasteners and Adhesives
- Screws: Stainless steel or galvanized screws are essential for outdoor projects to prevent rust. Opt for deck screws for superior corrosion resistance.
- Wood Glue: Use exterior-grade wood glue (e.g., Titebond III) for added strength and water resistance, especially on joints.
- Hardware: Consider L-brackets, corner braces, or French cleats for mounting, depending on the design.
Drainage and Liner Materials
- Liner: Pond liner or heavy-duty landscape fabric can line planter boxes to retain soil and moisture while allowing drainage. Avoid using plastic sheeting without adequate drainage holes, as it can lead to root rot.
- Drainage Medium: A layer of gravel or small stones at the bottom of each planter box can help prevent soil from compacting drainage holes.
Building the Vertical Garden Planter: Step-by-Step Construction
With your design finalized and materials gathered, it’s time to bring your vertical garden to life. This section details the construction process for Building a DIY Vertical Garden Planter for Small Spaces: Maximizing Greenery with Woodwork.
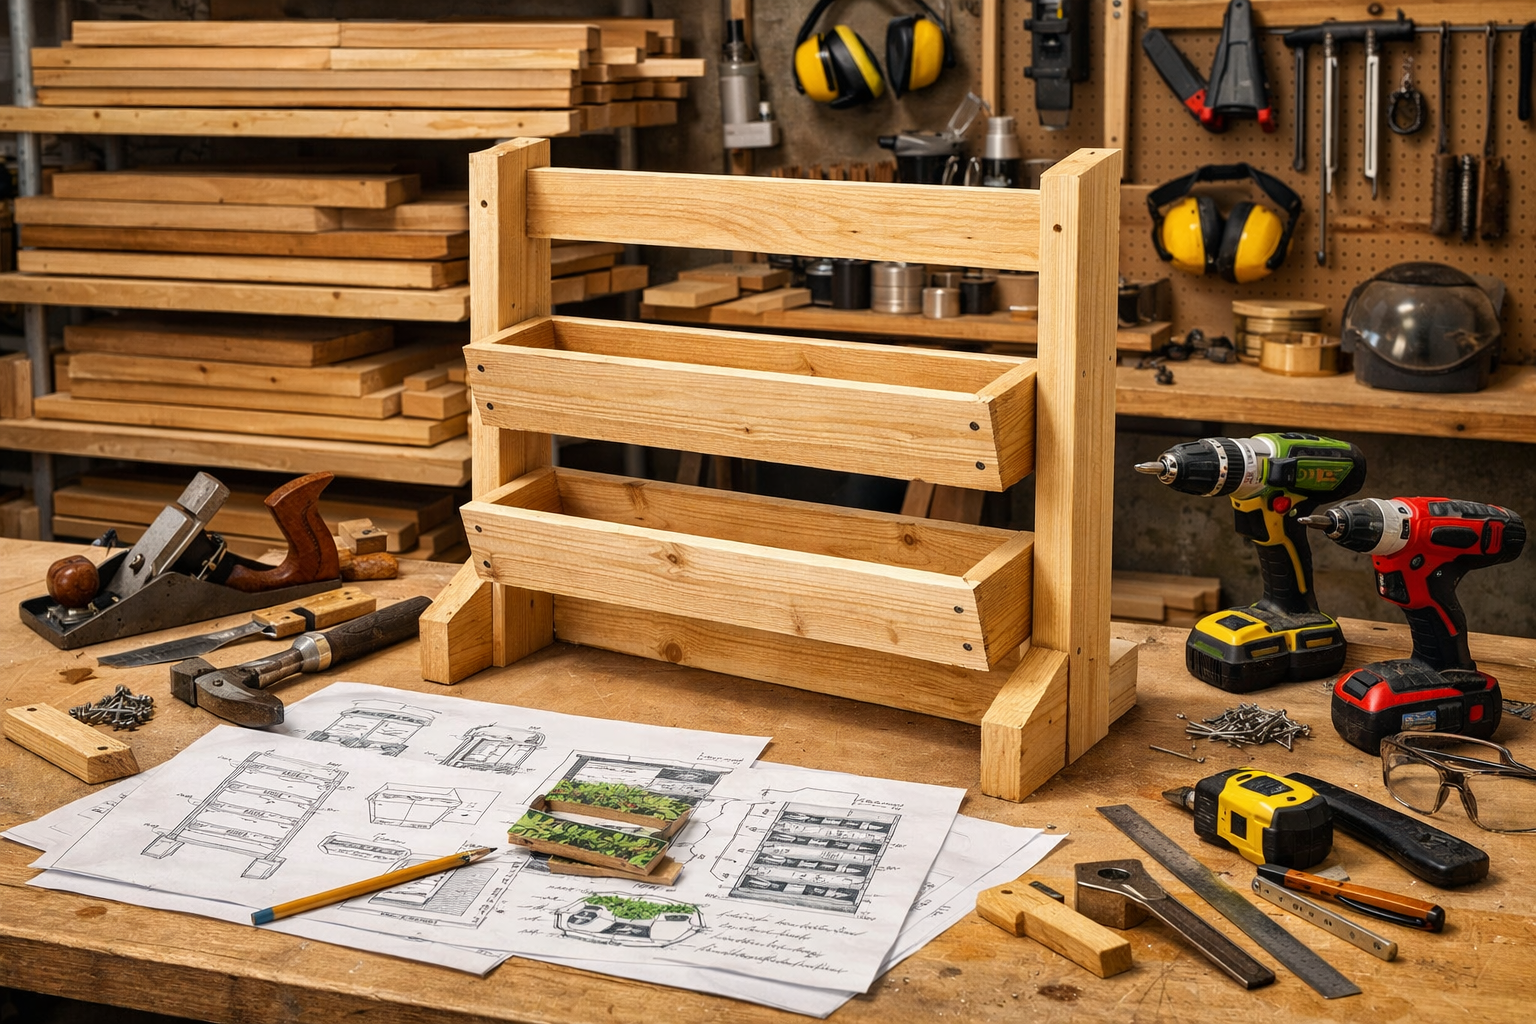
Tools You’ll Need
- Measuring & Marking: Tape measure, pencil, speed square, level
- Cutting: Miter saw or circular saw (for straight cuts), jigsaw (for curves or notches)
- Drilling: Cordless drill, drill bits (pilot holes), countersink bit
- Assembly: Clamps, rubber mallet, sandpaper (various grits)
- Safety: Safety glasses, hearing protection, dust mask, gloves
- Finishing: Paintbrushes or rollers, rags
For precise cuts and efficient workflow, especially with larger projects, understanding power tool mastery for building console tables can translate well to vertical planter construction.
Step-by-Step Assembly Guide
This guide outlines a common design: a tiered, freestanding or wall-mounted vertical planter with individual boxes.
1. Cut All Wood Components 📐
Based on your design, cut all wood pieces to the precise lengths required. Double-check measurements before cutting.
- Vertical Supports: These are the main uprights of your planter.
- Horizontal Supports: These will connect the vertical supports and provide a base for the planter boxes.
- Planter Box Sides, Fronts, Backs, and Bottoms: Cut these to form your individual planting containers.
2. Assemble the Planter Boxes 📦
Each planter box needs to be robust and water-tight (with drainage).
- Joinery: Use butt joints reinforced with screws and exterior-grade wood glue for simplicity. For stronger, more aesthetic joints, consider mastering dovetail joints with hand tools or using dado joints for the bottoms of the boxes.
- Pilot Holes: Always drill pilot holes before screwing to prevent wood splitting.
- Bottom Drainage: Drill several 1/2″ to 3/4″ drainage holes in the bottom of each planter box.
3. Construct the Main Frame 💪
This forms the skeleton of your vertical garden.
- Attach Horizontal Supports: Fasten the horizontal supports to the vertical supports at your desired intervals. These supports will hold the assembled planter boxes. Ensure they are level.
- Reinforce: Use L-brackets or pocket hole joinery for extra strength if needed.
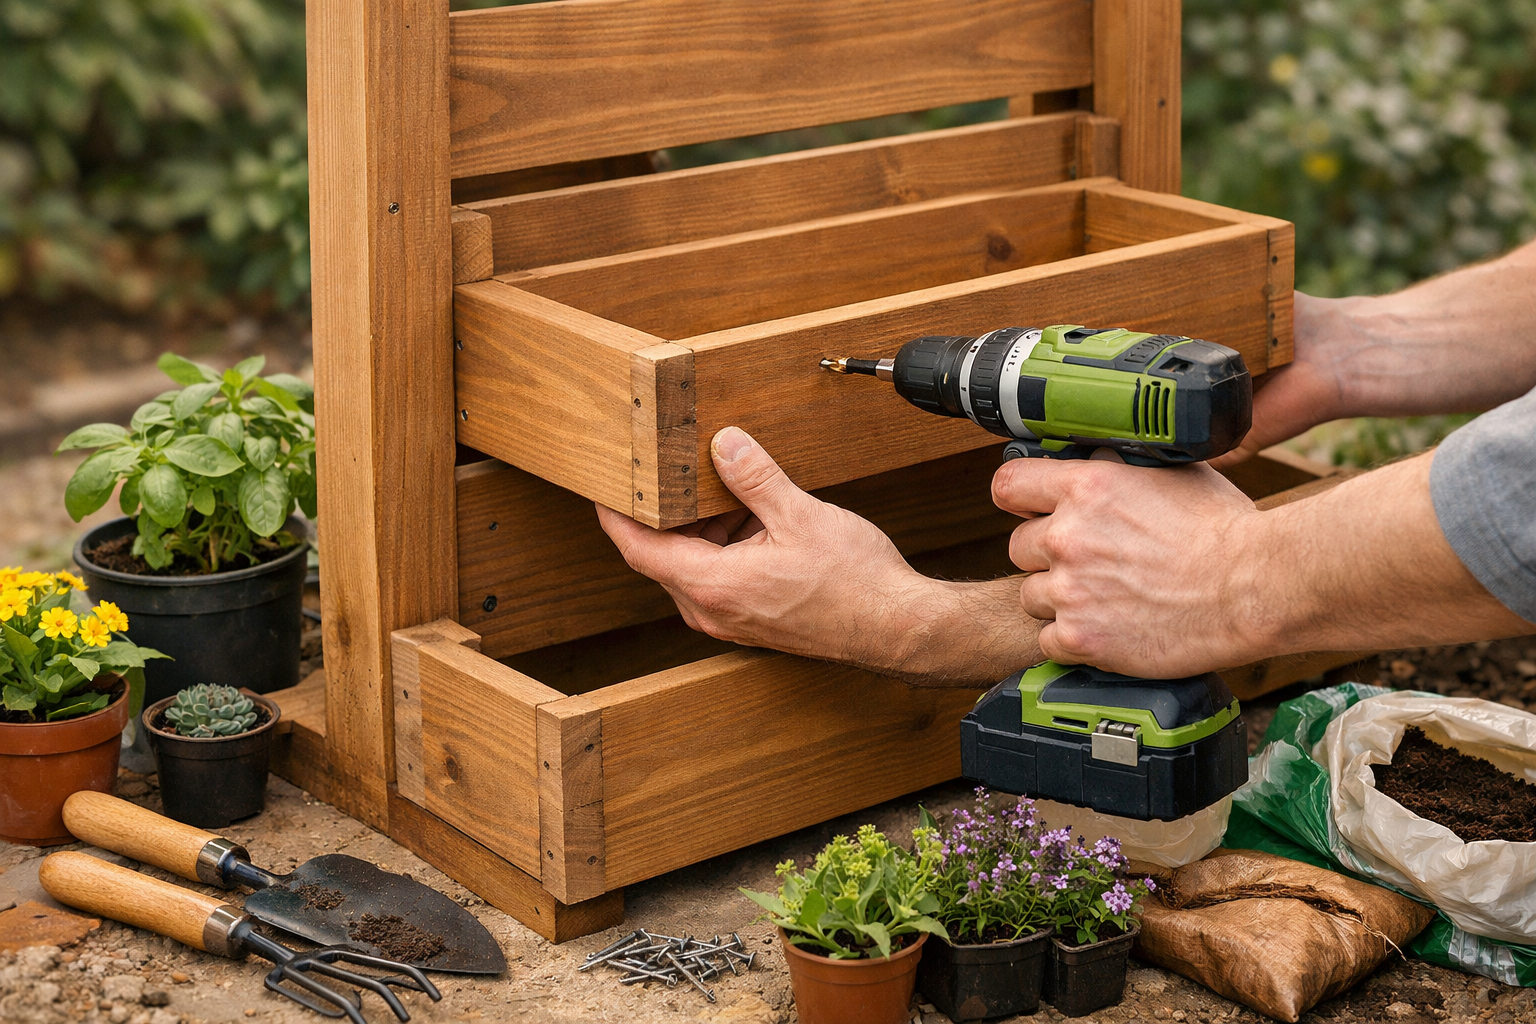
4. Attach Planter Boxes to the Frame 🔗
Once the frame is stable, secure the planter boxes.
- Placement: Position each assembled planter box onto its corresponding horizontal support.
- Fasten: Screw the planter boxes securely to the horizontal supports and, if possible, to the vertical supports for added stability. Ensure even spacing.
5. Apply Protective Finish 🛡️
This step is crucial for the longevity of your wooden planter, especially outdoors.
- Sanding: Sand all surfaces smooth, starting with coarse grit (80-100) and finishing with a finer grit (150-220).
- Cleaning: Wipe down all surfaces to remove dust.
- Sealing/Staining: Apply at least two coats of an exterior-grade wood sealer, stain, or paint. Choose a finish that offers UV protection and water resistance. Look for products safe for use around edible plants if you’re growing herbs or vegetables. This helps with understanding wood movement and protecting against moisture.
- Curing: Allow the finish to dry and cure completely according to the manufacturer’s instructions before adding soil and plants.
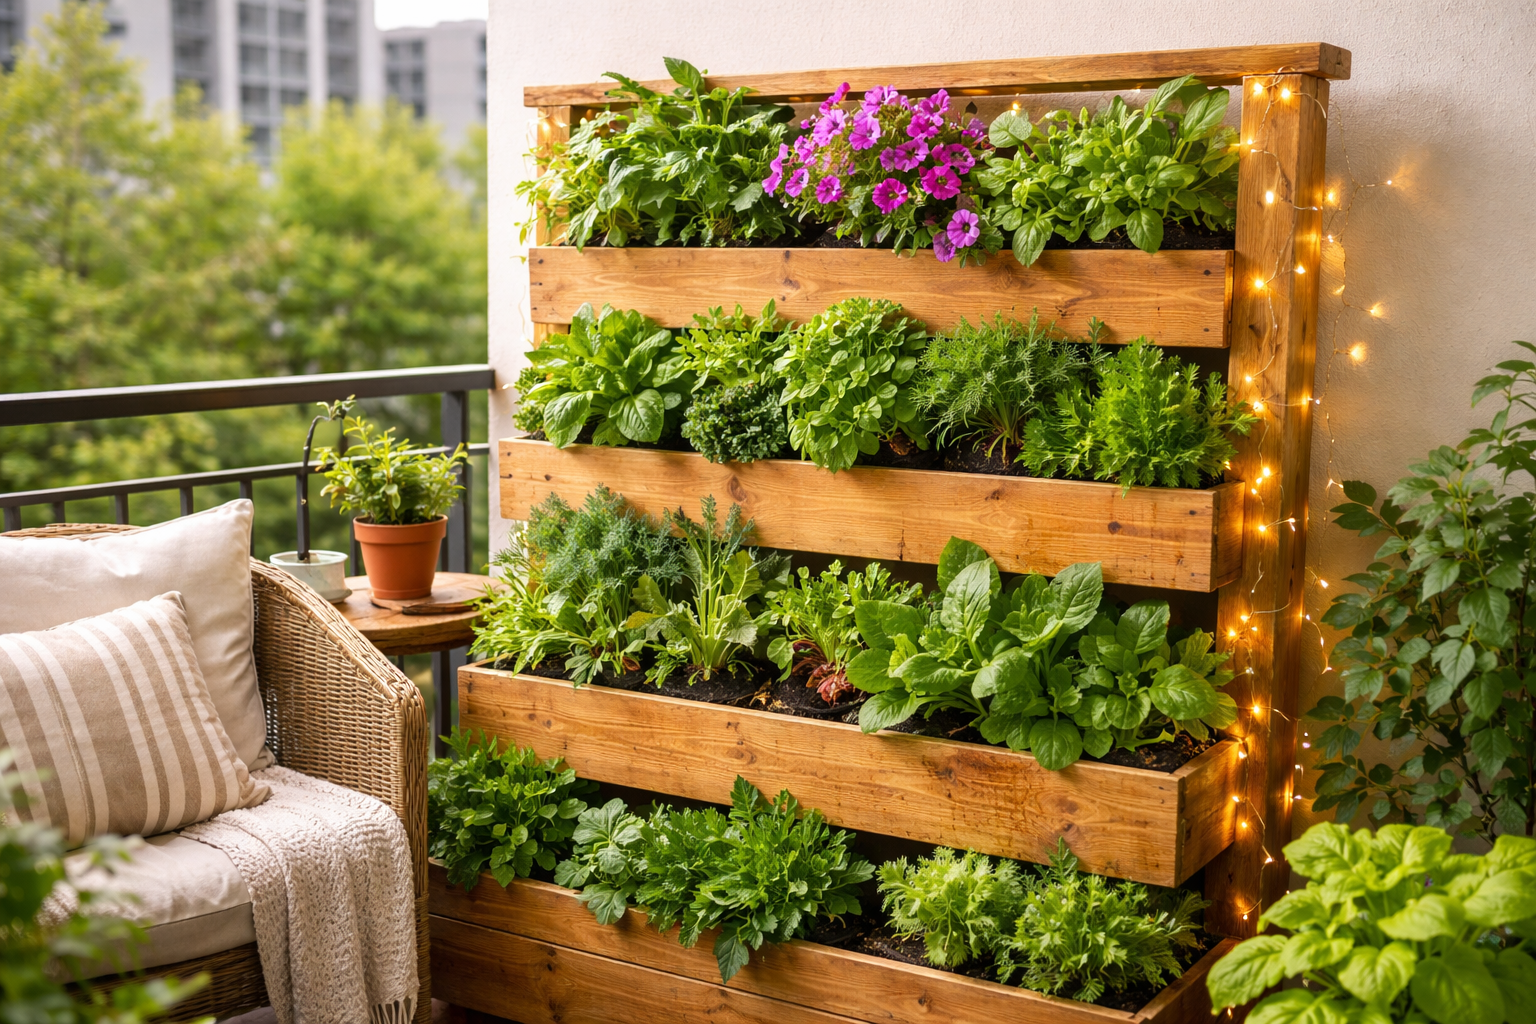
Planting and Maintaining Your Vertical Garden
Once your planter is built and cured, the exciting part begins: bringing it to life with plants! Proper planting and ongoing maintenance are key to a flourishing vertical garden.

Choosing the Right Plants for Vertical Gardens 🌱
The success of your vertical garden depends heavily on selecting plants suited for limited soil volume, vertical growing, and your specific light conditions.
- Herbs: Basil, mint, parsley, chives, thyme, oregano are excellent choices.
- Leafy Greens: Lettuce (various types), spinach, kale, Swiss chard thrive.
- Strawberries: Compact varieties work well and yield delicious fruit.
- Flowers: Petunias, impatiens, lobelia, pansies, violas add color and cascade beautifully.
- Small Vegetables: Radishes, bush beans, and dwarf tomato varieties can be successful.
- Cascading Plants: Sweet potato vine, trailing succulents add visual interest.
Consider plant mature size and root depth. Avoid large, deep-rooted plants unless your boxes are exceptionally deep.
Soil and Planting Techniques 🪴
- High-Quality Potting Mix: Use a lightweight, well-draining potting mix. Avoid heavy garden soil, which can compact and hinder drainage in containers.
- Layering: For better drainage and aeration, you can add a thin layer of coarse perlite or small wood chips (from safe, untreated wood) at the very bottom of each box before adding soil. Then, line with landscape fabric to prevent soil washout.
- Planting Density: Don’t overcrowd your plants. Give them enough space to grow and allow for air circulation.
- Watering Considerations: Gravity will pull water downwards. Place plants with higher water needs in lower boxes, or install a drip irrigation system for uniform watering.
Watering and Fertilizing 💧
Vertical gardens dry out faster than in-ground gardens due to increased air exposure and often smaller soil volumes.
- Frequent Watering: Check soil moisture daily, especially during warm, sunny weather. Water thoroughly until you see drainage from the bottom.
- Drip Irrigation: Consider installing a simple drip irrigation system for efficiency and consistency, especially for larger vertical gardens.
- Fertilization: Since nutrients can leach out quickly with frequent watering, regular fertilization is necessary. Use a balanced liquid fertilizer diluted to half-strength every 2-4 weeks during the growing season.
- Mulching: A thin layer of mulch (e.g., small wood chips, coco coir) can help retain soil moisture and regulate soil temperature.
Ongoing Maintenance 🛠️
- Pruning: Regularly prune spent flowers and yellowing leaves to encourage new growth and maintain plant health.
- Pest and Disease Control: Monitor your plants for signs of pests or diseases. Address issues promptly with organic solutions where possible.
- Seasonal Rotation: Some plants may exhaust the soil over a season. Rotate crops or replenish soil annually.
- Structural Checks: Annually inspect your wooden planter for any signs of wear, rot, or loose fasteners. Reapply sealant or paint as needed to prolong its life. Just like restoring antique wooden furniture, preventative maintenance extends the lifespan of your woodworking projects.
Conclusion
Building a DIY Vertical Garden Planter for Small Spaces: Maximizing Greenery with Woodwork is a rewarding project that marries the practicality of gardening with the artistry of woodworking. It offers a tangible solution to urban dwellers and anyone with limited space, transforming overlooked areas into vibrant, productive green havens. From the initial spark of an idea to the flourishing cascade of plants, each step provides an opportunity to create something truly personal and sustainable.
By carefully planning your design, selecting durable materials, executing precise cuts and joinery, and committing to ongoing plant care, you can create a beautiful and functional vertical garden that enhances your home and provides fresh produce or stunning floral displays for years to come. Embrace the satisfaction of crafting with your own hands and nurturing life within a compact footprint.
Actionable Next Steps:
- Assess Your Space: Take detailed measurements and observe sunlight patterns in your chosen location.
- Sketch Your Design: Create a simple drawing of your desired vertical garden, including dimensions for each component.
- Source Materials: Select appropriate wood (e.g., cedar, treated pine) and gather all necessary fasteners, liners, and tools. Consider a visit to a local lumber yard or hardware store.
- Begin Construction: Follow the step-by-step guide for cutting, assembling planter boxes, building the frame, and applying a protective finish.
- Plant Your Garden: Choose plants suitable for your light conditions and planter size, using high-quality potting mix.
- Maintain and Enjoy: Establish a regular watering and fertilizing routine, and enjoy the beauty and bounty of your homemade vertical garden.
References
- Forest Stewardship Council. (n.d.). About Us. Retrieved from https://us.fsc.org/en-us/about-us
- Titebond. (n.d.). Titebond III Ultimate Wood Glue. Retrieved from https://www.titebond.com/product/wood-glues/ultimate-wood-glue
