
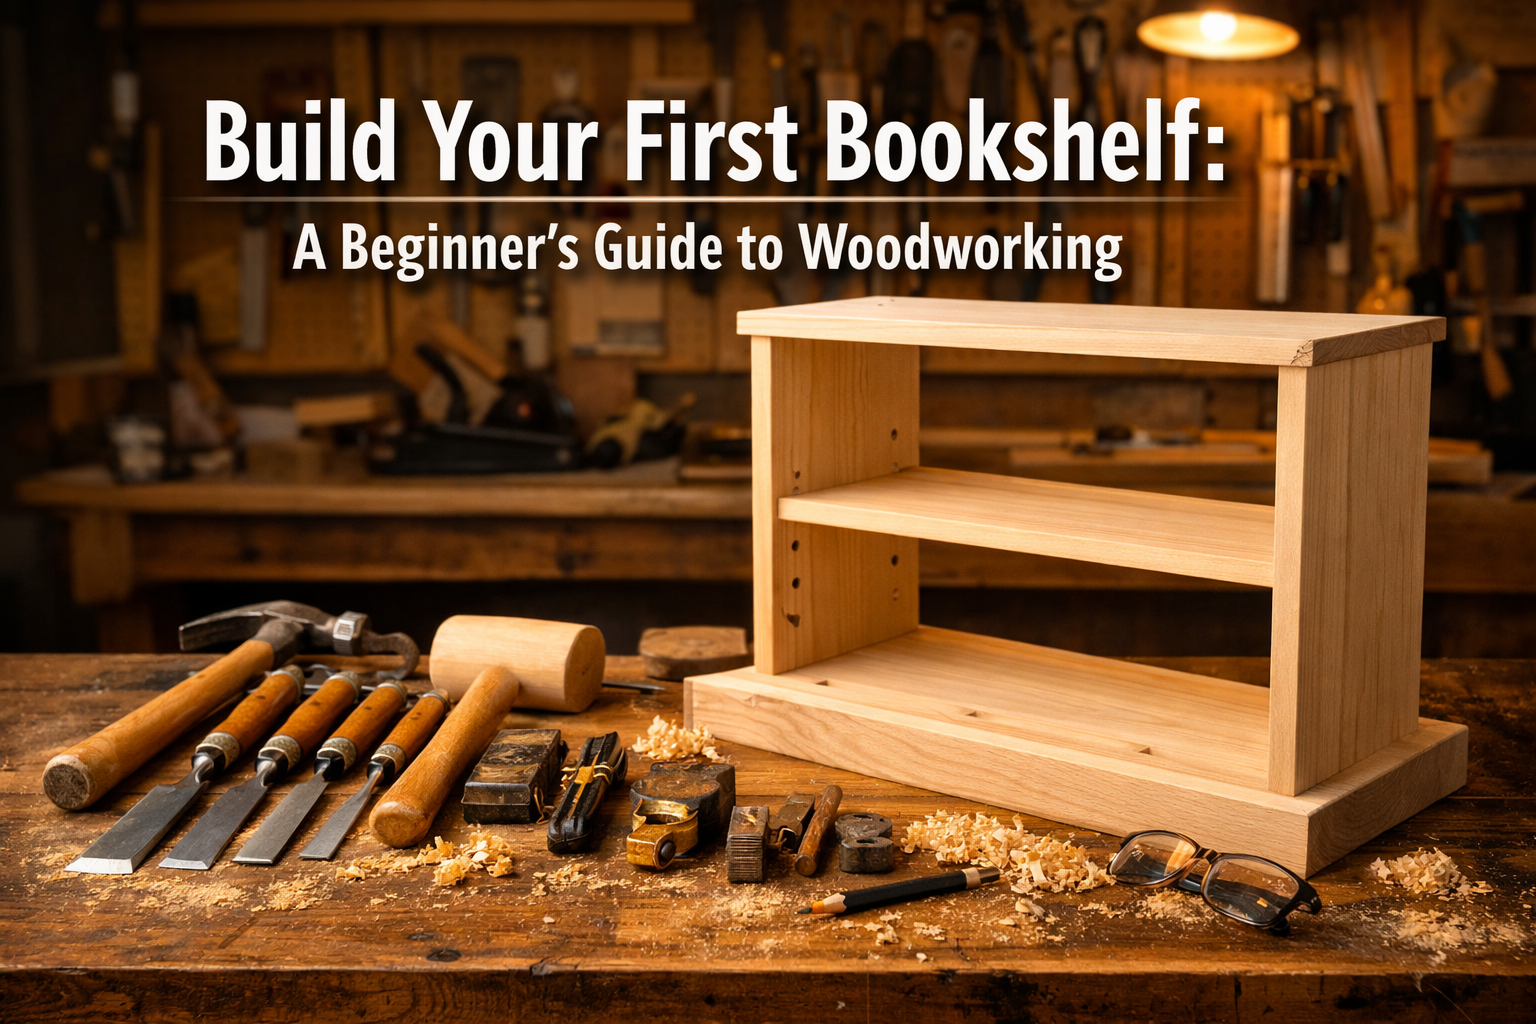

Embarking on your first woodworking project can feel daunting, but the satisfaction of creating something functional and beautiful with your own hands is truly unparalleled. Imagine crafting a piece of furniture that perfectly fits your space, reflects your style, and proudly holds your cherished book collection. This Beginner’s Guide to Building a Simple Wooden Bookshelf: Tools, Techniques, and Finishing for First-Time Woodworkers breaks down the process, focusing on accessible tools and straightforward joinery to help absolute beginners gain confidence and achieve a professional-looking result in 2026. From selecting the right lumber to applying the final finish, this article will walk you through every essential step.
Key Takeaways
- Start Simple: Choose a straightforward design using common lumber and basic joinery for your first bookshelf.
- Safety First: Always prioritize safety by wearing appropriate personal protective equipment (PPE) and understanding your tools.
- Measure Twice, Cut Once: Precision in measuring and cutting is crucial for a successful build.
- Master Basic Joinery: Simple butt joints reinforced with screws or dowels are excellent for beginners.
- Finishing Transforms: Proper sanding and finishing techniques elevate your project from raw wood to a polished piece of furniture.
Getting Started: Planning, Materials, and Essential Tools for First-Time Woodworkers
The foundation of any successful woodworking project, especially a Beginner’s Guide to Building a Simple Wooden Bookshelf: Tools, Techniques, and Finishing for First-Time Woodworkers, lies in meticulous planning. Before you make your first cut, dedicate time to design, material selection, and gathering the necessary tools.

Design Your Simple Bookshelf
For your first project, simplicity is key. A basic design often involves two side panels, a top, a bottom, a back panel, and several adjustable or fixed shelves.
- Dimensions: Consider where the bookshelf will go. Measure the available space for height, width, and depth. A good starting point for shelf depth is 8-12 inches (20-30 cm) to accommodate most books.
- Fixed vs. Adjustable Shelves: Fixed shelves are simpler for beginners, using dado joints or cleats. Adjustable shelves require more precision (drilling shelf-pin holes) but offer flexibility. For this guide, we’ll focus on fixed shelves for ease.
- Visualizing: Sketch your design, noting all dimensions. This helps identify potential issues before you start cutting.
Selecting Your Wood 🪵
The type of wood you choose impacts the bookshelf’s appearance, durability, and ease of working.
| Wood Type | Characteristics | Best For Beginners |
|---|---|---|
| Pine | Soft, easy to cut, affordable, takes stain well, light in color | ✅ Excellent! |
| Poplar | Medium density, paints well, slightly harder than pine | ✅ Good choice |
| Plywood | Stable, strong, often used for backs or hidden parts, comes in large sheets | ✅ Cost-effective |
| Oak | Hard, durable, distinctive grain, more challenging to work with | ❌ Advanced |
For a simple wooden bookshelf, pine or poplar is highly recommended. Look for straight, knot-free boards. If using plywood for the back, select a good-quality hardwood veneer plywood. You can also explore options like reclaimed wood for a unique character, though it often requires more prep work (see our guide on Sourcing and Restoring Urban-Harvested and Reclaimed Wood: Q).
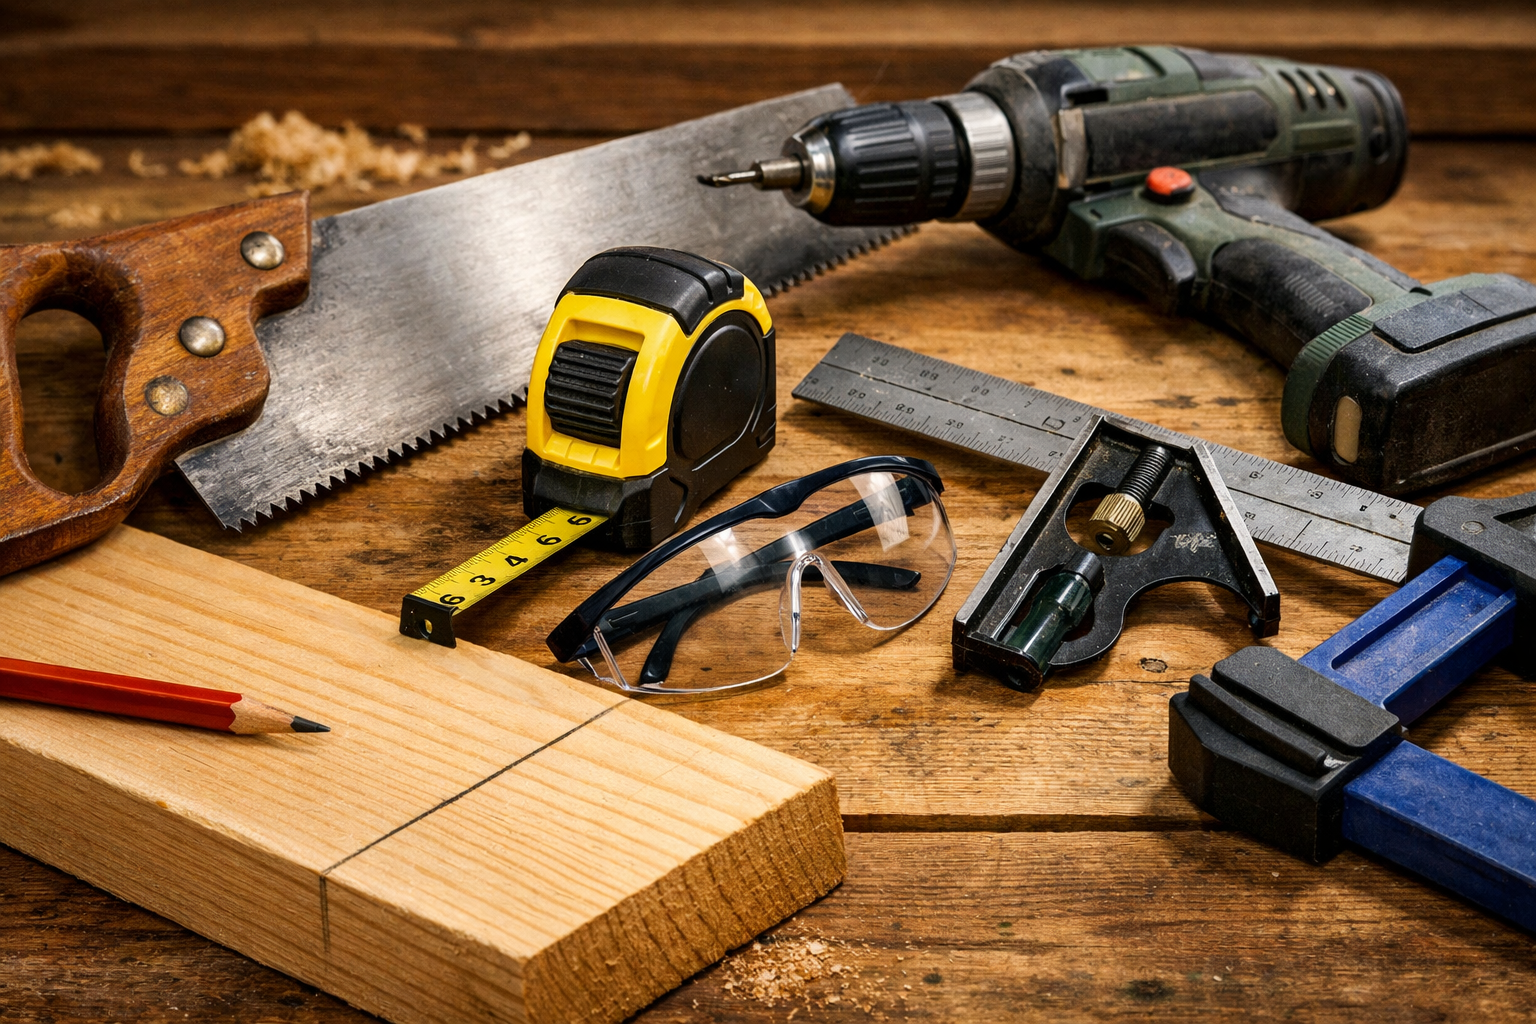
Essential Tools for the First-Time Woodworker
You don’t need a fully equipped workshop to build a bookshelf. Here’s a list of essential hand and power tools:
Hand Tools:
- Measuring Tape: For accurate length measurements.
- Pencil: For marking cuts and layout.
- Combination Square: Essential for marking straight lines and checking squareness.
- Hand Saw or Circular Saw: For making straight cuts. A circular saw with a straight edge guide is faster and more precise.
- Clamps: Crucial for holding pieces together during assembly and drying glue. Aim for at least 4-6 clamps.
- Wood Glue: Strong adhesive for joints.
- Sanding Blocks & Sandpaper: Various grits (80, 120, 180, 220) for smoothing surfaces.
- Safety Glasses: Non-negotiable for eye protection.
- Hearing Protection: Important when using power tools.
- Dust Mask: For protection against sawdust.
Power Tools (Recommended):
- Cordless Drill/Driver: For drilling pilot holes and driving screws. A must-have!
- Orbital Sander: Speeds up the sanding process significantly.
- Jigsaw (Optional): Useful for cutting curves or small intricate shapes, though not strictly necessary for a simple bookshelf.
“Safety is not just a recommendation; it’s a prerequisite for an enjoyable and successful woodworking journey. Always protect your eyes, ears, and hands.”
Familiarize yourself with your tools before starting. If using a new power tool, read the manual thoroughly.
Construction Techniques: Building Your Simple Wooden Bookshelf
With your design finalized and tools ready, it’s time to dive into the construction. This section focuses on straightforward techniques ideal for the Beginner’s Guide to Building a Simple Wooden Bookshelf: Tools, Techniques, and Finishing for First-Time Woodworkers.
Cutting Your Pieces Accurately
Precision is paramount. Remember the old adage: “Measure twice, cut once.”
- Marking: Use your measuring tape and combination square to mark all cuts clearly on your chosen lumber. For side panels and shelves, ensure parallel lines.
- Cutting:
- Hand Saw: If using a hand saw, clamp your wood firmly and take steady, even strokes.
- Circular Saw: For straighter, faster cuts, use a circular saw with a straight edge guide (a clamped-down straight board works well). Ensure the blade is clean and sharp.
- Cross-Cutting: Cutting across the grain for shelf lengths.
- Rip-Cutting: Cutting along the grain for panel widths (less common for a simple bookshelf, but good to know).
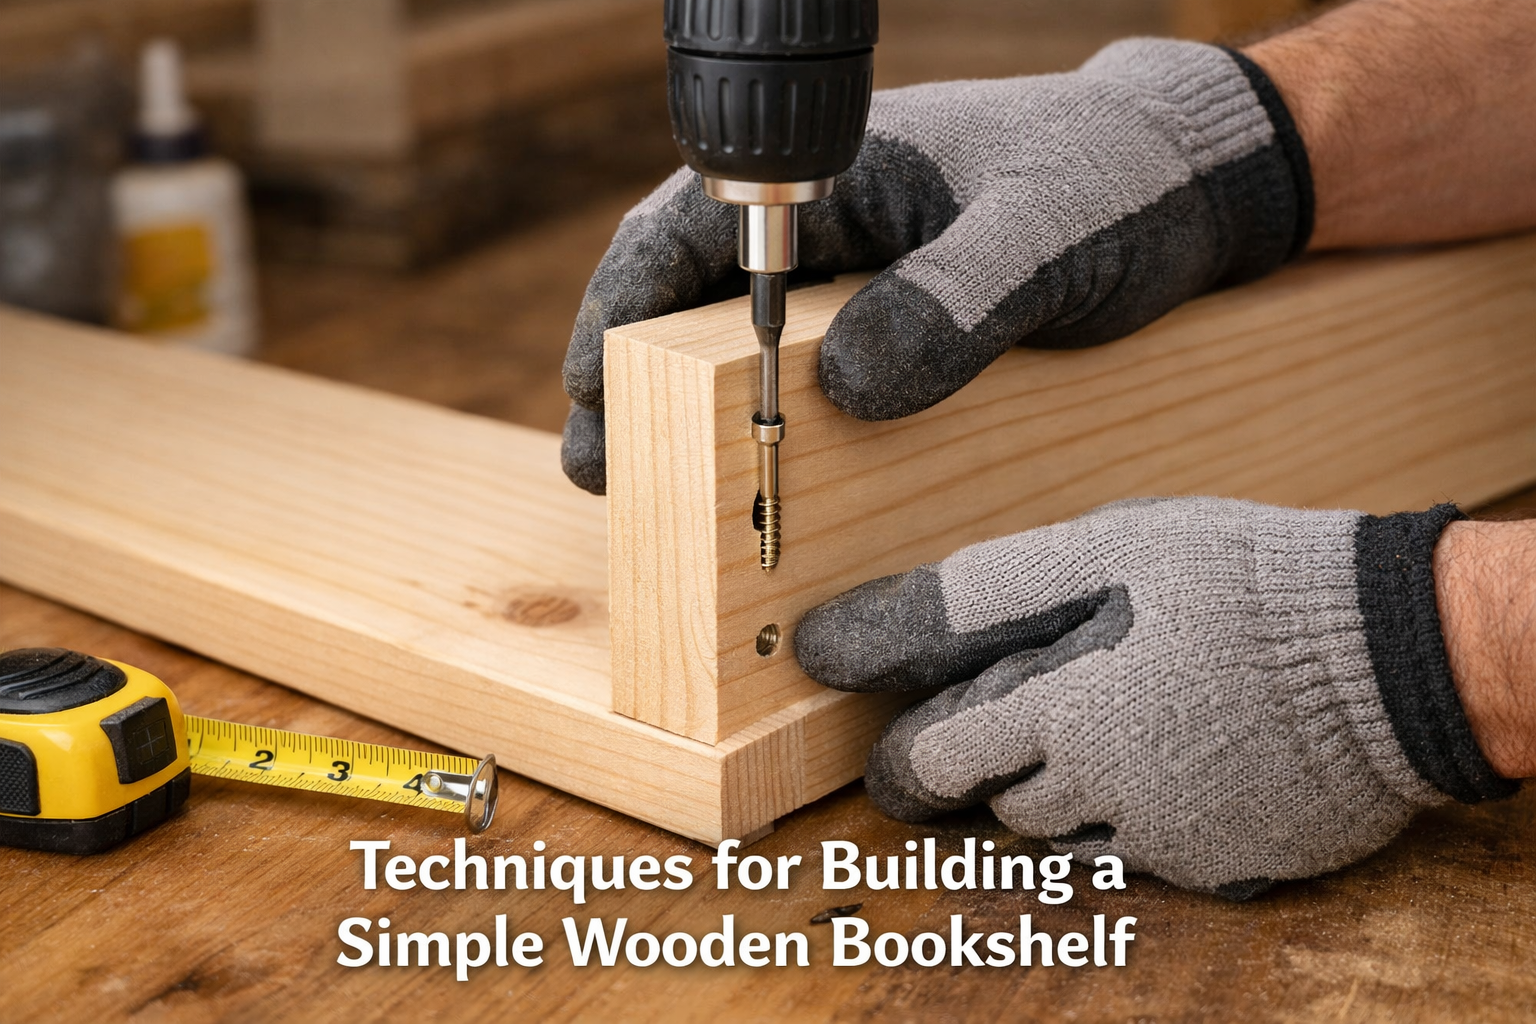
Basic Joinery: Butt Joints with Screws and Glue
For a beginner’s bookshelf, the simplest and strongest joinery method is the reinforced butt joint. This involves butting two pieces of wood together, securing them with wood glue, and then reinforcing with screws.
- Layout: On the interior face of your side panels, mark the exact locations for your fixed shelves. Use your combination square to draw straight lines.
- Drilling Pilot Holes: This step prevents wood from splitting, especially when driving screws close to edges.
- Use a drill bit slightly smaller than the shank of your screw.
- Drill pilot holes through the side panels at the marked shelf locations, ensuring they are centered on where the shelf thickness will be.
- For an even cleaner look, you can use a countersink bit to allow the screw heads to sit flush or slightly below the surface, which can then be filled later.
- Applying Glue: Apply a thin, even bead of wood glue along the ends of the shelves where they will meet the side panels. Don’t overdo it; a little squeeze-out is okay and indicates good coverage, but too much creates a mess.
- Clamping and Screwing:
- Position a shelf piece between the two side panels, aligning it precisely with your marks.
- Use clamps to hold the pieces tightly together. This ensures a strong glue bond.
- Drive screws through the pre-drilled pilot holes in the side panels into the ends of the shelf. Start with one screw on each side, check for squareness, then add remaining screws.
- Wipe away any glue squeeze-out with a damp cloth before it dries. Dried glue can prevent stain from absorbing evenly.
- Repeat: Continue this process for all fixed shelves, ensuring the structure remains square. Use your combination square frequently to check angles as you go.
Attaching the Back Panel
The back panel adds significant rigidity and prevents the bookshelf from racking (leaning side to side).
- Material: Plywood or a thin sheet of MDF is ideal.
- Squareness Check: Before attaching the back, double-check that your bookshelf frame is square. The back panel will lock it into squareness.
- Attachment: Position the back panel flush with the edges of the bookshelf frame. Use small finishing nails or screws (with pilot holes) spaced every 6-8 inches around the perimeter and into the back edge of each shelf.
For more advanced joinery or other shelving ideas, explore our guide on Mastering Shelf Woodworking: Your Definitive Guide for 2026.
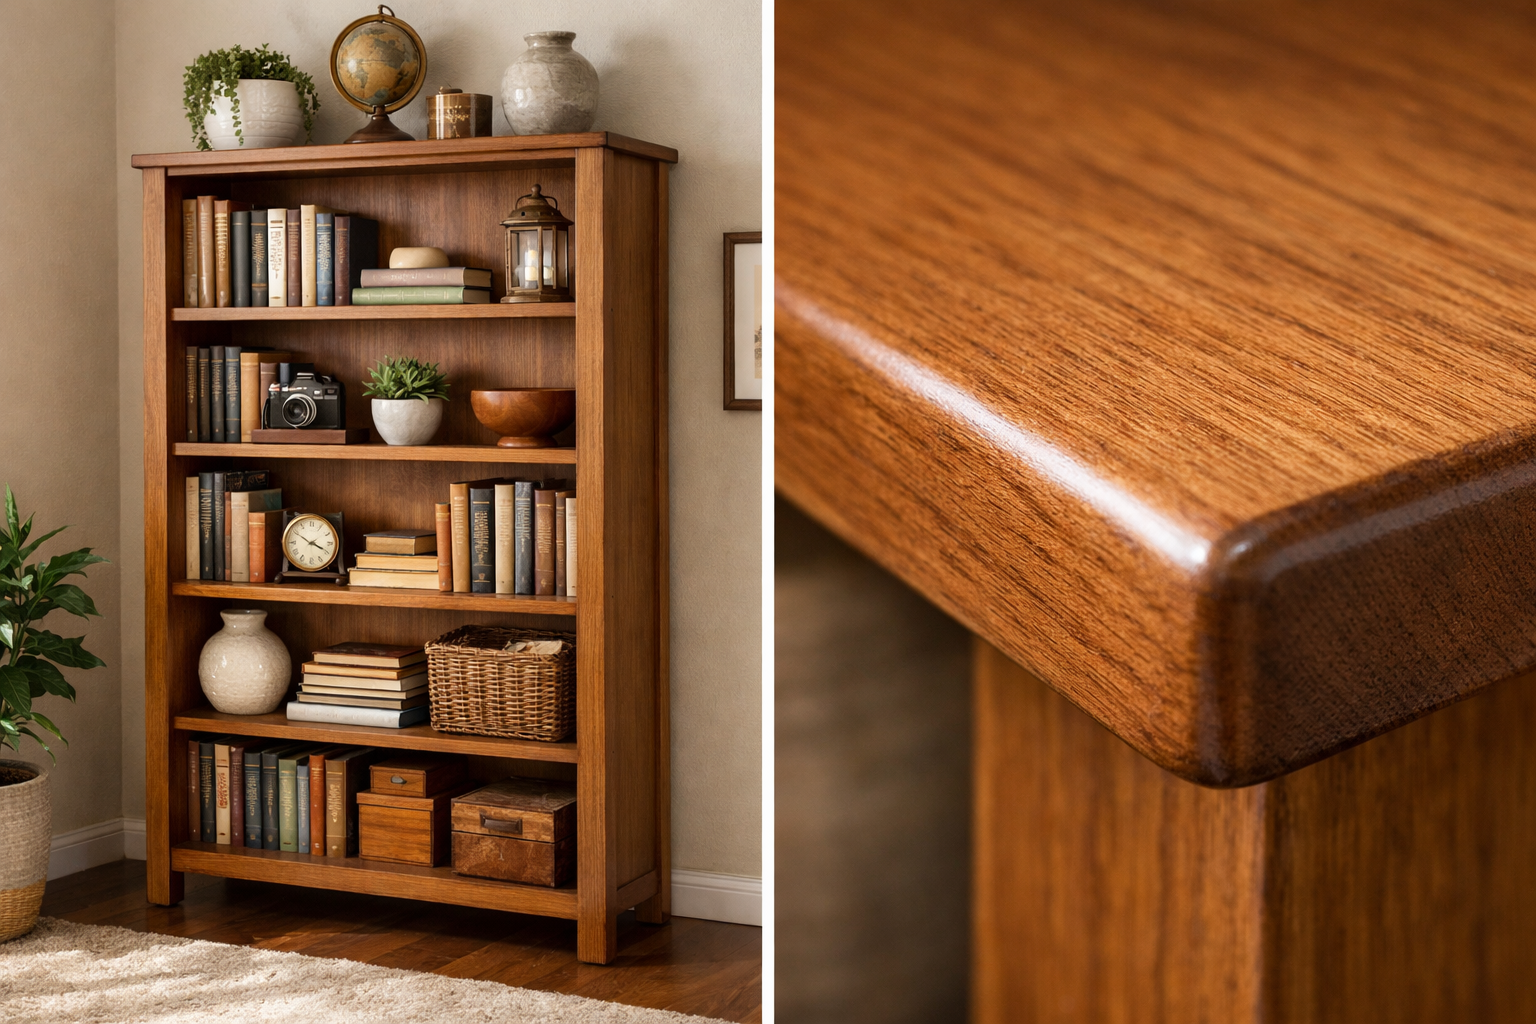
Finishing Touches: Sanding, Staining, and Protecting Your Bookshelf
The finishing stage can truly transform your simple wooden bookshelf from a raw construction into a beautiful piece of furniture. Proper preparation and application are key for first-time woodworkers.
Sanding for a Smooth Finish ✨
Sanding removes tool marks, smooths surfaces, and prepares the wood to accept stain or paint evenly.
- Start with Coarse Grit: Begin with 80 or 100-grit sandpaper to remove any major imperfections or milling marks.
- Progress to Finer Grits: Gradually move to 120-grit, then 180-grit, and finally 220-grit. Each step removes the scratches left by the previous, coarser grit.
- Rule of Thumb: Never skip more than one grit level (e.g., don’t go from 80 to 180).
- Technique: Sand with the grain of the wood. If using an orbital sander, keep it moving to avoid creating swirl marks. For hand sanding, use a sanding block for even pressure.
- Dust Removal: After each grit, thoroughly wipe down the entire piece with a tack cloth or a damp cloth to remove all dust. Dust can get trapped under the finish, leading to a rough surface.
Choosing and Applying Your Finish
Your choice of finish will dictate the bookshelf’s final look and durability.

Options for Beginners:
- Stain: Penetrates the wood to add color while allowing the grain to show through.
- Application: Apply with a brush or rag, allowing it to sit for the recommended time (check product instructions), then wipe off excess. Always test on a scrap piece first!
- Paint: Provides an opaque color, hiding the wood grain. Requires primer for best results.
- Application: Apply thin, even coats with a brush or roller. Lightly sand between coats for smoothness.
- Clear Protective Coat (Polyurethane, Varnish, Lacquer): Protects the wood from moisture, scratches, and wear. Can be applied over stained or bare wood.
- Polyurethane (Oil-based or Water-based): A popular and durable choice. Water-based is easier to clean up and dries faster, but oil-based offers a warmer amber tone.
- Application: Apply thin, even coats with a brush. Allow adequate drying time between coats (as per product instructions) and lightly sand with 220-grit or finer sandpaper between coats for adhesion and smoothness. Wipe away dust. Usually, 2-3 coats are sufficient.
For more in-depth finishing techniques, explore resources like Unique Wood Finishing Techniques or Natural Wood Finishing Techniques.
Final Assembly and Safety Considerations
- Drying Time: Allow all finishes to cure fully according to the manufacturer’s instructions before placing books or heavy items on the shelves. This can take days or even weeks for some finishes to reach full hardness.
- Wall Anchoring: For safety, especially in homes with children or in earthquake-prone areas, it is highly recommended to anchor your finished bookshelf to the wall. Use appropriate anti-tip hardware and wall anchors for your wall type (e.g., studs, drywall anchors). This prevents tipping and potential injury.
- Ongoing Care: Regularly dust your bookshelf. For stained or clear-coated finishes, avoid harsh chemical cleaners. A damp cloth followed by a dry cloth is usually sufficient.
“A well-sanded surface is half the battle won when it comes to achieving a professional-looking finish. Don’t rush this step!”
Congratulations! You have now completed your first wooden bookshelf. This project serves as an excellent stepping stone for more complex woodworking endeavors, such as Robust Floating Shelves with Hidden Fasteners: Power Tool Te or even Modular Furniture Design for Woodworkers: Building Multi-Fun.
Conclusion
Building a simple wooden bookshelf is an incredibly rewarding project for any first-time woodworker. This Beginner’s Guide to Building a Simple Wooden Bookshelf: Tools, Techniques, and Finishing for First-Time Woodworkers has equipped you with the foundational knowledge, from careful planning and material selection to accurate cutting, straightforward joinery, and a polished finish. Remember, every master woodworker started with basic projects, and each step, from measuring to sanding, builds essential skills and confidence.
The bookshelf you’ve created isn’t just a functional item; it’s a tangible testament to your newfound capabilities and a piece of furniture imbued with your personal effort. As you look at your completed work in 2026, take pride in what you’ve accomplished. This project is just the beginning of your woodworking journey.
Your Next Steps in Woodworking
- Practice: The more you build, the better you’ll become. Consider building another simple project, perhaps a small side table or a wooden crate, to solidify your skills.
- Learn New Joints: Explore different joinery techniques like dadoes, rabbets, or even simple dovetails as you advance.
- Expand Your Toolset: As your confidence grows, you might invest in more specialized tools like a miter saw or a router to enhance efficiency and precision.
- Join a Community: Connect with other woodworkers online or in local clubs. Sharing experiences and learning from others is invaluable.
- Explore Other Projects: Woodcraftwiz.com offers a wealth of ideas, from DIY Wooden Wine Racks: From Rustic Wall-Mounts to Sleek Coun to Console Tables That Wow: Build Sleek Entryway and TV Stand A.
Embrace the learning process, enjoy the sawdust, and celebrate the creation of beautiful, lasting pieces with your own hands. Happy woodworking!
References
- Fine Woodworking Magazine. (n.d.). Getting Started in Woodworking. Retrieved from https://www.finewoodworking.com/
- The Family Handyman. (n.d.). Beginning Woodworking Projects. Retrieved from https://www.familyhandyman.com/
- Wood Magazine. (n.d.). Simple Woodworking Projects for Beginners. Retrieved from https://www.woodmagazine.com/
