
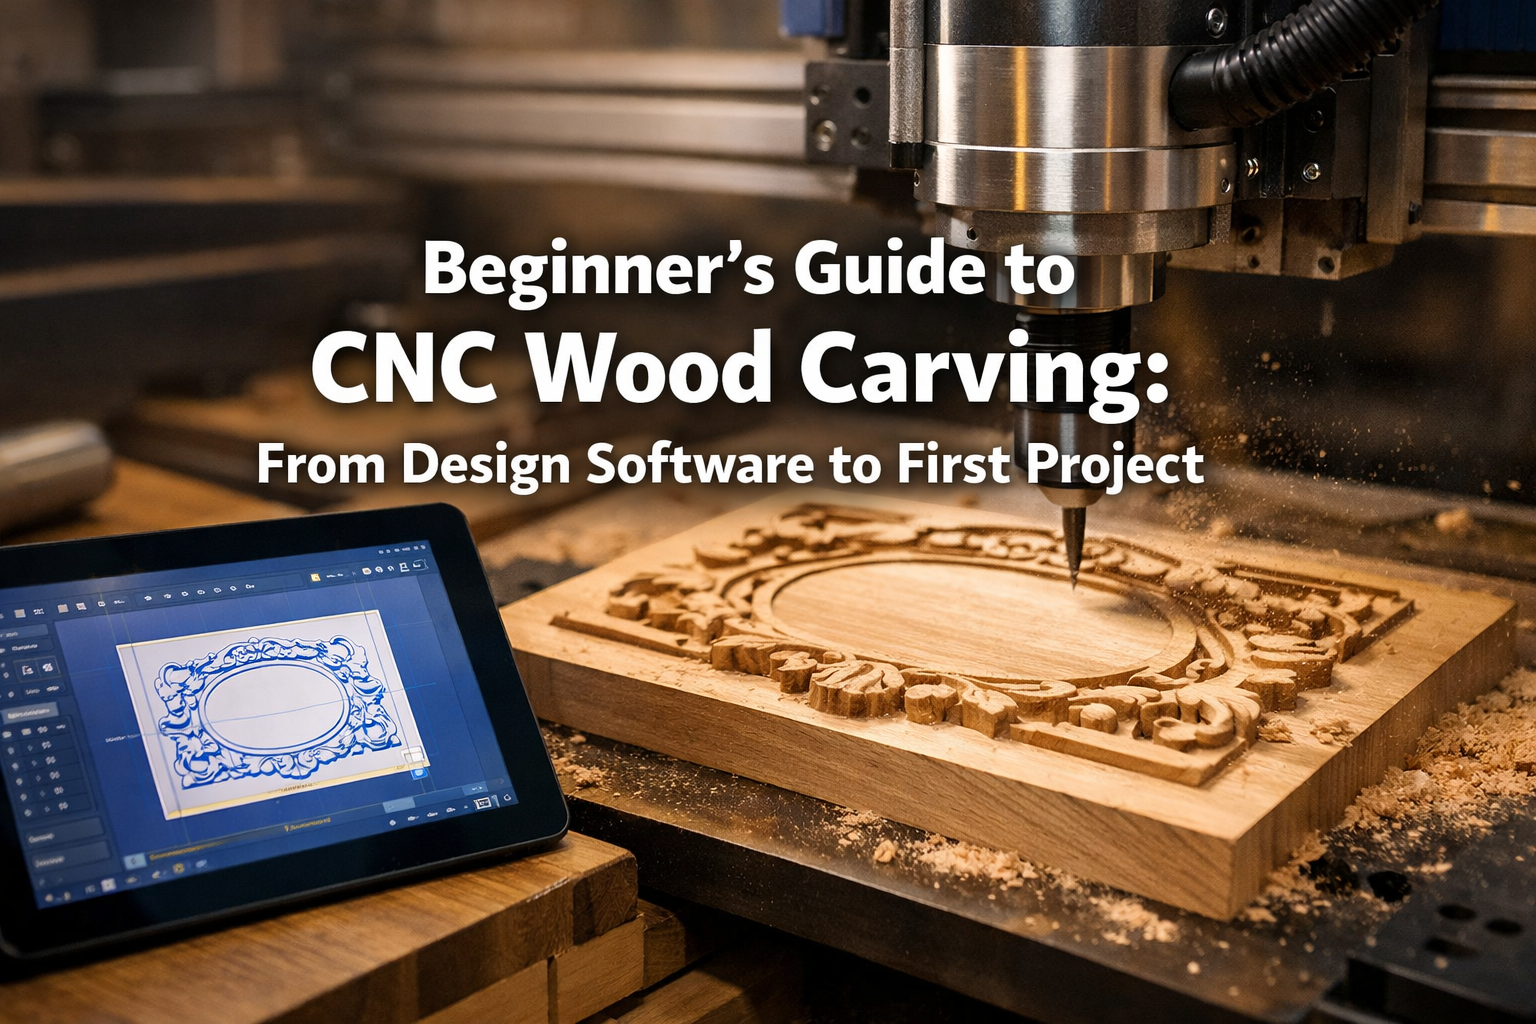

The world of woodworking has seen remarkable advancements, and among the most exciting for enthusiasts is Computer Numerical Control (CNC) wood carving. If the idea of transforming digital designs into tangible wooden art has captured your imagination but seems daunting, this Beginner’s Guide to CNC Wood Carving: From Design Software to First Project is precisely what you need. This article will demystify CNC woodworking, focusing on user-friendly software, affordable machine options, and simple, rewarding first projects like personalized signs or decorative boxes, guiding you from concept to a finished piece in 2026.
CNC carving offers unparalleled precision and repeatability, opening up a universe of creative possibilities that hand tools alone simply cannot match. While it might appear complex, breaking down the process into manageable steps reveals a fascinating and accessible craft.

Key Takeaways
- Accessible Entry: Modern CNC machines and software are more user-friendly and affordable than ever, making CNC wood carving an accessible hobby for beginners in 2026.
- Software is Key: Understanding basic CAD (design) and CAM (tool path generation) software is fundamental. Many free or inexpensive options exist that are perfect for beginners.
- Machine Selection: Start with an entry-level desktop CNC router suitable for hobbyists to learn the ropes without a significant upfront investment.
- Safety First: Always prioritize safety by wearing appropriate personal protective equipment (PPE) and understanding your machine’s operation.
- Simple First Projects: Begin with straightforward projects like simple signs, coasters, or decorative panels to build confidence and master the workflow before tackling complex designs.
Understanding the Core Components: Software and Hardware

Embarking on CNC wood carving involves two main pillars: the software that tells the machine what to do, and the hardware (the CNC machine itself) that executes those instructions. For a beginner, the choices can seem overwhelming, but focusing on user-friendly options simplifies the journey.
Design Software (CAD): Bringing Your Ideas to Life
The first step in any CNC project is design. This is where Computer-Aided Design (CAD) software comes into play. CAD software allows you to create 2D or 3D models of your intended carving. For beginners, the goal is often simple, clear designs that translate well to wood.
Popular Beginner-Friendly CAD Software Options:
- Vectric VCarve Desktop/Pro: Widely regarded as a fantastic all-in-one solution for 2D and 2.5D carving. It’s incredibly intuitive, with a vast community and numerous tutorials. While not free, its ease of use makes it a worthwhile investment for serious hobbyists.
- Carbide Create: A free and powerful CAD/CAM software developed by Carbide 3D, specifically designed to work seamlessly with their Shapeoko and Nomad CNC machines. It’s an excellent starting point for learning the basics of vector design and tool path generation.
- Fusion 360 (Autodesk): A professional-grade 3D CAD/CAM tool that offers a free personal use license. While it has a steeper learning curve, its capabilities are vast, allowing for complex 3D designs. It’s a great option for those who plan to grow into more advanced projects.
- Inkscape: A free, open-source vector graphics editor. While not specifically for CNC, it’s excellent for creating 2D vector designs (like text or simple logos) that can then be imported into CAM software.
When choosing CAD software, consider your comfort level with computers, the types of projects you envision, and the machine you plan to use. Most beginner CNC projects will involve 2D or 2.5D carving, meaning the machine cuts at various depths but doesn’t necessarily create complex, flowing 3D surfaces.
“The right design software acts as your digital chisel, allowing you to sculpt your vision before any wood dust is made.”
CAM Software: Translating Design to Machine Instructions
Once your design is complete in CAD, you need to tell the CNC machine how to carve it. This is where Computer-Aided Manufacturing (CAM) software steps in. CAM software takes your design and generates “tool paths” – the precise routes the carving bit will follow. It then converts these tool paths into G-code, a language your CNC machine understands.
Many CAD programs (like Vectric VCarve and Carbide Create) include integrated CAM functionalities, simplifying the workflow for beginners.
Key CAM Concepts:
- Tool Paths: The planned routes for the carving bit.
- Bits/End Mills: The cutting tools used. Different shapes and sizes are used for different effects (e.g., V-bits for carving fine details, end mills for clearing large areas).
- Feeds and Speeds: How fast the bit moves (feed rate) and how fast it spins (spindle speed). These are crucial for clean cuts and preventing damage to your bit or wood.
- Depth of Cut: How deep the bit cuts in each pass. Multiple shallow passes are often better than one deep pass to reduce strain on the machine and bit.
Learning to effectively use CAM software is critical. It determines the quality of your carve, the time it takes, and the longevity of your tools. Experiment with settings on scrap wood before committing to your final piece.
Choosing Your First CNC Machine
For a Beginner’s Guide to CNC Wood Carving: From Design Software to First Project, selecting the right machine is vital. You don’t need an industrial behemoth to start. Many affordable, desktop-sized CNC routers are perfect for hobbyists.
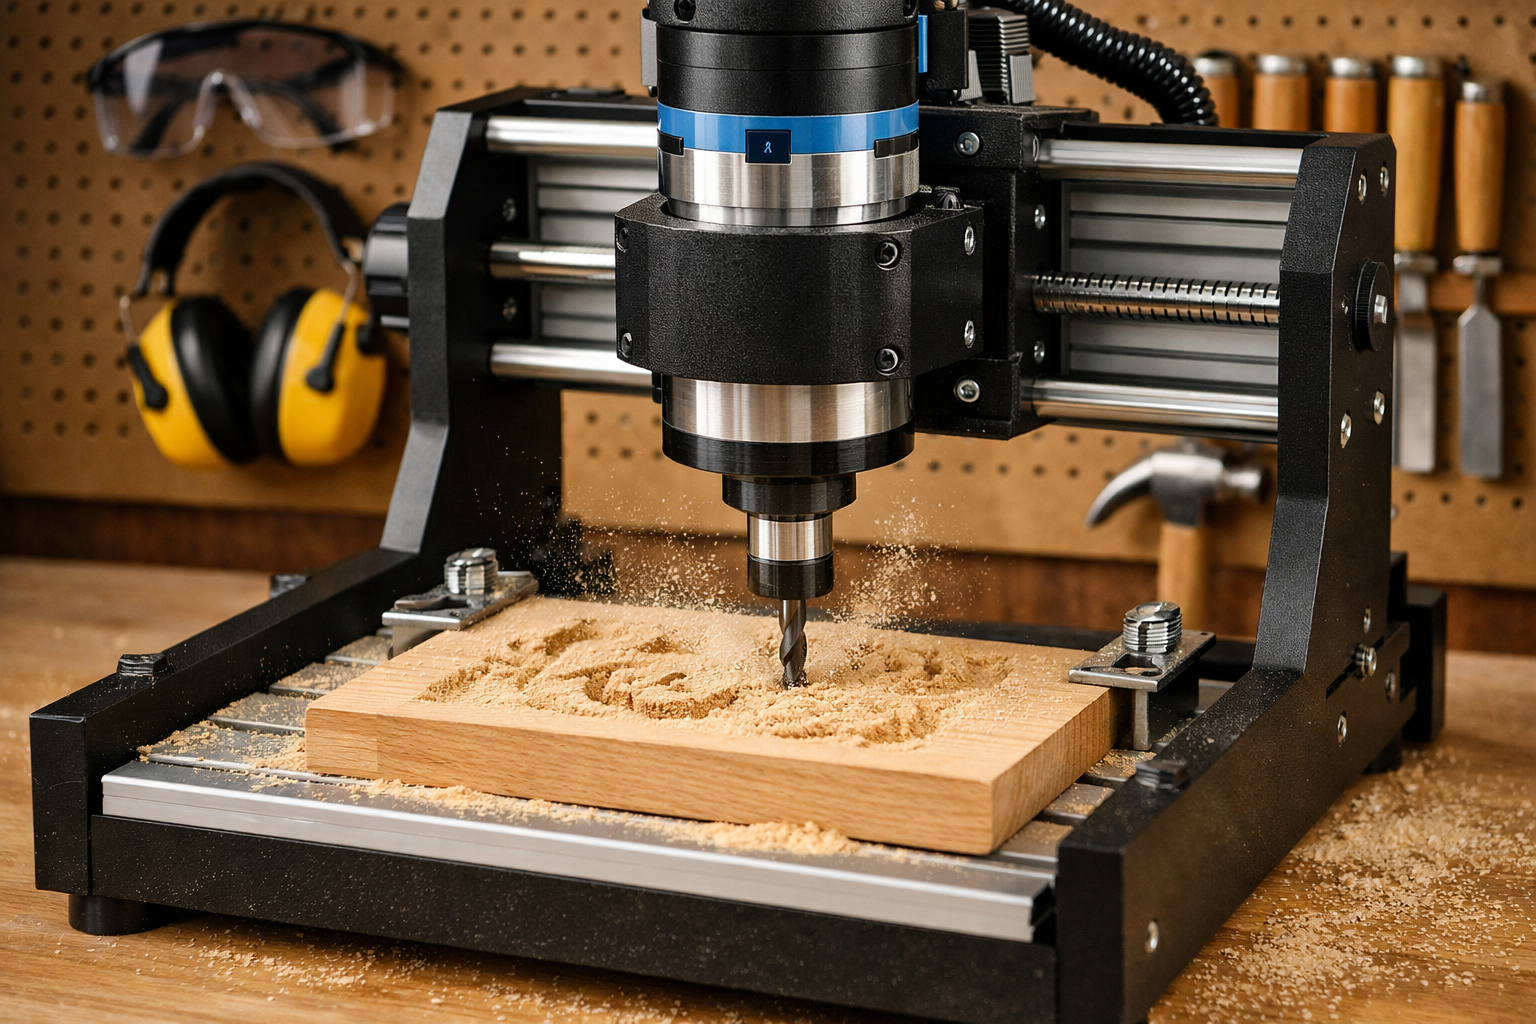
Types of Beginner CNC Machines
- Desktop CNC Routers: These are the most common entry point. They are compact, relatively affordable, and capable of handling a wide range of woodworking tasks from carving signs to cutting parts.
- Examples: Shapeoko (Carbide 3D), X-Carve (Inventables), Genmitsu CNC 3018 Pro.
- CNC Laser Engravers: While not strictly “carving” in the traditional sense, these machines can engrave detailed designs and cut thin wood. They are often simpler to operate but have limitations on material thickness and depth.
- CNC Routers vs. CNC Mills: For wood, you’ll almost exclusively be looking at CNC routers. CNC mills are generally more robust, designed for harder materials like metal, and come with a much higher price tag.
Factors to Consider When Buying Your First CNC
- Work Area (Bed Size): How large of a piece of wood can you put on the machine? For most beginner projects, a work area of 12″x12″ to 24″x24″ is sufficient.
- Rigidity and Build Quality: A more rigid machine will produce more accurate and cleaner carvings. Look for machines with sturdy frames (aluminum, steel) that minimize flex.
- Spindle Power: The spindle is the motor that spins the carving bit. More powerful spindles can cut harder woods and make deeper passes. For beginners, a spindle in the 300W-1000W range is usually adequate.
- Software Compatibility: Does the machine come with its own software (like Carbide Create for Shapeoko), or is it compatible with third-party options? Ensure the software ecosystem is robust and beginner-friendly.
- Assembly: Some machines come pre-assembled, while others require DIY assembly. Be prepared for a few hours of assembly if you choose a kit.
- Community Support & Resources: A strong online community, active forums, and readily available tutorials can be invaluable when you’re starting.
Budgeting for Your First CNC:
- Entry-level desktop CNC: $300 – $1,000 (e.g., Genmitsu 3018 Pro, lower-end X-Carve kits).
- Mid-range hobbyist CNC: $1,000 – $3,000 (e.g., Shapeoko 4, X-Carve Pro).
- Bits and Accessories: Factor in an additional $100-$300 for a starter set of bits, clamps, and safety gear.
Remember, a higher price often correlates with better build quality, larger work areas, and more powerful components. Start within your budget, but don’t compromise on safety or the ability to grow with the machine. Consider what types of essential hand tools for every woodworker you might already have or need to complement your CNC.
Your First Project: From Design to Finished Carve

With your software chosen and machine ready, it’s time for the most exciting part: your first project! For a Beginner’s Guide to CNC Wood Carving: From Design Software to First Project, simplicity is key. Starting with something manageable builds confidence and allows you to learn the workflow without getting frustrated.
Project Idea: A Personalized Wooden Sign or Coaster Set
These are fantastic first projects because they involve basic 2D or 2.5D carving, utilize common materials, and offer immediate, satisfying results.

Step-by-Step Workflow:
Design in CAD:
- Open your chosen CAD software (e.g., Carbide Create, VCarve).
- Define your material size (e.g., 6″x6″ for a coaster, 8″x12″ for a sign).
- Create your text or simple graphic. Use clear, bold fonts for easy carving.
- Arrange your design within the material boundaries.
- Self-correction tip: Keep spacing between elements generous to avoid fine details merging during carving.
Generate Tool Paths (CAM):
- Select the appropriate cutting tool (e.g., a 60-degree V-bit for lettering, a 1/8″ end mill for outlines).
- Define the type of carve: “V-Carve” for detailed lettering, “Pocket” for clearing out an area, “Profile” for cutting around the edge.
- Set your feeds and speeds. Start with conservative settings recommended by your machine manufacturer or software to avoid issues.
- Specify your depth of cut. For thin materials or detailed carving, multiple shallow passes are always safer.
- Simulate the tool paths in your software. This step is crucial for identifying potential errors before you touch wood.
- Export the G-code file.
Prepare the Machine & Material:
- Safety First! Always wear safety glasses and ear protection. Ensure your workspace is clean and well-lit.
- Secure your chosen wood (pine, poplar, or maple are great for beginners) firmly to the CNC wasteboard using clamps or double-sided tape. Make sure it won’t budge during carving.
- Install the correct carving bit into your spindle, ensuring it’s tightened securely.
- Set your Z-axis zero (the starting height of the bit above your material). This is critical for accurate carving depth. Most machines have a probe or a manual method.
Execute the Carve:
- Load your G-code file into your machine’s control software.
- Double-check that the material is secure and your zeros are correct.
- Start the job! Stay attentive to the machine. Listen for unusual noises and observe the cut.
- Be ready to hit the emergency stop button if anything goes wrong.
Finishing Touches:
- Once the carve is complete, remove the material from the machine.
- Brush away any dust.
- Lightly sand the carved area and edges to remove any fuzz or rough spots. For detailed work, use fine-grit sandpaper or even a soft brush.
- Apply a finish to protect the wood and enhance its appearance. Danish oil vs. Linseed oil are popular choices for their easy application and natural look.
- Admire your first CNC creation! ✨
Common Challenges and Troubleshooting for Beginners
- Bits Breaking: Often due to incorrect feeds and speeds (too fast or too deep), or an unsecure workpiece.
- Poor Cut Quality: Could be dull bits, incorrect feeds/speeds, or a non-rigid machine. Check your bit’s sharpness and adjust settings.
- Carve Not Centered/Off-Location: Usually a problem with incorrectly setting your X, Y, or Z zero points. Double-check these before starting.
- Material Coming Loose: Always ensure clamps are tight or tape is strong enough. Vibration can cause movement, ruining the carve.
Remember that practice makes perfect. Your first few projects might not be flawless, and that’s completely normal. Each attempt is a learning opportunity. Consider building wooden candle holders for ambient decor as another rewarding beginner project, combining CNC carving with traditional woodworking.
Advancing Your CNC Wood Carving Skills
Once you’ve mastered the basics outlined in this Beginner’s Guide to CNC Wood Carving: From Design Software to First Project, you’ll likely want to explore more complex projects and techniques.
Exploring More Advanced Techniques
- 3D Carving: Move beyond 2.5D with more advanced software and tools to create truly sculptural pieces. This often involves roughing passes with larger end mills and then finishing passes with ball-nose bits.
- Inlays: Create intricate designs by cutting recesses in one piece of wood and then cutting a matching design from another contrasting wood to fit perfectly. This requires precise alignment and cuts.
- Joinery: Use your CNC machine to cut precise joinery for furniture, boxes, or cabinets. While traditional mastering dovetail joinery for drawers is a valuable skill, CNC can automate and perfect complex joinery.
- Jigs and Fixtures: As your projects grow in complexity, you’ll find custom jigs and fixtures invaluable for holding irregular workpieces or repeating processes accurately. Building a custom wood workbench might even incorporate CNC-cut components.
Continuous Learning and Community
The CNC woodworking community is incredibly vibrant and supportive.
- Online Forums and Groups: Join dedicated CNC forums, Facebook groups, and Reddit communities. These are fantastic places to ask questions, share projects, and learn from others’ experiences.
- YouTube Tutorials: Many content creators offer free, in-depth tutorials on specific software, machine operation, and project walkthroughs.
- Local Maker Spaces: If available, a local maker space might offer access to larger machines, expert guidance, and workshops.
Embrace the learning process. CNC wood carving is a journey of continuous discovery, combining artistry with precision engineering. The more you experiment and create, the more proficient and confident you’ll become.
Conclusion
Embarking on CNC wood carving as a beginner in 2026 is an exciting and rewarding endeavor. By demystifying the process and breaking it down into manageable steps – from understanding design software to successfully completing your first project – the barrier to entry is lower than ever. Focus on user-friendly CAD/CAM software like Vectric VCarve or Carbide Create, choose an entry-level desktop CNC router that fits your budget, and always prioritize safety.
Start with simple, satisfying projects like personalized signs or decorative coasters to build foundational skills and confidence. Don’t be afraid of trial and error; each mistake is a lesson learned. With patience, practice, and the vast resources available in the woodworking community, you’ll soon be transforming your digital ideas into beautiful, tangible wooden creations. Welcome to the precise and powerful world of CNC wood carving!
Actionable Next Steps:
- Research Software: Download a free trial of Vectric VCarve or try Carbide Create to get familiar with the interface.
- Explore Machines: Watch reviews and read comparisons of entry-level desktop CNC routers like Shapeoko, X-Carve, or Genmitsu to find one that suits your needs and budget.
- Start Designing: Create a simple text design for a sign or coaster in your chosen software.
- Connect with Community: Join an online CNC woodworking forum or Facebook group to see what others are doing and ask initial questions.
SEO Meta Title: Beginner’s Guide to CNC Wood Carving: Software to First Project SEO Meta Description: Learn CNC wood carving in 2026! A beginner’s guide from design software to choosing your first machine & completing rewarding projects like signs.
