

Are you tired of constantly manually turning your dust collector on and off, or wondering about the hidden dangers of airborne dust in your workshop? Imagine a workspace where your dust collection system intelligently anticipates your needs, activating precisely when a tool starts and automatically monitoring the air to ensure a pristine environment. In 2026, this level of automation is not just a dream for professional shops but an achievable reality for the dedicated DIY enthusiast. This article provides a comprehensive guide to Building a DIY Smart Workshop Dust Collection System: Integrating IoT Sensors for Automated Air Quality and Tool Activation. Upgrade your small workshop with an intelligent dust collection system that automatically detects tool usage and monitors air quality, ensuring a healthier and more efficient workspace.
{{IMG_SLOT_1}}

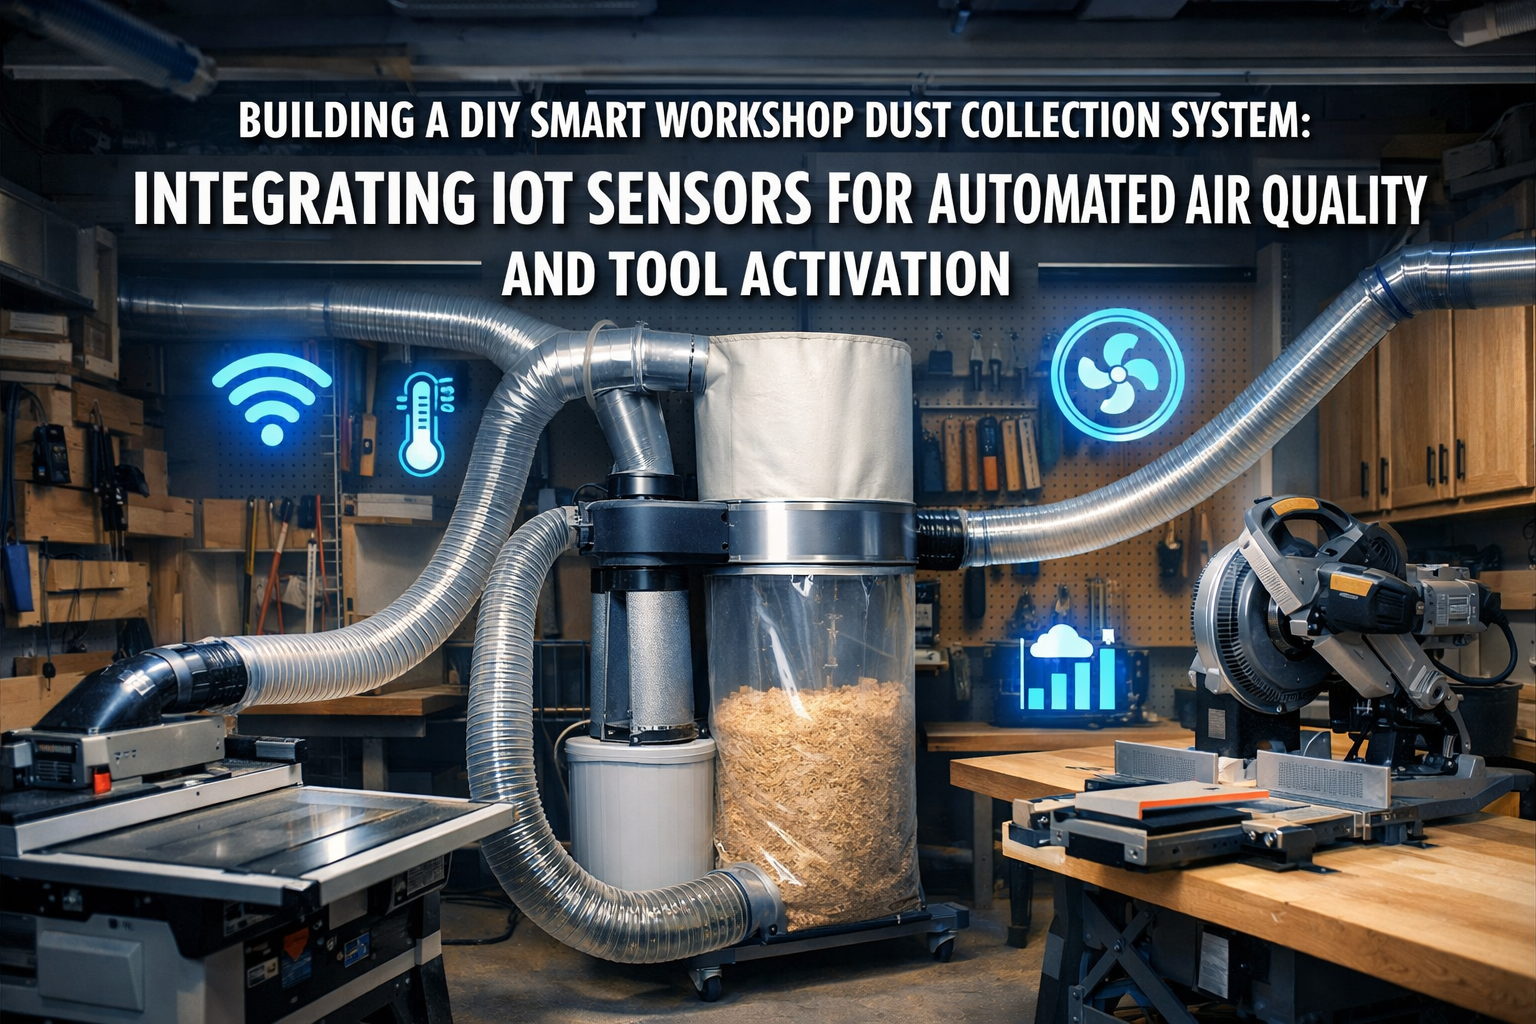
Dust control is paramount in any woodworking or DIY environment. Fine wood dust can pose serious health risks, leading to respiratory issues and even long-term diseases. Traditional dust collection, while essential, often relies on manual operation, which can be inefficient, easily forgotten, and less responsive to fluctuating air quality. By integrating Internet of Things (IoT) sensors, you can create a truly smart system that offers proactive dust management, enhanced safety, and greater convenience. This guide will walk you through the components, planning, and implementation required to transform your workshop’s dust control into a sophisticated, automated process.
Key Takeaways:
- Enhanced Safety: Automated systems reduce exposure to harmful airborne particulates by reacting instantly to tool use and poor air quality.
- Increased Efficiency: No more forgetting to turn on the dust collector; the system handles it, saving time and ensuring consistent performance.
- Customizable Control: IoT platforms allow for personalized settings, scheduling, and remote monitoring via a smartphone or computer.
- Cost-Effective: DIY solutions leverage affordable microcontrollers and sensors, making advanced automation accessible without commercial system prices.
- Data-Driven Insights: Monitor air quality trends and tool usage patterns to optimize your workshop environment and energy consumption.
The Foundation: Understanding Smart Dust Collection Components
Successfully Building a DIY Smart Workshop Dust Collection System: Integrating IoT Sensors for Automated Air Quality and Tool Activation begins with understanding the core components. This system involves a blend of traditional dust collection equipment, smart sensors, and a central control unit.
Essential Dust Collection Equipment
Before diving into the “smart” aspects, ensure your basic dust collection setup is robust.
- Dust Collector Unit: This is the heart of your system, comprising a powerful motor, impeller, and filtration bags or canisters. For most DIY shops, a 1.5 HP to 3 HP unit is suitable. Ensure it has adequate airflow (CFM – cubic feet per minute) for your largest dust-producing tools.
- Ducting and Blast Gates: Rigid metal or PVC pipes are preferred over flexible hoses for main runs due to better airflow. Blast gates direct suction to specific tools. A well-designed ducting system minimizes static pressure loss.
- Collection Hoses and Tool Ports: Connect your tools to the main ducting with flexible hoses and appropriate ports. Consider specialized attachments for different tools like table saws, planers, and sanders. For tips on maximizing tool efficiency, explore resources like “Precision Woodworking Tools: Top 5 Picks for Your Shop” – https://woodcraftwiz.com/precision-woodworking-tools-top-5-picks-for-your-shop/.
Integrating IoT Sensors for Intelligence
The “smart” aspect comes from the careful selection and integration of IoT sensors.
- Particulate Matter (PM) Sensors: These are crucial for monitoring air quality. Common options include:
- SDS011 / PMS5003: These sensors measure PM2.5 and PM10 concentrations, providing real-time data on fine dust particles. They are relatively inexpensive and widely available.
- CO2/VOC Sensors: While not directly dust-related, these can provide a broader picture of workshop air health, especially if you use finishes or glues.
- Current Clamp Sensors (Non-Invasive Current Transformers – NICTs): These sensors detect when a power tool is active by measuring the current draw. They simply clip around the power cord of a tool, making installation straightforward and safe.
- Microcontroller (e.g., ESP32, ESP8266, Raspberry Pi): This is the brain of your smart system.
- ESP32/ESP8266: Excellent for basic sensor data collection and Wi-Fi connectivity, perfect for smaller projects or individual tool monitoring.
- Raspberry Pi: Offers more processing power, allowing for complex logic, a local dashboard, and integration with various platforms. It’s ideal for a comprehensive, multi-tool system.
- Relay Module: This electronic switch is controlled by the microcontroller and safely turns the high-voltage dust collector unit on and off.
- Connectivity: Wi-Fi is the most common for DIY projects, allowing data upload to cloud platforms and remote control.
Software and Platform Choices
Choosing the right software stack is vital for functionality and user experience.
- Firmware (for Microcontrollers):
- Arduino IDE: Widely used for ESP series microcontrollers, offering a C++-like programming environment.
- MicroPython: A Python implementation for microcontrollers, often easier for beginners.
- Cloud Platform (e.g., Adafruit IO, Ubidots, Home Assistant, Node-RED):
- These platforms receive data from your sensors, visualize it, and can trigger actions based on predefined rules (e.g., “if PM2.5 > threshold, turn on dust collector”).
- Home Assistant: A powerful open-source home automation platform that can run on a Raspberry Pi. It offers local control, extensive integrations, and a customizable user interface. This is a highly recommended choice for a feature-rich DIY system.
- Node-RED: A flow-based programming tool for wiring together hardware devices, APIs, and online services, perfect for creating custom automation logic.
DIY Sensor Integration and Automation Logic
The real magic of Building a DIY Smart Workshop Dust Collection System: Integrating IoT Sensors for Automated Air Quality and Tool Activation lies in the hands-on process of connecting sensors and writing the automation logic. This section guides you through the practical steps.
Wiring and Connecting Sensors
Safety is paramount when working with electrical components. Always unplug tools and the dust collector before making connections.
- Current Clamp Sensor Installation:
- Identify the main power cord for each tool you want to automate.
- Clip the current clamp sensor around one of the individual live wires within the tool’s power cord (you may need to carefully split the outer jacket of the cord, without cutting the insulation of the individual wires).
- Connect the sensor’s output to an analog input pin on your microcontroller.
- Repeat for all desired tools.
- Particulate Matter Sensor Installation:
- Connect the PM sensor (e.g., SDS011) to the microcontroller’s serial communication pins (RX/TX).
- Place the sensor in a central location in your workshop, away from direct dust sources but where it can accurately measure ambient air quality.
- Relay Module for Dust Collector Control:
- Wire the low-voltage control pins of the relay module to digital output pins on your microcontroller.
- CAUTION: The high-voltage side of the relay module will switch the power to your dust collector. If you are not comfortable working with line voltage, consult a qualified electrician. Typically, the live wire from your dust collector’s power cord will be cut, and the two ends connected to the “normally open” (NO) and “common” (COM) terminals of the relay. This allows the microcontroller to complete or break the circuit.
Developing the Automation Logic
This is where you define how your smart system will behave.
- Tool Activation Detection:
- The microcontroller continuously reads data from the current clamp sensors.
- When a tool is switched on, its current draw will exceed a predefined threshold.
- The microcontroller detects this spike and sends a signal to activate the dust collector via the relay.
- Implement a delay: the dust collector should remain on for a set period (e.g., 30-60 seconds) after the tool is turned off, to clear residual airborne dust.
- Air Quality Monitoring and Response:
- The PM sensor continuously sends air quality data (PM2.5, PM10) to the microcontroller.
- This data is then sent to your chosen cloud platform (e.g., Home Assistant).
- Set thresholds in your platform: if PM2.5 levels exceed a safe limit (e.g., 50 µg/m³), the system automatically turns on the dust collector.
- The dust collector should run until the air quality returns to acceptable levels.
- User Interface and Control:
- Develop a simple web interface on the microcontroller or use a dashboard on your cloud platform (like Home Assistant) to:
- Display real-time air quality data.
- Show which tools are currently active.
- Provide manual override buttons for the dust collector.
- View historical air quality and tool usage data.
- Consider adding notifications (email, SMS, app push notifications) for critical air quality alerts or system status changes.
- For those venturing into building custom furniture, integrating this system can greatly improve the workspace when building projects such as DIY Live Edge Dining Tables for Modern Homes.
- Develop a simple web interface on the microcontroller or use a dashboard on your cloud platform (like Home Assistant) to:
Calibration, Testing, and Optimization in 2026
Once your sensors are wired and your initial code is uploaded, the critical steps of calibration, testing, and ongoing optimization ensure your smart dust collection system performs flawlessly. This final phase is essential for realizing the full potential of Building a DIY Smart Workshop Dust Collection System: Integrating IoT Sensors for Automated Air Quality and Tool Activation.
Initial Calibration and Testing
- Current Clamp Sensor Calibration: Each sensor might have a slightly different output.
- With a tool off, note the baseline reading from the current clamp.
- Turn the tool on and measure the current draw, noting the sensor reading.
- Adjust your code’s threshold value to reliably differentiate between “off” and “on” states, allowing for small fluctuations.
- Test activation with various tools. A table saw’s draw will be different from a random orbital sander’s, so consider different thresholds or individual sensor calibration for each tool.
- PM Sensor Baseline:
- Run the PM sensor in a clean, dust-free environment (e.g., outdoors on a calm day) to establish a baseline reading for “good” air quality.
- Introduce a known dust source (e.g., light sanding) and observe the sensor’s response to confirm it accurately detects changes.
- Relay Functionality:
- Manually trigger the relay through your microcontroller code to ensure the dust collector turns on and off reliably and safely.
- Test the automatic activation logic by repeatedly turning tools on and off.
- Verify the “off delay” function works as intended to clear lingering dust.
Data Visualization and Monitoring
A core benefit of a smart system is data. Utilize your chosen platform (e.g., Home Assistant) to create insightful dashboards.
- Real-time Metrics: Display current PM2.5, PM10, and CO2 (if applicable) levels.
- Tool Status: Clearly indicate which tools are currently active or were recently used.
- System Status: Show if the dust collector is on/off, in automatic or manual mode.
- Historical Trends: Graph air quality over time (hourly, daily, weekly) to identify patterns and assess the effectiveness of your system. This data can inform improvements in your workshop layout or dust extraction points.
- Alerts and Notifications: Set up alerts for exceptionally high dust levels or system malfunctions. This proactive approach ensures you’re always aware of your workshop’s air quality.
Ongoing Optimization and Enhancements
Your DIY system is adaptable and can evolve with your needs.
- Refining Thresholds: Over time, you might notice false triggers or missed activations. Adjust the current clamp and PM sensor thresholds based on real-world usage.
- Scheduling and Modes: Implement “sleep modes” or scheduled operating times if you only work during certain hours, conserving energy.
- Voice Control: Integrate with smart assistants like Alexa or Google Home for voice commands (“Turn on dust collector manually,” “What’s the air quality?”).
- Additional Sensors: Consider adding temperature and humidity sensors for a complete environmental picture, especially important if you work with various wood species or finishes.
- Integration with Other Smart Devices: Imagine your workshop lights turning on automatically when you start a tool, or your exhaust fan activating if humidity gets too high. The possibilities are vast with a powerful platform like Home Assistant. For example, you might integrate this system with the smart lighting in a workshop where you are Building Custom Wooden Key Holders: Wall-Mounted Designs wit.
- Energy Monitoring: Integrate a smart plug or additional current sensors to monitor the energy consumption of your dust collector, helping you understand operational costs and optimize usage. This ties into efficient workshop management, which is crucial for any project, including Mastering Woodworking Screws: Your Ultimate Guide for 2026.
The beauty of a DIY system in 2026 is its flexibility and the ability to continuously improve and customize it to perfectly match your specific workshop environment and workflow.
Conclusion
Building a DIY Smart Workshop Dust Collection System: Integrating IoT Sensors for Automated Air Quality and Tool Activation is an investment in your health, efficiency, and the longevity of your tools. By leveraging affordable IoT technology, you can move beyond manual operation to a truly intelligent system that proactively manages airborne dust and ensures a safer, cleaner working environment. The journey from initial concept to a fully automated workshop is not only rewarding but also equips you with valuable skills in electronics, programming, and system integration.

The components are readily available, the programming concepts are accessible, and the benefits are profound. In 2026, there’s no better time to upgrade your workshop with this cutting-edge solution. Take the leap, build your smart dust collector, and enjoy a cleaner, healthier, and more productive crafting experience.
Actionable Next Steps:
- Assess Your Current Setup: Evaluate your existing dust collector and ducting. Identify tools that generate the most dust and would benefit from automation.
- Gather Components: Order your microcontroller (e.g., Raspberry Pi or ESP32), PM sensors, current clamp sensors, and a relay module. Don’t forget wiring, breadboards, and power supplies.
- Learn the Basics: If new to microcontrollers, start with simple tutorials for your chosen platform (e.g., blinking an LED, reading a sensor).
- Design Your System: Sketch out your wiring diagram and plan the placement of sensors and your control unit.
- Start Small, Then Expand: Begin by automating one tool or just monitoring air quality. Once successful, gradually add more tools and complex automation logic.
- Join Online Communities: Leverage forums and communities dedicated to DIY IoT and woodworking for support and inspiration.
