
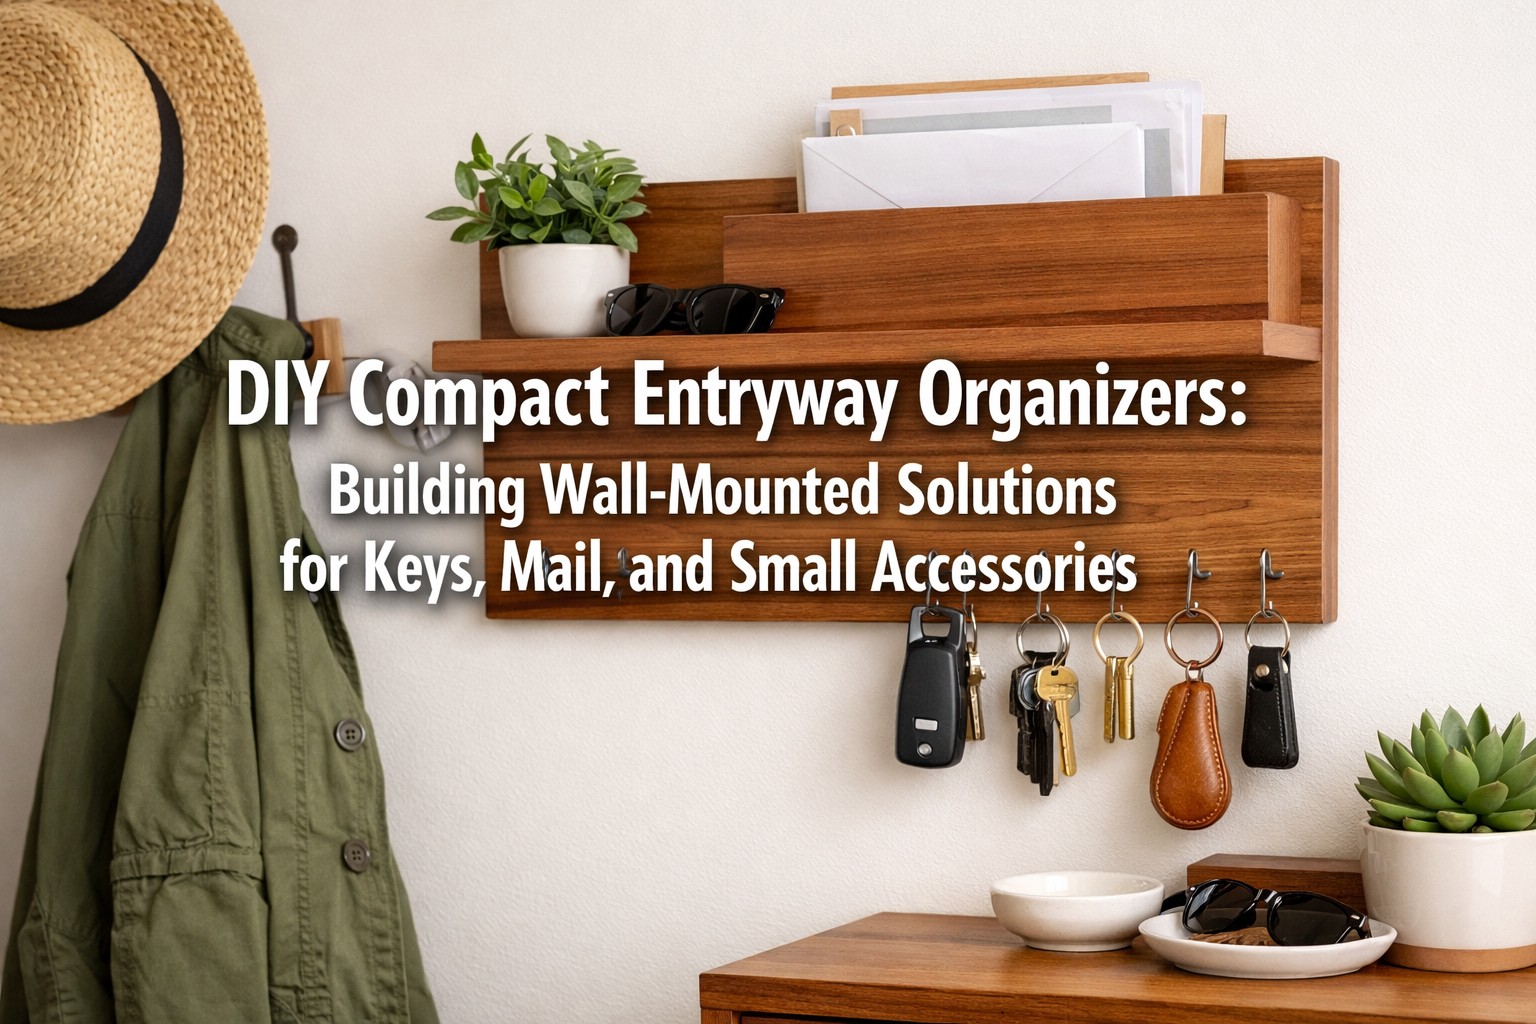

Is your entryway a daily battleground of misplaced keys, scattered mail, and forgotten essentials? Transform your entryway clutter into organized elegance with custom-built, compact wooden organizers. This comprehensive guide will teach you how to design and construct wall-mounted solutions perfect for keys, mail, and other small essentials, even in tight spaces. In 2026, efficient home organization is more important than ever, and a DIY compact entryway organizer is a practical and rewarding project that enhances both functionality and aesthetic appeal.
A well-designed entryway sets the tone for your home, offering a welcoming space that also serves a crucial organizational purpose. Building your own wall-mounted organizer allows for complete customization, ensuring it perfectly fits your specific needs and decor. This article will walk you through the essential steps, from planning and design to construction and installation, empowering you to create a durable and stylish solution.

Key Takeaways
- Customization is Key: Tailor your organizer’s dimensions, compartments, and style to perfectly match your entryway’s space and your family’s needs.
- Optimal Material Selection: Choose durable and attractive woods like oak, maple, or walnut for longevity and aesthetic appeal.
- Smart Design for Functionality: Incorporate features like key hooks, mail slots, small shelves, and even charging stations to maximize utility.
- Secure Wall Mounting: Proper fastening techniques are crucial for stability and safety, especially in high-traffic areas.
- Finishing Touches Matter: A quality finish protects the wood and enhances its beauty, making your DIY project look professionally crafted.
Planning and Design for Your DIY Compact Entryway Organizers
The foundation of any successful woodworking project lies in meticulous planning and design. When building DIY Compact Entryway Organizers: Building Wall-Mounted Solutions for Keys, Mail, and Small Accessories, thoughtful consideration of space, function, and aesthetics will ensure a piece that truly meets your needs.
Assessing Your Entryway Space and Needs
Before cutting any wood, take a careful look at your entryway.
- Measure: Accurately measure the available wall space. Note width, height, and depth constraints, especially if it’s a narrow hallway or a compact corner.
- Analyze Traffic Flow: Consider how people move through the entryway. Will a protruding organizer impede movement? Wall-mounted solutions are ideal for minimizing footprint.
- Identify Clutter Hotspots: What items consistently accumulate? Keys, mail, wallets, sunglasses, pet leashes, and even small electronic devices are common culprits. Your organizer should specifically address these items.
- Aesthetic Integration: How will the organizer blend with your existing decor? Do you prefer a rustic, modern, minimalist, or traditional look? This will influence your material and finish choices.
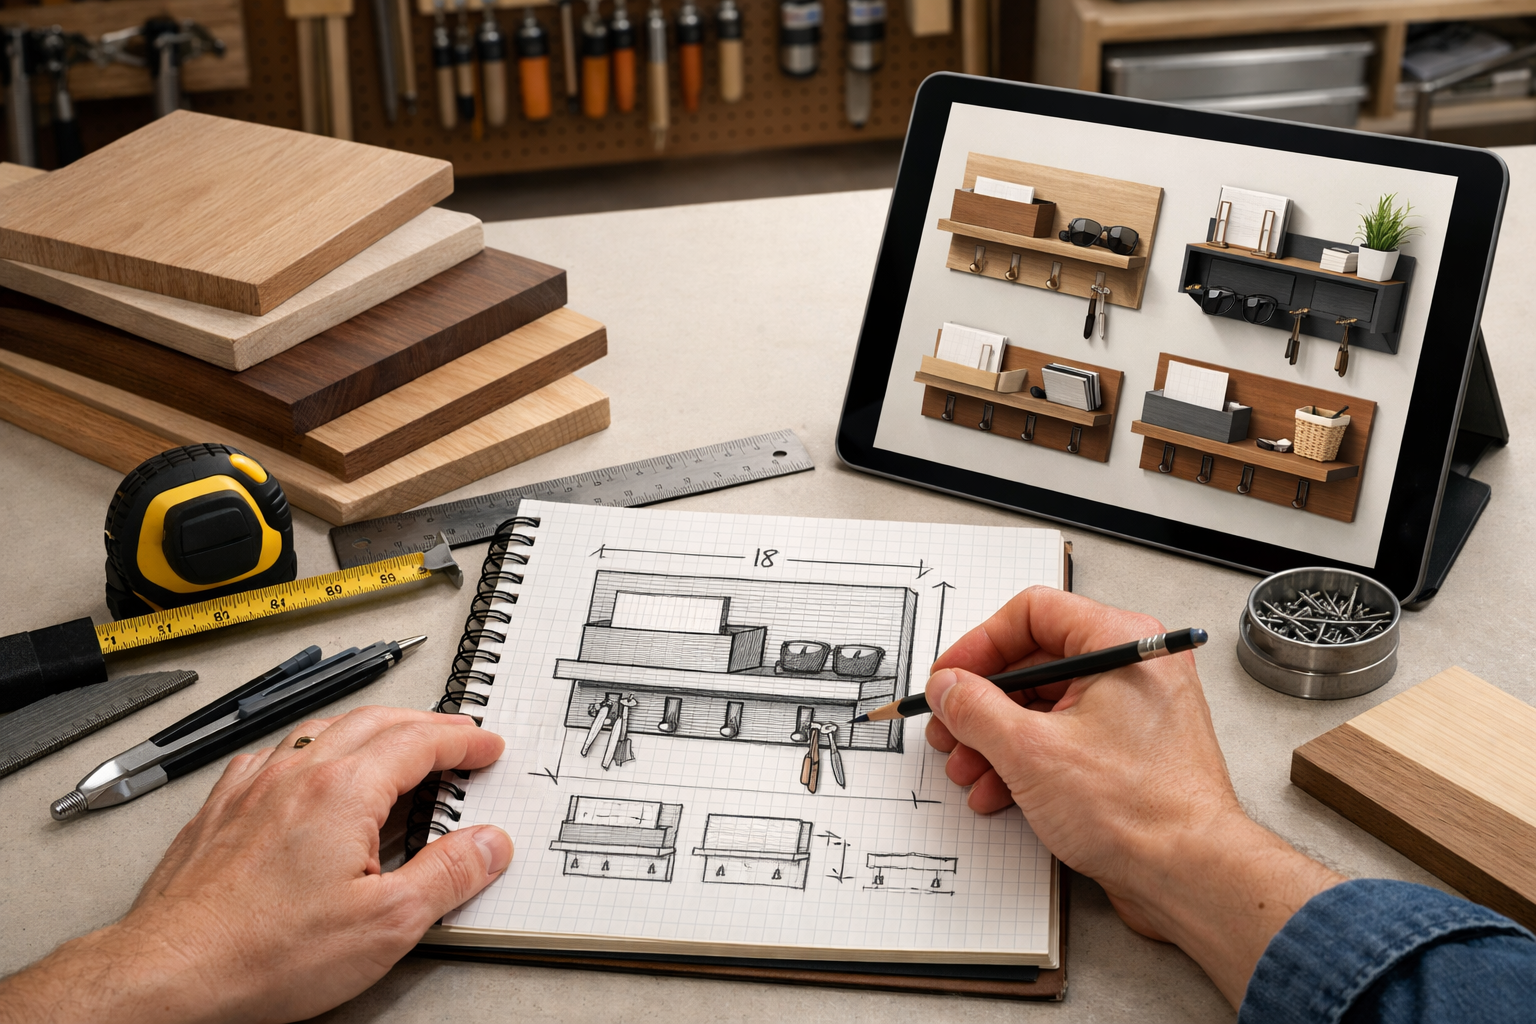
Sketching Concepts and Choosing Materials
With measurements and needs in mind, begin sketching potential designs. Don’t be afraid to experiment with different configurations.
Essential Features to Consider:
- Key Hooks: Incorporate enough hooks for all household members and guests. Consider various hook styles, from simple metal to decorative wooden pegs.
- Mail Slot/Pocket: A dedicated space for incoming and outgoing mail keeps surfaces clear. This could be a single vertical slot or multiple horizontal pockets.
- Small Shelf: A shallow shelf is perfect for sunglasses, wallets, or a small decorative item.
- Accessory Compartments: Divided sections for smaller items like pens, loose change, or charging cables.
- Whiteboard/Corkboard (Optional): A small panel for notes, reminders, or pinning receipts.
Material Selection: The choice of wood greatly impacts the organizer’s durability, appearance, and ease of construction.
| Wood Type | Characteristics | Best For |
|---|---|---|
| Pine | Soft, inexpensive, easy to work with, stains well. | Beginner projects, rustic looks. |
| Poplar | Relatively inexpensive, smooth grain, paints very well, accepts stain decently. | Painted finishes, minimalist designs. |
| Oak | Strong, durable, prominent grain, classic look. | Sturdy, long-lasting organizers, traditional or rustic styles. |
| Maple | Hard, dense, fine grain, very durable, light color. | Modern, clean designs, smooth finishes. |
| Walnut | Rich, dark color, strong, beautiful grain, premium look. | High-end, statement pieces. |
| Plywood/MDF | Stable, cost-effective (especially for hidden components or backing). | Back panels, internal dividers. |
For a project like this, using solid hardwood like oak or maple will provide the best longevity and a high-quality finish. However, reclaimed wood can also add character and a sustainable touch. For more on working with different wood species, explore wood species selection for visible joinery.
Key Design Considerations:
- Depth: Keep it shallow to prevent it from intruding too much into the entryway space, typically 3-5 inches.
- Modular Design: Consider building separate modules (e.g., a mail slot module, a key hook module) that can be combined or rearranged.
- Joinery: Simple butt joints with screws and glue are effective. For a more refined look, consider dadoes for shelves or mail slots.
Building and Assembling Your Wall-Mounted Entryway Organizer
With your design finalized and materials gathered, it’s time to bring your DIY compact entryway organizer to life. Precision in cutting and careful assembly are key to a professional-looking and functional piece.
Essential Tools and Safety
Before you begin, ensure you have the necessary tools and prioritize safety.
Basic Tool List:
- Measuring Tape and Pencil: For accurate marking.
- Speed Square or Combination Square: For precise right angles.
- Hand Saw or Miter Saw: For cutting wood to size. A miter saw is ideal for clean, accurate cross-cuts.
- Jigsaw (Optional): For curves or intricate cuts.
- Drill/Driver: For pre-drilling holes and driving screws.
- Wood Glue: For strong joints.
- Clamps: To hold pieces securely while glue dries.
- Sandpaper (various grits): For smooth finishes.
- Safety Glasses and Hearing Protection: Always wear them!
Step-by-Step Construction Guide
This guide outlines a common approach for building a basic wall-mounted organizer with a shelf, mail slot, and key hooks.
Cut Your Components:
- Using your detailed plans, cut all wood pieces to their exact dimensions. This includes the back panel, side pieces, top, bottom, shelf, and any internal dividers for mail or small compartments.
- Pro Tip: Label each piece as you cut it to avoid confusion during assembly.
Prepare Joinery:
- If your design includes dadoes (grooves) for shelves or mail slots, now is the time to cut them. A router with a straight bit or a table saw can be used for this. Ensure these are cut accurately to ensure snug fits.
- If using simple butt joints, ensure all edges are square and clean.
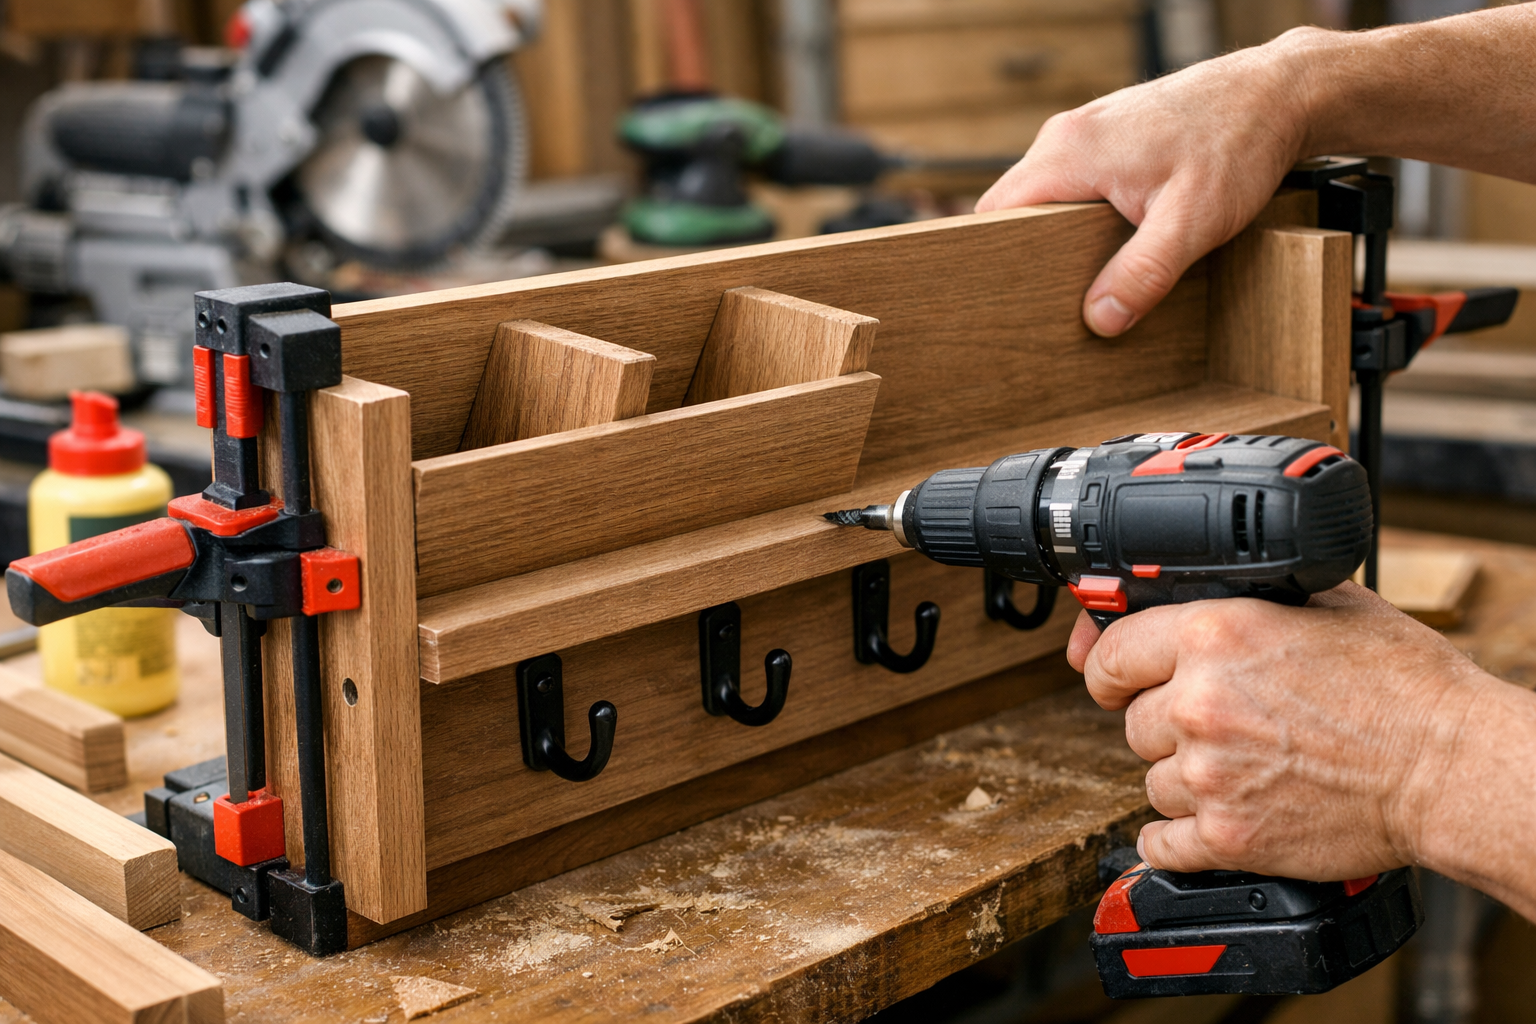
Assemble the Main Frame:
- Attach the side pieces to the top and bottom pieces using wood glue and screws. Pre-drill pilot holes to prevent splitting, especially with hardwoods.
- Use clamps to hold the frame square while the glue sets.
- For added strength, consider using pocket hole joinery.
Install Shelves and Dividers:
- Slide shelves and mail slot dividers into their pre-cut dadoes. Apply wood glue sparingly.
- Secure them with small finishing nails or screws from the outside, ensuring the fasteners are countersunk for a clean look.
- If not using dadoes, attach shelves and dividers with glue and screws, ensuring they are level and plumb.
Attach the Back Panel:
- Once the main frame and internal components are secure, attach the back panel. This can be thinner plywood or MDF.
- Use wood glue along the edges of the frame and small brad nails or screws to fasten the back panel. The back panel adds rigidity to the entire structure.
Drill Mounting Holes:
- Determine where your organizer will attach to the wall. Mark and pre-drill mounting holes through the back panel or a hidden cleat. These should ideally align with wall studs for maximum stability. More on secure mounting can be found in our guide on building robust floating shelves.
Sanding and Finishing
Sanding is crucial for a smooth, professional finish.
- Start with a coarser grit sandpaper (e.g., 100-120 grit) to remove any rough spots, glue squeeze-out, or pencil marks.
- Gradually move to finer grits (150, 180, 220 grit) until the wood feels smooth to the touch.
- Wipe down the entire piece with a tack cloth to remove all dust before applying your chosen finish.
Finishing Options:

- Stain: Enhances the natural wood grain and adds color. Apply according to manufacturer directions, wiping off excess.
- Paint: Provides a solid color, perfect for matching specific decor. Use a primer first for best results.
- Polyurethane/Varnish: Offers a durable protective layer, essential for a high-traffic item. Apply multiple thin coats, sanding lightly between coats.
- Oil Finish: Penetrates the wood, creating a natural, matte look. Examples include Danish oil or tung oil.
Customization and Installation of Your DIY Compact Entryway Organizers
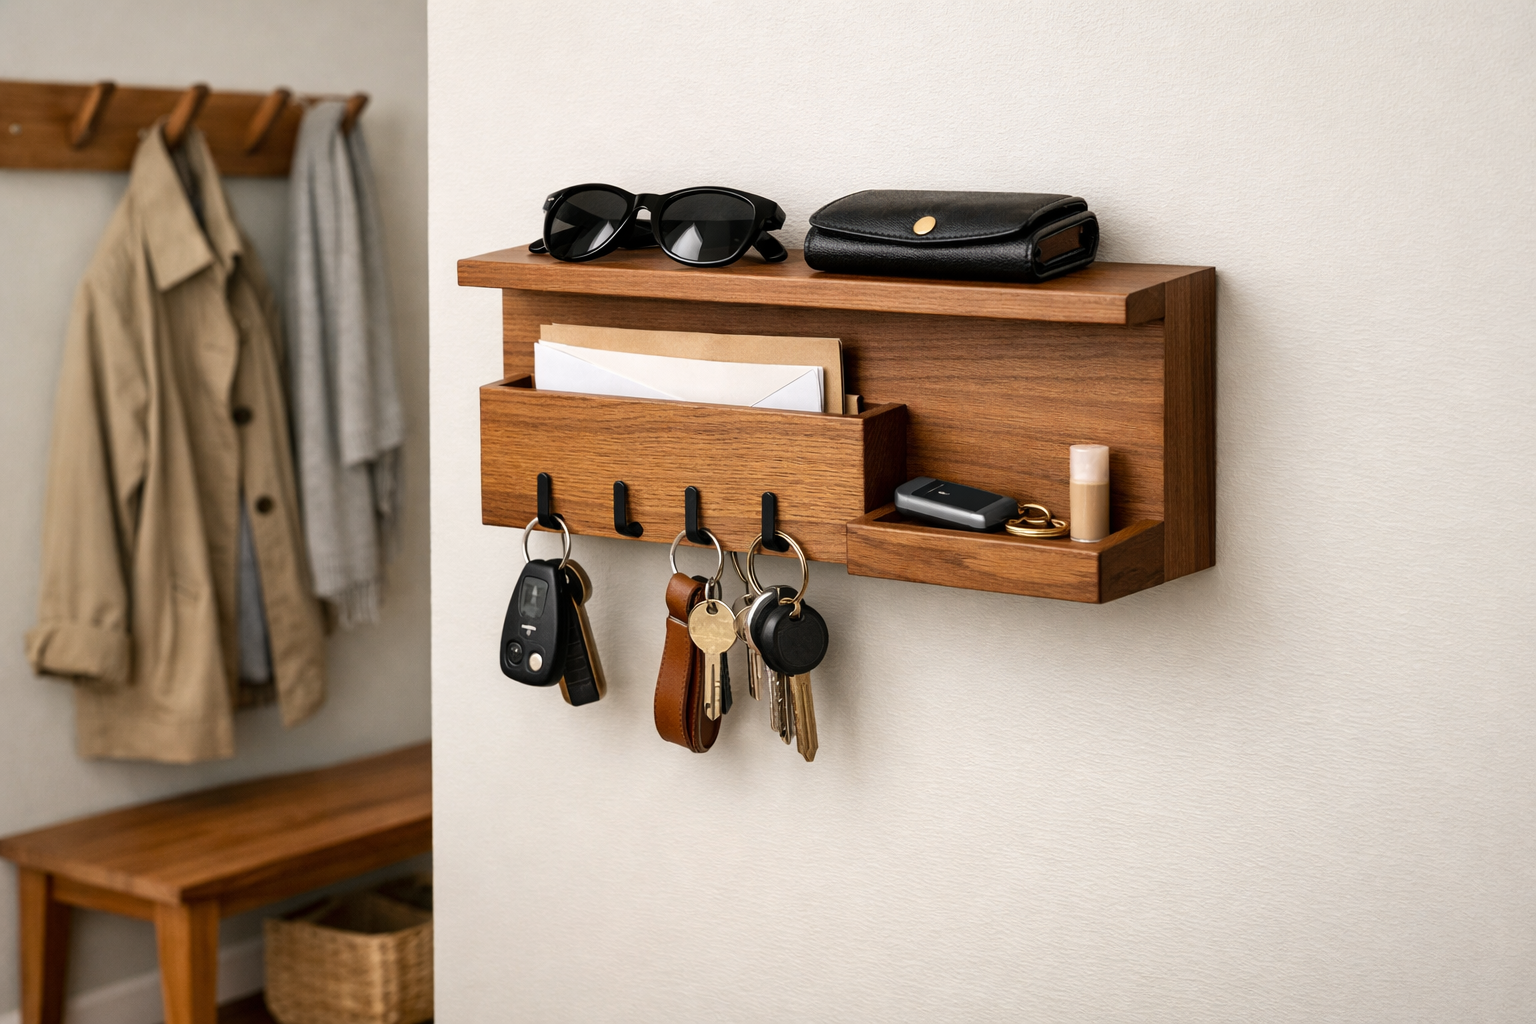
Once the construction and finishing are complete, the final steps involve adding the functional hardware and securely mounting your DIY compact entryway organizer. These details not only make the organizer effective but also contribute to its overall aesthetic appeal.
Adding Hooks, Pockets, and Special Features
This is where your organizer truly takes shape to address your specific needs for keys, mail, and small accessories.
- Key Hooks: Install these last to avoid damaging them during finishing. Space them out appropriately to prevent keys from tangling. Consider different styles:
- Single Hooks: Minimalist and versatile.
- Double Hooks: Offer more hanging capacity in less space.
- Pegs: Wooden pegs can blend seamlessly with a natural wood design.
- Magnetic Strips: A modern alternative for metal keys or small tools.
- Mail Pockets/Slots: Ensure the opening is wide enough for standard envelopes. If you built a simple open slot, you might consider adding a small lip or barrier to prevent mail from sliding out.
- Charging Station Integration: For a modern touch, consider routing a channel for a phone charger cable to a small shelf or compartment. You might even integrate a small, discreet power strip if safely designed and installed. This makes your entryway a true command center for daily essentials.
- Decorative Accents: Add small decorative elements like a tiny plant, a personalized label, or a unique knob to a small drawer if your design includes one. Remember, the goal is organization, but style is also important!
Secure Wall Mounting Techniques
Proper installation is critical for the safety and stability of your wall-mounted organizer. A poorly mounted organizer can fall, causing damage or injury.
- Locate Wall Studs: Use a stud finder to locate the vertical wooden studs inside your wall. Mounting into studs provides the strongest support. Mark their locations clearly.
- Measure and Mark: Hold your organizer against the wall in the desired position. Use a level to ensure it’s perfectly straight. Mark the locations of your pre-drilled mounting holes on the wall.
- Pre-Drill Wall Holes: Using a drill bit slightly smaller than your mounting screws, pre-drill holes into the wall at your marked locations. If you’re drilling into studs, a standard wood drill bit is fine.
- If no stud is available: For lighter organizers, use appropriate wall anchors (e.g., toggle bolts, self-drilling drywall anchors). Follow the anchor manufacturer’s instructions for drilling the correct size hole. Avoid plastic expansion anchors for anything more than very light items.
- Attach the Organizer:
- Align the organizer’s mounting holes with the pre-drilled holes in the wall.
- Drive screws through the organizer and into the wall studs or anchors. Ensure the screws are long enough to pass through the organizer and fully engage with the stud or anchor.
- Tighten securely, but do not over-tighten, which can strip screws or damage the wood.
- Test Stability: Gently tug on the installed organizer to ensure it is firmly attached and does not wobble.
For larger or heavier wall-mounted projects, especially those designed to hold significant weight, exploring advanced fastening systems for robust floating shelves can provide additional insights into secure installation.
By carefully following these steps, your DIY compact entryway organizer will not only look great but also provide reliable, clutter-free storage for years to come. Enjoy your newly organized entryway in 2026!
Conclusion
Building DIY compact entryway organizers is a rewarding project that significantly enhances your home’s functionality and aesthetic appeal. By creating wall-mounted solutions for keys, mail, and small accessories, you can transform a chaotic entryway into a welcoming, organized space. From the initial planning and material selection to precise construction and secure installation, each step contributes to a durable and custom piece tailored to your specific needs.
Embrace the satisfaction of crafting a custom solution that not only tackles daily clutter but also reflects your personal style. In 2026, efficient home organization is more accessible than ever with DIY projects like this. Take the first step, gather your tools, and create an entryway that greets you with order and calm every day.
Actionable Next Steps:
- Assess Your Space: Measure your entryway and identify your specific organizational needs.
- Sketch Your Design: Draw out a few organizer concepts, incorporating features like key hooks, mail slots, and shelves.
- Choose Your Wood: Select a wood type that matches your skill level, budget, and desired aesthetic.
- Gather Tools & Materials: Ensure you have all necessary cutting, drilling, and finishing tools, along with your chosen wood and hardware.
- Start Building: Follow the construction steps outlined above, prioritizing safety and precision.
