

Transforming your backyard into a culinary haven often begins with the heart of outdoor cooking: the pizza oven. While a standalone pizza oven is impressive, its true potential is unlocked when mounted on a robust, functional, and aesthetically pleasing stand. This article provides a comprehensive guide to building a DIY Outdoor Wood Pizza Oven Stand and Storage: Building a Functional and Durable Base for Your Backyard Cooking, ensuring your oven is not only at the perfect height for cooking but also complemented by integrated storage for fuel and essential tools. Construct a robust and weather-resistant wooden stand for your outdoor pizza oven, complete with integrated storage for wood and accessories, enhancing your outdoor living and cooking experience.
Key Takeaways
- Strategic Planning is Crucial: Before cutting any wood, meticulously plan your stand’s dimensions, materials, and storage features to ensure stability, durability, and functionality.
- Material Selection Matters: Choose weather-resistant and rot-resistant wood species like cedar, redwood, or pressure-treated lumber for longevity in outdoor conditions.
- Build for Durability: Employ strong joinery techniques and ensure a level, stable foundation to support the considerable weight of a pizza oven.
- Integrate Smart Storage: Design clever compartments for firewood, pizza peels, cleaning brushes, and other accessories to keep your cooking area organized.
- Protect Your Investment: Apply appropriate outdoor finishes to shield the wood from elements, extending the life and beauty of your DIY stand.
Planning and Design for Your DIY Outdoor Wood Pizza Oven Stand and Storage
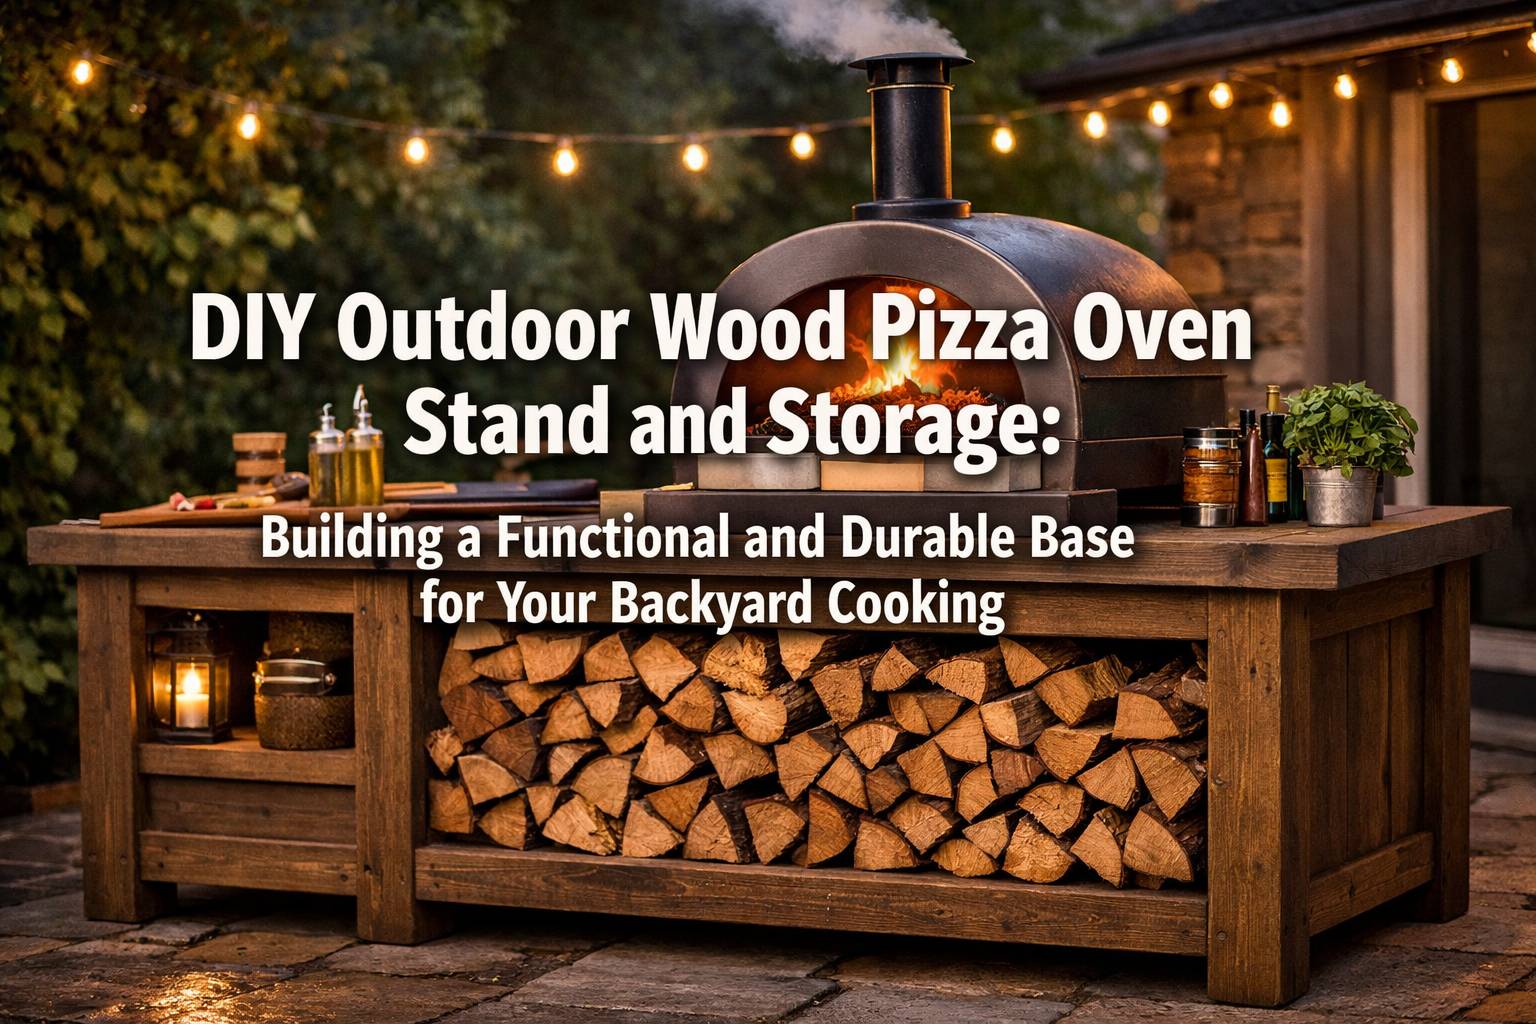
Building a custom stand for your outdoor pizza oven requires careful planning and design. This initial phase dictates the success, durability, and functionality of your finished project. Considerations for your DIY Outdoor Wood Pizza Oven Stand and Storage: Building a Functional and Durable Base for Your Backyard Cooking should encompass the specific dimensions of your oven, the materials best suited for outdoor exposure, and the types of storage you wish to integrate.

{{IMG_SLOT_1}}
Assessing Your Pizza Oven’s Requirements
Before anything else, gather the precise specifications of your outdoor pizza oven.
- Dimensions: Measure the length, width, and height of your oven. Account for any protrusions or specific mounting points.
- Weight: This is paramount. Pizza ovens, especially those with refractory domes, can be extremely heavy. Your stand must be capable of supporting this weight safely. Consult your oven’s manual for its exact weight.
- Clearances: Check manufacturer recommendations for minimum clearances around the oven for heat dissipation and safety.
Consider the ideal cooking height. Most people find a cooking surface between 36 and 42 inches comfortable, reducing back strain during longer cooking sessions.
Material Selection: Building for Longevity
The outdoors is harsh on wood, so selecting the right materials is critical for durability and weather resistance.
| Material Type | Pros | Cons | Best Use |
|---|---|---|---|
| Cedar/Redwood | Naturally rot and insect resistant, beautiful | Expensive, softer wood (dents easily) | Premium, aesthetically pleasing stands in moderate climates |
| Pressure-Treated Lumber | Highly resistant to rot and insects, affordable | Can warp, less attractive without finishing | Structural components, budget-friendly builds |
| Hardwoods (Oak, Teak) | Extremely durable, beautiful grain | Very expensive, heavy, can be difficult to work | Accents or luxury builds where cost is not a primary concern |
| Exterior Grade Plywood | Stable, good for paneling/shelving | Edges must be sealed, less attractive | Shelving, cabinet backs, or hidden structural elements |
For exposed surfaces, consider materials that complement your backyard aesthetic. For structural elements, prioritize strength and weather resistance. Remember that even naturally resistant woods will benefit from proper outdoor finishes. For more on sourcing quality wood, especially for larger projects, explore “Sourcing Reclaimed and Salvaged Wood: Quality Assessment, Restoration, and Safe Handling” on WoodcraftWiz.
Designing Integrated Storage Solutions
A well-designed pizza oven stand goes beyond merely holding the oven; it offers practical storage.
- Firewood Storage: Essential for wood-fired ovens. Design open shelves or compartments below the oven, allowing for airflow to keep wood dry. Consider a slatted bottom to prevent moisture buildup.
- Tool Holders: Integrate hooks on the side for pizza peels, brushes, and tongs. A small, covered compartment could store smaller items like an infrared thermometer or igniters.
- Prep Area: Depending on your space, a small countertop extension or pull-out shelf can provide a convenient spot for preparing pizzas or staging ingredients.
- Wheel Integration: For mobility, consider adding heavy-duty locking casters. This allows you to move the oven for cleaning, storage, or repositioning.
💡 Pro Tip: Sketch multiple designs, considering different angles and features. A 3D modeling program can be invaluable for visualizing the final product and identifying potential issues before you start cutting.
Construction Techniques for a Functional and Durable Base
Once your design is finalized and materials are sourced, the next phase involves the actual construction. Adhering to sound woodworking principles and employing robust joinery will ensure your DIY Outdoor Wood Pizza Oven Stand and Storage is not only functional but also built to last for many years of backyard cooking.
{{IMG_SLOT_2}}
Building a Strong and Stable Frame
The frame is the backbone of your pizza oven stand, bearing the entire weight of the oven.
- Cut Components: Accurately cut all lumber for the legs, rails, and cross-braces according to your plan. Double-check all measurements.
- Joinery: For maximum strength, consider using techniques like mortise and tenon joints, particularly for connecting legs to rails. If using screws, opt for exterior-grade, heavy-duty stainless steel or coated screws. Pocket holes can also provide strong, hidden joints. For an in-depth look at joinery, see “Hand Tool Joinery for Visible Wood Joints: Dovetails, Mortise and Tenon, and Box Joints as Design Features in Furniture and Small Projects.”
- Assembly: Assemble the frame sections (e.g., two side frames, then connect with front and back rails). Use wood glue specifically formulated for exterior use in conjunction with fasteners for extra rigidity. Ensure all joints are square and tight.
- Leveling: Use a level frequently during assembly to ensure the frame is perfectly plumb and level. This is critical for the stability of your heavy pizza oven.
“A stable foundation is non-negotiable for a heavy outdoor appliance like a pizza oven. Invest in quality materials and strong joinery to prevent future sagging or structural failure.”
Creating the Oven Platform and Shelving
The platform that directly supports the pizza oven needs to be exceptionally strong.
- Reinforcement: Use thick lumber (e.g., 2×6 or 2×8) for the platform joists, spaced closely together. For very heavy ovens, a solid slab of exterior-grade plywood or a cement board topped with tile might be necessary.
- Support: Add additional vertical supports or cross-bracing directly beneath the oven’s footprint to distribute weight evenly to the legs.
- Shelving: For firewood storage, slatted shelves allow for airflow, preventing mold and mildew. Use durable boards, spaced approximately 1/2 to 1 inch apart. For enclosed storage, exterior-grade plywood or solid wood panels can be used for sides and backs. Consider “Wooden Storage Chests with Hinged Lids: Techniques for Dovetail Joints and Rustic Finishes” for ideas on robust storage construction.
Finishing and Weatherproofing Your DIY Outdoor Wood Pizza Oven Stand and Storage
Proper finishing is essential to protect your wood from moisture, UV rays, and temperature fluctuations.
- Sanding: Sand all surfaces smooth, starting with a coarser grit (80-100) and moving to finer grits (150-220) for a professional finish.
- Cleaning: Remove all dust and debris before applying any finish.
- Applying Finish:
- Stain: Choose an exterior-grade wood stain to add color and UV protection. Apply according to manufacturer instructions, usually 1-2 coats.
- Sealant/Topcoat: Follow with an exterior-grade sealant or clear coat (e.g., spar urethane, exterior oil-based varnish). These provide a protective barrier against moisture. Apply multiple thin coats, sanding lightly between coats for optimal adhesion and smoothness.
- Oiling: For natural wood aesthetics, a penetrating oil like Danish oil or boiled linseed oil, specifically designed for outdoor use, can be applied. Reapply annually. Learn more about different wood oils in “Danish Oil vs. Boiled Linseed Oil: Understanding Wood Oils.”
Regular maintenance, such as cleaning and reapplication of finishes, will significantly extend the life of your DIY Outdoor Wood Pizza Oven Stand and Storage.

Enhancing Functionality and Aesthetics
A well-built pizza oven stand is not just about strength; it’s also about usability and how it integrates into your overall outdoor living space. Maximizing functionality and refining aesthetics will make your DIY Outdoor Wood Pizza Oven Stand and Storage: Building a Functional and Durable Base for Your Backyard Cooking a true centerpiece.
{{IMG_SLOT_3}}
Practical Additions for an Optimal Cooking Experience
Thoughtful additions can elevate your outdoor pizza kitchen.
- Hooks and Rails: Install heavy-duty hooks or a small rail system on the sides or front of the stand to hang essential tools like pizza peels, oven brushes, and tongs. This keeps them within easy reach and off the ground.
- Pull-Out Shelves/Drawers: For smaller accessories, ingredients, or even a small cutting board, integrate pull-out shelves or drawers. These keep items organized and protected from the elements. Consider using marine-grade drawer slides for durability.
- Temperature Gauge Holders: A small clip or bracket for an infrared thermometer can be incredibly useful for checking oven temperatures accurately.
- Lighting: If you frequently cook after dark, consider battery-operated LED strip lights underneath the oven platform or within storage compartments for better visibility.
- Ash Bin/Bucket Storage: For wood-fired ovens, a designated space for a small metal ash bin can help keep the area clean and tidy.
Integrating the Stand into Your Backyard Landscape
The aesthetics of your pizza oven stand should complement your existing outdoor decor.
- Staining and Painting: Choose colors and finishes that harmonize with your patio furniture, decking, or house exterior. Darker stains can offer a more rustic look, while lighter paints can feel more modern.
- Countertop Material: While the base is wood, the actual oven platform might benefit from a durable, heat-resistant surface. Options include:
- Tile: Ceramic or porcelain tiles are easy to clean and heat resistant.
- Natural Stone: Granite or slate provide a high-end look and excellent durability.
- Concrete: Poured concrete or concrete pavers offer a modern, industrial aesthetic.
- Landscaping Integration: Place your pizza oven stand on a level, stable surface like a concrete pad, paver patio, or reinforced decking. Surround it with appropriate landscaping – perhaps some drought-resistant plants or herbs for fresh pizza toppings. Ensure it’s away from flammable structures or overhanging branches.
- Seating: Consider adding nearby seating or a small outdoor dining area to create a complete entertainment zone around your new cooking station. Ideas for integrating woodworking into outdoor seating can be found in “Crafting Profitable Wooden Benches: Indoor-Outdoor Designs with Advanced Joinery for 2026.”
By carefully planning these functional and aesthetic enhancements, your DIY Outdoor Wood Pizza Oven Stand and Storage will become more than just a base; it will be an integral part of your outdoor living and culinary experience. Ensure all wood components are treated with a good quality exterior wood finish for maximum longevity.
Conclusion
Building a DIY Outdoor Wood Pizza Oven Stand and Storage: Building a Functional and Durable Base for Your Backyard Cooking is a rewarding project that significantly enhances your outdoor culinary capabilities. From the initial detailed planning to the precise execution of robust joinery and the final protective finishes, each step contributes to creating a stable, durable, and aesthetically pleasing base for your pizza oven. The integration of smart storage solutions for firewood and tools ensures an organized and efficient cooking experience, making your backyard an even more inviting place for gathering and feasting.
By carefully considering your oven’s specifications, selecting weather-resistant materials, and applying diligent construction and finishing techniques, you will construct a stand that not only supports your oven safely but also elevates your entire outdoor kitchen setup. This project represents a fantastic opportunity to apply woodworking skills to create a highly functional and beautiful addition to your home.
Actionable Next Steps:
- Measure and Plan: Accurately measure your pizza oven and sketch your desired stand design, including all dimensions and storage elements.
- Source Materials: Purchase high-quality, weather-resistant lumber and appropriate exterior-grade fasteners and finishes.
- Build Smart: Employ strong joinery, ensuring every connection is secure and the stand is perfectly level.
- Protect Thoroughly: Apply multiple coats of exterior wood finish to safeguard your creation from the elements.
- Enjoy: Fire up your oven and savor delicious homemade pizzas, knowing your stand is built to last.
