
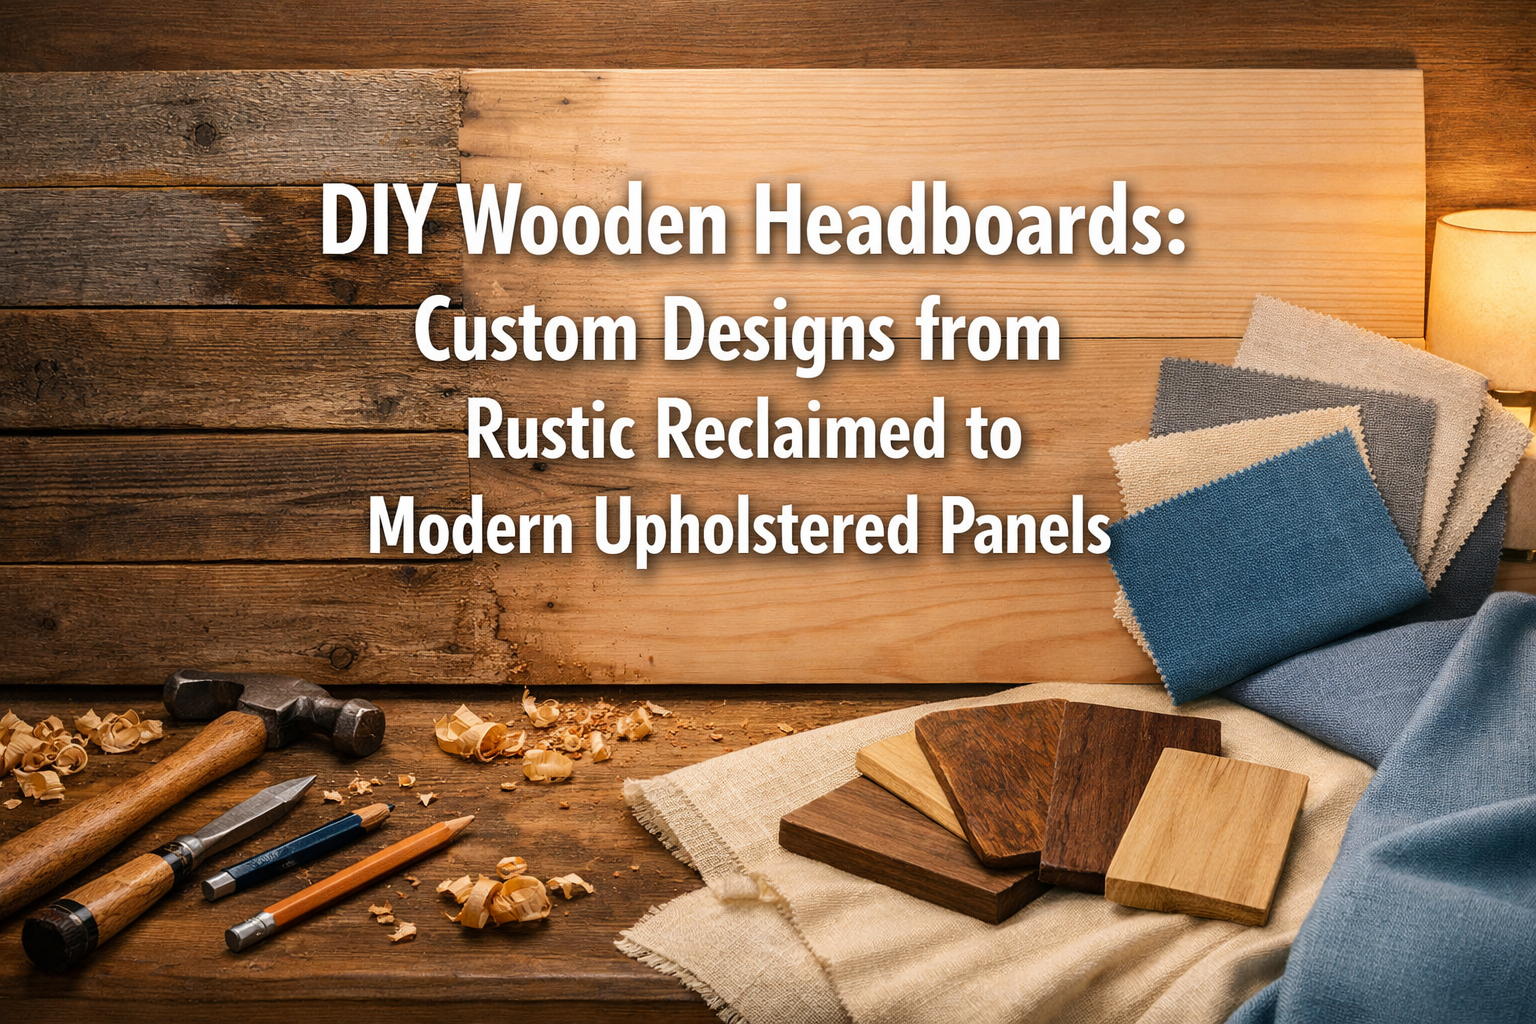

Are you ready to transform your bedroom into a personalized sanctuary? The answer might be closer than you think, resting right at the head of your bed. Crafting your own headboard offers an unparalleled opportunity to infuse your personal style and design preferences into your sleeping space. This comprehensive guide will empower you to create stunning DIY Wooden Headboards: Custom Designs from Rustic Reclaimed to Modern Upholstered Panels, using power tools for precise cuts and joinery, making it ideal for beginners advancing to intermediate skills. We’ll walk you through step-by-step tutorials on wood selection, assembly, and finishing, ensuring a professional, high-authority look for your custom creation in 2026.
Beyond mere aesthetics, a custom headboard provides a focal point, elevates comfort, and often offers practical benefits like protecting your wall or even providing integrated storage. Forget mass-produced pieces; embrace the satisfaction of building something unique that perfectly complements your bedroom decor. Whether your taste leans towards the rugged charm of reclaimed wood or the sleek sophistication of upholstered panels, the journey of building your own wooden headboard is both rewarding and surprisingly accessible.

Key Takeaways
- Personalization is paramount: DIY headboards offer endless possibilities for custom designs, allowing you to match your unique style, from rustic to modern.
- Skill development: This project is perfect for beginners looking to grow into intermediate woodworking skills, involving precise cuts, joinery, and various finishing techniques.
- Material versatility: Explore a wide range of wood types, from affordable pine to luxurious hardwoods, and integrate materials like fabric for upholstered panels.
- Tool proficiency: Learn to effectively use essential power tools such as miter saws, drills, and sanders, enhancing both efficiency and precision.
- Finishing touches matter: The right finishing technique – staining, painting, or upholstering – elevates your headboard from a DIY project to a professional-grade furniture piece.
Embarking on Your DIY Wooden Headboards: Custom Designs Journey: Planning & Wood Selection
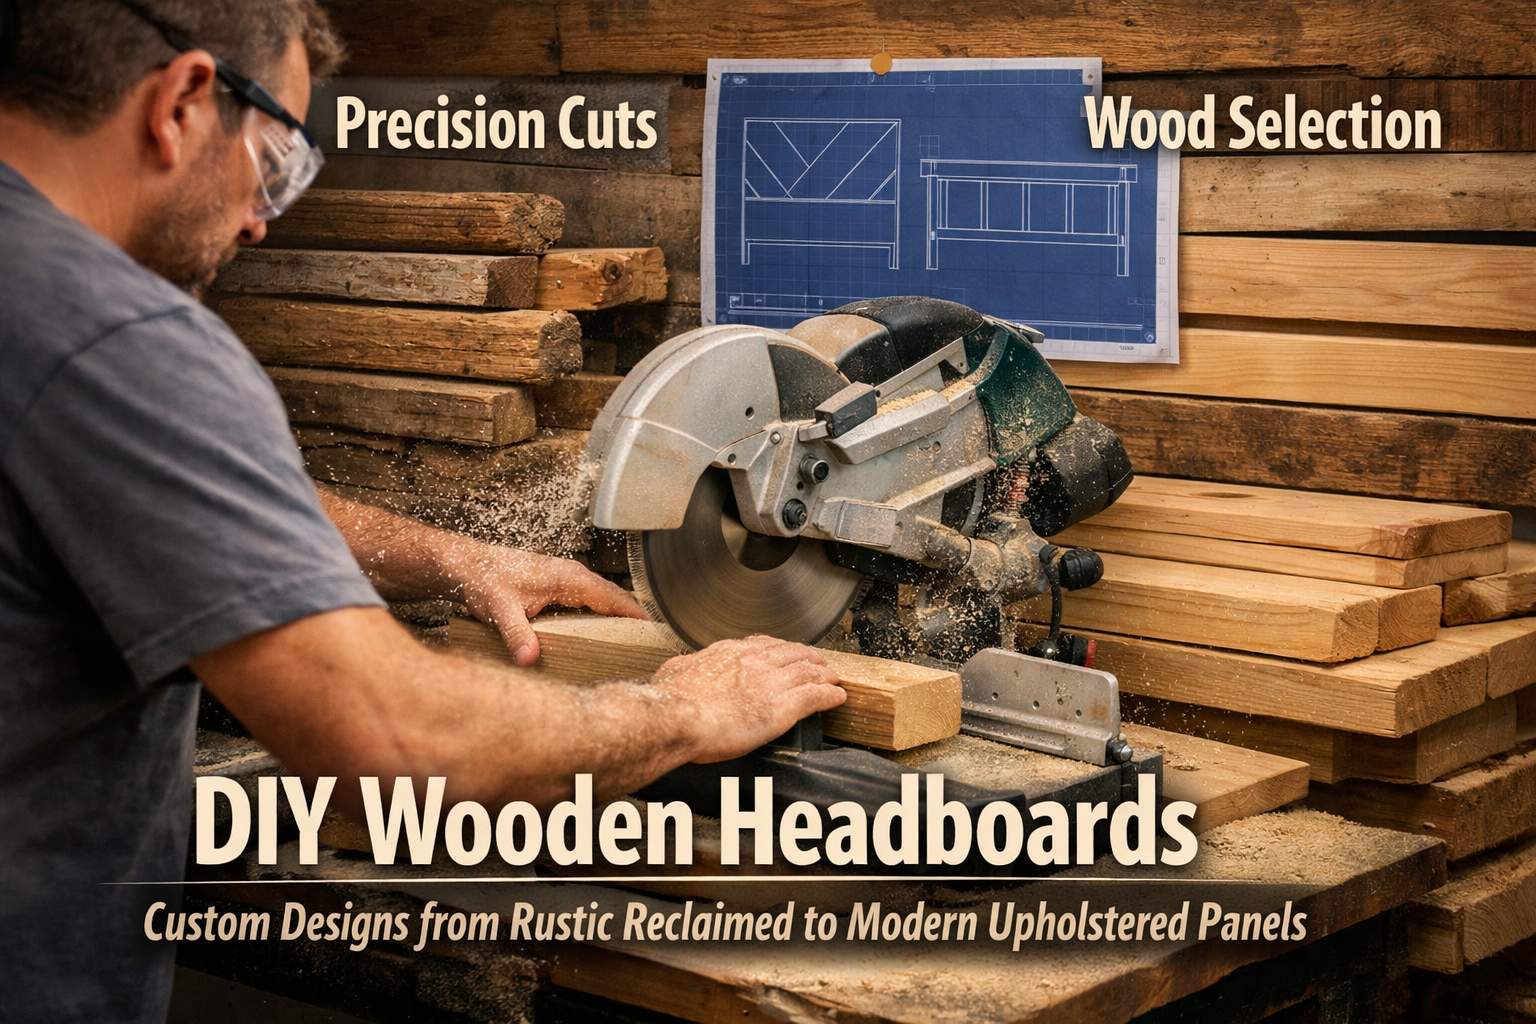
Creating exceptional DIY Wooden Headboards: Custom Designs from Rustic Reclaimed to Modern Upholstered Panels begins long before the first cut. Proper planning and careful wood selection are foundational to a successful and satisfying project. This initial phase involves conceptualizing your design, determining dimensions, and choosing the right materials that align with both your aesthetic vision and your woodworking skill level.
Defining Your Design Aesthetic
Before picking up any tools, visualize the headboard that will complete your bedroom. Do you dream of a cozy, farmhouse-style retreat, a minimalist modern haven, or a luxurious boutique hotel ambiance? Your chosen aesthetic will guide every decision, from wood type to finish.
Popular Design Aesthetics for DIY Wooden Headboards:
- Rustic Reclaimed: Characterized by weathered, distressed wood, often with visible knots, nail holes, and imperfections. Think barnwood, pallet wood, or salvaged timber. This style exudes warmth, history, and a connection to nature. For more on achieving this look, explore rustic wood finishing techniques.
- Modern Minimalist: Clean lines, geometric shapes, and often smooth, unadorned surfaces. Materials like birch plywood, maple, or even sleek painted pine are common. The focus is on functionality and understated elegance.
- Farmhouse Chic: A blend of rustic and refined. Often features vertical or horizontal planks, sometimes painted in soft, inviting colors like white or gray, with subtle distressing. Shiplap designs are a popular choice.
- Upholstered Panel: While primarily wooden in its frame, incorporating fabric panels adds softness, texture, and a touch of luxury. This allows for endless color and pattern combinations, making it highly customizable. These can range from simple, flat upholstered sections to more elaborate tufted or channel-stitched designs.
- Geometric & Contemporary: Utilizes intricate patterns, angled cuts, and varying wood tones to create visually striking designs. This might involve creating a herringbone, chevron, or even a mosaic-like pattern with different wood species.
Pull Quote: “A headboard is more than just a backrest; it’s the canvas for your bedroom’s story. Let your design reflect your unique narrative.”
Sizing Up Your Space: Dimensions and Scale
Accurate measurements are crucial. Your headboard should complement your bed size without overwhelming or getting lost in the room.
Standard Bed Sizes & Recommended Headboard Widths (Approximate):
| Bed Size | Mattress Width (approx.) | Recommended Headboard Width |
|---|---|---|
| Twin | 38 inches (96.5 cm) | 40-42 inches (101-107 cm) |
| Full | 54 inches (137 cm) | 56-58 inches (142-147 cm) |
| Queen | 60 inches (152 cm) | 62-66 inches (157-168 cm) |
| King | 76 inches (193 cm) | 78-82 inches (198-208 cm) |
| Cal King | 72 inches (183 cm) | 74-78 inches (188-198 cm) |
Headboard Height: This is highly flexible and depends on your ceiling height, mattress thickness, and personal preference. A good rule of thumb is to aim for the top of the headboard to be 24-36 inches (61-91 cm) above the top of your mattress. Consider the overall balance with your room. A taller headboard can make a statement in a room with high ceilings, while a shorter one might be more appropriate for a cozier space.
Selecting Your Wood: Material Considerations
The type of wood you choose impacts not only the look and feel but also the ease of working with it and the final cost.
Common Wood Choices for DIY Headboards:
- Pine:
- Pros: Affordable, widely available, easy to work with (cuts, sands, stains well).
- Cons: Softer wood, more prone to dents and scratches. Can have prominent knots that may require pre-treatment before staining.
- Ideal for: Rustic, farmhouse, or painted designs. Good for beginners.
- Poplar:
- Pros: Relatively inexpensive, harder than pine but still easy to work with, takes paint very well, stable.
- Cons: Can have a greenish tint which might show through light stains.
- Ideal for: Painted headboards or designs where the wood grain isn’t the primary focus.
- Oak (Red or White):
- Pros: Durable, strong, distinctive grain pattern, takes stain beautifully.
- Cons: More expensive, harder to cut and sand than pine or poplar.
- Ideal for: Classic, traditional, or even modern designs where a prominent wood grain is desired. Consider our guide on red oak plywood stain for specific finishing tips.
- Maple:
- Pros: Very durable, fine, even grain, takes a smooth finish exceptionally well.
- Cons: More expensive, harder to work with, can be challenging to stain evenly.
- Ideal for: Modern, minimalist, or high-gloss finished headboards.
- Reclaimed Wood (Pallets, Barnwood, Salvaged Lumber):
- Pros: Eco-friendly, unique character, instant rustic appeal, often cost-effective or free.
- Cons: Can be inconsistent in thickness, may contain nails/screws (requiring metal detection), requires thorough cleaning and preparation.
- Ideal for: Rustic, industrial, or farmhouse designs. This option truly embodies the spirit of custom designs from rustic reclaimed to modern upholstered panels.
Tools for Precision: For accurate cuts, especially when dealing with various types of wood, a reliable miter saw is invaluable. Understanding miter saw height is key to achieving precision and accuracy in your cuts, ensuring your headboard pieces fit together flawlessly.
Gathering Your Materials & Tools
Once you have your design and wood selected, compile a comprehensive list of materials and tools.
Essential Materials:
- Wood (as per your design)
- Wood glue
- Screws or nails
- Sandpaper (various grits)
- Wood filler (optional)
- Stain, paint, or clear finish (polyurethane, lacquer, etc.)
- Fabric, foam, batting (for upholstered designs)
- Heavy-duty stapler and staples (for upholstered designs)
- Mounting hardware (French cleats, D-rings, z-clips)
Key Tools:

- Measuring Tape & Pencil: For accurate marking.
- Miter Saw or Circular Saw: For precise crosscuts and rip cuts.
- Jigsaw: For curved cuts or intricate details. Consider what makes for the best jigsaw blades for cutting curves to ensure smooth results.
- Drill/Driver: For pilot holes and fastening.
- Orbital Sander: For smooth finishes.
- Clamps: Essential for holding pieces during glue-up and assembly.
- Safety Glasses & Hearing Protection: Always prioritize safety!
Taking the time for this initial planning and material selection will streamline your building process, prevent costly mistakes, and ultimately lead to a more professional and satisfying result.
Bringing Your Vision to Life: Assembly Techniques for DIY Wooden Headboards: Custom Designs
With your design finalized and materials gathered, the exciting phase of assembly begins. This section will guide you through the practical steps of cutting, joining, and constructing your DIY Wooden Headboards: Custom Designs from Rustic Reclaimed to Modern Upholstered Panels, focusing on techniques that build confidence and ensure a sturdy, beautiful outcome.
Step 1: Precise Cutting
Accuracy in your cuts is paramount for a professional-looking headboard. “Measure twice, cut once” is a mantra for a reason!
- Marking: Carefully mark all your wood pieces according to your design plan and measurements. Use a square to ensure all lines are perfectly straight and perpendicular.
- Crosscutting: Use a miter saw or circular saw with a guide for clean, straight crosscuts. Ensure your blades are sharp for the cleanest edge. For larger pieces, a table saw can also be used for accurate cuts. You can also review Craftsman 137.218 Table Saw: Benefits, Projects, and Maintenance for advice on using this type of tool effectively.
- Rip Cutting: If you need to cut boards lengthwise, a table saw is the safest and most accurate tool. Alternatively, a circular saw with a straight edge guide can be used.
- Specialty Cuts: For curves, intricate patterns, or decorative elements, a jigsaw is your tool of choice.
Step 2: Preparing the Wood
Before assembly, a little preparation goes a long way.
- Sanding: Sand all surfaces and edges of your cut wood pieces. Start with a coarser grit (e.g., 80 or 100) to remove any imperfections or rough spots, then move to a medium grit (120-150), and finish with a fine grit (180-220) for a smooth finish. This is crucial for how well stain or paint adheres. Avoid sanding marks after staining by thorough initial sanding.
- Edge Treatment: Depending on your design, you might want to slightly round over sharp edges with a router or by hand sanding for a softer look.
- Cleaning: Wipe down all pieces with a tack cloth or a damp rag to remove all sawdust. Any lingering dust will affect your finish.
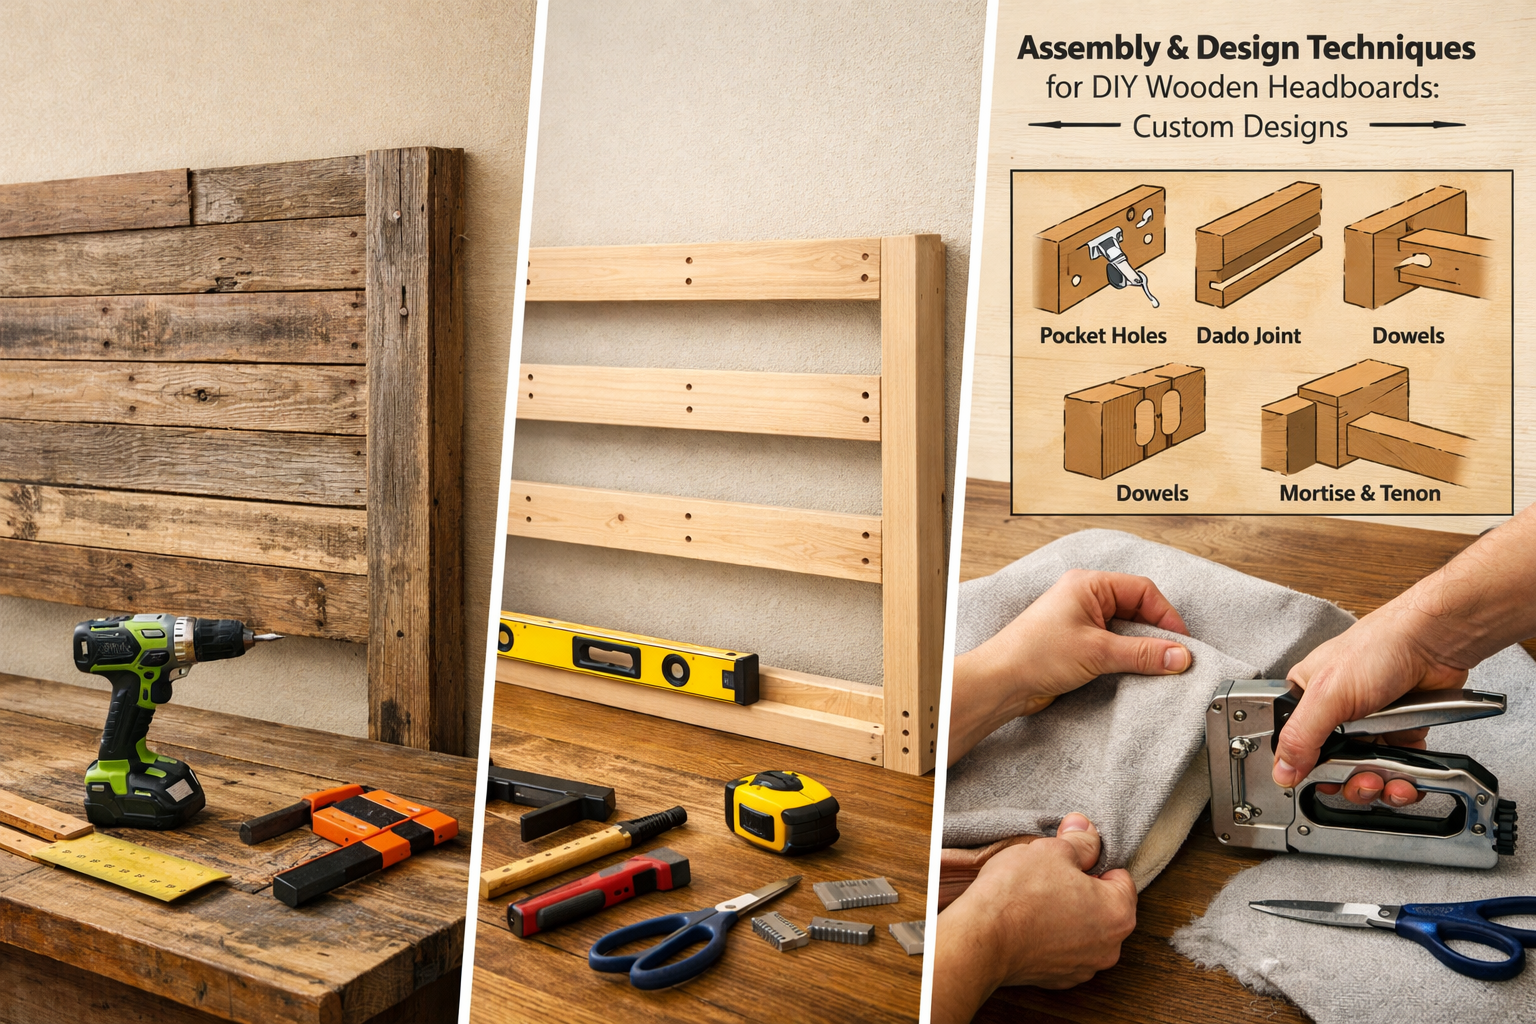
Step 3: Joinery and Assembly
This is where your headboard starts to take shape! The type of joinery you use depends on your design, skill level, and desired strength.
Common Joinery Methods:
- Pocket Hole Joinery: Ideal for beginners and intermediate woodworkers. A Kreg jig (or similar tool) creates angled holes for screws, making strong, concealed joints. This is excellent for face frames, panels, and attaching rails to stiles.
- Butt Joints with Screws/Glue: Simple and effective for non-structural elements or where joints will be covered. Reinforce with wood glue and appropriate screws.
- Dado Joints: A slot cut into one piece of wood to receive another. Strong and visually appealing, often used for shelves or panel inserts.
- Tongue and Groove: Commonly used for creating wide panels from individual boards, like a shiplap style headboard. This creates a strong, interlocking joint. Learn more about how to stain tongue and groove pine for a polished look.
- Mortise and Tenon: A traditional, very strong joint, but requires more advanced tools and skill.
Assembly Steps:
- Dry Fit: Always perform a dry fit of your components before applying glue. This allows you to check for fit, alignment, and make any necessary adjustments without the mess and pressure of glue.
- Apply Glue: Apply a thin, even bead of wood glue to all mating surfaces. Wood glue creates a bond stronger than the wood itself when clamped properly.
- Clamp: Use clamps to hold pieces firmly in place while the glue dries. Ensure everything is square and flush. The longer you clamp (within the glue’s specifications), the stronger the bond.
- Fasten: While clamps are still on (or immediately after removing, depending on the joint), drive in screws or other fasteners to reinforce the joints. If using pocket holes, drive screws into these pre-drilled holes.
- Wipe Excess Glue: Immediately wipe away any squeeze-out glue with a damp cloth. Dried glue can prevent stain from penetrating evenly.
Step 4: Special Considerations for Upholstered Panels
If your design includes upholstered panels, this step will be integrated into your assembly.
- Cut Plywood Panels: Cut thin plywood (1/4″ or 1/2″) to the exact size of your upholstered sections.
- Attach Foam: Adhere high-density foam (1-3 inches thick, depending on desired plushness) to the plywood panels using spray adhesive. Trim any excess.
- Apply Batting: Wrap the foam and plywood with a layer of batting. This softens the edges and smooths out the foam. Secure with a staple gun on the back.
- Add Fabric: Drape your chosen upholstery fabric over the batting and foam. Start by stapling the center of each side on the back, pulling the fabric taut as you work your way to the corners. Carefully fold and staple the corners for a neat finish. For tufted designs, mark your tufting points and use a long upholstery needle and strong thread to pull through buttons, securing them on the back.
- Integrate: Attach these finished upholstered panels to your wooden frame using screws from the back or, if exposed, decorative screws.
Building your own headboard can be a fulfilling woodworking project, enhancing your skills and creativity. For those interested in other household projects, consider our guide to mastering shelf woodworking: your definitive guide for 2026 or even crafting your dream farmhouse dining table: the ultimate 2025 DIY guide. Each project refines your precision and confidence with tools.
The Grand Finale: Finishing and Mounting Your DIY Wooden Headboards: Custom Designs
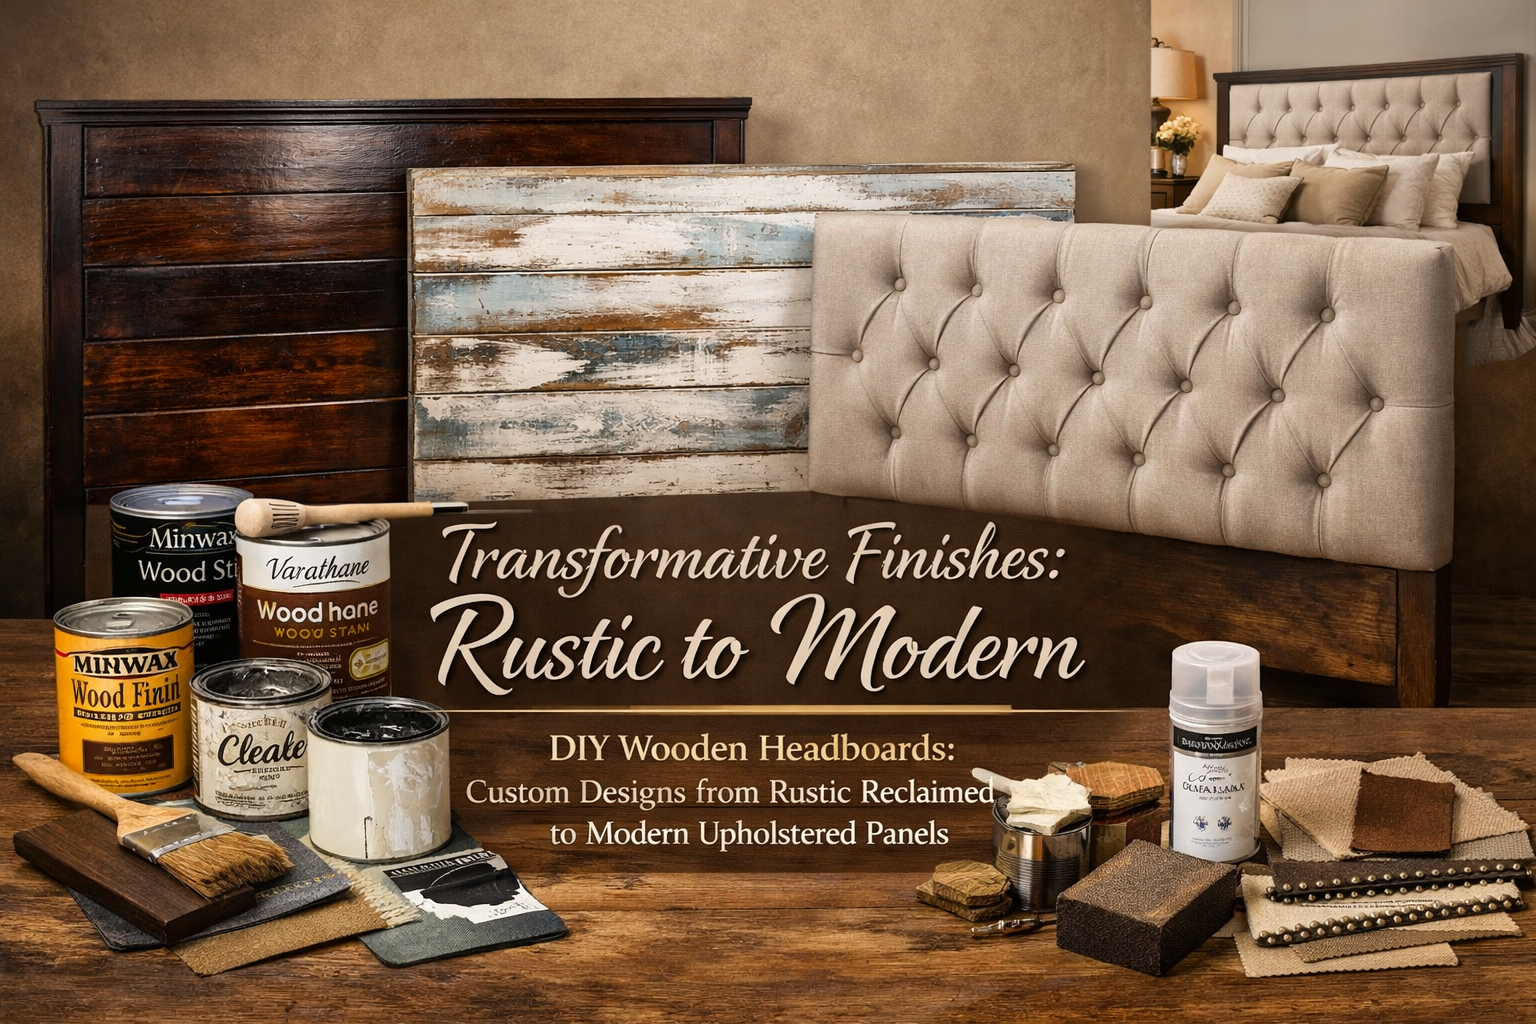
The finishing touches are what truly transform your project from raw wood into a centerpiece for your bedroom. This final stage for your DIY Wooden Headboards: Custom Designs from Rustic Reclaimed to Modern Upholstered Panels involves careful preparation, application of your chosen finish, and secure mounting.
Finishing Techniques: Stains, Paints, and Protective Coats
The right finish not only protects your headboard but also highlights the beauty of the wood or provides the desired aesthetic.
Final Sanding and Cleaning:
- Perform a final light sanding with a very fine grit sandpaper (220 or higher) to ensure maximum smoothness. This is critical for an even finish.
- Thoroughly clean all sawdust using a tack cloth, a vacuum, or compressed air, followed by a damp cloth. Let the wood dry completely. Any dust remaining will be trapped under the finish.
Staining:
- Preparation: Apply a wood conditioner if you are using softwoods like pine, or woods known for blotchy staining (e.g., maple). This helps achieve a more even color absorption.
- Application: Apply wood stain with a brush, rag, or foam applicator, working in the direction of the wood grain. Allow it to penetrate for the recommended time (check product instructions), then wipe off any excess. More coats will deepen the color.
- Drying: Allow ample drying time between coats and before applying a topcoat.
- For specific wood types like hemlock, you might find our guide on stained hemlock wood: basics, process, types, and more useful.
Painting:
- Primer: Apply a good quality primer, especially if you want the paint to adhere well and for a uniform color. Sand lightly after primer dries.
- Application: Apply thin, even coats of your chosen paint (latex, oil-based, chalk paint, etc.) with a brush or roller. Lightly sand with a very fine grit sandpaper between coats for a smooth finish.
- Distressing (for rustic designs): If aiming for a distressed look, apply a second contrasting color and then sand through the top layer in certain areas after it dries, revealing the color underneath. This is a common technique for rustic reclaimed aesthetics.
Clear Protective Coats (Sealants):
- Regardless of whether you stained or painted, a protective topcoat is essential for durability.
- Polyurethane: A popular choice for its durability and resistance to moisture and scratches. Available in oil-based (more durable, amber tint) and water-based (dries faster, clear finish) options. Apply in thin, even coats, sanding lightly with a very fine grit (e.g., 320-400) between coats. Check out can you put spar urethane over polyurethane? compatibility insights for advanced finishing knowledge. For a truly professional sheen, explore high gloss wood finishing techniques.
- Lacquer: Dries very quickly, offering a smooth, hard finish. Often applied with a spray gun.
- Varnish: Similar to polyurethane, offering good protection.
- Wax: Can be used over bare wood, stain, or paint for a soft, natural sheen and some protection. Consider paste wax over polyurethane: a step-by-step guide for specific application advice.
- Natural Oils: For a more natural look and feel, options like linseed oil or tung oil penetrate the wood, enhancing its grain while providing protection. See our article on natural wood finishing techniques for details.
- Application Tips: Always follow the manufacturer’s instructions for drying times, number of coats, and re-coating intervals. Ensure good ventilation.
Mounting Your Headboard
Once your finish is fully cured, it’s time to install your headboard securely.

Mounting Options:
Wall-Mounted (Floating Headboard):
- French Cleats: This is a highly recommended method for a strong, invisible mount. One cleat is attached to the back of the headboard, and the other to the wall. They interlock, distributing the weight evenly. Ensure you hit wall studs for maximum security.
- D-Ring Hangers: Suitable for lighter headboards. Attach two D-rings to the back of the headboard and hang them on sturdy picture hooks or screws anchored into wall studs.
- Z-Clips: Similar to French cleats but often come in sets of smaller clips, providing a clean look.
- Keyhole Hangers: Recess into the back of the headboard, allowing it to hang on screws protruding from the wall.
Bed Frame Attached:
- Some headboards are designed to bolt directly to a standard metal bed frame. Ensure your headboard’s uprights or legs are wide enough to accommodate the frame’s mounting brackets. You may need to purchase adapter plates if the holes don’t align.
- This method is generally less sturdy than wall-mounting for heavier headboards.
Installation Steps:
- Locate Studs: Use a stud finder to locate the wall studs where you plan to mount the headboard. Mark their positions.
- Determine Height: Position your headboard on the wall (or align with the bed frame) to determine the ideal height. Account for your mattress and pillows. Mark the top edge of the headboard on the wall.
- Attach Mounting Hardware: Following the instructions for your chosen mounting method, attach the hardware to the headboard and then to the wall, ensuring it’s perfectly level. Use a level extensively throughout this process.
- Test Security: Once mounted, gently test the headboard’s stability to ensure it is securely attached and won’t wobble.
With your custom-designed and perfectly finished wooden headboard in place, your bedroom will feel completely transformed. Enjoy the satisfaction of having created a unique, functional, and beautiful piece of furniture with your own hands. This project is a fantastic step in crafting your dream retreat: the ultimate guide to a woodworking bedroom in 2026.
Conclusion
Creating your own DIY Wooden Headboards: Custom Designs from Rustic Reclaimed to Modern Upholstered Panels is a rewarding project that offers immense satisfaction and a truly personalized touch to your bedroom. From the initial spark of an idea to the final secure mount, each step allows you to infuse your unique style, whether that’s the raw beauty of reclaimed wood or the sophisticated comfort of an upholstered design. We’ve covered everything from meticulous planning and wood selection to precision cutting, robust joinery, and exquisite finishing techniques.
By embracing this DIY challenge, you not only enhance your home but also develop valuable woodworking skills, building confidence in using essential power tools and mastering various finishes. The journey from raw materials to a finished, professional-looking headboard is a testament to your creativity and craftsmanship.
Actionable Next Steps
- Refine Your Vision: Sketch out your dream headboard design. Consider your room’s existing decor and the specific aesthetic you want to achieve. Gather inspiration from magazines, online galleries, and home decor sites.
- Measure Meticulously: Re-measure your bed and the wall space to ensure perfect dimensions for your chosen design.
- Source Materials: Identify the wood type (pine, oak, reclaimed, etc.) and any upholstery fabric or foam you’ll need. Plan your material sourcing, prioritizing quality and sustainability.
- Gather Tools: Ensure you have all the necessary power tools (miter saw, drill, sander) and hand tools. If you’re missing something, consider renting or borrowing for a one-time project.
- Start Building: Follow the steps outlined in this guide, taking your time with each phase from cutting to assembly and finishing. Remember to prioritize safety at all times.
- Personalize & Enjoy: Experiment with different finishes to truly make the headboard your own. Once complete, stand back and admire your custom creation. Your bedroom in 2026 will thank you for it!
