
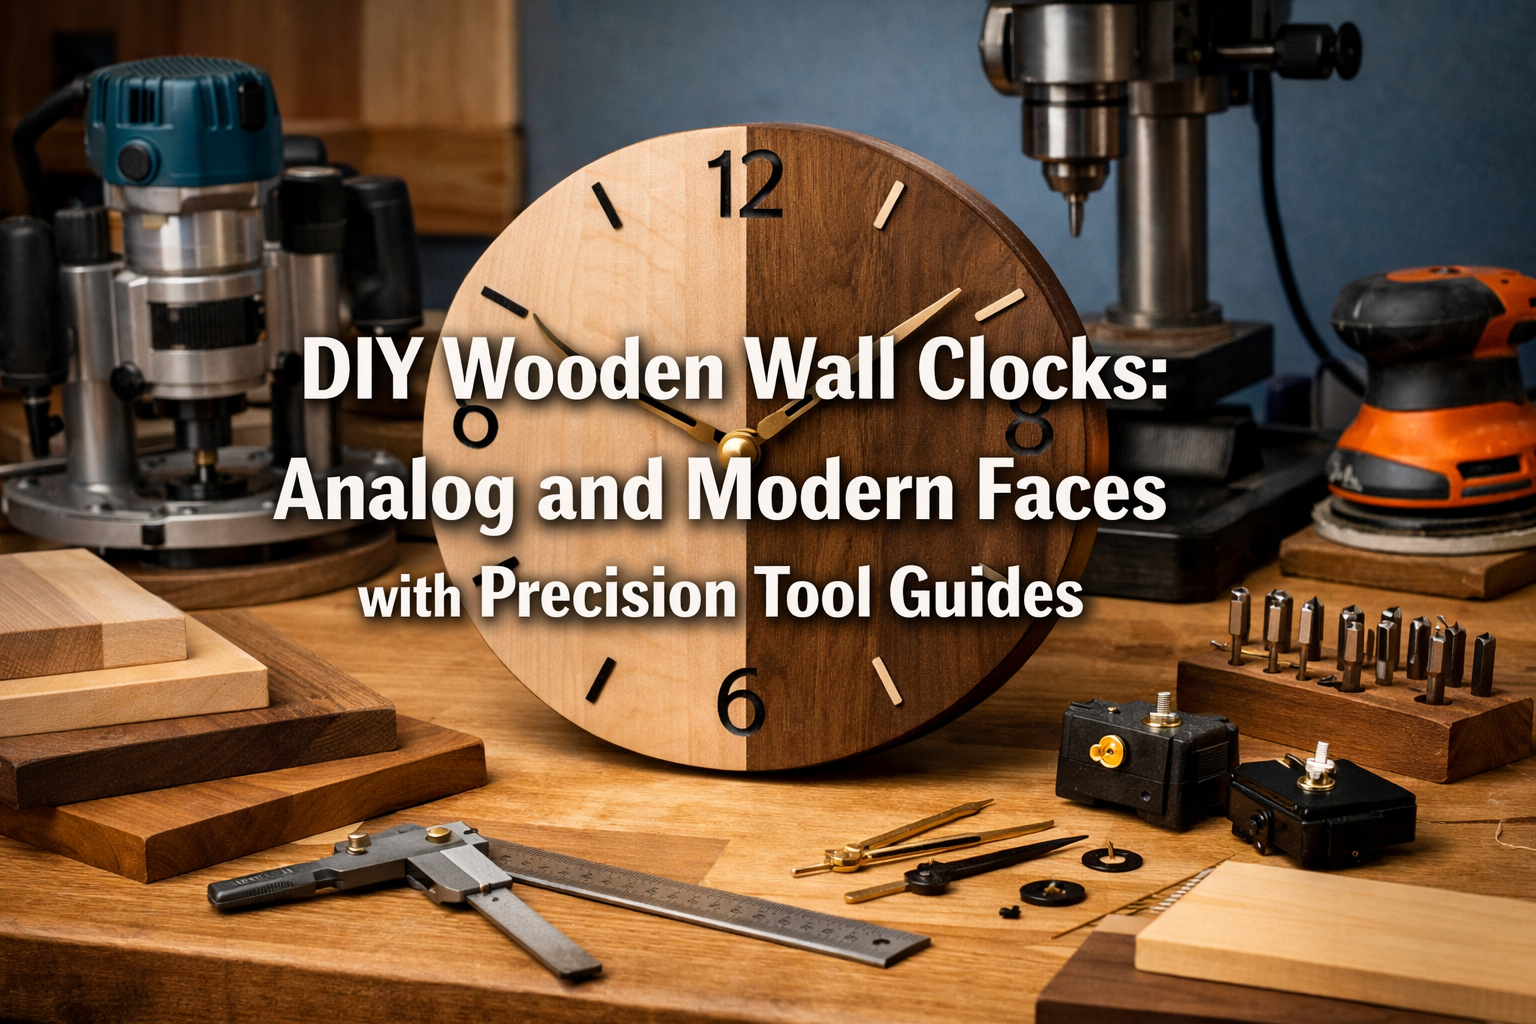

Creating a custom wooden wall clock is more than just a woodworking project; it’s an opportunity to infuse personal style and craftsmanship into your living space. In 2026, as the appreciation for handmade items continues to grow, mastering the art of DIY Wooden Wall Clocks: Analog and Modern Faces with Precision Tool Guides has become a highly rewarding endeavor for both novice and experienced woodworkers. This comprehensive guide will walk you through every essential step, from understanding clock mechanisms to applying the perfect finish, ensuring your custom timepiece is both functional and aesthetically stunning. Whether your preference leans towards the timeless elegance of an analog face or the clean lines of a modern design, we’ll cover the techniques and tools necessary to achieve precision and beauty, even for adapting these pieces to fit seamlessly into small spaces.
Key Takeaways
- Understanding Clock Mechanisms: Selecting the correct quartz movement is crucial for the functionality and overall depth of your DIY wooden wall clock.
- Precision Woodworking Tools: Utilizing tools like routers, jigsaws, and drill presses with precision ensures clean cuts, accurate joinery, and professional-grade results for your clock face and body.
- Design Versatility: Learn to craft both classic analog and sleek modern clock faces, adapting designs to suit various interior aesthetics and small space considerations.
- Finishing Techniques: Proper sanding, staining, and polishing are vital for enhancing the wood’s natural beauty and protecting your handmade timepiece for years to come.
- Customization and Adaptation: Discover how to personalize your clock with decorative bezels, unique numberings, and custom sizing to perfectly fit its intended location.
Laying the Foundation: Understanding Mechanisms and Material Selection for DIY Wooden Wall Clocks
The journey into crafting DIY Wooden Wall Clocks: Analog and Modern Faces with Precision Tool Guides begins with a solid understanding of the core components and materials. The heart of any clock is its mechanism, and selecting the right one is paramount. Equally important is the choice of wood, which dictates the aesthetic and the ease of working with your chosen design.

Choosing Your Clock Mechanism: Quartz vs. Mechanical
While mechanical movements offer intricate charm, quartz movements are overwhelmingly preferred for DIY wall clocks due to their:
- Accuracy: Quartz movements are incredibly precise, ensuring reliable timekeeping.
- Affordability: They are significantly less expensive than mechanical alternatives.
- Ease of Installation: Most quartz movements are simple to install, requiring minimal expertise.
- Low Maintenance: Battery-operated, they need little to no ongoing maintenance.
When selecting a quartz movement, pay close attention to the shaft length. This is critical as it must be long enough to pass through your chosen wood thickness and still accommodate the minute and hour hands with sufficient clearance. Typical shaft lengths range from 1/4 inch to 5/8 inch (6mm to 16mm). Measure your wood slab carefully before purchasing.
| Mechanism Feature | Description | Importance for DIY Clock |
|---|---|---|
| Shaft Length | The threaded portion that passes through the clock face. | Must match wood thickness |
| Movement Type | Standard (tick-tock) or continuous sweep (silent). | Affects user experience |
| Hand Styles | Compatibility with various hour, minute, and second hand designs. | Aesthetic choice |
| Power Source | Typically a single AA battery. | Ease of maintenance |
Wood Selection: Character, Durability, and Workability
The type of wood you choose will profoundly impact the final appearance and the ease of your project. Consider the following:
- Hardwoods (e.g., Oak, Maple, Walnut, Cherry): These woods are durable, offer beautiful grain patterns, and take finishes exceptionally well. They are ideal for high-quality, lasting pieces. Oak and walnut provide rich, dark tones, while maple and cherry offer lighter, warmer hues. For those interested in diverse finishing options, exploring maple wood finishing techniques or oak wood finishing techniques can be highly beneficial.
- Softwoods (e.g., Pine, Cedar): More affordable and easier to cut, softwoods are great for beginners or for projects where a rustic aesthetic is desired. They might be more prone to dents but can still create stunning clocks, especially with proper finishing.
- Plywood or MDF: For modern, minimalist designs or painted finishes, high-quality Baltic birch plywood or MDF can provide a stable, smooth surface. They are also excellent for laser-cut designs.
- Reclaimed Wood: For a truly unique and rustic touch, consider sourcing and restoring urban-harvested and reclaimed wood. This option adds character and a story to your timepiece, perfectly aligning with a rustic-modern aesthetic.
“The right wood choice is half the battle won. It sets the tone, defines the character, and influences every cut and finish that follows.”
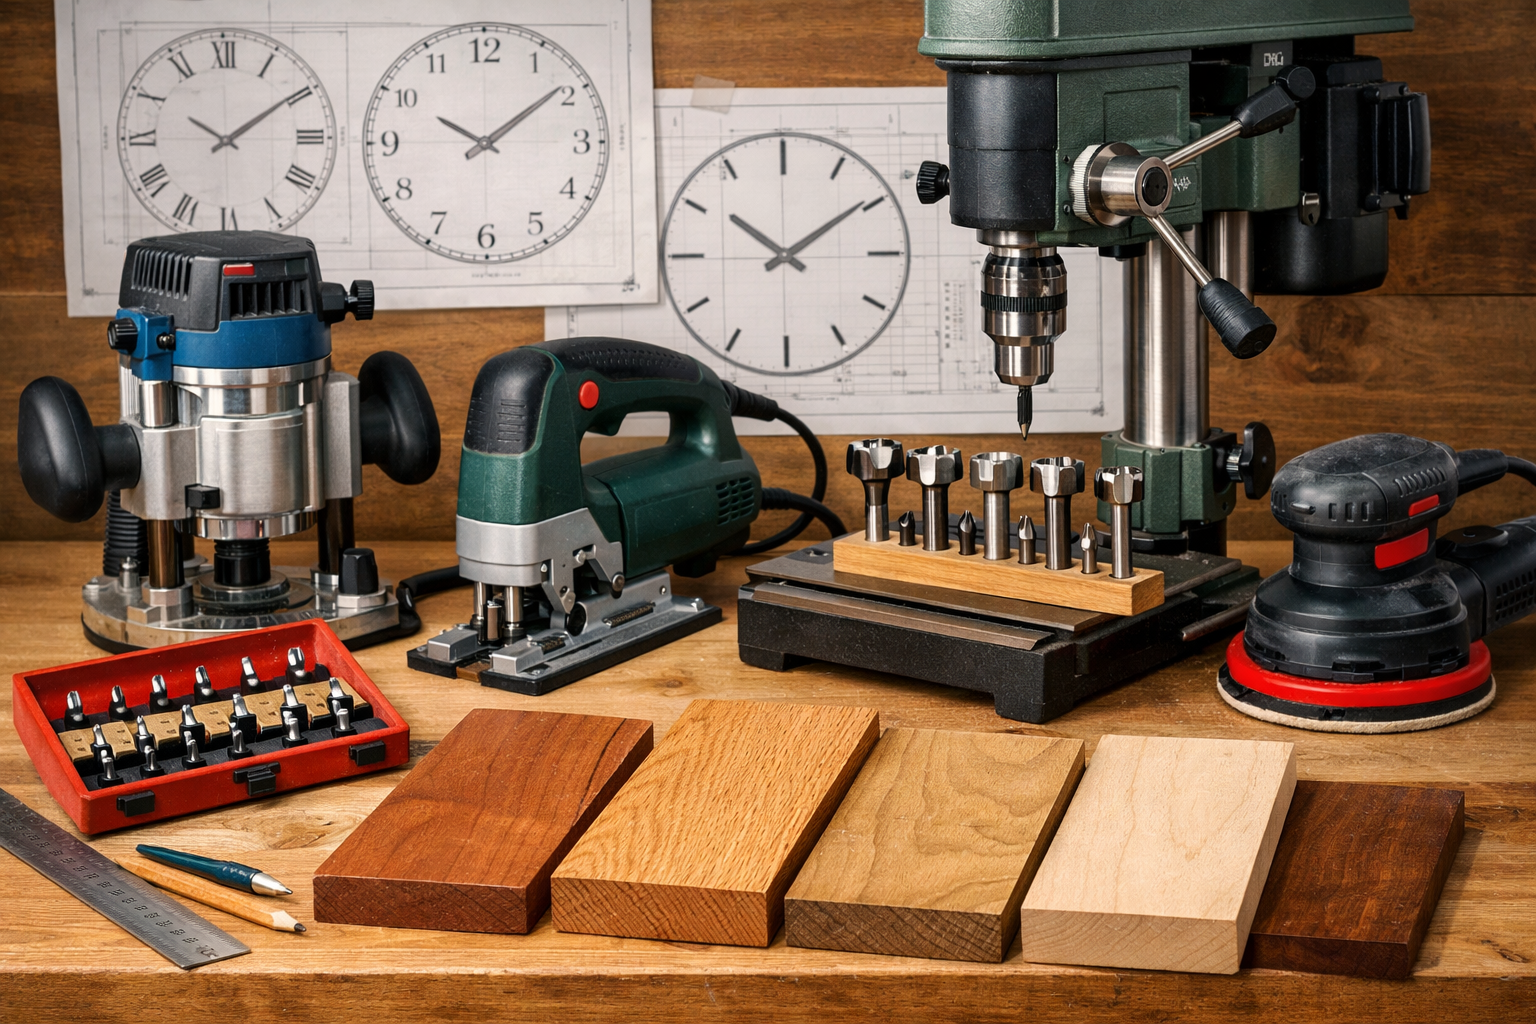
Essential Tools for Precision Crafting
To achieve professional results in your DIY Wooden Wall Clocks: Analog and Modern Faces with Precision Tool Guides, a selection of precision tools is indispensable.
- Router: A handheld or table-mounted router is crucial for creating decorative edges, dados for embedded numbers, and perfect circular recesses for clock mechanisms. When working with edges, consider various router bits to achieve different profiles.
- Jigsaw or Bandsaw: For cutting the main circular or custom shape of your clock face. A bandsaw offers greater precision and smoother cuts, while a jigsaw is more versatile for intricate shapes.
- Drill Press: Essential for drilling the perfectly straight and perpendicular hole for the clock mechanism shaft. It ensures the hands will rotate without obstruction. A Forstner bit is recommended for clean, flat-bottomed holes for recessed mechanisms.
- Sanding Tools: An orbital sander for initial smoothing, and finer grit sandpaper (by hand) for delicate areas and preparing the surface for finishing.
- Measuring and Marking Tools: A compass for drawing perfect circles, a ruler, a T-square, and a pencil for accurate measurements and layout.
- Clamps: To secure your workpiece during cutting, routing, and gluing.
Pro Tip: Investing in good quality router bits will significantly improve the cleanliness and precision of your cuts, making subsequent sanding and finishing much easier.
Designing and Shaping Your Clock Face: Analog and Modern Styles
Once your materials and tools are ready, the real creativity begins. This section focuses on designing and shaping your clock face, exploring the distinctions between analog and modern styles, and providing precision tool guides to execute your vision for DIY Wooden Wall Clocks: Analog and Modern Faces with Precision Tool Guides.
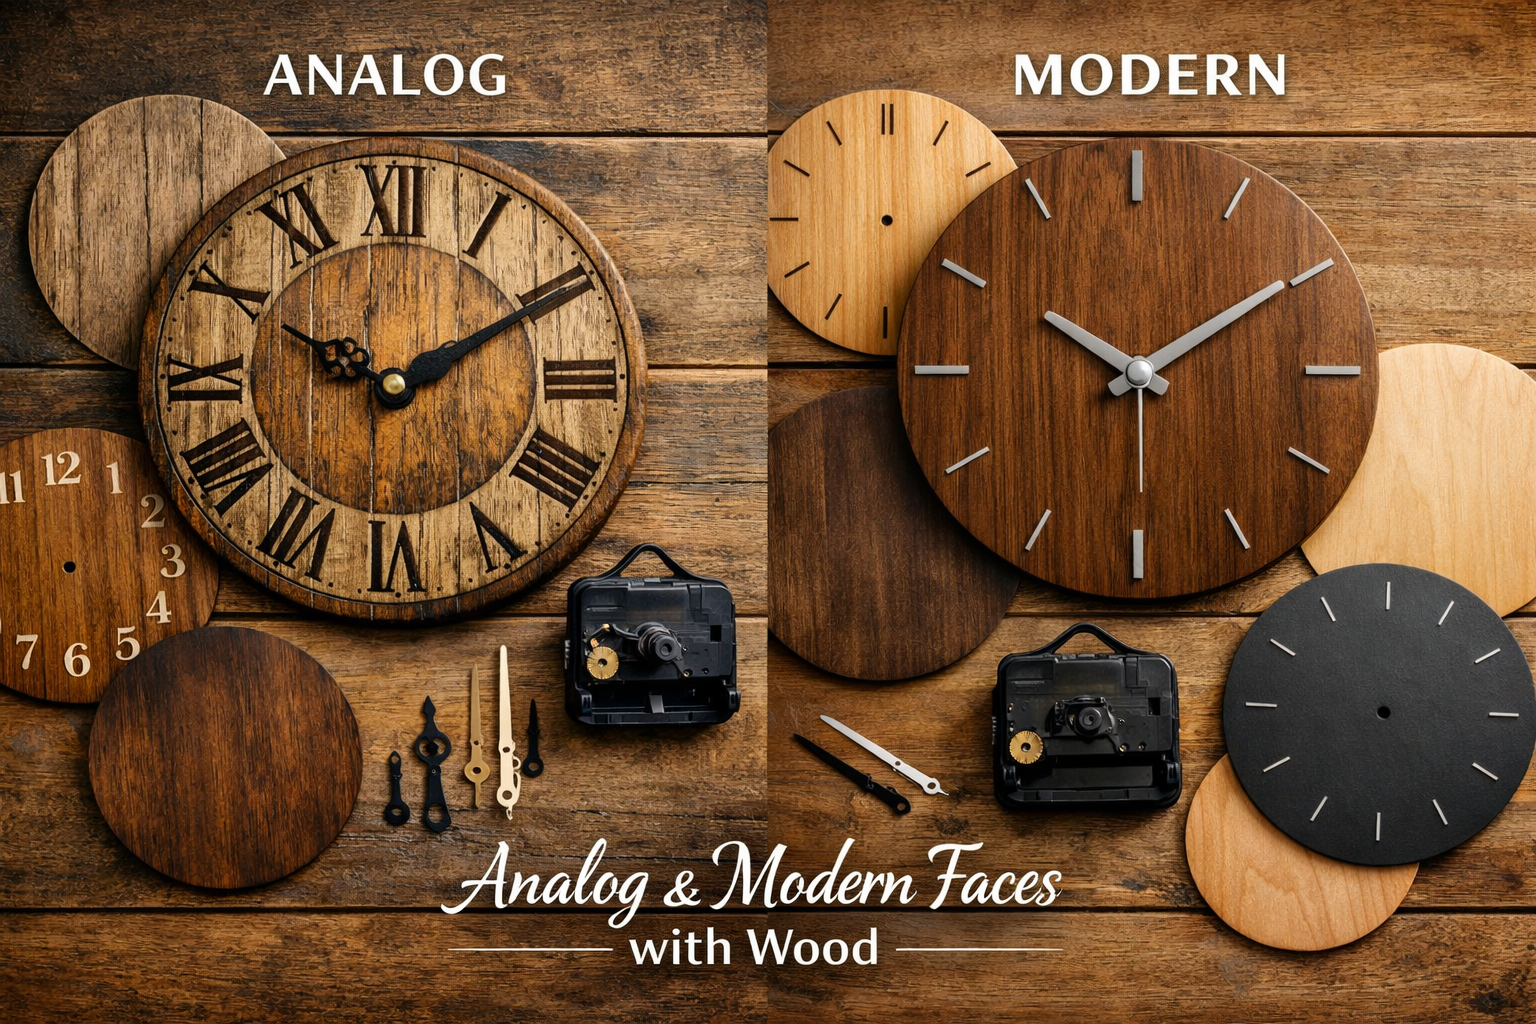
Analog Face Designs: Timeless Elegance
Analog clocks evoke a sense of tradition and craftsmanship. Key elements include:
- Numbers:
- Roman Numerals: Classic and sophisticated. Can be carved, painted, or applied.
- Arabic Numerals: Traditional and easy to read. Can also be carved, stenciled, or small wooden cutouts.
- Dash Markers: Simple lines, often routed or painted, offer a clean yet traditional look.
- Hands: Ornate, decorative hands complement the traditional aesthetic. Ensure they are compatible with your chosen clock mechanism’s shaft type.
- Decorative Bezels and Edges:
- Routed Edges: Use a router with a round-over, ogee, or chamfer bit to create elegant edge profiles.
- Carved Details: Small, intricate carvings can add a unique touch around the numbers or the clock’s perimeter.
- Embedded Accents: Consider inlaying contrasting wood strips or metal accents for a truly custom look.
Precision Guide: Routing Analog Details
- Layout: Carefully mark the center for your mechanism hole and the positions for your numbers or markers using a compass and ruler.
- Mechanism Hole: Use a drill press with a Forstner bit to create a clean, flat-bottomed recess for the mechanism on the back of the clock, and a through-hole for the shaft. This ensures the mechanism sits flush.
- Number/Marker Routing: For carved numbers or dash markers, use a small V-groove bit or a straight bit with a router. For consistent depth and placement, consider building a simple router jig for repetitive elements.
- Edge Profiling: Securely clamp your clock blank. Using a router table or a handheld router with an edge guide, slowly and steadily route the chosen edge profile. Make multiple shallow passes to prevent tear-out and achieve a smooth finish.
Modern Face Designs: Sleek and Minimalist
Modern clocks embrace simplicity, functionality, and often a bold, minimalist aesthetic.
- Numbers:
- No Numbers: Many modern designs forgo numbers entirely, relying on the clean lines of the clock face itself.
- Simple Dash Markers: Thin, unadorned lines, often laser-cut or routed, indicating hours.
- Geometric Shapes: Circles, squares, or triangles can replace traditional numbers, adding a contemporary flair.
- Hands: Straight, thin, and unembellished hands are typical. Contrasting colors often enhance visibility.
- Clean Edges and Form: Sharp, clean lines are paramount.
- Straight Edges: Often achieved with precise cuts from a table saw or bandsaw, followed by meticulous sanding.
- Recessed Faces: Routing a shallow recess on the main board where a contrasting, thinner wood circle is inlaid can create a subtle modern depth.
- Floating Elements: Numbers or markers can be slightly raised or suspended, creating a 3D effect.
Precision Guide: Achieving Modern Cleanliness
- Template Creation: For complex modern shapes or intricate marker layouts, create a detailed template from MDF or plywood. This template can then be used with a router and a flush trim bit to perfectly replicate the design on your chosen wood.
- Router Jigs for Circles: To cut perfect circles for your clock face, construct a simple router jig. This typically involves a piece of plywood with a pivot point and an attachment for your router. This allows you to cut precise circles of any diameter. You can find excellent resources on handcrafted wooden wall art for more advanced router techniques.
- Precise Cutting for Angles: If your modern design involves straight lines and sharp angles, use a miter saw or table saw set to the exact angles. Ensure your blades are sharp to minimize tear-out.
- Sanding for Smoothness: For modern designs, a perfectly smooth surface is crucial. Start with coarser grits (e.g., 80 or 100) and progressively move to finer grits (up to 220 or 320) using an orbital sander. Finish with hand-sanding for any intricate areas.
Consider the scale of your clock relative to its intended space. For small rooms, a minimalist design can prevent the clock from overpowering the decor, while still making a statement.
Finishing Touches and Assembly: Bringing Your Wooden Wall Clock to Life
The final stages of your DIY Wooden Wall Clocks: Analog and Modern Faces with Precision Tool Guides project involve meticulous finishing and careful assembly. These steps are crucial for protecting your woodworking, enhancing its beauty, and ensuring long-lasting functionality.
Sanding: The Foundation of a Perfect Finish
Proper sanding is non-negotiable for a professional-looking clock.
- Initial Sanding: Start with 80-100 grit sandpaper to remove any saw marks, glue residue, or major imperfections. An orbital sander is ideal for large, flat surfaces.
- Progressive Grits: Gradually move to finer grits: 120, 150, 180, and finally 220 or even 320. Each grit removes the scratches left by the previous, coarser grit.
- Hand Sanding: For routed edges, carved details, and tight corners, finish by hand sanding. Sand with the grain of the wood to avoid unsightly cross-grain scratches.
- Dust Removal: After each sanding stage, thoroughly remove all dust using a tack cloth or compressed air. Dust left on the surface can embed in your finish, causing a rough texture.
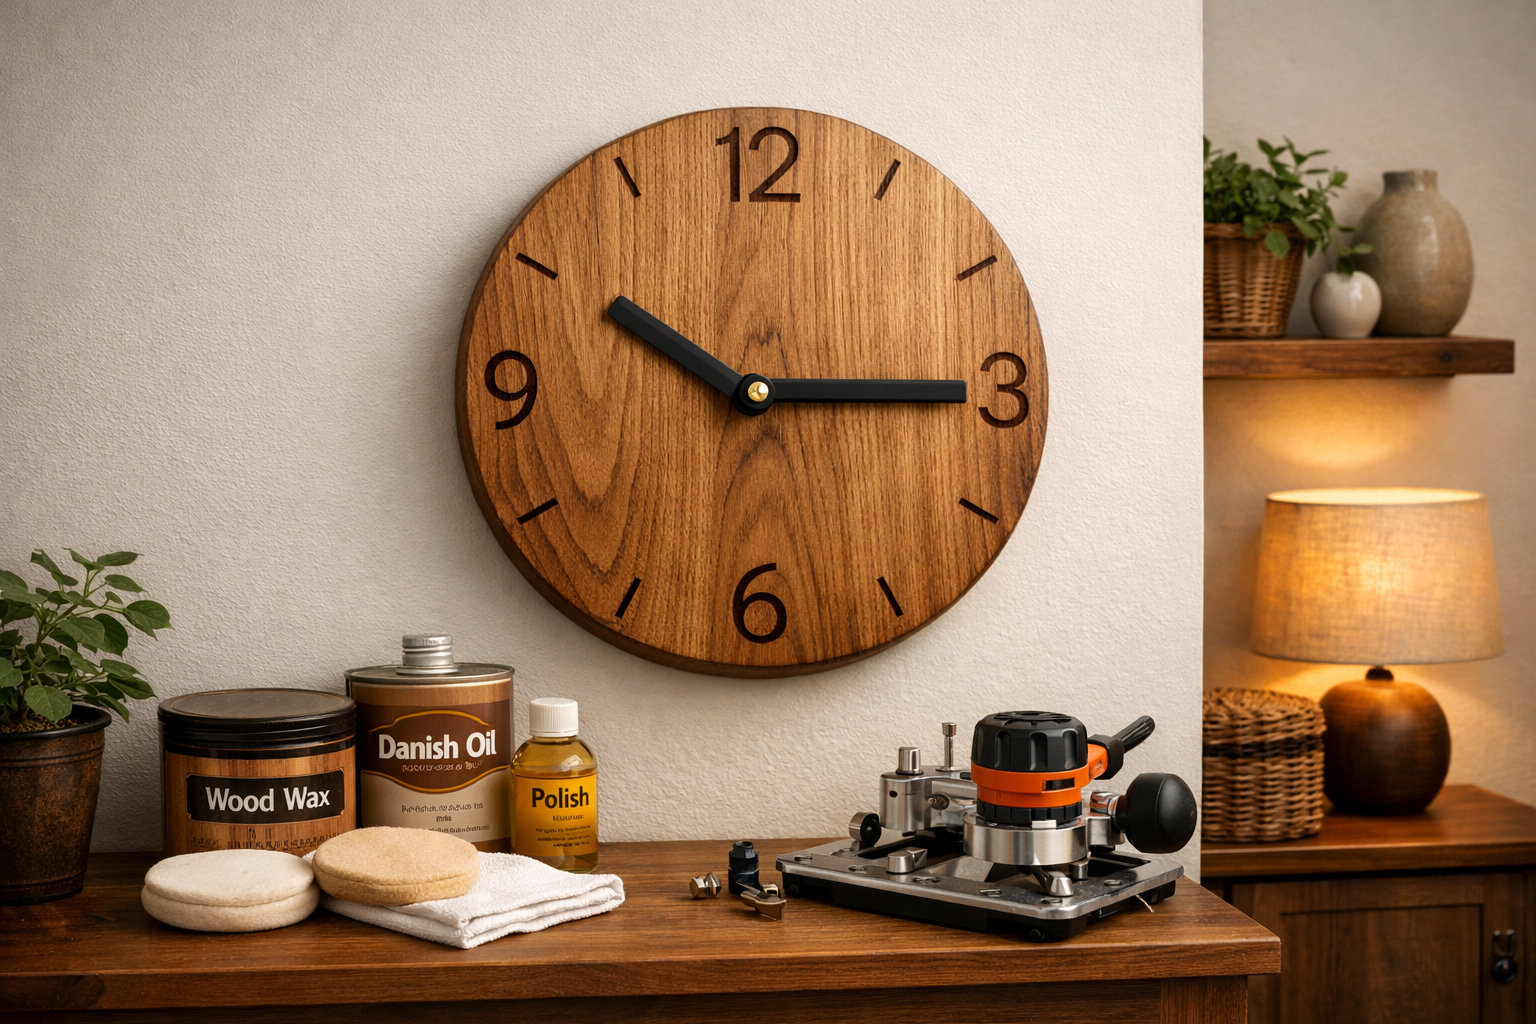
Staining and Sealing: Enhancing and Protecting
Choosing the right finish brings out the character of your wood and protects it from environmental damage.
- Stains: If desired, apply a wood stain to alter the color and highlight the grain. Test your stain on a scrap piece of the same wood to ensure you achieve the desired hue. Apply evenly and wipe off excess according to manufacturer instructions. For guidance on different approaches, check out articles on natural wood finishing techniques or dark wood finishing techniques.
- Sealers: After staining (or directly on unstained wood), apply a sealer. This could be a sanding sealer, shellac, or a thinned coat of your chosen topcoat. Sealers help to prevent subsequent coats from soaking in too much and provide a uniform surface.
- Topcoats:
- Polyurethane: Highly durable and provides excellent protection. Available in various sheens (matte, satin, gloss). Apply thin coats, sanding lightly with fine grit (e.g., 320-400) between coats for a smooth finish.
- Oil Finish (e.g., Tung Oil, Linseed Oil): Penetrates the wood, creating a natural, hand-rubbed look. Offers less protection than polyurethane but is easy to repair and highlights the wood’s natural beauty. Requires multiple coats.
- Wax: Often applied over an oil finish or as a standalone protective layer for a soft, low-sheen look.
- Paint: For modern designs, high-quality acrylic or latex paint can provide a vibrant, opaque finish. Ensure proper priming for best results.
Important: Always follow the manufacturer’s instructions for drying times and application methods for your chosen finish. Adequate ventilation is crucial.

Assembly and Mechanism Installation
With your wooden clock face beautifully finished, it’s time for the final assembly.
- Install the Mechanism:
- Insert the clock mechanism’s shaft through the pre-drilled hole from the back of the clock face.
- Secure it with the provided washer and hex nut on the front side. Tighten snugly, but do not overtighten, as this can damage the mechanism or warp the wood.
- Attach the Hands:
- Carefully press the hour hand onto the shaft. It should sit flush against the mechanism.
- Next, press the minute hand onto the shaft. Ensure it clears the hour hand and the clock face.
- If your mechanism includes a second hand, gently press it onto the small pin at the end of the shaft.
- Tip: Position all hands at the 12 o’clock position before tightening them, then set the correct time using the dial on the back of the mechanism.
- Power Up: Insert a fresh AA battery into the mechanism.
- Hanging Hardware: Attach appropriate hanging hardware to the back of your clock. A simple D-ring hanger or a keyhole slot (routed directly into the wood) works well. Ensure it is centered and secure.
Adapting for Small Spaces: Style and Scale
When designing DIY Wooden Wall Clocks: Analog and Modern Faces with Precision Tool Guides for small spaces, consider these practical adaptations:
- Scale: Opt for smaller diameter clocks (8-12 inches) to avoid overwhelming the wall.
- Minimalism: Modern, uncluttered designs with simple lines and minimal ornamentation tend to work best in compact areas.
- Color Palette: Lighter woods or painted finishes can make a small space feel brighter and more open.
- Functionality: Combine your clock with other functions, perhaps integrating a small shelf for keys or a memo board if space allows, similar to multi-functional pieces like those discussed in Ultimate DIY End Tables.
- Wall Art Integration: Consider your clock as part of a larger gallery wall, blending it with other handcrafted wooden wall art pieces to create a cohesive display without clutter.
Conclusion
Crafting your own wooden wall clock is a deeply satisfying woodworking project that marries utility with artistry. By meticulously following the steps outlined in this guide, from selecting the ideal clock mechanism and wood to employing precision tools for cutting and routing, and finally, applying the perfect finish, you can create a truly unique timepiece. Whether your aesthetic leans towards the classic charm of an analog face or the sleek sophistication of a modern design, the journey of DIY Wooden Wall Clocks: Analog and Modern Faces with Precision Tool Guides empowers you to produce a functional work of art tailored to your home in 2026. Remember, precision in every cut and care in every finish will elevate your clock from a simple object to a cherished heirloom.
Actionable Next Steps:
- Gather Your Inspiration: Browse woodworking magazines, online galleries, and home decor sites for ideas that resonate with your personal style and the decor of your intended space.
- Source Your Materials: Purchase your chosen wood, clock mechanism (paying attention to shaft length), and any specific hands or numbers you desire. Don’t forget sandpaper, stains, and finishes.
- Acquire Essential Tools: Ensure you have a router, jigsaw or bandsaw, drill press, and appropriate bits and jigs. Consider investing in quality tools, as they will serve you well in many future woodworking projects.
- Practice on Scraps: Before committing to your final piece, practice routing, drilling, and finishing techniques on scrap pieces of the same wood. This builds confidence and helps refine your skills.
- Start Building: Take your time, enjoy the process, and celebrate each milestone. Your custom wooden wall clock will not only tell time but also tell a story of your craftsmanship.
References
- Wood Magazine. (2024). Essential Woodworking Tools for Beginners. Meredith Corporation.
- The Woodworker’s Journal. (2023). Finishing Wood: A Comprehensive Guide. Rockler Woodworking and Hardware.
- Fine Woodworking. (2025). Router Jigs for Precision Cuts. Taunton Press.
