
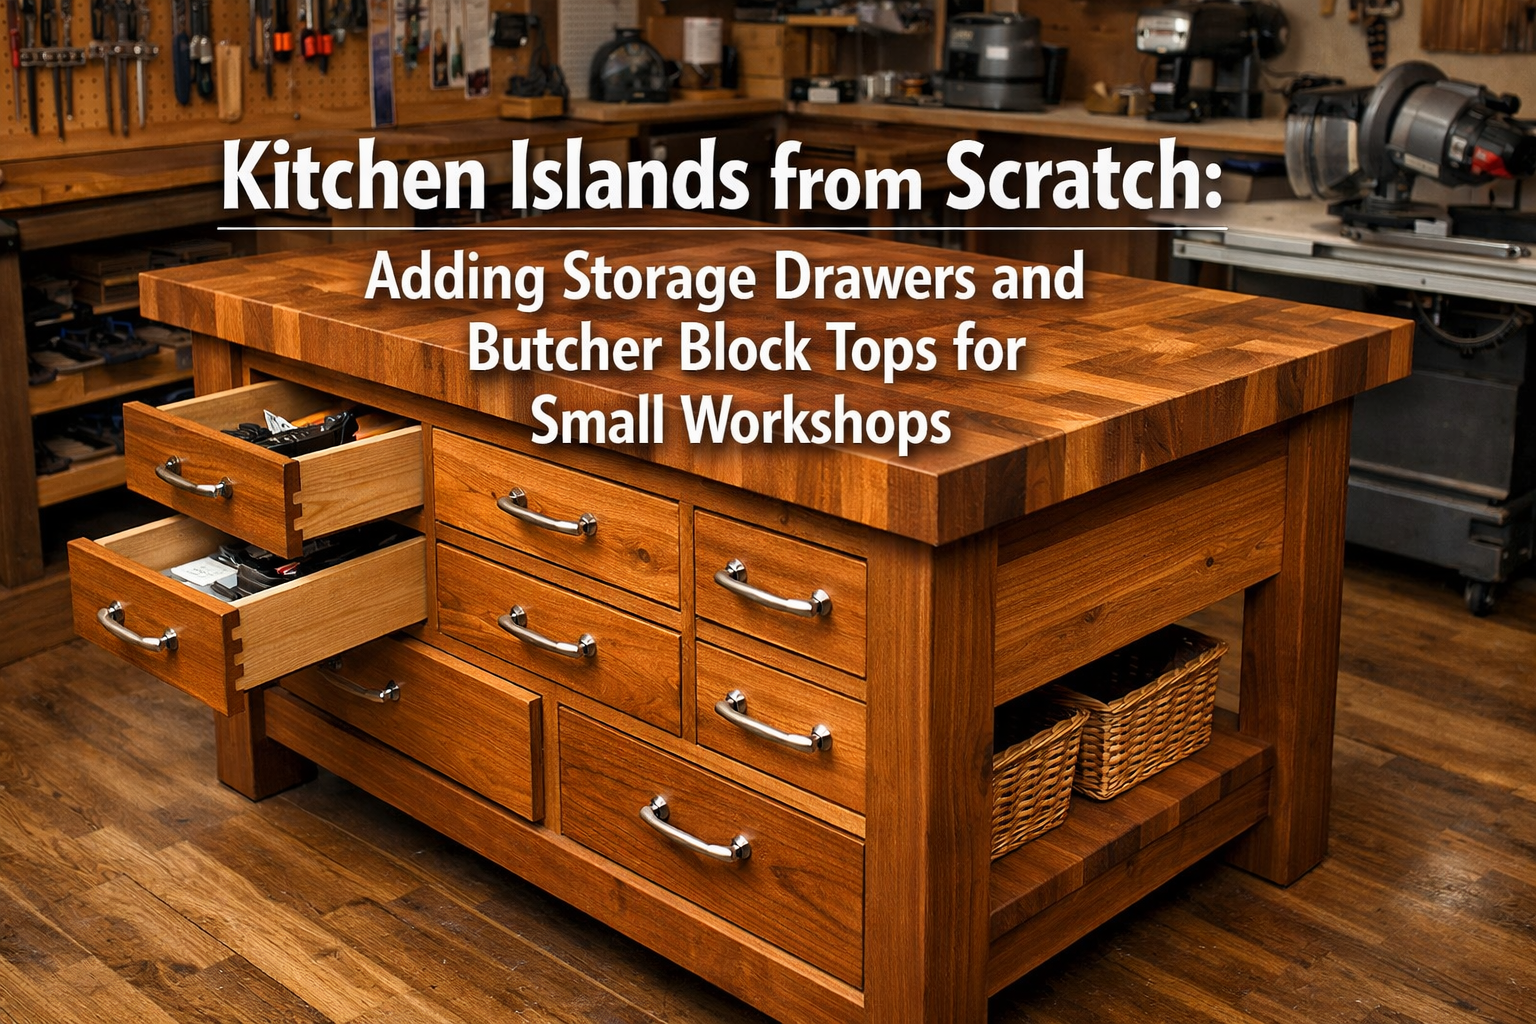

In the realm of woodworking and home improvement, few projects offer the blend of practicality, aesthetic appeal, and skill development quite like building a custom kitchen island. For those with a small workshop, the challenge is amplified, requiring clever design and efficient use of space. This comprehensive guide, focusing on Kitchen Islands from Scratch: Adding Storage Drawers and Butcher Block Tops for Small Workshops, provides a step-by-step approach to constructing a compact, highly functional island. This article will delve into designing for limited space, mastering essential joinery like dovetails for robust drawers, and applying durable finishes that ensure longevity, especially in environments where heat and moisture are considerations.
Imagine transforming your compact workspace or a corner of your home into a highly organized and efficient area, complete with a versatile workbench that doubles as a stylish focal point. Building your own kitchen island from scratch allows for unparalleled customization, ensuring every inch serves a purpose. By integrating smart storage drawers and a resilient butcher block top, this project addresses the core needs of small workshops: maximizing utility, durability, and ergonomic design. Let’s embark on this rewarding journey of craftsmanship, turning raw materials into a functional masterpiece.

Key Takeaways
- Strategic Design for Small Spaces: Prioritize compact footprints, vertical storage, and multi-functional features to optimize utility in limited workshop areas.
- Precision Joinery is Crucial: Employ robust joinery techniques, particularly dovetail joints, for durable and long-lasting storage drawers capable of holding heavy tools.
- Butcher Block Top Selection and Finishing: Choose the right wood species and apply heat- and moisture-resistant finishes to ensure the butcher block top withstands demanding workshop conditions.
- Integrated Power and Organization: Plan for power tool access and incorporate thoughtful organizational elements to enhance workflow and keep the workspace tidy.
- Essential Wood Finishing: Understand and apply proper wood finishing techniques for both aesthetics and protection, considering specialized finishes for high-traffic surfaces.
I. Designing and Planning Your Compact Workshop Kitchen Island 📐
The foundation of any successful woodworking project lies in meticulous planning and thoughtful design. When tackling Kitchen Islands from Scratch: Adding Storage Drawers and Butcher Block Tops for Small Workshops, this initial phase is even more critical due to space constraints. The goal is to create a piece that is not only functional but also seamlessly integrates into your existing small workshop environment.
A. Assessing Your Space and Needs
Before cutting any wood, accurately measure the available floor space. Consider pathways, existing machinery, and the typical flow of your work.
- Footprint: Determine the maximum length and width your island can occupy without hindering movement.
- Height: Standard kitchen island height is around 36 inches (91 cm), but for a workshop, you might prefer a workbench height of 34 inches (86 cm) or even a standing desk height for specific tasks.
- Functionality: What primary tasks will the island support?
- Woodworking assembly?
- Small appliance storage?
- Dedicated electronics repair?
- General utility surface?
- A combination of these?
Consider the tools and materials you frequently use. This will inform the types and sizes of storage drawers needed. Do you need deep drawers for power tools, shallow drawers for hand tools, or specialized compartments for fasteners?
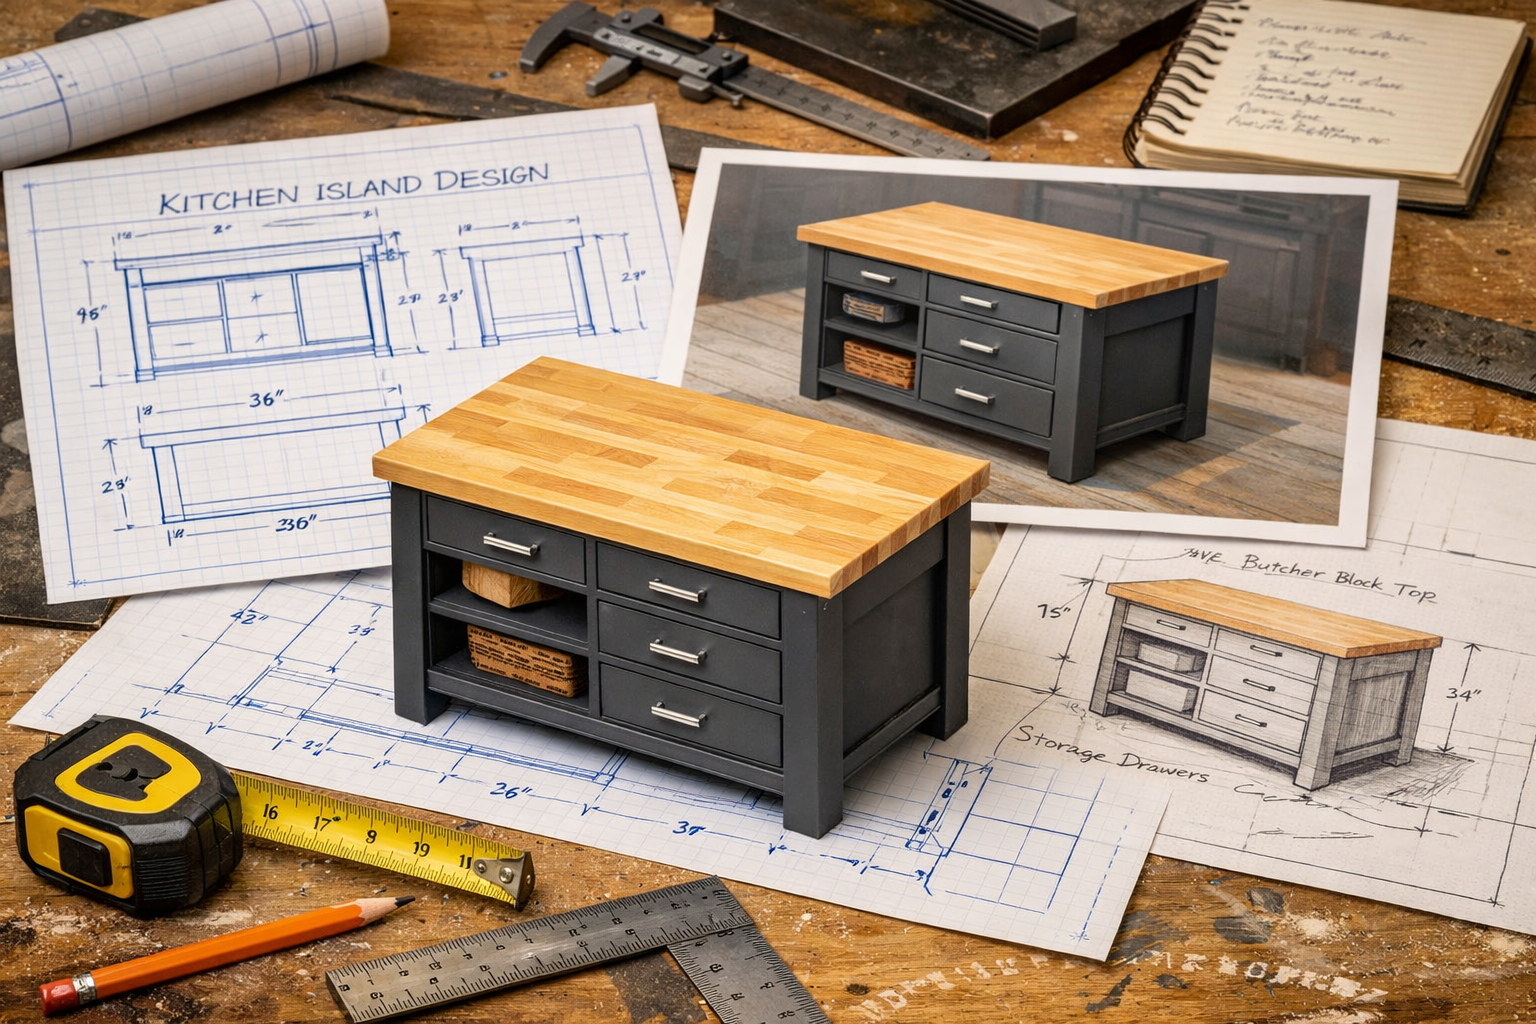
B. Sketching and Digital Design
Once measurements and functional needs are clear, begin sketching.
- Rough Sketches: Start with rough drawings to visualize the overall shape, drawer configurations, and butcher block placement. Don’t be afraid to experiment with different layouts.
- Detailed Drawings: Progress to detailed drawings, including front, side, and top views, with precise dimensions for each component:
- Frame members (legs, rails, stretchers)
- Drawer box dimensions (width, height, depth)
- Drawer slide requirements
- Butcher block dimensions and thickness
For a more precise approach, consider using digital design software (e.g., SketchUp, Fusion 360). These tools allow you to create 3D models, visualize the island in your space, and generate cut lists, minimizing errors and material waste.
Table 1: Key Design Considerations for Small Workshop Islands
| Feature | Description |
|---|---|
| Compact Footprint | Design for minimal floor space, often prioritizing depth over width, or vice versa, based on workshop layout. |
| Vertical Storage | Incorporate multiple drawers or shelving units to utilize vertical space effectively. |
| Multi-functional Top | A butcher block provides a durable work surface, but consider if part of it could be a small vise mounting point or a specific cutting area. For more ideas on versatile work surfaces, check out “The Ultimate Guide to Wooden Work Tables: Choosing, Building, and Maintaining Your Perfect Workspace 🧰 – Wood Craft Wiz”. |
| Drawer Design | Vary drawer sizes for different tools/items. Consider full-extension slides for easy access. |
| Mobility | Add locking casters if the island needs to be moved for different tasks or to clear space. |
| Integrated Power | Plan for an outlet strip or power pole if you’ll be using corded tools on the island. |
C. Material Selection
Choosing the right materials is crucial for both durability and aesthetics, especially for a workshop environment.
- Frame: Hardwoods like maple, oak, or birch are excellent choices for their strength and resistance to dings. Plywood (especially Baltic birch or cabinet-grade plywood) can also be used for structural components or drawer boxes. For cabinet constructions, understanding the properties of “1/2 Plywood for Cabinets: Strength, Durability & Design Considerations” is essential.
- Butcher Block Top:
- Maple: Hard, dense, and resistant to dents, making it a classic choice for butcher blocks.
- Cherry/Walnut: Offer beautiful darker tones but are slightly softer than maple.
- Sapele: Known for its interlocking grain and durability, offering a unique aesthetic. Consider “Sapele for Cutting Board: Characteristics, Benefits, and Maintenance Tips” for insights into this wood.
- Edge Grain vs. End Grain: Edge grain is more common for islands, offering good durability. End grain is exceptionally durable and self-healing for cutting surfaces but is more complex to construct and generally reserved for dedicated cutting boards.
- Drawer Slides: Opt for heavy-duty, full-extension drawer slides to support the weight of tools and ensure smooth operation. Soft-close features are a nice touch but not essential for a workshop island.
- Hardware: Drawer pulls, handles, and any other hardware should be robust and functional.
By carefully planning each detail, from the overall dimensions to the type of wood, you ensure that your custom island will be a valuable and lasting addition to your small workshop.
II. Constructing the Island Frame and Dovetail Drawers 🛠️
Building Kitchen Islands from Scratch: Adding Storage Drawers and Butcher Block Tops for Small Workshops moves from concept to tangible form in this construction phase. Precision in cutting, joinery, and assembly is paramount for a sturdy, long-lasting island. This section will guide you through building the robust frame and crafting durable dovetail drawers, emphasizing techniques suitable for even a compact workshop.
A. Building the Main Frame
The island’s frame provides its structural integrity.
- Cut Components: Using your detailed cut list, precisely cut all lumber for the legs, rails, and stretchers. A table saw is ideal for this, ensuring square cuts. Pay attention to grain direction for strength and aesthetics.
- Joinery for the Frame:
- Mortise and Tenon: This is the gold standard for sturdy frame construction. Use a mortiser or a router with a mortising jig to create precise mortises. Cut tenons on the table saw or with a tenoning jig.
- Pocket Hole Joinery: A simpler and quicker alternative, though less strong than mortise and tenon. Use a pocket hole jig to create strong joints.
- Doweling Jigs: Another excellent option for strong and hidden joints. For guidance on achieving perfect alignment, refer to “Doweling Jigs: A Comprehensive Guide to Types, Setup, Techniques, and Best Practices – Wood Craft Wiz”.
- Assembly:
- Assemble the side frames first, applying wood glue generously to all joint surfaces. Clamp firmly and ensure squareness.
- Once the side frames are dry, join them with the front and back rails/stretchers. Again, use glue and clamps, checking for squareness and flatness across the entire structure.
- Allow sufficient drying time for all glue joints.
Pull Quote:
“Precision in joinery isn’t just about craftsmanship; it’s about ensuring your workshop island withstands years of heavy use, just like a well-built piece of furniture.”
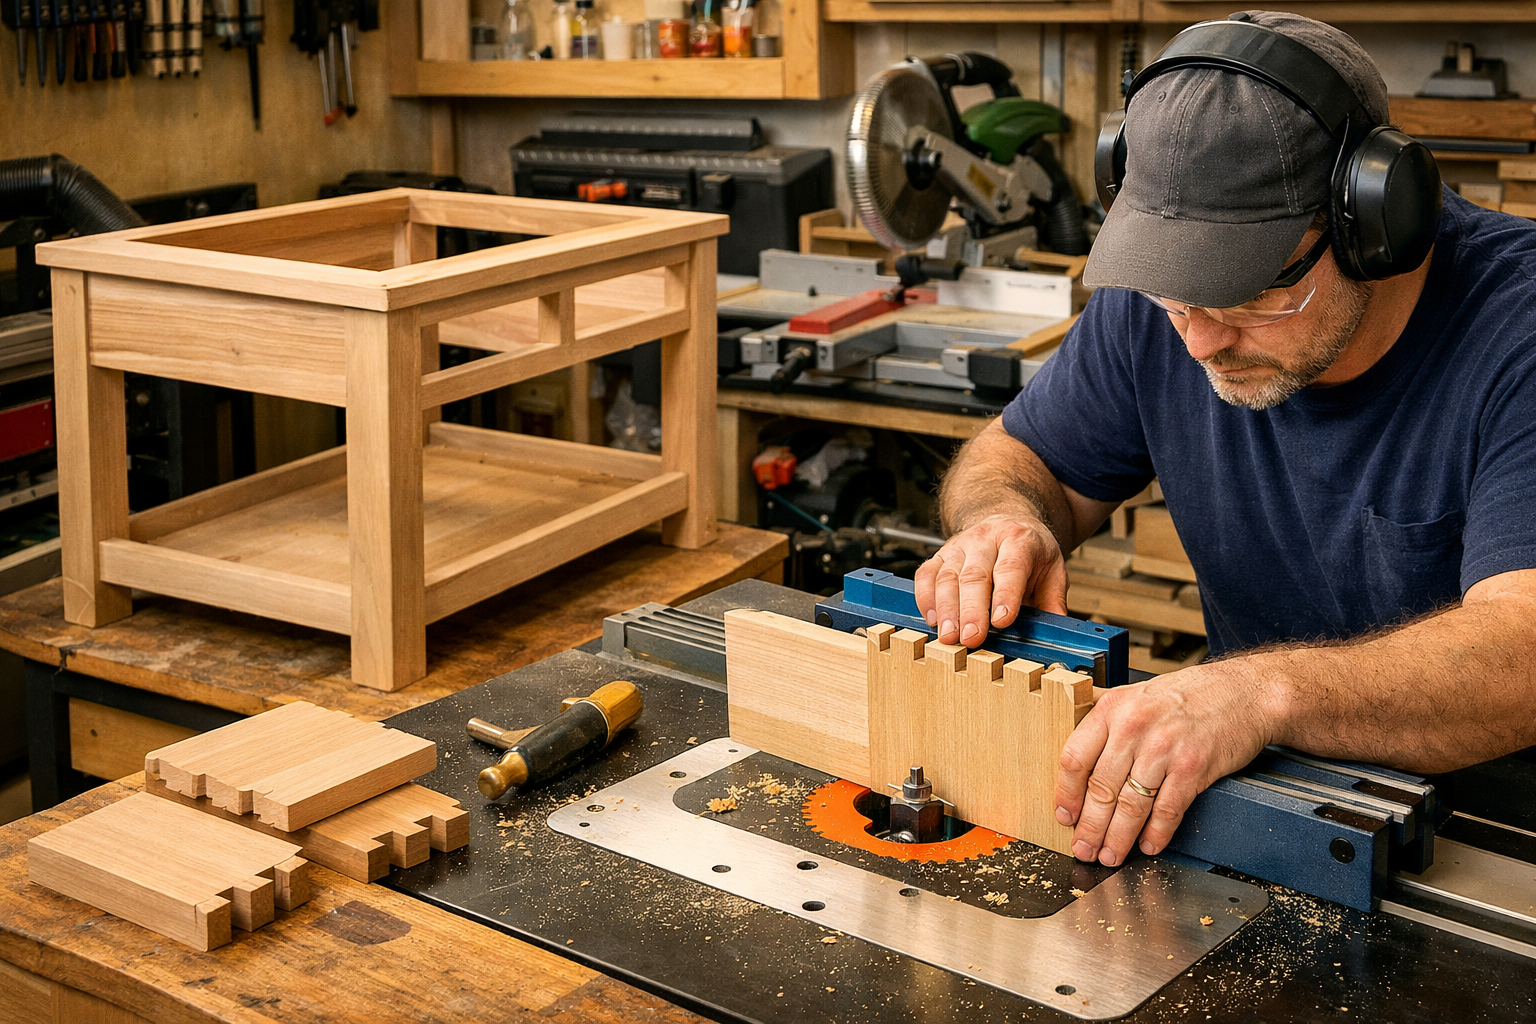
B. Crafting Dovetail Storage Drawers
Dovetail joints are renowned for their strength and classic appearance, making them perfect for storage drawers that will hold heavy tools or materials.
- Drawer Box Design:
- Material: Use a strong, stable wood for drawer boxes, such as solid hardwood (poplar, maple) or high-quality plywood (e.g., 1/2-inch Baltic birch, see “1/2 Plywood for Cabinets: Advantages, Disadvantages, and Techniques”).
- Dimensions: Cut the front, back, and side pieces for each drawer box according to your design. Remember to account for the thickness of the drawer slides and any desired gaps.
- Cutting Dovetail Joints:
- Hand-Cut Dovetails: For the ultimate in craftsmanship, hand-cutting dovetails is a rewarding skill. This involves marking, sawing with a dovetail saw, and chiseling out the waste.
- Router Jig: For efficiency and consistency, a dovetail jig used with a router is highly recommended. Follow the jig’s instructions carefully for setup and bit selection.
- Drawer Box Assembly:
- Dry-fit all dovetail joints to ensure they fit snugly. Make any necessary adjustments.
- Apply wood glue to the joint surfaces and tap the pieces together with a rubber mallet.
- Ensure the drawer box is square and clamp it until the glue dries.
- Drawer Bottoms:
- Rout a dado (groove) around the inside bottom edge of the drawer box pieces before assembly.
- Cut the drawer bottoms from 1/4-inch or 1/2-inch plywood.
- Slide the drawer bottom into the dadoes during final assembly of the drawer box (or after, if you’re using a captured bottom technique).
- Installing Drawer Slides:
- Attach the cabinet-side members of the drawer slides to the inside of the island frame, ensuring they are level and spaced correctly.
- Attach the drawer-side members of the slides to the completed drawer boxes.
- Carefully insert the drawers into the frame, testing for smooth operation. Adjust as necessary.
C. Integrating the Butcher Block Top
The butcher block top is the crowning glory of your island.

- Sourcing/Making the Top: You can purchase pre-made butcher block countertops or glue up your own from individual strips of hardwood. If gluing your own, use plenty of clamps and ensure the pieces are perfectly flat and square.
- Cutting and Shaping:
- Cut the butcher block to the exact dimensions of your island frame, allowing for a slight overhang on all sides (typically 1 inch to 1.5 inches).
- Use a router with a round-over bit to soften the edges for comfort and aesthetics.
- Attaching to the Frame:
- “Z” Clips or Fasteners: These allow for seasonal wood movement. Attach them to the underside of the butcher block and into the top rails of your island frame.
- Figure-8 Fasteners: Similar to Z clips, these are small metal disks that allow for expansion and contraction.
- Avoid rigidly screwing the top down through the entire thickness, as this can lead to cracking over time due to humidity changes.
This phase transforms your plans into a robust, functional piece, ready for the final touches that will make it a centerpiece in your small workshop.
III. Finishing and Optimizing for Durability and Aesthetics ✨
The final stages of building Kitchen Islands from Scratch: Adding Storage Drawers and Butcher Block Tops for Small Workshops are where durability meets design. Proper finishing not only protects your investment but also elevates its aesthetic appeal, making it a proud addition to your workspace. Given the demanding nature of a workshop, resistance to heat, moisture, and general wear is paramount.
A. Wood Finishing Techniques for Protection
The right finish will protect the wood from spills, grease, and the inevitable knocks and bumps of workshop life.
- Sanding: This is the most crucial step for a professional finish. Start with a coarser grit (e.g., 80 or 100) and progressively move to finer grits (150, 220). For the butcher block top, you might go even finer, up to 320 or 400 grit. Always sand with the grain. Remove all dust between grits with a tack cloth or vacuum.
- Staining (Optional): If you desire a different color, apply a wood stain.
- Pre-Conditioner: For woods like maple or birch, a pre-stain conditioner is highly recommended to prevent blotchiness.
- Application: Apply stain evenly with a brush or rag, wiping off excess according to the product’s instructions.
- Explore “Dark Wood Finishing Techniques – Wood Craft Wiz” or “Weathered Wood Finishing Techniques – Wood Craft Wiz” for specific aesthetic choices.
- Sealing and Topcoat: This provides the primary protection.
- Polyurethane: A highly durable and water-resistant finish, excellent for workshop surfaces. Apply multiple thin coats, sanding lightly with fine grit sandpaper (e.g., 320-400) between coats for optimal adhesion and smoothness. Water-based polyurethane dries faster and has less odor. For application guidance, see “Sprayable Water Based Polyurethane: A Step-by-Step Guide – Wood Craft Wiz”.
- Oil-Based Finishes (e.g., Danish Oil, Tung Oil): These penetrate the wood, offering a more natural look and feel. They are generally less protective against scratches than polyurethane but are easier to repair. Regular reapplication is often required. Understand the differences between “Danish Oil vs. Boiled Linseed Oil: Understanding Wood Oils – Wood Craft Wiz”.
- Epoxy Coating: For ultimate durability and chemical resistance, especially on a heavy-duty workshop surface, an epoxy flood coat can be applied to the butcher block. This creates a glass-like, impervious surface.
B. Butcher Block Specific Finishing for Heat and Moisture Resistance
The butcher block top, being a primary work surface, needs special attention.
- Food-Safe Oils (if food prep is a secondary use): If the island will occasionally be used for food, apply food-safe mineral oil, butcher block oil, or a beeswax/mineral oil blend. These need regular reapplication to maintain protection and prevent drying out.
- Polyurethane/Spar Urethane: For a workshop-first island, polyurethane or even spar urethane (designed for outdoor use, offering superior moisture and UV resistance) provides excellent protection. “Can You Put Spar Urethane Over Polyurethane? Compatibility Insights – Wood Craft Wiz” can help you decide. Ensure full coverage and multiple coats.
- Edge Sealing: Pay particular attention to the end grain and edges of the butcher block, as these absorb moisture most readily. Apply extra coats of your chosen finish here.
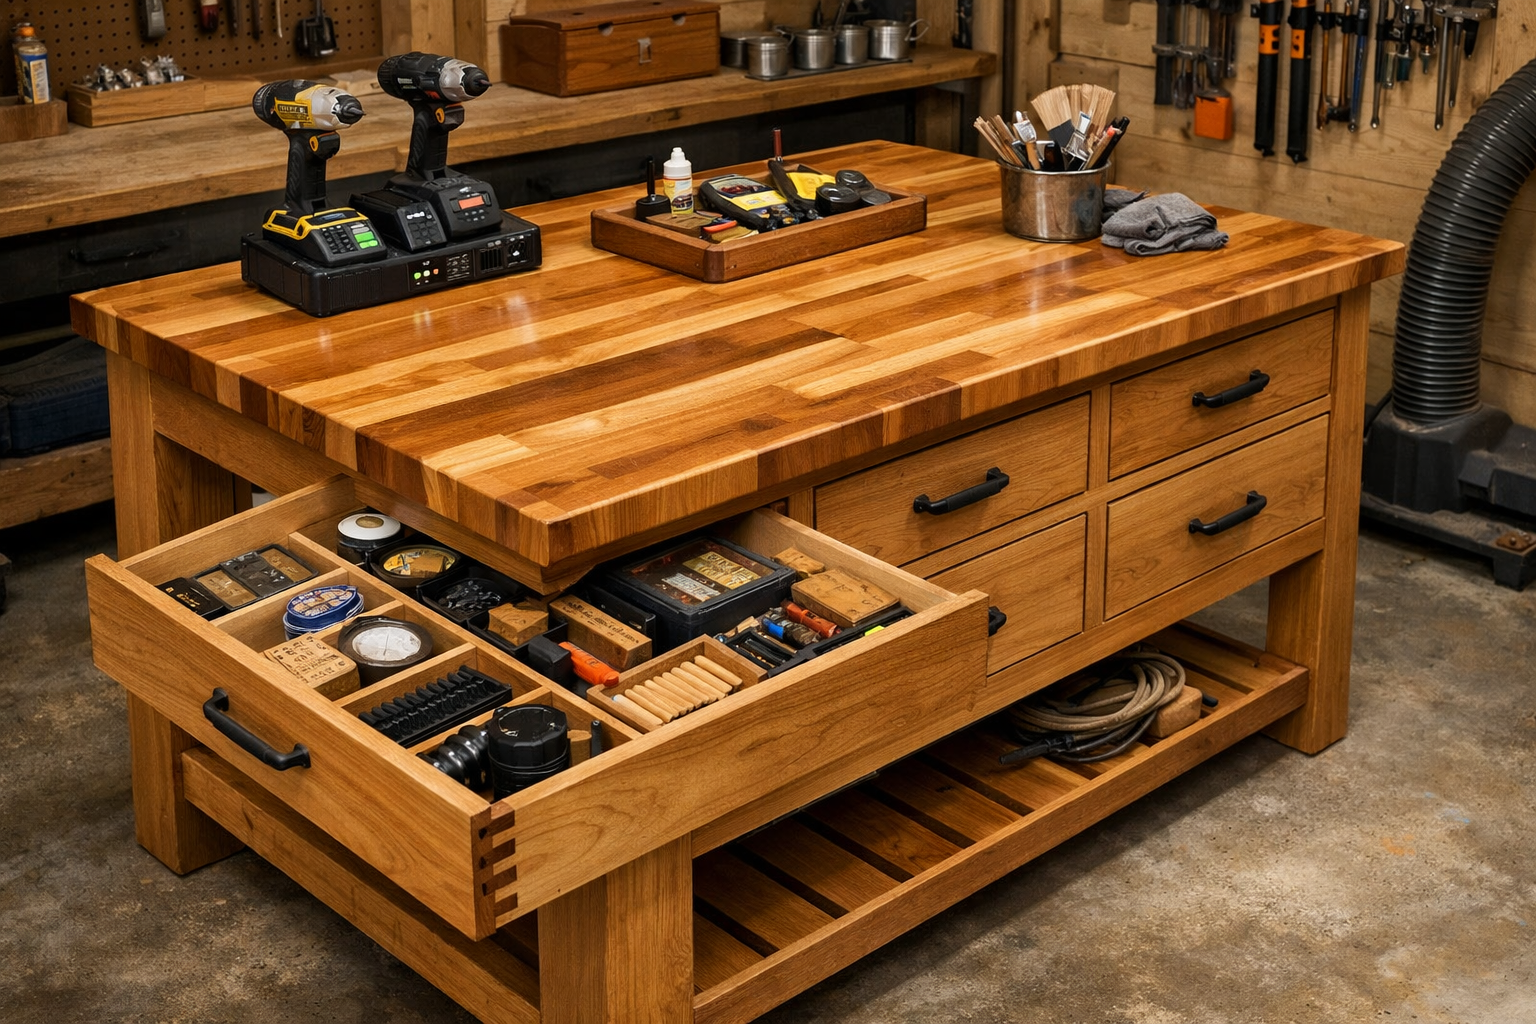
C. Optimizing for Workshop Efficiency
Beyond the core structure, adding practical features enhances the island’s utility.
- Casters: Install heavy-duty, locking casters if you need to move the island. This is invaluable in a small workshop for reconfiguring space.
- Integrated Power: Install a power strip or a flush-mounted outlet on one side of the island. This provides convenient access for charging power tools, running benchtop tools, or using other electronic devices.
- Tool Holders/Hooks: Add hooks to the sides for hanging frequently used hand tools or rags.
- Drawer Organization: Consider custom drawer dividers or foam inserts to keep tools organized and prevent them from shifting.
- Work Holding: For woodworking tasks, plan for areas where clamps can easily be attached or even a small, recessed bench dog system.
Table 2: Butcher Block Finish Comparison for Workshop Use
| Finish Type | Pros | Cons | Best For |
|---|---|---|---|
| Mineral Oil (Food-Safe) | Natural look, easy to apply, food-safe, easy to repair scratches. | Requires frequent reapplication, offers minimal heat/moisture protection. | Primarily food prep, very light-duty workshop use. |
| Polyurethane | Highly durable, excellent heat/moisture resistance, low maintenance. | Can show scratches, difficult to repair localized damage, not food-safe. | General workshop use, heavy-duty work surface. |
| Spar Urethane | Superior moisture/UV resistance, good durability. | Strong odor, slower drying, not food-safe. | Workshop near windows or in high-humidity environments. |
| Epoxy Coating | Extreme durability, chemical resistance, completely waterproof, easy to clean. | Irreversible, requires precise application, can be expensive, not food-safe. | Very heavy-duty workshop, chemical applications, high traffic. |
By meticulously executing these finishing and optimization steps, your custom kitchen island will not only serve as a robust and organized workspace for 2026 and beyond but also as a testament to your craftsmanship. It will be a durable, attractive, and highly functional asset, perfectly suited for the demands of a small workshop.
Conclusion
Building Kitchen Islands from Scratch: Adding Storage Drawers and Butcher Block Tops for Small Workshops is a deeply satisfying project that yields a highly functional and durable piece of furniture. This comprehensive guide has walked through the critical phases, from the initial strategic design for compact spaces to the precise construction of dovetail drawers and the application of robust, protective finishes.
By embracing detailed planning, mastering essential joinery techniques, and selecting appropriate materials, you create an island that not only optimizes your limited workshop space but also stands as a testament to quality craftsmanship. The integration of smart storage solutions, a resilient butcher block top, and thoughtful efficiency features ensures this island will be a cornerstone of your productivity for years to come. The emphasis on heat- and moisture-resistant finishes ensures that your investment can withstand the rigors of a demanding workshop environment.
Actionable Next Steps:
- Re-evaluate Your Space: Take accurate measurements of your workshop and sketch out potential island dimensions.
- Refine Your Design: Based on your tools and workflow, finalize the number and size of storage drawers, considering dovetail joints for superior strength.
- Gather Materials: Create a detailed cut list and procure your chosen lumber, drawer slides, and finishing products.
- Start Building: Tackle the frame construction with precision, then move on to crafting those robust dovetail drawers.
- Finish Strong: Dedicate time to proper sanding and applying a durable, workshop-appropriate finish to both the frame and the butcher block top.
Embrace the journey of building something truly custom and functional. Your small workshop, equipped with a custom-built island, is set to become an even more efficient and inspiring space in 2026.

