
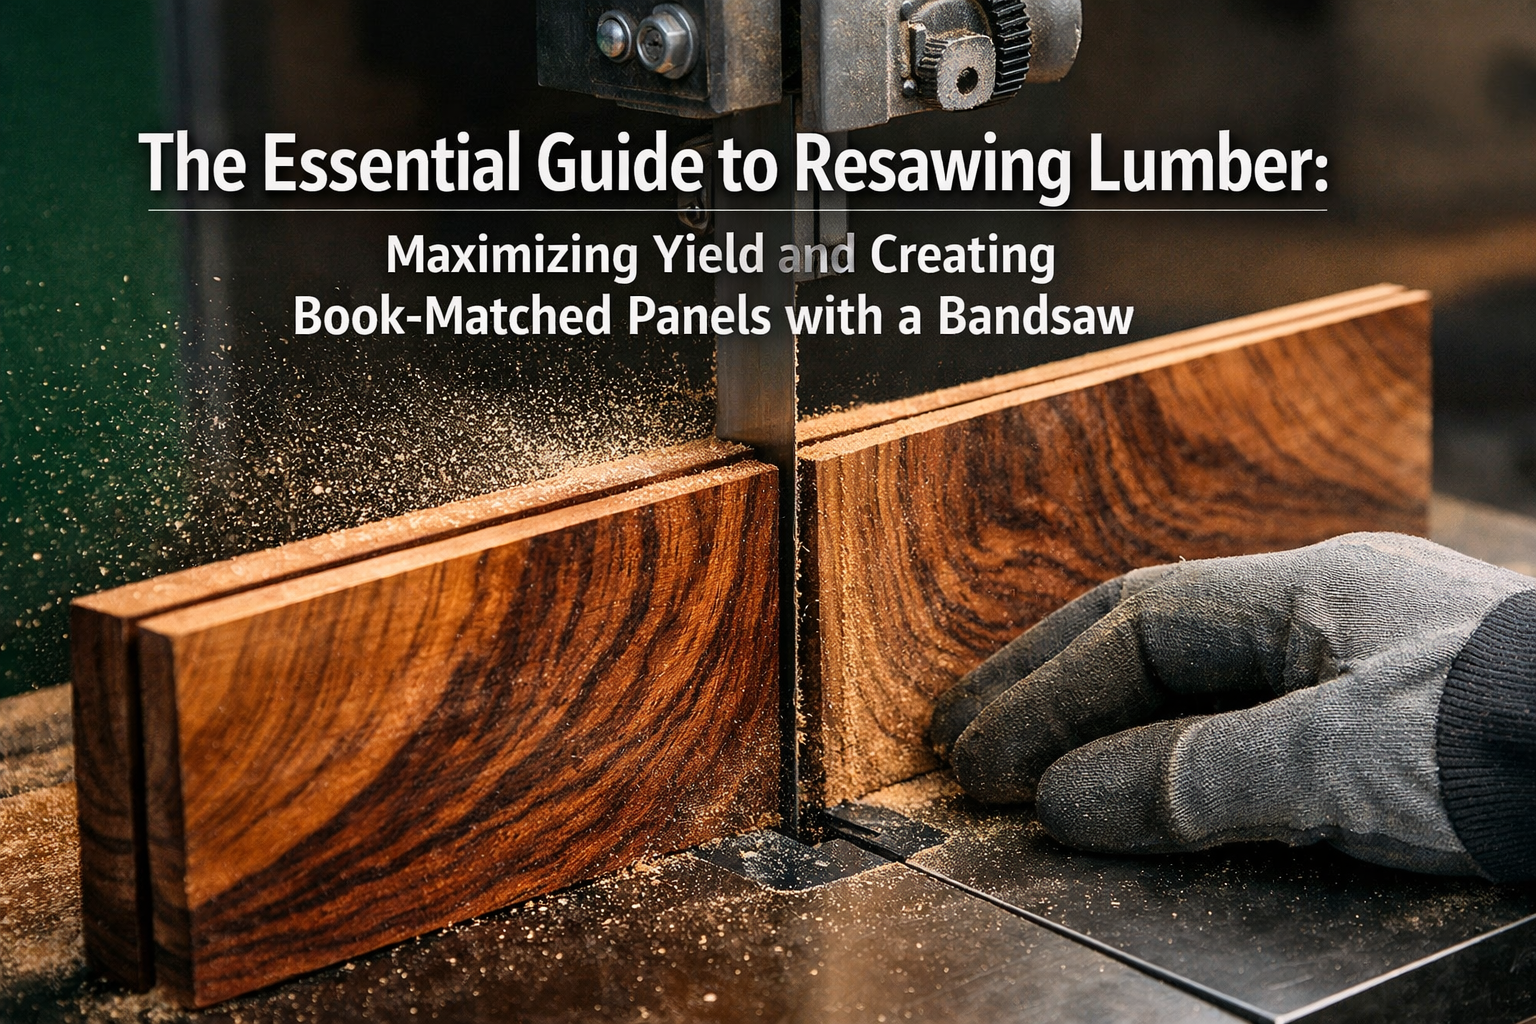

Resawing lumber is a fundamental woodworking technique that transforms thick, rough-sawn planks into thinner, usable boards, veneers, or stock for intricate projects. It’s a skill that empowers woodworkers to maximize the yield from expensive or unique timber, unlock hidden grain patterns, and create stunning book-matched panels that are the hallmark of fine craftsmanship. This essential guide will teach you the critical techniques for safely and accurately resawing lumber on a bandsaw, maximizing material yield, and creating stunning book-matched panels for tabletops, cabinet doors, and more in 2026.
Successfully resawing lumber not only conserves valuable material but also opens up a world of design possibilities. Whether you’re aiming to stretch a rare piece of exotic wood, mill your own veneers, or create visually captivating symmetrical grain patterns, the bandsaw is the undisputed king for this operation. This article will delve into everything from choosing the right blade and setting up your bandsaw to executing the cut and finishing your resawn stock.

Key Takeaways
- Blade Selection is Crucial: A wide, sharp, low-TPI (teeth per inch) blade with a robust set is paramount for clean, straight resawing.
- Precision Setup Prevents Waste: Properly aligning the fence, tensioning the blade, and setting the guides ensures accurate cuts and minimizes wasted material.
- Safety First, Always: Using push sticks, maintaining clear workspaces, and wearing appropriate PPE are non-negotiable for safe resawing.
- Book-Matching Unlocks Beauty: Resawing allows for the creation of mirror-image panels, revealing stunning, symmetrical grain patterns for high-end projects.
- Beyond the Initial Cut: Proper surfacing and finishing techniques are essential to transform rough resawn stock into finished components.
Setting Up for Success: Bandsaw Configuration for Resawing
Achieving clean, consistent resawn boards begins with a meticulously set up bandsaw. This section covers the vital aspects of preparing your machine for this demanding task, ensuring safety, accuracy, and efficiency.
Choosing the Right Bandsaw Blade for Resawing
The blade is the heart of your resawing operation. A common mistake is attempting to resaw with an all-purpose blade. For effective resawing, consider these factors:
- Blade Width: Opt for the widest blade your bandsaw can accommodate. Wider blades (typically 3/4″ to 1″ or more) offer greater stability, resist deflection, and help maintain a straight cut, especially through thick stock.
- Tooth Pitch (TPI – Teeth Per Inch): A low TPI is crucial for resawing. Blades with 2-3 TPI are ideal. Fewer teeth allow each tooth to remove more material, preventing the blade from clogging with sawdust and reducing heat buildup, which can cause blade wander.
- Tooth Style: A “hook” or “raker” tooth pattern with deep gullets is preferred. This design efficiently clears sawdust and provides an aggressive, yet smooth, cut.
- Material: Bimetal blades offer excellent durability and stay sharp longer, making them a worthwhile investment for frequent resawing. Carbon steel blades are also effective and more economical.
- Sharpness: A dull blade will lead to blade wander, burning, and an uneven cut. Ensure your blade is razor-sharp before you begin.
Essential Bandsaw Adjustments
Before making any cuts, several critical adjustments must be made to your bandsaw:
- Blade Installation and Tensioning:
- Install the correct blade, ensuring the teeth point downwards.
- Tension the blade according to your manufacturer’s recommendations. Proper tension is vital; too little tension causes wander, too much can damage the blade or saw. A blade tension gauge is a useful tool for accuracy.
- Tracking:
- Adjust the upper wheel until the blade tracks precisely in the center of the wheel’s crown. This prevents the blade from running off the wheels during operation.
- Guide Bearings:
- Set the side guide bearings or blocks so they are just barely touching the blade, providing support without creating friction. A business card thickness gap is a good starting point.
- Position the thrust bearing (behind the blade) about 1/32″ (0.8mm) behind the blade’s gullets. It should only engage when the blade is under load.
- Upper Guide Height:
- Lower the upper blade guide assembly so it is approximately 1/2″ to 1″ (12-25mm) above the workpiece. This minimizes blade deflection and vibration.
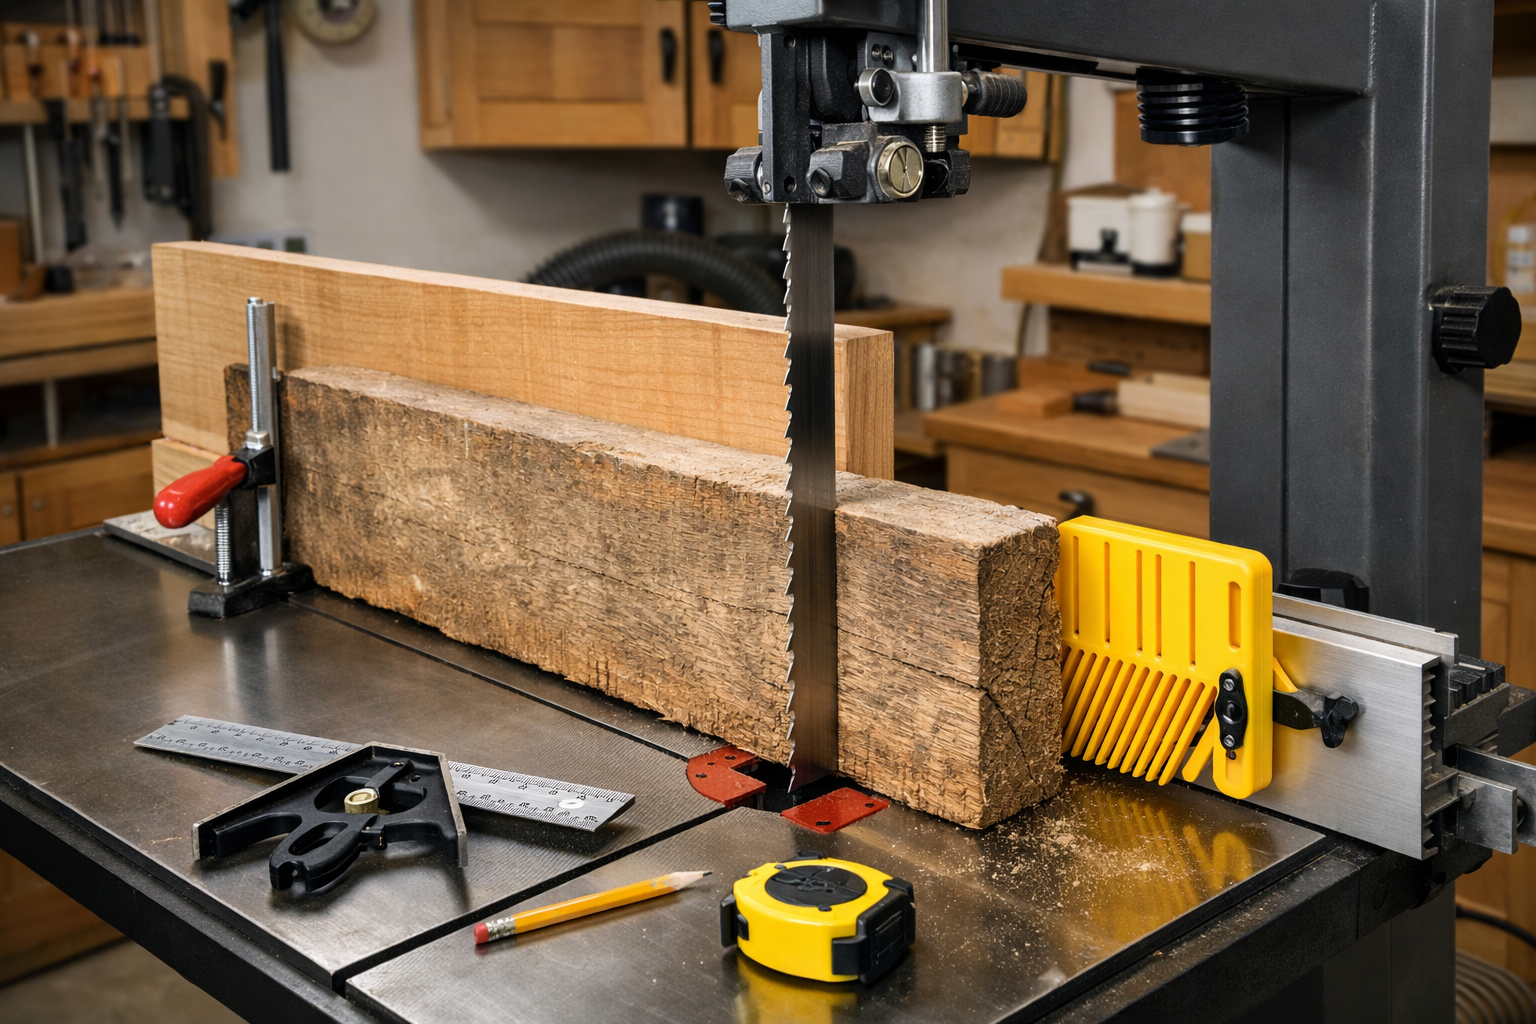
Setting Up the Resaw Fence
A tall, sturdy fence is indispensable for accurate resawing. Your bandsaw’s standard fence is often too short.
- Auxiliary Fence: Create or purchase an auxiliary fence that is at least 6-8 inches (15-20cm) tall. This provides ample support against the workpiece, ensuring a vertical cut.
- Clamping: Securely clamp the auxiliary fence to your bandsaw table, ensuring it is perfectly perpendicular to the table.
- Offset (Optional but Recommended): Some woodworkers advocate for a slight fence offset. This involves adjusting the fence so that the blade’s drift (natural tendency to wander) is compensated for, allowing the lumber to ride squarely against the fence while the blade cuts straight. To find blade drift, draw a line on a piece of scrap wood, freehand cut along it for several inches, then stop the saw and note the angle of the blade in the kerf. Adjust your fence to match this angle.
- Featherboards: Use one or two featherboards to hold the workpiece firmly against the fence and down on the table. This is especially helpful for wide or thin stock, preventing vibration and ensuring consistent pressure.
The Essential Guide to Resawing Lumber: Techniques for Maximizing Yield and Creating Book-Matched Panels
Once your bandsaw is perfectly tuned, you’re ready to start resawing. This section focuses on the practical techniques to achieve clean cuts, maximize material, and create visually stunning book-matched panels.
Preparing the Lumber
Proper lumber preparation is key to successful resawing:
- Flatten and Square One Face: At minimum, one face of your lumber should be flat and square to the fence. This provides a stable reference surface. Ideally, two adjacent faces should be flattened and squared (using a jointer and planer) for optimal stability and accuracy. This also helps reveal any internal stresses in the wood.
- Remove Defects: Inspect the lumber for knots, cracks, or embedded foreign objects. Plan your cuts to avoid these areas if possible, or mark them for removal later.
- Cleanliness: Ensure the lumber is free of dirt, grit, or debris, which can quickly dull your blade.
Executing the Resaw Cut
Precision and a controlled feed rate are vital during resawing:
- Safety First: Always wear safety glasses and hearing protection. Have push sticks and push blocks ready. Never place your hands directly in line with the blade.
- Start the Cut: Turn on the bandsaw and allow it to reach full speed. Gently feed the leading edge of the lumber into the blade, keeping it firmly pressed against the fence and down on the table.
- Maintain Consistent Feed Rate: A smooth, consistent feed rate is crucial. Too fast, and you risk blade deflection, burning, or a rough cut. Too slow, and you might burn the wood or cause unnecessary blade wear. Let the blade do the work. Listen to the sound of the saw; it should maintain a consistent hum without bogging down.
- Guide with Push Sticks: As you near the end of the cut, use push sticks to safely guide the workpiece through the blade and clear the area.
- Dealing with Blade Wander: If you notice the blade wandering or not cutting straight, stop the cut, retract the lumber, and re-evaluate your setup. Common culprits include a dull blade, insufficient tension, incorrect guide settings, or an inconsistent feed rate.
Pro Tip: If you’re resawing very wide boards or extremely thick stock, you might consider making two passes. Make a shallow kerf on one edge, then flip the board end-for-end and make a matching shallow kerf. This helps guide the blade for the full-depth cut.
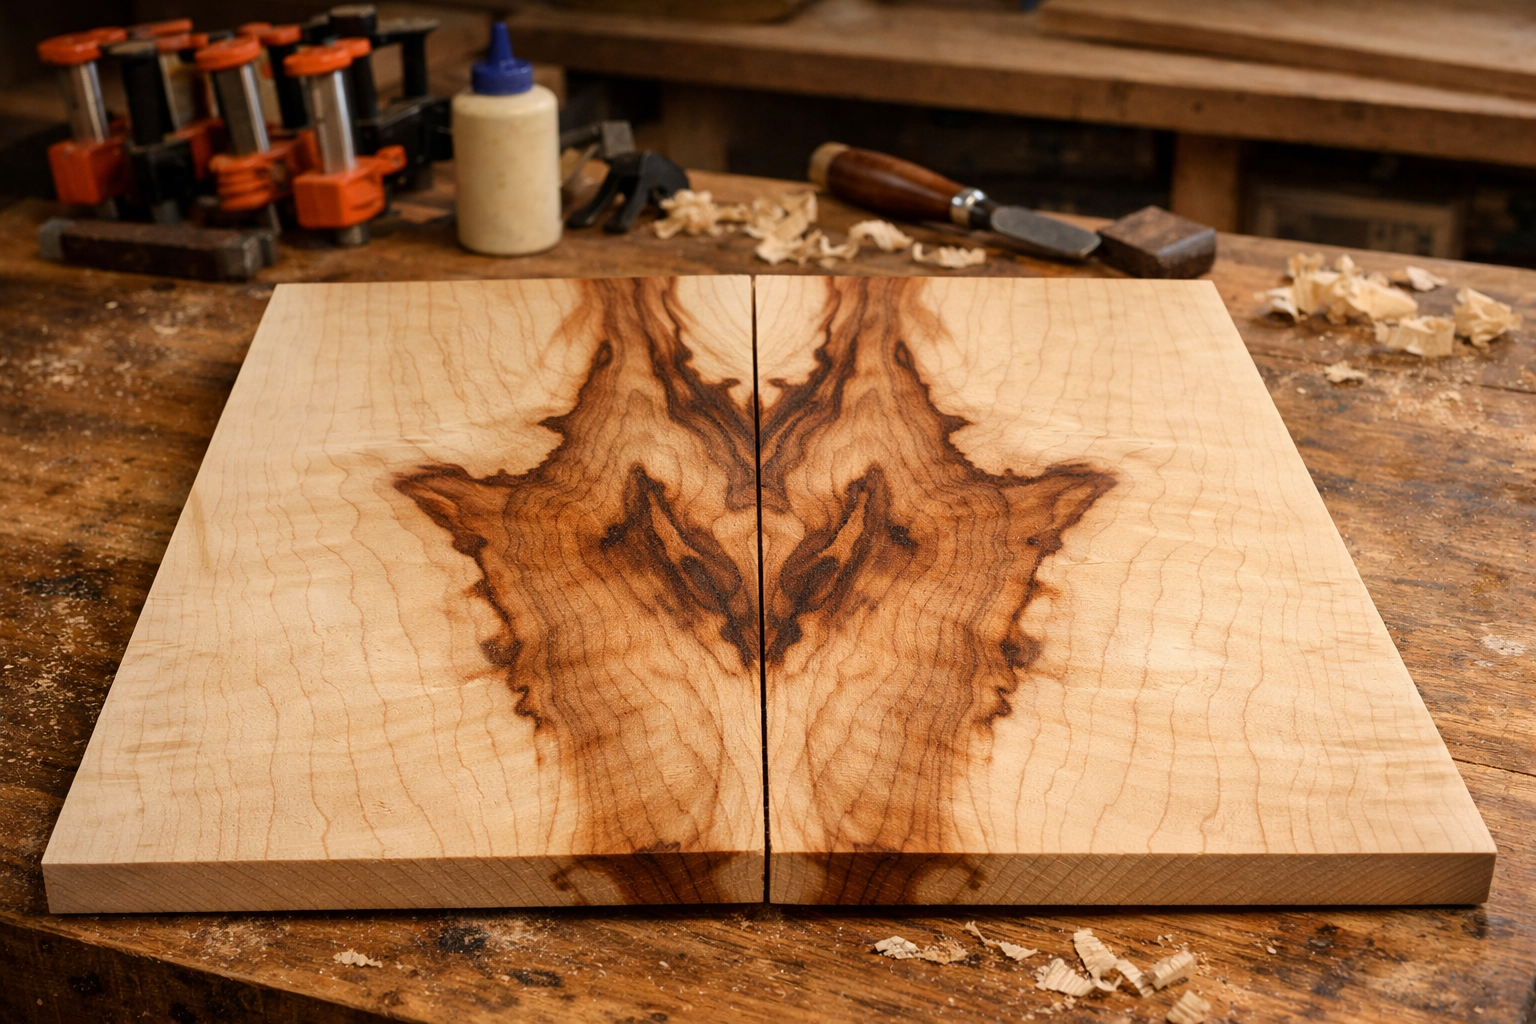
Creating Book-Matched Panels
Book-matching is a technique that takes two consecutive slices of wood, opens them like a book, and glues them together to create a symmetrical, mirror-image grain pattern. This is particularly effective for tabletops, cabinet doors, and chest lids.
- Select Your Stock: Choose a piece of lumber with attractive, straight grain that is thick enough to yield two suitable boards after resawing (e.g., a 1.5″ (38mm) thick board can yield two 1/2″ (12mm) thick boards after accounting for kerf and planing).
- Resaw the Board: Carefully resaw the chosen lumber as described above, aiming for two boards of equal thickness.
- Orient for Matching: Once resawn, keep the two boards in their original order. Open them up as if you were opening a book. The faces that were previously joined will now be exposed, revealing their stunning, mirrored grain patterns.
- Edge Jointing and Gluing:
- Joint the mating edges of the book-matched panels to create perfectly straight and square surfaces for gluing. For precise edge jointing, consider using a high-quality router table setup or a jointer.
- Apply a strong wood glue and clamp the panels together. Allow ample drying time.
- Surfacing: After the glue has cured, plane or sand the panel to your desired thickness and smoothness. The result will be a single, wider panel with a beautiful, continuous grain flow.
| Resawing Challenge | Common Cause | Solution |
|---|---|---|
| Blade Wander | Dull blade, low tension | Sharpen/replace blade, increase tension |
| Burnt Wood | Dull blade, slow feed rate | Sharpen/replace blade, increase feed rate |
| Uneven Thickness | Improper fence alignment | Square fence to table, use tall auxiliary fence |
| Rough Cut | Incorrect blade, too fast feed | Use low TPI blade, slow down feed rate |
| Blade Breakage | High tension, old blade | Check tension, replace old/fatigued blades |
Post-Resaw Processing and Project Applications

Resawing is just the beginning. The boards you’ve created will require further processing to prepare them for their final application. This final section discusses how to flatten, surface, and integrate your resawn lumber into various woodworking projects.
Flattening and Surfacing Resawn Lumber
Resawn boards often come off the bandsaw with a slightly rough, wavy surface and may exhibit some cup or bow due to internal wood stresses being released. They will need to be flattened and planed to a consistent thickness.
- Jointing: If you have a jointer, one face of each resawn board should be jointed flat. If the board is too thin to safely run through a jointer, you can use a planer sled or hand planes.
- Planing: Once one face is flat, the board can be run through a thickness planer to achieve uniform thickness and a smooth surface. Take light passes to avoid tear-out, especially with challenging grain. Remember that some woods can be tricky; learn about oak wood finishing techniques for specific guidance if you’re working with oak.
- Sanding: For the final smooth finish, sand the boards to your desired grit.
Maximizing Yield and Minimizing Waste
Resawing is inherently about getting more from less. Here are strategies to maximize your yield:
- Thin Veneers: With a well-tuned bandsaw, you can resaw incredibly thin veneers (as thin as 1/16″ or even 1/32″). These can be applied to less expensive core stock, turning a small amount of exotic wood into a large surface area.
- Small Project Stock: Resawn offcuts or smaller pieces can be perfect for crafting wooden candle holders, napkin holders, or components for DIY smart home integration projects.
- Recycling Rough Stock: Resawing allows you to break down large, rough-sawn timbers into manageable, dimensionally stable pieces that would otherwise be difficult or impossible to mill with a table saw.
Project Applications for Resawn Lumber and Book-Matched Panels
The versatility of resawn lumber is truly impressive. Consider these applications:

- Furniture Panels: Book-matched panels are ideal for stunning tabletops, cabinet doors, drawer fronts, and side panels on high-end furniture.
- Box Making: Resawn thin stock is perfect for creating lightweight yet strong boxes, jewelry boxes, and humidors.
- Drawer Sides: Achieve custom drawer side thicknesses that are lighter and more refined than standard dimensional lumber.
- Veneer Work: Create your own custom veneers from rare or beautiful woods, offering endless possibilities for inlay, marquetry, and architectural elements. This is especially useful for projects needing specific wood types, like oversized rough-hewn timber mantels or custom acoustic diffusers.
- Guitar Making: Instrument makers frequently resaw billets for guitar tops, backs, and sides to create book-matched sets.
Resawing unlocks potential in your lumber, allowing for both practical efficiency and artistic expression. With proper technique and a well-maintained bandsaw, the possibilities are vast.
Safety Considerations in Resawing
Working with a bandsaw, especially for demanding tasks like resawing, requires strict adherence to safety protocols. Neglecting safety can lead to serious injury or damage to your equipment.
Personal Protective Equipment (PPE)
Always wear appropriate PPE:
- Safety Glasses: Protect your eyes from flying sawdust and wood chips.
- Hearing Protection: Bandsaws can be loud, especially when cutting thick stock. Protect your hearing with earmuffs or earplugs.
- Dust Mask/Respirator: Fine wood dust can be a respiratory hazard. A good dust mask or respirator is essential.
- Gloves (Optional but Recommended): While not for gripping the wood near the blade, gloves can protect your hands when handling rough lumber or changing blades.
Workspace and Equipment Safety
Ensure your workshop environment and tools are safe:
- Clear Workspace: Keep your work area free of clutter. Ensure you have ample space to maneuver long or wide lumber.
- Dust Collection: A robust dust collection system is crucial for bandsawing. It improves visibility, reduces airborne dust, and keeps your machine cleaner. For a comprehensive solution, consider building a DIY smart workshop dust collection system.
- Proper Lighting: Good lighting helps you see your cut line and identify any issues.
- Machine Maintenance: Regularly inspect your bandsaw. Check blade tension, guide bearings, and ensure all guards are in place and functioning correctly. A well-maintained machine is a safer machine.
- Electrical Safety: Ensure your bandsaw is properly grounded and that electrical cords are in good condition, free from cuts or fraying.
Safe Operating Procedures
- Never Force the Cut: Let the blade cut at its own pace. Forcing the wood can cause the blade to bind, deflect, or even break.
- Use Push Sticks and Featherboards: Keep your hands away from the blade. Push sticks are invaluable for guiding the workpiece through the final inches of the cut. Featherboards maintain consistent pressure against the fence.
- Maintain Control: Always have a firm grip on the workpiece, maintaining constant pressure against the fence and down on the table.
- Avoid Distractions: Resawing requires focus. Avoid distractions while the machine is running.
- Plan Your Cut: Before starting, visualize the entire cut, including how you will feed the lumber and where your hands will be at each stage.
- Blade Guard: Always ensure the blade guard is adjusted correctly – just above the workpiece – to minimize exposure to the blade.
By diligently following these safety guidelines, you can minimize risks and enjoy the rewarding process of resawing lumber with confidence.
Conclusion
Resawing lumber with a bandsaw is an invaluable skill for any serious woodworker in 2026. It’s a technique that marries efficiency with artistry, allowing you to maximize the utility of your timber and unlock the hidden beauty within its grain. From doubling your material yield to creating breathtaking book-matched panels for heirloom-quality furniture, the ability to accurately and safely resaw transforms your woodworking capabilities.
Remember, the keys to successful resawing lie in meticulous preparation: selecting the correct wide, low-TPI blade, precisely tuning your bandsaw’s tension and guides, and setting up a tall, square fence. Consistency in feed rate and unwavering attention to safety are paramount during the cut.
Embrace the learning curve, practice on scrap wood, and soon you’ll be confidently transforming rough stock into thin, beautiful boards, ready for your next masterpiece. The satisfaction of revealing a perfectly book-matched grain pattern or stretching a precious piece of exotic lumber will elevate your projects and your craftsmanship to new heights.
References
- Fine Woodworking Magazine. (n.d.). Resawing Lumber. Retrieved from https://www.finewoodworking.com/
- Wood Magazine. (n.d.). Bandsaw Blades. Retrieved from https://www.woodmagazine.com/
SEO Meta Title: Essential Guide to Resawing Lumber: Maximize Yield & Book-Match Panels
SEO Meta Description: Learn to resaw lumber with a bandsaw in 2026, maximizing yield and creating stunning book-matched panels for fine woodworking projects.
