
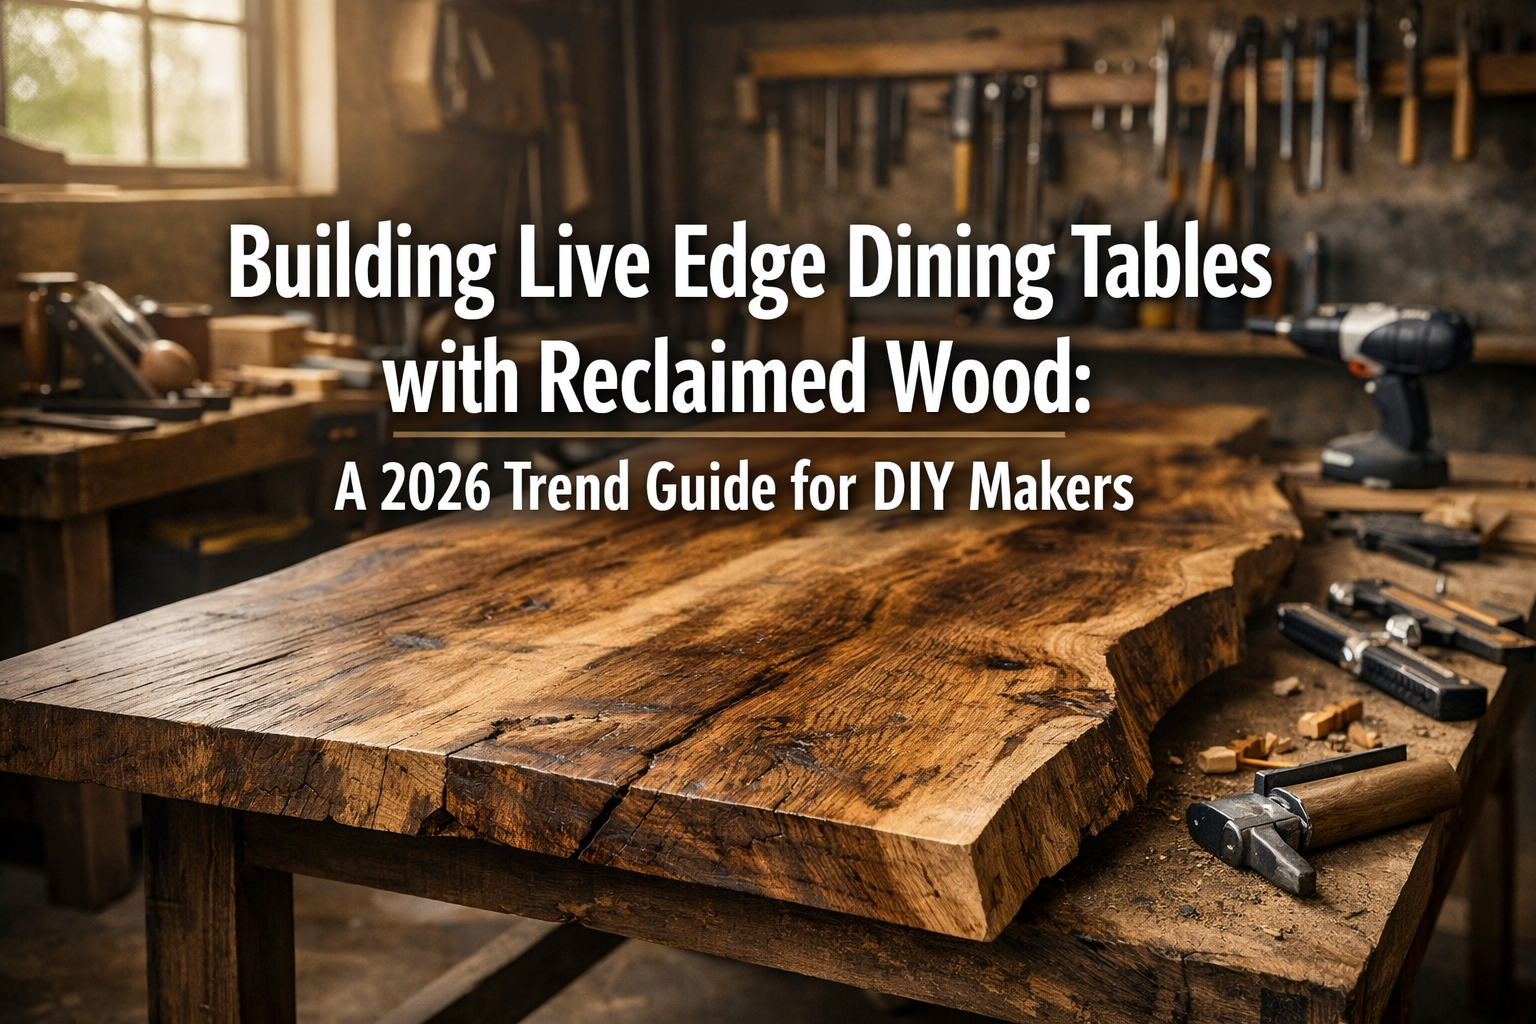

In 2026, home interiors are increasingly gravitating towards “narrative design”—spaces that tell a story, evoke emotion, and reflect a connection to nature and history. At the heart of this trend lies the skyrocketing demand for unique, custom-built furniture, particularly live edge dining tables. These aren’t just tables; they are sculptural centerpieces, artfully blending rustic charm with modern elegance. For the DIY maker, there’s no better project than Building Live Edge Dining Tables with Reclaimed Wood: A 2026 Trend Guide for DIY Makers. This guide will empower you to create stunning, sustainable pieces that not only elevate any dining space but also carry the rich history of their reclaimed origins.
Reclaimed wood, salvaged from old barns, factories, or fallen trees, offers an unparalleled depth of character, unique grain patterns, and an eco-friendly advantage. When combined with the organic beauty of a live edge—the natural, untrimmed edge of the wood slab—the result is a one-of-a-kind statement piece that perfectly encapsulates 2026’s interior design ethos. This comprehensive guide will walk you through every critical step, from sourcing the perfect slab to applying a durable finish, ensuring your handcrafted table stands the test of time and becomes a treasured heirloom.

Key Takeaways
- Embrace Sustainable Sourcing: Prioritize reclaimed wood for its unique character and environmental benefits, a key trend in 2026 interior design.
- Master Slab Preparation: Learn essential techniques for flattening, stabilizing, and cleaning reclaimed live edge slabs to ensure a professional foundation.
- Choose the Right Base: Select or build a table base that complements the natural aesthetic of your live edge top, considering both stability and style.
- Achieve a Flawless Finish: Understand various finishing options to protect your table while enhancing its natural beauty and durability.
- Safety First: Always use appropriate personal protective equipment and follow safety guidelines when working with woodworking tools and materials.
The Allure of Reclaimed Live Edge: Sourcing and Preparing Your Unique Slab
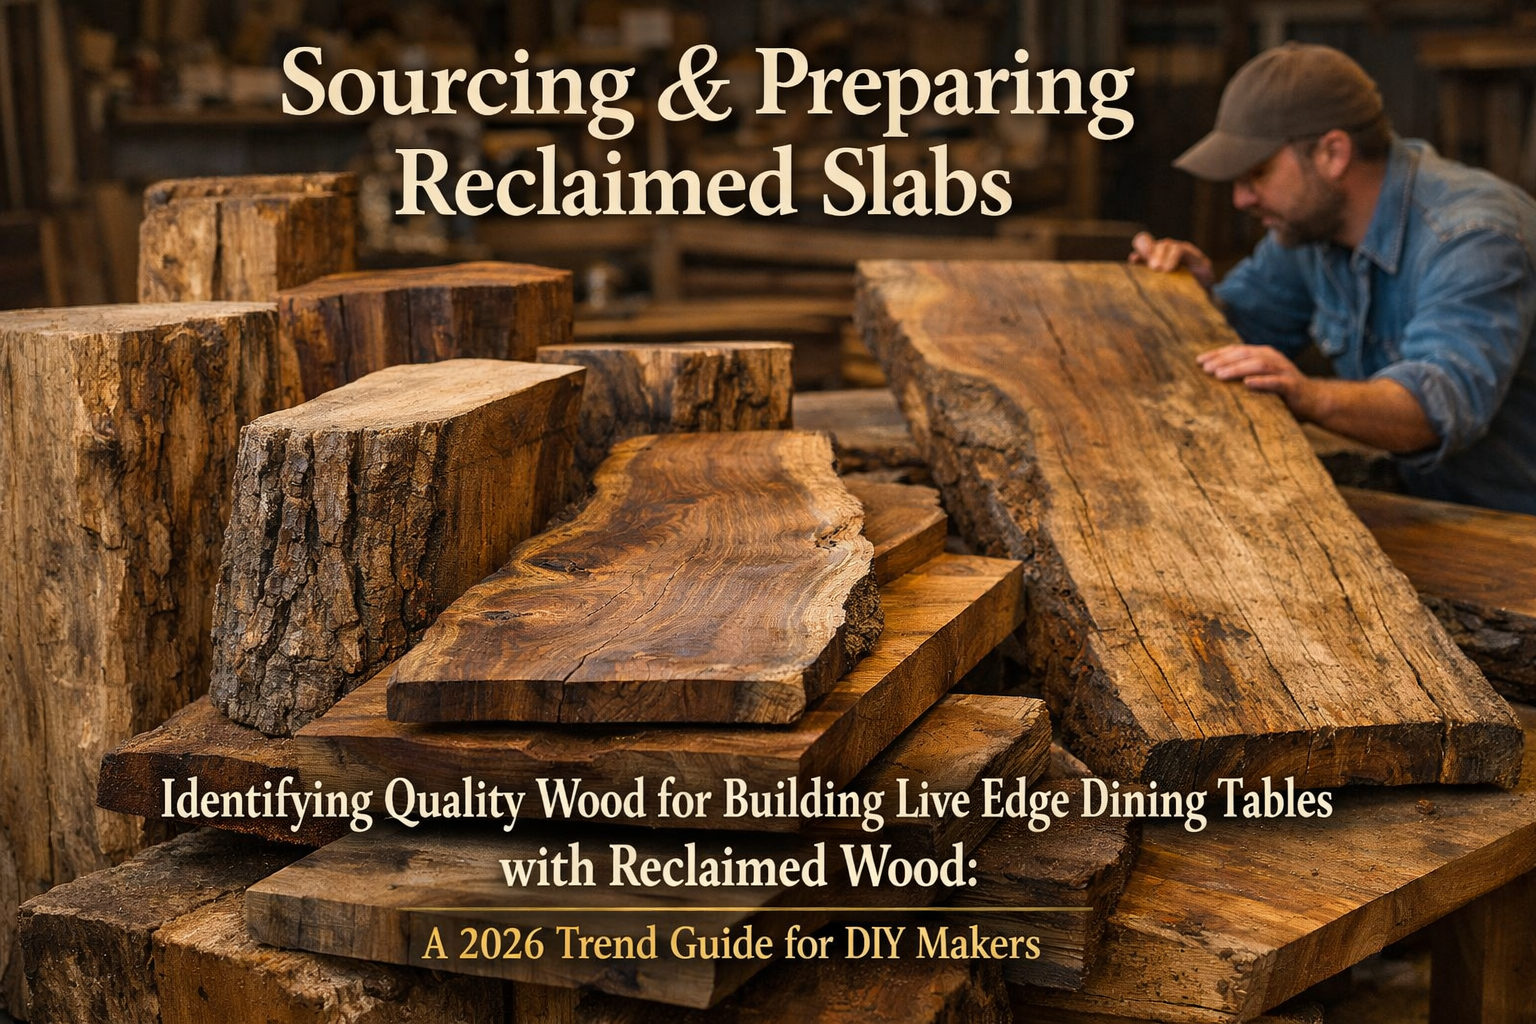
The journey to Building Live Edge Dining Tables with Reclaimed Wood: A 2026 Trend Guide for DIY Makers begins with selecting the right material. Reclaimed wood isn’t just timber; it’s a piece of history, imbued with a patina and character that new wood simply cannot replicate. This inherent storytelling quality makes it incredibly appealing in 2026’s design landscape.
Understanding Reclaimed Wood and Its Benefits
Reclaimed wood offers several compelling advantages:
- Environmental Sustainability: By repurposing wood, you reduce demand for newly harvested timber, helping to preserve forests.
- Unique Aesthetic: Each piece tells a story through nail holes, saw marks, natural weathering, and distinctive grain patterns. No two live edge tables from reclaimed wood will ever be identical.
- Stability and Durability: Often, reclaimed wood has been air-dried for decades, making it more stable and less prone to warping or cracking than kiln-dried new lumber.
- Diverse Species: You can find reclaimed wood in a wide array of species, including oak, barnwood, Douglas fir, maple, and sometimes even exotic hardwoods.
Sourcing Your Reclaimed Live Edge Slab
Finding the perfect live edge slab for your dining table is an adventure. Consider these sources:
- Specialty Wood Suppliers: Many lumberyards specialize in reclaimed wood, offering a curated selection of slabs. They often have the expertise to help you choose the best piece and may even offer flattening or milling services.
- Salvage Yards & Demolition Companies: These can be treasure troves, especially if you’re willing to put in some legwork. You might find raw logs or beams that can be milled into slabs.
- Online Marketplaces: Websites dedicated to woodworking materials or general classifieds sometimes list individual sellers offering unique slabs.
- Local Sawmills: If you have access to a sawmill, they might be able to mill custom live edge slabs from reclaimed logs.
What to Look For in a Reclaimed Live Edge Slab:
When inspecting a slab, look for:
- Size: Ensure the dimensions are appropriate for your desired table size, allowing for some trimming.
- Species: Research different wood species for their hardness, grain pattern, and color. For example, oak is very durable, while walnut offers rich, dark tones.
- Moisture Content: Ideally, the wood should be adequately dried (around 6-12% moisture content) to prevent future movement. A moisture meter is a wise investment.
- Structural Integrity: Check for large cracks, excessive rot, or insect damage. Small checks and natural imperfections add character, but significant structural issues can compromise the table’s longevity.
- Live Edge Quality: Evaluate the condition of the live edge itself. Is it intact? Does it have interesting bark or contours?
- Character: Embrace the unique features—old nail holes, worm tracks, color variations, and knots all contribute to the reclaimed aesthetic.
“The beauty of reclaimed live edge isn’t in its perfection, but in the story etched into every grain and imperfection. Each knot, each weathered mark, adds a layer of history and soul that new wood can never replicate.” – Wood Craft Wiz Editorial Team
Initial Preparation of Your Slab
Once you’ve acquired your slab, initial preparation is crucial.
- Cleaning: Reclaimed wood often comes with dirt, debris, and even old nails. Thoroughly clean the slab using stiff brushes, scrapers, and compressed air. A metal detector is indispensable for finding embedded nails or screws that could damage your tools.
- Debarking (Optional): Decide whether to keep the bark on or remove it. Keeping bark requires careful stabilization to prevent it from flaking off. Most DIY makers opt to remove it, as it’s prone to shedding over time. Use a chisel or bark spud for removal, being careful to preserve the natural contours of the live edge.
- Pest Control (If Necessary): If there’s any sign of insect activity, consider treating the wood. Freezing or heat treatment can effectively kill pests without chemicals.
A clean, carefully inspected slab sets the stage for the next, equally important step: flattening. For complex projects, having a dedicated workspace with the right tools is essential. Consider building a wooden work table to facilitate this process.
Flattening, Shaping, and Stabilizing Your Live Edge Slab
After sourcing and initial cleaning, the next critical phase in Building Live Edge Dining Tables with Reclaimed Wood: A 2026 Trend Guide for DIY Makers involves making the slab flat, stable, and ready for use. Reclaimed slabs are rarely perfectly flat or uniform, making these steps essential for a high-quality finished product.
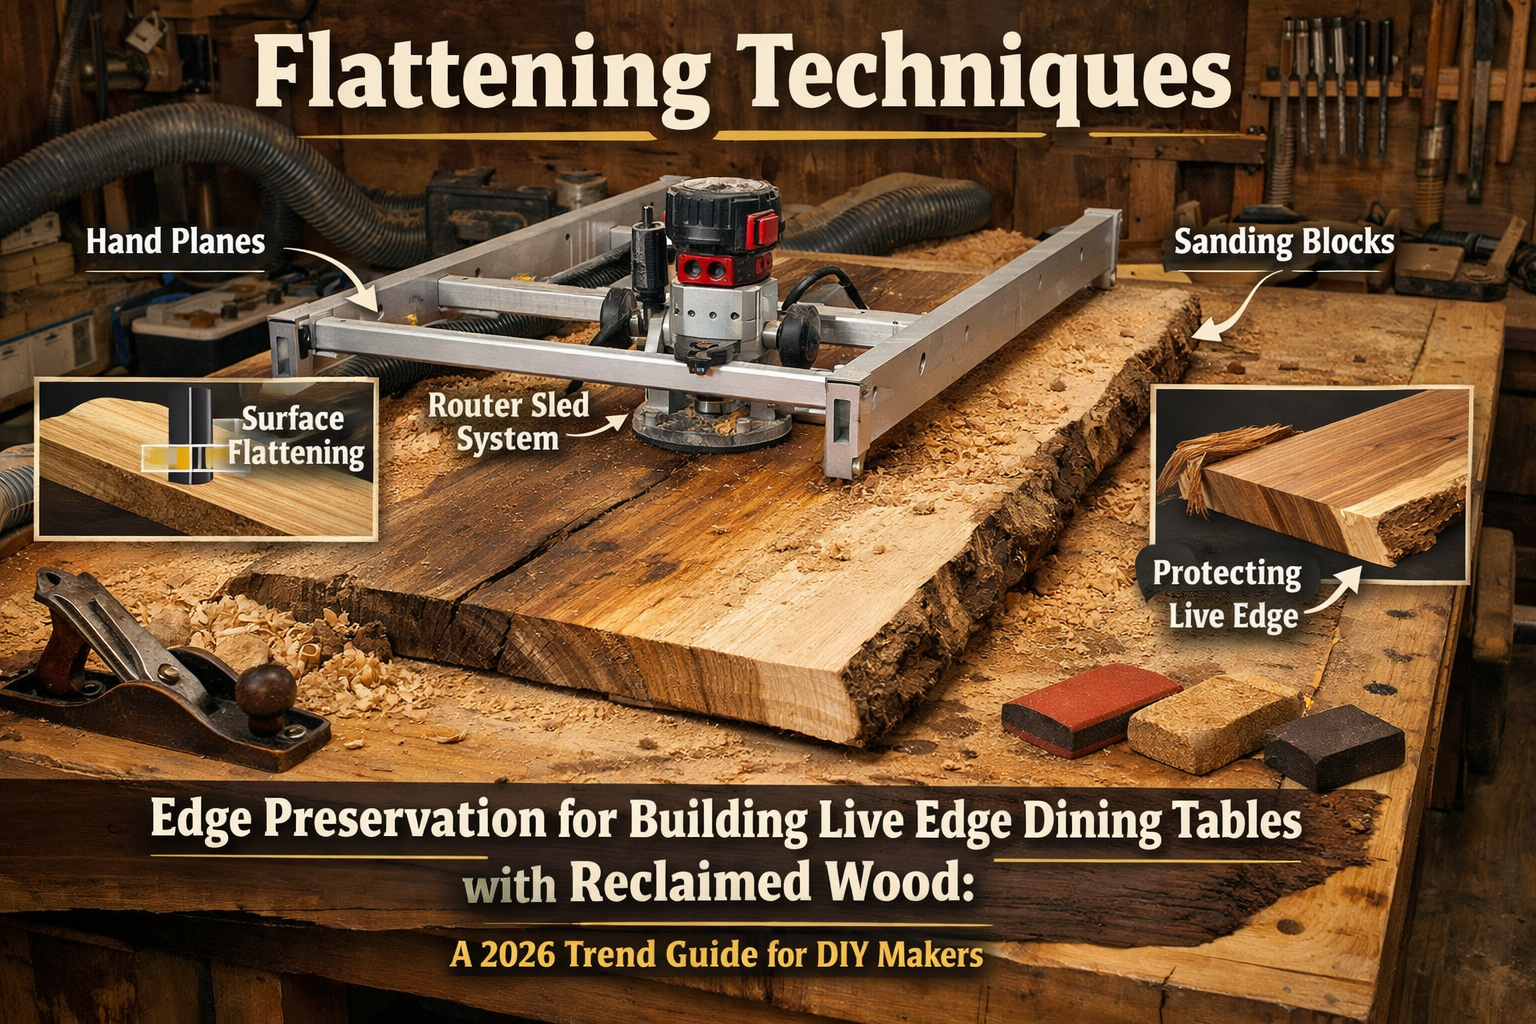
Flattening Techniques
Flattening a large, heavy, and often irregular live edge slab is one of the most challenging but rewarding parts of the process. The goal is to create two perfectly parallel flat surfaces.
1. Router Sled Method
This is the most common and accessible method for DIY makers without access to industrial-sized planers.
- Build a Sled: Construct a sturdy sled that holds your router and slides along parallel rails mounted on either side of your slab. The rails must be perfectly level and parallel to each other.
- Secure the Slab: Immobilize the slab on a workbench or sawhorses. Use shims underneath to prevent wobbling.
- Routing: Pass the router back and forth across the slab, taking shallow passes. Start with one face, then flip the slab and repeat on the other. This ensures both faces are parallel.
- Monitoring Progress: Regularly check for flatness using a straightedge and feeler gauges.
2. Hand Planing
For smaller slabs or to refine surfaces after routing, hand planes are excellent. They allow for a tactile connection with the wood and can create incredibly smooth surfaces. Mastering a hand plane requires practice but yields beautiful results.
3. Large Planer/Jointer (Professional Shop)
If you have access to a commercial woodworking shop, large industrial planers and jointers can flatten slabs quickly and efficiently. However, these machines are expensive and require significant experience to operate safely.
Stabilizing Cracks and Imperfections
Reclaimed wood often has natural cracks, voids, and knots that add character but may need stabilization to prevent further movement or to ensure a smooth surface.
- Epoxy Resin: This is a popular method for filling cracks and voids.
- Preparation: Clean out any loose debris from the cracks.
- Coloring (Optional): Epoxy can be clear or tinted with pigments (e.g., black, blue, or even glow-in-the-dark) to create stunning visual effects.
- Application: Carefully pour the mixed epoxy into the cracks, allowing it to self-level. You may need multiple pours for deep voids.
- Curing and Sanding: Allow ample time for the epoxy to cure fully, then sand it flush with the wood surface.
- Bow Ties (Butterfly Keys): These decorative and functional inlays are used to stabilize cracks and prevent them from spreading further.
- Routing: Rout a dovetail-shaped mortise across the crack, ensuring it’s slightly undersized.
- Cutting: Cut a matching bow tie shape from contrasting or matching wood.
- Inlaying: Tap the bow tie into the mortise with glue, then sand flush. This technique not only stabilizes but also adds a beautiful handcrafted detail.
- For advice on similar joinery techniques, consult guides on brackets woodworking.
Edge Preparation and Sanding
Once the slab is flat and stable, focus on the edges and overall smoothness.

- Live Edge Treatment:
- Cleaning: Remove any remaining bark or loose fibers from the live edge. A wire brush can be effective.
- Sanding: Gently sand the live edge to smooth any rough spots and highlight its natural contours without removing its character. Start with a coarser grit and gradually move to finer grits.
- Overall Sanding: This is crucial for a professional finish.
- Grits: Start with a relatively coarse grit (e.g., 80 or 100) to remove tool marks from flattening. Progress through successive grits (120, 150, 180, 220, and even 320 for a super smooth finish).
- Technique: Use an orbital sander for large surfaces, moving with the grain. Change sandpaper frequently.
- Dust Removal: Between grits, thoroughly clean the surface to remove all dust, which can cause scratches. A tack cloth or vacuum is essential.
- For optimal sanding results and to remove any stubborn marks, understanding advanced sanding marks after staining how to remove techniques can be invaluable.
Selecting and Attaching the Base
The table base is not just structural; it’s a design element that complements the live edge top.
- Material Options:
- Metal Bases: Steel (raw, powder-coated, or painted) is very popular for a modern, industrial look. Common designs include U-legs, X-legs, or spider bases.
- Wood Bases: A wooden base can either match the tabletop for a cohesive look or contrast for added visual interest. Designs range from sturdy trestle bases to sleek, minimalist legs.
- Design Considerations:
- Stability: Ensure the base is wide enough and robust enough to support the heavy slab. Refer to guidelines for table base width for stability to prevent wobbling.
- Aesthetics: The base should visually balance the natural, organic shape of the live edge top.
- Clearance: Consider leg room for dining chairs.
- Attachment Methods:
- Z-Clips/Tabletop Fasteners: These allow for seasonal wood movement while securely attaching the top to the base.
- Elongated Screw Holes: For wooden bases, elongated holes in the apron rails allow screws to hold the top while accommodating expansion and contraction.
- Lag Bolts (for heavy slabs): Ensure these are used with washers and allow for some movement.
Proper planning and execution in this phase will ensure your live edge dining table is not only beautiful but also structurally sound and durable for years to come.
Finishing Touches: Protecting and Enhancing Your Reclaimed Masterpiece

The final step in Building Live Edge Dining Tables with Reclaimed Wood: A 2026 Trend Guide for DIY Makers is applying a finish. This not only protects the wood from daily wear and tear but also enhances its natural beauty, bringing out the unique grain and character of the reclaimed timber. In 2026, natural, durable, and low-VOC (volatile organic compound) finishes are highly favored.
Choosing the Right Finish
The best finish depends on several factors: the desired aesthetic, level of protection needed, and ease of application.
| Finish Type | Pros | Cons | Aesthetic | Durability | Application Difficulty |
|---|---|---|---|---|---|
| Polyurethane | Highly durable, water-resistant, good protection | Can look plasticky if too thick, tricky to repair | Satin, semi-gloss, or gloss | High | Medium |
| Oil Finish (e.g., Rubio Monocoat, Osmo Polyx-Oil) | Penetrates wood, natural look & feel, easy to repair, low VOC | Less protective against harsh chemicals than poly, needs reapplication | Matte to satin, enhances natural wood color | Medium | Easy |
| Varnish (e.g., Spar Varnish) | Excellent outdoor protection, good for dining tables | Longer dry times, can yellow over time, strong fumes | Glossy, semi-gloss | High | Medium |
| Hardwax Oil | Combines wax and oil, durable, natural look, easy to repair | Can be more expensive, less water-resistant than polyurethane | Matte to satin | High | Easy |
| Epoxy Topcoat | Ultra-durable, waterproof, glass-like finish | Can be challenging to apply without bubbles, difficult to repair | High gloss, modern | Very High | Difficult |
For a comprehensive understanding of various wood finishes, consider exploring resources on wood finishing techniques. If you’re aiming for a specific look, such as a rich, deep tone, guides on dark wood finishing techniques might be helpful. For a more subtle, organic feel, natural wood finishing techniques can provide guidance.
Application Techniques
Regardless of the finish you choose, proper application is key to a beautiful and long-lasting result.
- Preparation is Paramount:
- Ensure the table is thoroughly sanded to your final grit (e.g., 220 or 320 for a dining table).
- Remove all dust with a vacuum and a tack cloth. Even tiny dust particles will show in the final finish.
- Work in a clean, dust-free environment with good ventilation.
- Test First: Always test your chosen finish on a scrap piece of the same wood before applying it to your table. This allows you to check the color, sheen, and application properties.
- Apply in Thin Coats: Multiple thin coats are always better than one thick coat. Thin coats dry faster, cure harder, and are less prone to drips, bubbles, or imperfections.
- Follow Manufacturer Instructions: Pay close attention to recommended drying times, re-coat windows, and application methods (brush, roller, wipe-on pad, spray).
- Sanding Between Coats (If Required): For film-building finishes like polyurethane, a light sanding with a fine grit (e.g., 320 or 400) between coats can help ensure adhesion and smooth out any minor imperfections. Always clean off sanding dust thoroughly.
- Edge Finishing: Don’t forget the live edges! Ensure they are also properly finished to match the top surface, providing complete protection.
Special Considerations for Reclaimed Wood
- Porousness: Reclaimed wood can be very porous, sometimes absorbing more finish than new wood. You might need an extra coat or two.
- Old Contaminants: Despite cleaning, old oils or waxes might remain in reclaimed wood. These can sometimes interfere with new finishes. A de-waxed shellac can act as a barrier coat if needed.
- Maintaining the “Reclaimed Look”: If you want to preserve the distressed, weathered aesthetic, opt for a matte or satin oil finish that soaks into the wood rather than building a thick film on top. This maintains the tactile feel of the wood. For techniques specific to this, explore weathered wood finishing techniques.
- Food Safety: For dining tables, ensure your chosen finish is food-safe once cured. Most common finishes are inert after a full cure, but always verify.
Curing and Ongoing Maintenance
- Full Cure Time: While a finish may be dry to the touch in hours, it can take weeks or even a month to achieve a full cure. During this time, treat the table gently. Avoid heavy objects, hot items, or abrasive cleaning.
- Cleaning: Use mild, non-abrasive cleaners. Avoid harsh chemicals that can degrade the finish.
- Reapplication: Oil finishes typically require periodic reapplication (every 1-3 years, depending on use) to maintain protection. Film-building finishes like polyurethane are more durable but can be spot-repaired or recoated if damaged.
By carefully selecting and applying the right finish, your DIY live edge dining table made from reclaimed wood will not only be a stunning focal point in your home but also a durable, lasting piece that proudly showcases your craftsmanship and commitment to sustainable design, perfectly aligning with 2026’s interior trends.
Conclusion
Building Live Edge Dining Tables with Reclaimed Wood: A 2026 Trend Guide for DIY Makers is more than just a woodworking project; it’s an opportunity to create a piece of functional art that embodies sustainability, history, and unparalleled character. In an era where “narrative interiors” dominate design trends, a handcrafted live edge dining table from reclaimed wood stands out as a powerful statement, telling a story with every knot, grain, and imperfection.
This guide has provided a roadmap for DIY makers, from understanding the allure of reclaimed wood and meticulously sourcing your slab, through the critical steps of flattening, shaping, and stabilizing, to the final, transformative stage of finishing. Each step requires patience, attention to detail, and a willingness to embrace the unique qualities of natural materials.
By following these principles, you are not just building a table; you are preserving a piece of the past, contributing to a more sustainable future, and crafting a unique centerpiece that will gather friends and family for generations. The satisfaction of sitting around a table you created with your own hands, knowing the journey it took from raw, forgotten timber to a cherished household item, is immeasurable.
Actionable Next Steps:
- Research & Inspire: Explore different reclaimed wood species and live edge designs. Gather inspiration for your specific aesthetic.
- Source Wisely: Begin searching for local or online suppliers of reclaimed live edge slabs. Prioritize quality and appropriate moisture content.
- Gather Tools: Ensure you have the necessary tools for flattening, shaping, and finishing. This may include a router, router sled components, sanders, and finishing applicators.
- Practice on Scraps: If new to certain techniques (e.g., epoxy pouring, hand planing, or a specific finish application), practice on scrap wood first.
- Plan Your Base: Design or acquire a table base that will structurally and aesthetically complement your chosen slab.
- Start Building: Embrace the process, learn from challenges, and enjoy the journey of creating a truly remarkable piece of furniture for your home.
Your journey to craft a stunning live edge dining table from reclaimed wood starts now. Happy woodworking!

