

Ever admired a beautifully crafted shelf or a perfectly supported countertop and wondered how it was done? Chances are, the secret lies in the art of brackets woodworking. Brackets are essential for providing support, adding decorative flair, and enhancing the overall functionality of countless woodworking projects. In this comprehensive guide, I’ll walk you through everything you need to know about brackets woodworking, from choosing the right materials to mastering essential techniques. Let’s dive in! 🪚
Key Takeaways:

- Brackets are crucial for providing support and stability in woodworking projects like shelves, countertops, and decorative elements.
- Selecting the right type of bracket, material, and size is vital for ensuring the bracket’s strength and aesthetic appeal.
- Proper installation techniques, including accurate measurements and secure fastening, are essential for a safe and long-lasting result.
- Various woodworking joints and construction methods can be used to create strong and visually appealing brackets.
- Finishing techniques, such as sanding, staining, and painting, can enhance the bracket’s appearance and protect it from the elements.
What are Brackets in Woodworking?
Simply put, brackets are structural elements designed to support a load, typically extending from a vertical surface like a wall. Think of them as the unsung heroes of your woodworking projects. They can be purely functional, offering robust support, or they can be decorative, adding a touch of elegance and style. Often, they’re a blend of both!
“Brackets are the bridge between form and function in woodworking.”
Why Use Brackets?
Here’s why brackets are indispensable in woodworking:
- Support: The primary function of a bracket is to provide support for shelves, countertops, mantels, and other horizontal surfaces.
- Stability: Brackets prevent sagging and ensure the stability of your woodworking creations.
- Aesthetics: Brackets can significantly enhance the visual appeal of a project, adding a decorative element that complements the overall design.
- Space Saving: In some cases, brackets allow you to create floating shelves or other space-saving solutions.
- Versatility: Brackets can be used in a wide range of projects, from simple shelves to elaborate architectural details.
Types of Brackets
Choosing the right type of bracket is crucial for both functionality and aesthetics. Here’s a rundown of some common types:
- Shelf Brackets: These are the most common type, designed specifically to support shelves. They come in various styles, from simple metal brackets to ornate wooden ones.
- Countertop Brackets: These are heavy-duty brackets designed to support the weight of countertops and islands. They are often made of steel or reinforced wood.
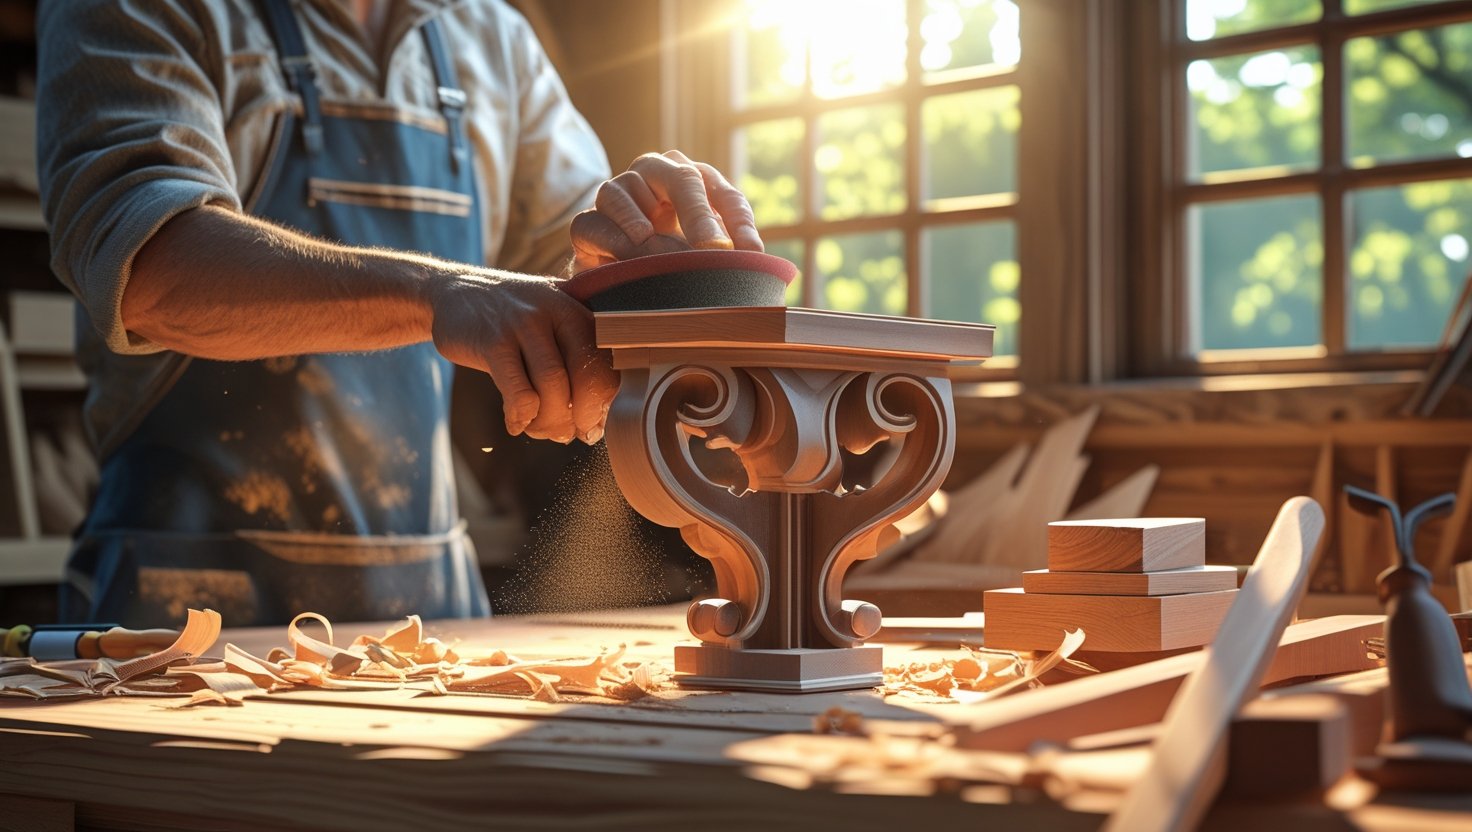
- Corbels: Corbels are decorative brackets that often feature intricate carvings and are used to add architectural detail to mantels, shelves, and other features.
- Angle Brackets: These L-shaped brackets provide support at a 90-degree angle. They are versatile and can be used in a variety of applications.
- Floating Shelf Brackets: These brackets are concealed within the shelf, creating the illusion that the shelf is floating.
- Decorative Brackets: These brackets are primarily designed for aesthetic purposes and may offer minimal structural support.
Materials for Brackets Woodworking
The material you choose for your brackets will affect their strength, durability, and appearance. Here are some popular options:
- Wood: Wood is a classic choice for brackets, offering a warm and natural look. Popular wood species include:
- Pine: Affordable and easy to work with, but less durable than hardwoods.
- Oak: Strong and durable with a beautiful grain pattern.
- Maple: Hard and dense, ideal for heavy-duty applications.
- Cherry: Known for its rich color and smooth texture.
- Metal: Metal brackets offer superior strength and durability. Common metal choices include:
- Steel: Strong and affordable, but prone to rust if not properly coated.
- Stainless Steel: Corrosion-resistant and ideal for outdoor applications.
- Aluminum: Lightweight and corrosion-resistant.
- Composite Materials: These materials offer a combination of strength and durability. Examples include:
- MDF (Medium-Density Fiberboard): Affordable and easy to paint, but not as strong as solid wood.
- Plywood: Strong and stable, but can be prone to splintering.
Here’s a table summarizing the pros and cons of each material:
| Material | Pros | Cons |
|---|---|---|
| Wood | Warm, natural look, easy to work with, various species | Can be prone to warping, less strong than metal |
| Metal | Strong, durable, can be sleek and modern | Can be expensive, requires specialized tools for fabrication |
| Composite | Affordable, stable, easy to paint | Not as strong as solid wood or metal, can be prone to moisture damage |
Designing Your Brackets
Before you start building, it’s essential to design your brackets carefully. Consider these factors:
- Load Capacity: Determine the weight your brackets will need to support. This will influence the size, material, and construction method you choose.
- Dimensions: Measure the space where the brackets will be installed and determine the required dimensions of the brackets.
- Style: Choose a style that complements the overall design of your project. Consider the shape, size, and decorative elements of the brackets.
- Attachment Method: Determine how the brackets will be attached to the wall or other surface. Consider using screws, bolts, or adhesive.
Essential Tools and Equipment
To get started with brackets woodworking, you’ll need a few essential tools:
- Measuring Tools: Tape measure, ruler, square, level
- Cutting Tools: Saw (hand saw, circular saw, jigsaw), miter saw
- Drilling Tools: Drill, drill bits
- Fastening Tools: Screwdriver, screws, nails, hammer
- Clamping Tools: Clamps (various sizes)
- Sanding Tools: Sandpaper, sanding block, power sander (optional)
- Finishing Tools: Brushes, stain, paint, varnish
Step-by-Step Guide to Building a Simple Wooden Bracket
Let’s build a basic wooden bracket to illustrate the process. This bracket will be suitable for supporting a small shelf.
Materials:
- 1×4 lumber (pine, oak, or maple)
- Wood glue
- Screws
Steps:
- Cut the Wood: Cut the lumber into three pieces:
- A vertical support piece (e.g., 12 inches long)
- A horizontal support piece (e.g., 8 inches long)
- A brace piece (cut at a 45-degree angle to fit between the vertical and horizontal pieces)
- Assemble the Bracket:
- Apply wood glue to the edges of the vertical and horizontal pieces where they will join.
- Clamp the pieces together at a 90-degree angle.
- Drive screws through the vertical piece into the horizontal piece to secure the joint.
- Add the Brace:
- Apply wood glue to the edges of the brace piece.
- Position the brace between the vertical and horizontal pieces, ensuring it fits snugly.
- Drive screws through the vertical and horizontal pieces into the brace to secure it.
- Sand the Bracket:
- Use sandpaper to smooth all surfaces and edges of the bracket.
- Start with a coarse grit sandpaper (e.g., 80 grit) and gradually move to a finer grit (e.g., 220 grit).
- Finish the Bracket:
- Apply a stain, paint, or varnish to protect the wood and enhance its appearance.
- Allow the finish to dry completely before installing the bracket.
Woodworking Joints for Strong Brackets
The type of joint you use to construct your brackets will significantly impact their strength and stability. Here are some common woodworking joints for brackets:
- Butt Joint: A simple joint where two pieces of wood are joined end-to-end or edge-to-edge. While easy to make, it’s the weakest joint and requires reinforcement with screws or glue.
- Lap Joint: A joint where two pieces of wood overlap each other. This joint is stronger than a butt joint and provides a larger surface area for gluing.
- Mortise and Tenon Joint: A strong and durable joint where a tenon (a projecting piece of wood) is inserted into a mortise (a hole). This joint is ideal for heavy-duty applications.
- Dovetail Joint: A decorative and strong joint where interlocking “tails” and “pins” are used to join two pieces of wood. This joint is often used in high-end furniture and cabinetry.
- Miter Joint: A joint where two pieces of wood are joined at an angle, typically 45 degrees. This joint is often used for creating picture frames and other decorative elements.
Installing Your Brackets
Proper installation is just as important as building the brackets themselves. Here are some tips for installing your brackets securely:
- Locate Studs: Use a stud finder to locate the wall studs. Attaching the brackets to studs will provide the strongest support.
- Mark the Locations: Mark the locations for the brackets on the wall, ensuring they are level and evenly spaced.
- Drill Pilot Holes: Drill pilot holes through the brackets and into the wall studs.
- Attach the Brackets: Use screws to attach the brackets to the wall studs. Ensure the screws are long enough to penetrate the studs deeply.
- Test the Stability: Once the brackets are installed, test their stability by applying weight to them. Make sure they are securely attached and can support the intended load.
Finishing Techniques for Brackets
Finishing your brackets not only enhances their appearance but also protects them from moisture and wear. Here are some popular finishing techniques:

- Sanding: Sanding is essential for creating a smooth surface before applying any finish. Start with a coarse grit sandpaper and gradually move to a finer grit.
- Staining: Staining adds color and depth to the wood. Choose a stain that complements the overall design of your project.
- Painting: Painting provides a durable and opaque finish. Use a primer before painting to ensure proper adhesion.
- Varnishing: Varnishing provides a clear and protective finish. Apply multiple coats for maximum protection.
- Sealing: Sealing protects the wood from moisture and prevents it from warping or cracking.
Advanced Brackets Woodworking Techniques
Once you’ve mastered the basics, you can explore more advanced brackets woodworking techniques, such as:
- Creating Curved Brackets: Use a bandsaw or jigsaw to cut curved brackets from solid wood or plywood.
- Adding Decorative Carvings: Use carving tools to add intricate designs and patterns to your brackets.
- Combining Wood and Metal: Incorporate metal elements into your brackets for a unique and modern look.
- Building Adjustable Brackets: Design brackets that can be adjusted to accommodate different shelf heights.
- Using CNC Machines: Use a CNC machine to create complex and precise bracket designs.
Troubleshooting Common Brackets Woodworking Problems
Even experienced woodworkers encounter problems from time to time. Here are some common issues and how to fix them:
- Brackets are not level: Use a level to ensure the brackets are perfectly level before attaching them to the wall.
- Brackets are not strong enough: Choose a stronger material or use a more robust construction method.
- Screws are stripping: Use screws that are the correct size and length. Avoid over-tightening the screws.
- Finish is peeling or cracking: Prepare the surface properly before applying the finish. Use a high-quality finish and apply multiple coats.
Brackets Woodworking Project Ideas
Looking for inspiration? Here are a few brackets woodworking project ideas:
- Floating Shelves: Create stylish floating shelves using concealed brackets.
- Kitchen Island Support: Build custom brackets to support a kitchen island countertop.
- Bookshelf Brackets: Design decorative brackets for a bookshelf.
- Mantel Brackets: Craft ornate corbels to support a fireplace mantel.
- Plant Hanger Brackets: Build sturdy brackets to hang plants from a wall or ceiling.
Safety First!
Woodworking can be dangerous if proper safety precautions are not followed. Always wear safety glasses, ear protection, and a dust mask when working with power tools. Keep your work area clean and organized. Never operate power tools when you are tired or distracted.
Bracket Calculator
Here’s an interactive tool to help you determine the weight capacity of your wooden brackets. Please note that this is a simplified calculation and actual weight capacity may vary based on wood species, joint strength, and installation method.
Wooden Bracket Weight Capacity Calculator
Enter the dimensions of your bracket to estimate its weight capacity. This is a simplified calculation and actual capacity may vary.
Conclusion
Brackets woodworking is a rewarding skill that can significantly enhance the functionality and aesthetics of your projects. By understanding the different types of brackets, materials, construction methods, and finishing techniques, you can create strong, durable, and beautiful brackets that will last for years to come. So, grab your tools, unleash your creativity, and start building! Happy woodworking! 🔨
