
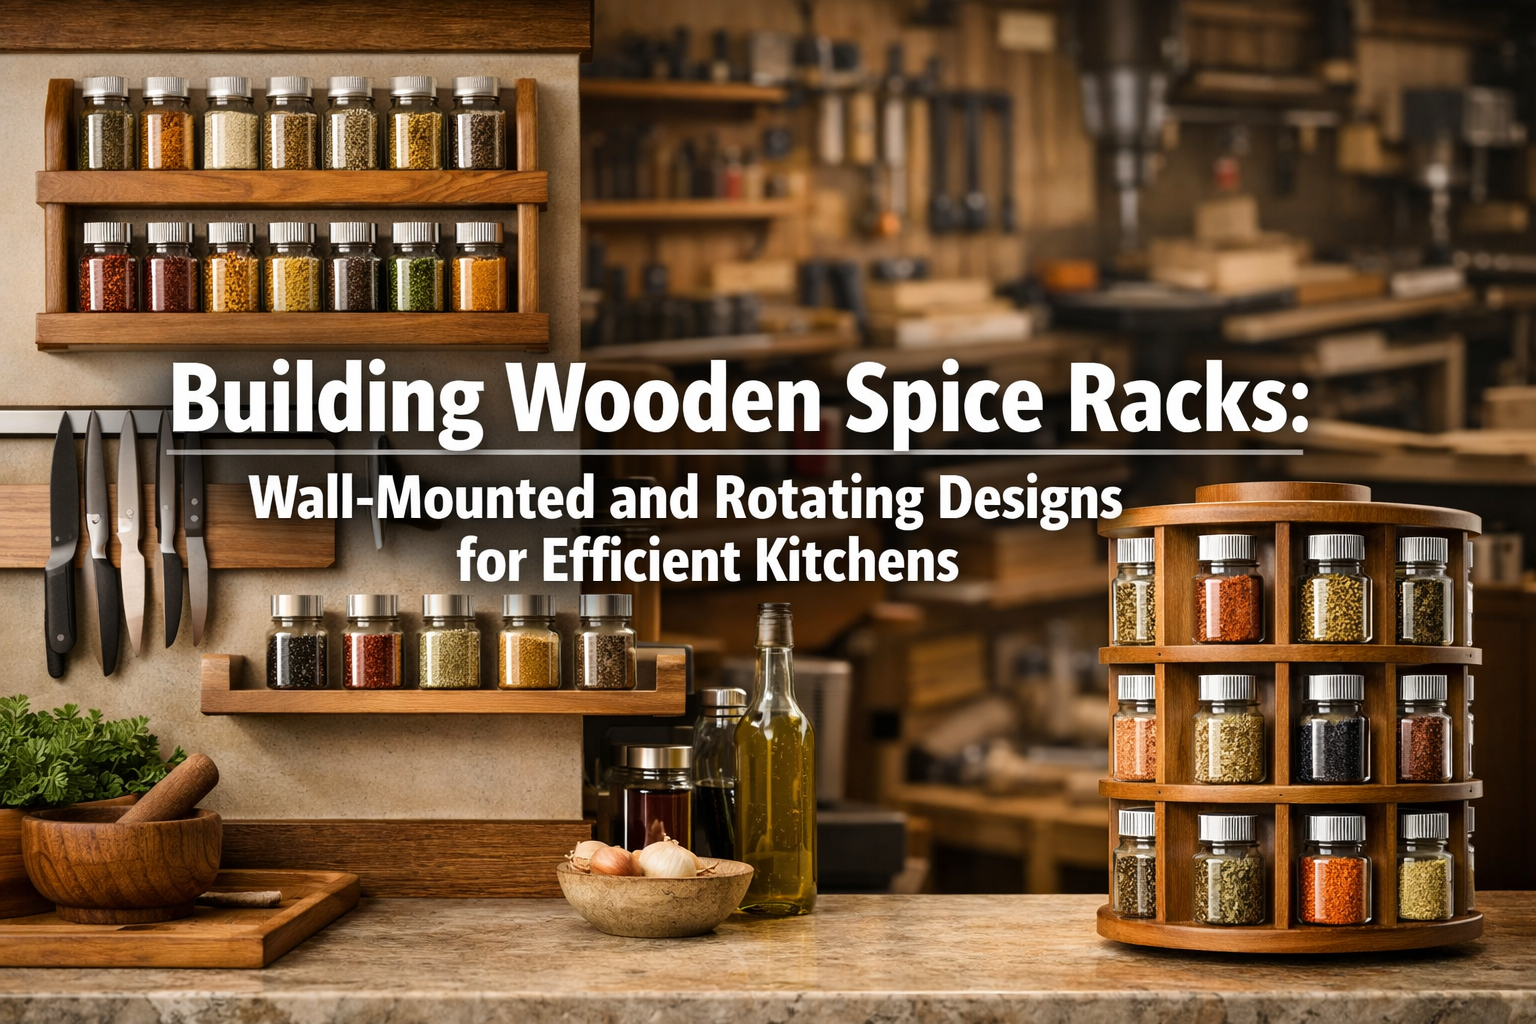

Are you tired of rummaging through cluttered cabinets for that elusive jar of cumin? In 2026, an organized kitchen is a happy kitchen, and nothing brings order quite like a custom-built wooden spice rack. This comprehensive guide will walk you through Building Wooden Spice Racks: Wall-Mounted and Rotating Designs for Efficient Kitchens, focusing on detailed tutorials for robust joinery, adjustable shelves, and smart labeling systems. We’ll delve into the precise power tool setups needed for clean cuts and explore the charm and sustainability of using reclaimed wood.
Creating your own spice rack is a rewarding woodworking project that not only enhances your kitchen’s aesthetics but also dramatically improves its functionality. Whether you envision a sleek, wall-mounted display or a convenient rotating carousel, understanding the fundamental techniques will empower you to craft a durable and beautiful solution tailored to your culinary space.

Key Takeaways
- Precision Joinery is Key: Master dado and pocket hole joinery for strong, stable spice racks that stand the test of time.
- Design for Flexibility: Incorporate adjustable shelves to accommodate various spice jar sizes and future needs.
- Utilize Power Tools Safely: Learn optimal setups for table saws, routers, and drill presses for precise, efficient cuts.
- Embrace Reclaimed Materials: Explore sourcing and finishing reclaimed wood for a sustainable and unique build.
- Strategic Organization: Implement effective labeling and placement strategies for an ultra-efficient cooking experience.
Mastering Joinery and Precision Cuts for Wall-Mounted and Rotating Spice Racks

The foundation of any sturdy wooden project lies in its joinery. For Building Wooden Spice Racks: Wall-Mounted and Rotating Designs for Efficient Kitchens, two techniques stand out for their strength and relative ease of execution: dado joints and pocket hole joinery. These methods ensure that your spice rack, whether fixed to a wall or spinning smoothly on a countertop, will withstand daily use.
Understanding Dado Joinery for Sturdy Shelves
Dado joints involve cutting a groove across the grain of a board, into which another board (like a shelf) can be fitted. This creates a strong, interlocking joint that provides excellent support and prevents shelves from sagging or shifting. It’s particularly ideal for the fixed shelves of a wall-mounted spice rack, offering superior load-bearing capacity compared to simply screwing shelves into place.
Tools and Setup for Perfect Dados:
Table Saw with Dado Stack: The most efficient way to cut dados is with a dado blade set on a table saw.
- Safety First: Always use a blade guard, push sticks, and ensure your workpiece is firmly held against the fence.
- Blade Selection: A stacked dado set typically includes two outer blades and several chippers, allowing you to achieve various groove widths. Choose a width that precisely matches the thickness of your shelf material.
- Setup: Install the dado stack on your table saw. Adjust the blade height to about one-third to one-half the thickness of your side panels. Set your fence to determine the position of the dado.
- Test Cuts: Always perform test cuts on scrap wood to fine-tune your blade height and fence position. A perfect dado should allow the shelf to fit snugly without forcing it.
- Multiple Passes: If your dado stack isn’t wide enough for a single pass, or if you prefer a cleaner cut, you can make multiple passes, slightly adjusting the fence for each pass until the desired width is achieved.
Router with Straight Bit: For those without a dado stack, a router can also cut precise dados.
- Router Table: A router table makes this process much safer and more accurate than freehand routing.
- Straight Bit: Select a straight bit with a diameter matching your shelf thickness.
- Edge Guide or Jig: Use an edge guide or a custom-built dado jig to keep the router traveling in a straight line and ensure consistent dado placement.
- Depth Adjustment: Adjust the router bit depth for the desired dado depth, typically 1/3 to 1/2 of the board’s thickness.
- Clamping: Securely clamp your workpiece to your workbench to prevent movement during routing.
“Precision in dado cuts not only enhances the structural integrity of your spice rack but also elevates its overall professional appearance.”
Leveraging Pocket Hole Joinery for Efficient Assembly
Pocket hole joinery is a fast, strong, and aesthetically clean method, making it excellent for assembling the outer frame of your spice rack or for securing the top and bottom panels of a rotating design. It involves drilling an angled hole into one piece of wood, allowing a self-tapping screw to connect it to another piece.
Essential Tools for Pocket Holes:
- Pocket Hole Jig (e.g., Kreg Jig): This specialized jig guides your drill bit at the correct angle.
- Setting the Jig: Adjust the jig to the thickness of your wood. Most jigs have clear markings or a built-in gauge for this.
- Drill Bit and Collar: Use the stepped drill bit provided with the jig, along with the stop collar set to the recommended depth.
- Clamping: Clamp the jig firmly to your workpiece before drilling to prevent movement.
- Screws: Use pocket hole screws of the appropriate length and thread type for your wood (coarse thread for softwoods, fine thread for hardwoods).
- Concealment: While pocket holes are often hidden, you can plug them with custom wood plugs for a completely finished look, a technique often used in higher-end furniture. For more on advanced joinery, explore Mastering Modern Hand-Cut Joinery: Adapting Classics for Live-Edge and Modular Furniture.
Preparing Your Wood and Ensuring Adjustable Shelves
Before cutting, proper wood preparation is crucial. This includes selecting the right wood species (hardwoods like maple or cherry offer durability and beauty; reclaimed wood provides character) and dimensioning your lumber. For inspiration on wood selection, see Premium Wood Selection for 2026 Projects: Walnut, Cherry, and Exotic Alternatives to Pine.
Adding Adjustable Shelves:
To make your spice rack truly efficient and versatile, incorporate adjustable shelves. This allows you to accommodate jars of various heights.
Drilling Shelf Pin Holes:
- Shelf Pin Jig: A dedicated shelf pin jig (often used with a drill press or handheld drill) ensures evenly spaced, straight holes.
- Spacing: Decide on your desired spacing between holes (e.g., 1 inch or 1.5 inches) and the number of rows.
- Depth: Drill holes to a consistent depth that allows shelf pins to sit securely.
- Pins: Purchase metal or plastic shelf pins that match the diameter of your drilled holes.
Benefits: Adjustable shelves are particularly useful in wall-mounted units, allowing for dynamic organization as your spice collection evolves.
| Joinery Type | Best Use Case | Advantages | Tools Required | Skill Level |
|---|---|---|---|---|
| Dado Joint | Fixed shelves, structural elements | Very strong, prevents sagging, clean | Table saw (dado stack) or router | Intermediate |
| Pocket Hole | Frame assembly, quick strong joints | Fast, concealed (if plugged), versatile | Pocket hole jig, drill, specialized screws | Beginner-Intermediate |
Designing and Building Your Efficient Wooden Spice Rack
Once you have mastered the foundational joinery, the next step in Building Wooden Spice Racks: Wall-Mounted and Rotating Designs for Efficient Kitchens is to translate your vision into a functional and beautiful piece. This involves thoughtful design, careful construction, and smart organizational features.
Wall-Mounted Spice Rack Design and Construction
A wall-mounted spice rack is an excellent space-saving solution, keeping your spices visible and accessible without occupying valuable countertop real estate.
Design Considerations:
- Location: Choose a wall near your cooking area, away from direct heat and sunlight.
- Capacity: Determine how many spice jars you need to store. Measure your typical spice jars to ensure shelves are deep enough (usually 2-3 inches) and tall enough (consider adjustable shelves).
- Dimensions: Plan the overall width and height based on your available wall space and desired capacity.
- Style: Match the rack’s style to your kitchen décor. Reclaimed wood, for example, can offer a rustic or industrial charm. For more ideas on using reclaimed wood, check out Building Reclaimed Wood Mantels: Sourcing, Restoration, and Installation Techniques.
- Mounting: Decide on your mounting method – keyhole slots for a floating look, or exposed screw holes with decorative caps for a more traditional approach. Consider adding Custom Floating Shelves: Design, Fabrication, and Installation techniques for a sleek installation.
Construction Steps:
- Cut Components: Using your table saw and router, cut all side panels, shelves, and a back panel (optional but recommended for stability and preventing jars from falling).
- Pro Tip: For a clean finish, slightly round over the front edges of shelves with a router and a small round-over bit.
- Cut Dados: Create the dado joints in your side panels for the fixed shelves using a dado stack or router. If using adjustable shelves, drill shelf pin holes now.
- Assemble Frame: Glue and clamp the side panels and fixed shelves together. Use a square to ensure all corners are 90 degrees. Allow glue to dry completely.
- Attach Back Panel (Optional): If using a back panel, attach it with small brad nails and wood glue or small screws. This adds rigidity and helps protect the wall.
- Finishing: Sand all surfaces smooth, then apply your chosen finish. Natural oils, stains, or polyurethane are popular choices. Refer to rustic wood finishing techniques or dark wood finishing techniques for inspiration.
- Mounting Hardware: Install keyhole hangers on the back or pre-drill mounting holes for screws. Locate wall studs for secure installation.
Rotating Spice Rack Design and Construction
A rotating spice rack, often a “lazy Susan” style, is perfect for countertops or inside deeper cabinets, offering 360-degree access to your spices.
Design Considerations:
- Footprint: Determine the ideal diameter for your base to fit your intended location.
- Height: Plan the overall height, considering standard spice jar heights and how many tiers you want.
- Tiers: Most rotating racks have 2-3 tiers. Ensure sufficient clearance between tiers for easy access.
- Rotation Mechanism: A lazy Susan bearing is essential. Choose one appropriate for the weight and diameter of your rack.
Construction Steps:
- Cut Discs/Panels: Cut circular or multi-sided panels for the base, shelves, and top. A band saw or jigsaw can be used for circular cuts, followed by sanding to smooth the edges.
- Center Post: For a multi-tier rotating rack, a central post is required. This can be a dowel or a square piece of wood.
- Attach Base to Bearing: Secure one side of the lazy Susan bearing to your base panel and the other side to a fixed lower platform or cabinet shelf.
- Assemble Tiers:
- For a simple “cake stand” style, attach the central post to the base, then attach shelves to the post using glue and screws, ensuring they are level.
- For a “tower” style with side panels holding shelves, use pocket holes or dowel joinery to connect the side panels to the base and top.
- Divider Rings (Optional): To prevent jars from falling off, consider adding small retaining rings or fences around each tier. These can be thin strips of wood secured with small brad nails.
- Finishing: Sand thoroughly and apply your desired finish.
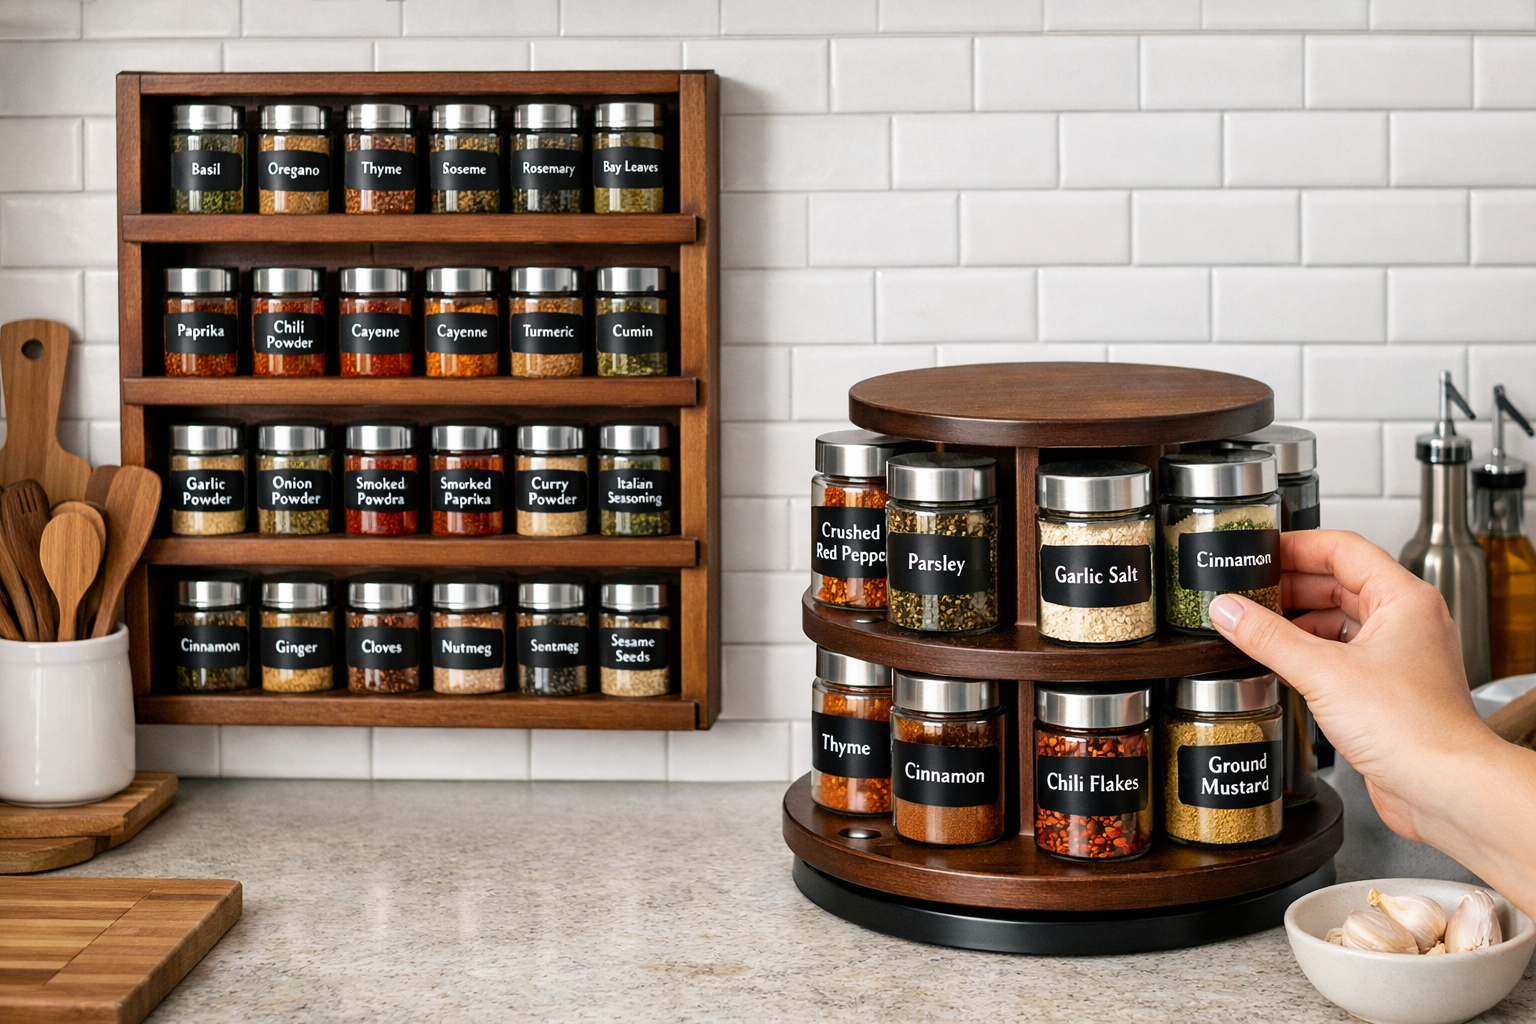
Efficient Labeling Systems
No spice rack is truly efficient without a clear labeling system. This ensures you can quickly find what you need without pulling out multiple jars.
- Top Labels: For rotating racks, consider labeling the tops of your jars for quick identification when looking down.
- Side Labels: For wall-mounted racks, clear side labels are crucial.
- Consistency: Use a consistent font or labeling method for a uniform and organized look. Options include:
- Pre-printed Labels: Purchase aesthetically pleasing, waterproof labels.
- DIY Printed Labels: Print your own using a label maker or a home printer on adhesive paper.
- Chalkboard Labels: Apply chalkboard paint to a section of each jar or use small chalkboard tags for a rustic feel.
- Handwritten Labels: For a personal touch, write directly on jars with a permanent marker designed for glass/ceramic.
Materials, Finishing, and Advanced Techniques
The final stage of Building Wooden Spice Racks: Wall-Mounted and Rotating Designs for Efficient Kitchens involves selecting appropriate materials, applying durable finishes, and considering more advanced woodworking techniques to enhance both the longevity and aesthetic appeal of your project.
Sourcing and Using Reclaimed Wood
Using reclaimed wood for your spice rack is an excellent way to add character and practice sustainable woodworking. Reclaimed wood often has a unique patina and history that new lumber simply cannot replicate.
Benefits of Reclaimed Wood:
- Sustainability: Reduces demand for new timber and diverts usable wood from landfills.
- Unique Aesthetics: Each piece tells a story with its grain, knots, and imperfections.
- Stability: Often, reclaimed wood has already seasoned for decades, making it very stable and less prone to warping or shrinking.
- Cost-Effective: Can sometimes be sourced for free or at a lower cost than new lumber.
Sourcing Reclaimed Wood:
- Salvage Yards: Dedicated architectural salvage yards are prime locations.
- Demolition Sites: With permission, you might find structural timbers or old flooring.
- Online Marketplaces: Craigslist, Facebook Marketplace, or specialized online forums.
- Local Woodworkers: They might have offcuts or surplus from larger projects.
Preparing Reclaimed Wood:
- Inspection: Carefully inspect for nails, screws, staples, or other metal debris. Use a metal detector for thoroughness.
- Cleaning: Remove dirt, grime, and loose paint. A stiff brush, scraper, and mild detergent can be effective.
- Milling: Unless you want a very rustic look, reclaimed wood will likely need to be milled (planed and jointed) to achieve flat, square, and consistent dimensions. For more details on preparing materials, consider Live Edge Wood Projects: From Design to Execution for Home Craftspeople for general wood preparation.
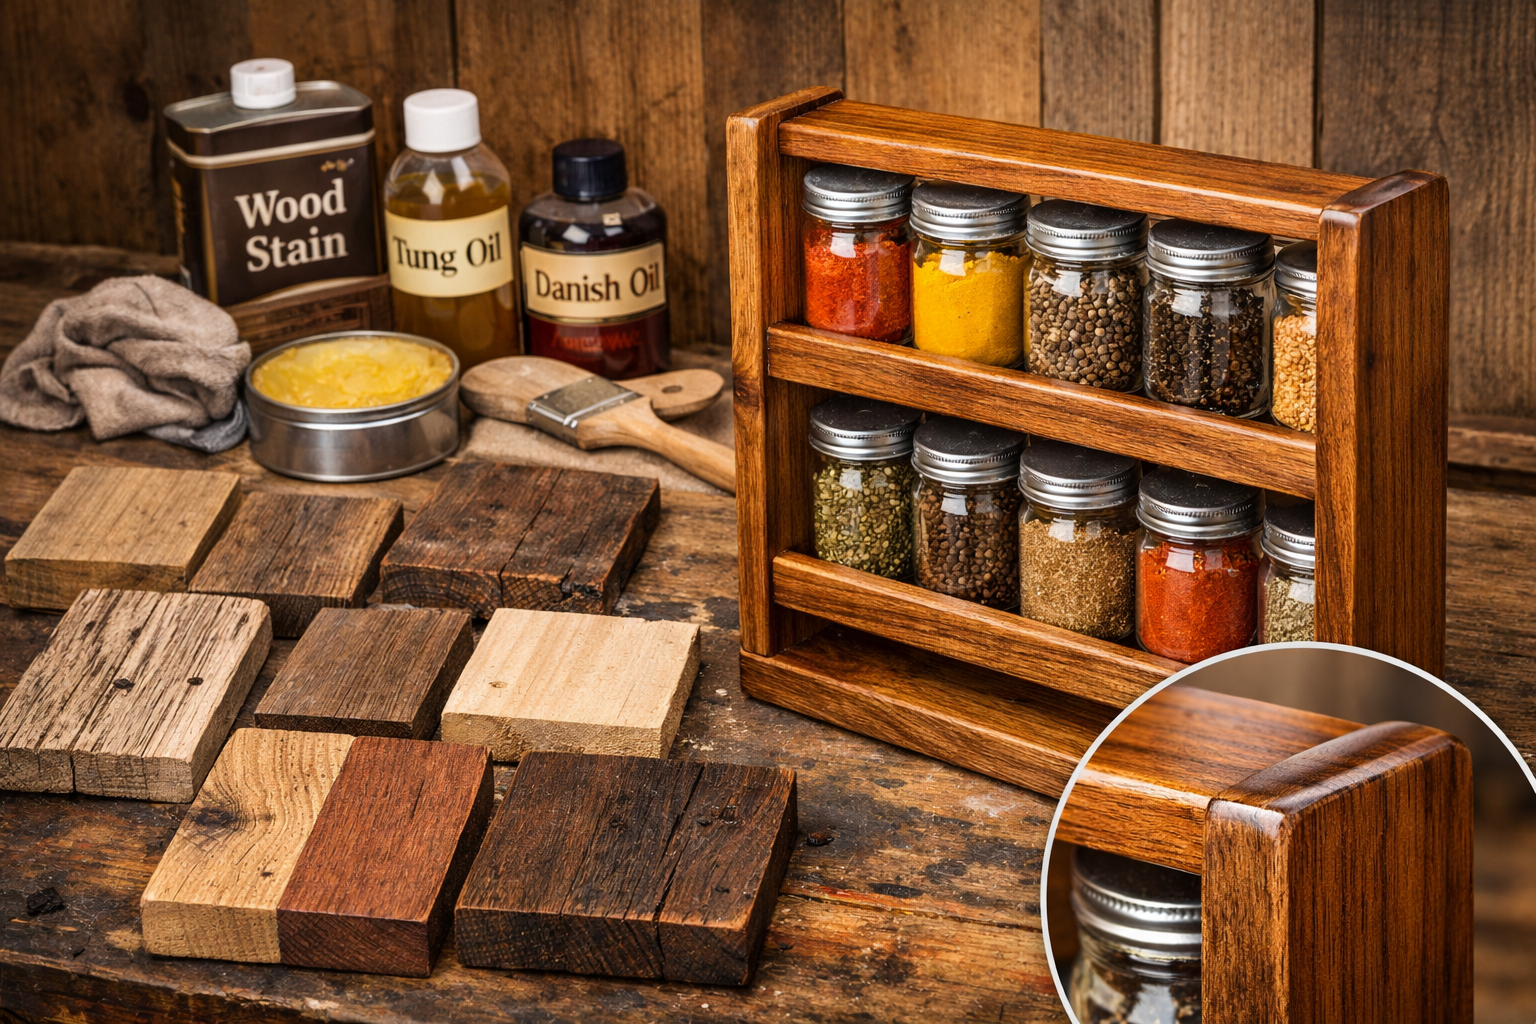
Finishing for Durability and Aesthetics
A proper finish protects the wood from moisture, spills, and daily wear, while also enhancing its natural beauty.
Popular Finishing Options:
Oils (e.g., Danish Oil, Tung Oil):
- Pros: Penetrates the wood, creating a natural, warm look. Easy to repair and reapply.
- Cons: Less protective than film finishes, may require more frequent reapplication.
- Application: Apply with a rag, let it soak in, then wipe off excess. Repeat multiple coats. See Danish Oil vs. Boiled Linseed Oil: Understanding Wood Oils for comparison.
Polyurethane (Water-based or Oil-based):
- Pros: Creates a durable, protective film on the surface. Available in various sheens (matte, satin, gloss).
- Cons: Can be more challenging to apply without streaks, repairs are difficult.
- Application: Apply thin, even coats with a brush or sprayer, sanding lightly between coats. For spraying techniques, refer to spraying water based poly benefits techniques and tips.
Waxes:
- Pros: Provides a soft, natural feel and subtle sheen.
- Cons: Offers minimal protection against moisture and scratches. Best used over another finish or for very light-duty items.
- Application: Apply a thin coat, let haze, then buff to a shine.
Finishing Tips:
- Sanding: Always sand thoroughly, progressing through grits (e.g., 80, 120, 180, 220) before applying finish. This eliminates sanding marks that become visible after staining. Learn more at sanding marks after staining how to remove and achieve smooth finishes.
- Dust Removal: Before finishing, ensure all sanding dust is removed using a tack cloth or compressed air.
- Ventilation: Work in a well-ventilated area, especially when using oil-based finishes.
Advanced Techniques and Customizations
For those looking to elevate their spice rack beyond basic functionality, consider these advanced touches:

- Drawer Integration: For larger wall-mounted units, small drawers could be integrated at the bottom for measuring spoons, small gadgets, or spice packets. This mimics the functionality found in larger pieces like Kitchen Islands from Scratch: Adding Storage Drawers and Butcher Block Tops for Small Workshops.
- Routered Details: Use different router bits to create decorative edges, flutes, or other carved details on the frame or shelves.
- Inlays: For a truly unique piece, consider adding small wood inlays or contrasting wood strips.
- Lighting: Integrate subtle LED strip lighting under shelves for a dramatic display and easier visibility.
By carefully considering materials, applying the right finish, and exploring advanced techniques, your custom-built wooden spice rack will not only be a highly efficient organizational tool but also a beautiful, lasting addition to your kitchen in 2026.
Conclusion
Building Wooden Spice Racks: Wall-Mounted and Rotating Designs for Efficient Kitchens is a project that offers immense satisfaction and tangible benefits. From mastering precise joinery techniques like dado and pocket holes, ensuring sturdy construction and adjustable shelving, to selecting and finishing sustainable reclaimed wood, every step contributes to a highly functional and aesthetically pleasing kitchen essential. In 2026, an organized kitchen is a smart kitchen, and a custom spice rack is a hallmark of thoughtful design and DIY craftsmanship.
The detailed tutorials on power tool setups, combined with insights into designing for both wall-mounted and rotating configurations, empower you to create a solution perfectly tailored to your space and culinary habits. By focusing on durability, accessibility, and clear labeling, you transform a common kitchen item into a standout piece that streamlines your cooking process and adds a touch of personalized elegance. This project is more than just woodworking; it’s an investment in kitchen efficiency and a testament to the enduring appeal of handcrafted wooden goods.
Actionable Next Steps:
- Assess Your Needs: Determine whether a wall-mounted or rotating design best suits your kitchen layout and spice collection size.
- Gather Your Tools: Ensure you have the necessary power tools (table saw, router, drill press) and safety gear, or access to them.
- Plan Your Design: Sketch out your chosen design, taking precise measurements of your space and spice jars.
- Source Your Wood: Decide between new lumber and reclaimed wood, and source your materials accordingly. If using reclaimed, begin the preparation process.
- Practice Joinery: If new to dado or pocket hole joinery, practice on scrap wood before cutting your final pieces.
- Start Building: Follow the construction steps outlined above, taking your time for precision and quality.
- Apply a Durable Finish: Select a finish that complements your kitchen and protects your wooden spice rack for years to come.
- Organize and Label: Fill your new rack with your spices and implement a consistent labeling system for ultimate efficiency.
