
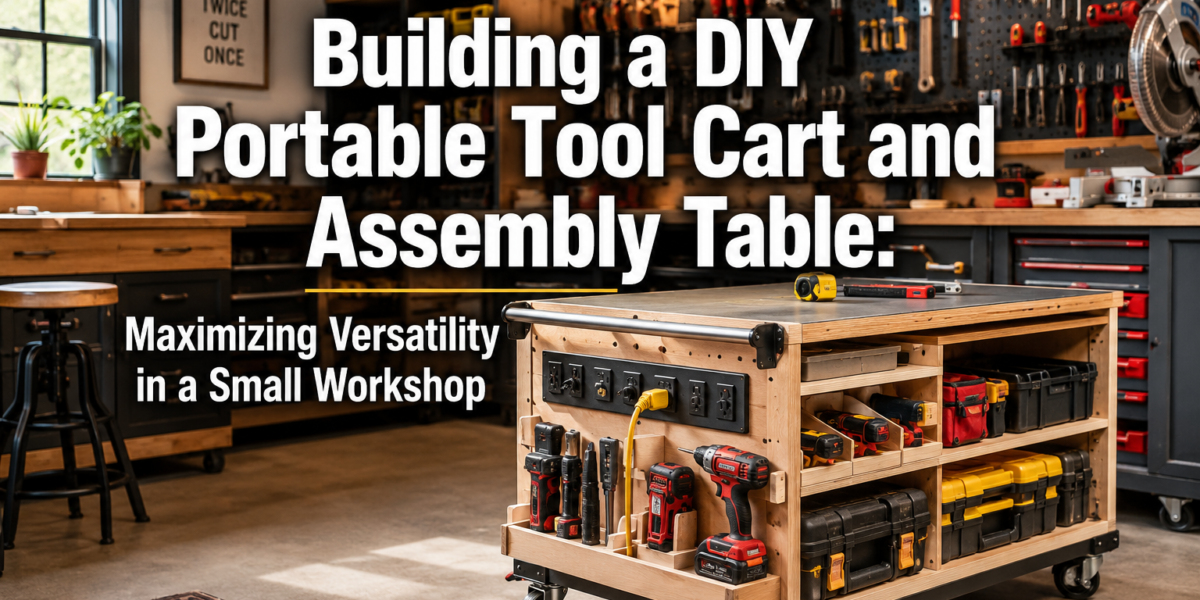

Every woodworker, regardless of their shop’s size, inevitably confronts the paradox of ample tools and limited space. A common response to this challenge is often a series of piecemeal storage solutions that, while helpful, rarely integrate into a cohesive, efficient workflow. However, it’s entirely possible to transcend this common scenario by constructing a multi-functional, mobile tool cart that brilliantly doubles as an assembly table. This strategic DIY project, focused on Building a DIY Portable Tool Cart and Assembly Table: Maximizing Versatility in a Small Workshop, is designed to optimize workflow and storage, featuring integrated power, versatile clamping solutions, and modular storage to transform even the most compact woodworking areas into highly productive spaces.
Key Takeaways
- A DIY portable tool cart and assembly table dramatically improves workflow and organization in small workshops.
- Integrating power outlets directly into the cart enhances convenience and safety.
- Modular storage solutions allow for adaptable organization of various tools and supplies.
- A sturdy, multi-purpose top surface provides both a robust assembly area and additional workspace.
- Mobility, achieved through heavy-duty casters, allows for flexible workshop layouts and easy material handling.
Designing for Efficiency: Planning Your Portable Tool Cart and Assembly Table
The foundation of any successful DIY project lies in meticulous planning. When Building a DIY Portable Tool Cart and Assembly Table: Maximizing Versatility in a Small Workshop, the design phase is critical for ensuring the finished product truly meets your specific needs and constraints. Begin by assessing your current workshop layout, identifying bottlenecks, and cataloging the tools and materials you intend to store. This comprehensive evaluation will inform the dimensions, features, and overall structure of your cart.

 image illustrating the planning and design phase of a DIY portable tool cart. The image shows a close-up of](https://zsxkvszxbhpwnvzxdydv.supabase.co/storage/v1/object/public/generated-images/kie/e5517398-6bc2-4486-987e-5d4b11330336/slot-1-1779422485850.png))
Essential Design Considerations
- Dimensions and Footprint: Measure the available space in your workshop carefully. Consider the largest pieces of lumber or projects you typically work on. The cart’s footprint should be compact enough to maneuver easily but large enough to offer a practical work surface. Aim for a height that aligns comfortably with your existing workbench or allows for ergonomic assembly. For guidance on creating ergonomic workspaces, you might find our article on Creating Ergonomic Workshop Furniture helpful.
- Mobility: Heavy-duty, locking casters are non-negotiable. Look for casters that can support the total estimated weight of the cart plus its contents, and consider a slightly larger diameter (e.g., 4-inch) for easier movement over uneven surfaces or sawdust-covered floors. Locking mechanisms are essential to keep the cart stable during use as an assembly table.
- Integrated Power: This feature is a game-changer. Plan for at least one, preferably two, integrated power strips or outlets on the cart. This eliminates the need for extension cords trailing across the floor, improving safety and convenience. Ensure proper wiring and grounding according to local electrical codes.
- Work Surface Versatility:
- Material: A durable top surface is vital. ¾-inch baltic birch plywood or MDF with a replaceable hardboard top are excellent choices. A sacrificial top allows you to drill, cut, and clamp without damaging the primary surface.
- Clamping Solutions: Integrate T-track channels directly into the tabletop or along its edges. These provide versatile clamping points for securing workpieces of various sizes. Dog holes are another excellent option, especially if you already own bench dogs.
- Optional Features: Consider a fold-down or pull-out extension on one or both sides to temporarily expand the work surface for larger projects.
- Modular Storage: The core of maximizing versatility. Think beyond simple shelves.
- Drawers: Different sizes for various tools – shallow ones for hand tools and fasteners, deeper ones for power tools. Incorporate soft-close slides for smooth operation.
- Adjustable Shelving: Use pegboard or French cleats on the cart’s sides for quick access to frequently used items. Our guide to Smart Workshop Storage Solutions offers more ideas for maximizing compact spaces.
- Dedicated Tool Slots: Create custom slots for specific tools like circular saws, routers, or sanders.
- Bin Storage: Utilize clear plastic bins or small parts organizers for screws, nails, and other consumables.
- Vertical Storage: If space allows, incorporate vertical dividers for sheet goods or long offcuts.
Planning Checklist for Your Portable Tool Cart
| Feature | Description | Status |
|---|---|---|
| Overall Dimensions | Height, width, and depth optimized for your workshop and typical projects. | ✅ Determined |
| Casters | Heavy-duty, locking (minimum 4-inch diameter recommended). | ✅ Selected |
| Power Integration | Number and location of outlets/power strip. Safety considerations. | ✅ Mapped out |
| Work Surface | Material choice, thickness, sacrificial top option. | ✅ Specified |
| Clamping Options | T-track, dog holes, or integrated vise. | ✅ Integrated |
| Storage Compartments | Mix of drawers, shelves, dedicated slots, bins. | ✅ Designed |
| Material List | Plywood, lumber, hardware (screws, hinges, drawer slides), electrical components. | ✅ Compiled |
| Cut List | Detailed list of all required cuts for wood components. | ✅ Created |
| Tool List | Necessary tools for construction (table saw, miter saw, drill, router, etc.). | ✅ Prepared |
| Budget | Estimated cost for materials and hardware. | ✅ Set |
“The true measure of a workshop isn’t its size, but how smartly its space is utilized. A well-designed portable tool cart is the ultimate expression of this principle.”
Construction: Bringing Your Design to Life
Once your design is finalized and materials are gathered, the construction phase for Building a DIY Portable Tool Cart and Assembly Table: Maximizing Versatility in a Small Workshop begins. Precision in cutting and assembly will ensure a sturdy, functional, and long-lasting unit.
image showcasing the construction process of the portable tool cart. A woodworker is actively assembling the wooden frame](https://zsxkvszxbhpwnvzxdydv.supabase.co/storage/v1/object/public/generated-images/kie/e5517398-6bc2-4486-987e-5d4b11330336/slot-2-1779422520640.png))
Step-by-Step Assembly Guide
- Cut Materials: Start by cutting all plywood and lumber components according to your detailed cut list. A table saw will ensure accurate, square cuts for the main panels, while a miter saw is useful for any solid wood framing. Remember to account for the kerf of your saw blade.
- Build the Main Frame: Assemble the basic carcass of the cart. Use strong joinery methods such as dadoes, rabbets, or pocket screws for sturdy connections. Wood glue combined with screws or fasteners will provide maximum strength. Ensure the frame is square before moving on.
- Install Shelving and Dividers: Permanently install any fixed shelves or internal dividers. For adjustable shelving, drill shelf pin holes before assembly or use a jig post-assembly.
- Construct Drawers: Build your drawers using robust joinery. Dadoes and rabbets are excellent for drawer boxes. Install drawer slides, ensuring they are level and operate smoothly. Refer to manufacturers’ instructions for proper slide installation.
- Mount the Casters: Attach the heavy-duty locking casters to the bottom of the cart. Position them strategically to provide maximum stability and ease of movement. Use appropriate length screws that won’t protrude into the cart’s interior.
- Install Electrical Components: Carefully install the integrated power strip or outlets. Route wiring neatly and securely, using cable management clips. Ensure all electrical connections are made safely and according to code. If you are unsure, consult a qualified electrician.
- Create the Work Surface:
- Main Top: Securely attach the primary work surface to the cart frame. Consider adding a few dollops of construction adhesive in addition to screws for extra rigidity.
- T-Tracks/Dog Holes: If incorporating T-tracks, route the channels precisely before securing them. For dog holes, drill them accurately using a drill press and a Forstner bit to ensure perpendicularity.
- Sacrificial Top: If using a sacrificial top, secure it with a few screws that can be easily removed when it’s time for replacement.
- Add Finishing Touches:
- Edge Banding: Apply edge banding to exposed plywood edges for a cleaner look and added durability.
- Finish: Apply a durable finish such as polyurethane or a hard wax oil to protect the wood surfaces from spills and wear.
- Hardware: Attach any remaining hardware like drawer pulls, cabinet handles, or tool hooks.
Essential Tools for Construction
To ensure a smooth and precise build for your DIY portable tool cart, having the right tools is paramount. Here’s a list of essential power and hand tools:
- Table Saw: For accurate, repeatable cuts of sheet goods and lumber.
- Miter Saw: Ideal for cross-cutting solid wood and precise angle cuts.
- Cordless Drill/Driver: For drilling pilot holes and driving screws.
- Router (Table or Handheld): For dadoes, rabbets, edge profiles, and T-track installation. Check out our guide to Mastering the Router Table for advanced techniques.
- Jigsaw or Bandsaw: For cutting curves or irregular shapes if your design requires them.
- Tape Measure, Square, Pencil: For accurate marking and measurement.
- Clamps: Essential for holding pieces together during glue-up and assembly.
- Safety Gear: Safety glasses, hearing protection, and dust mask are crucial.
Maximizing Versatility and Organization in Your Small Workshop
The true benefit of Building a DIY Portable Tool Cart and Assembly Table: Maximizing Versatility in a Small Workshop becomes evident when you integrate it into your daily workflow. It’s not just a storage unit; it’s a dynamic workstation that adapts to your projects.
image demonstrating the portable tool cart in active use as both a tool storage unit and an assembly table within a](https://zsxkvszxbhpwnvzxdydv.supabase.co/storage/v1/object/public/generated-images/kie/e5517398-6bc2-4486-987e-5d4b11330336/slot-3-1779422552387.png))
Adapting to Your Projects
- Mobile Assembly: Roll the cart directly to your lumber rack for easier material selection, or next to your table saw for immediate post-cut assembly. This reduces unnecessary movement and potential for dropped parts.
- Dedicated Workstation: Use the sturdy top as a primary assembly surface for smaller projects like cutting boards, boxes, or even intricate joinery. The integrated clamping solutions become invaluable here, holding workpieces securely.
- Router Table Integration: If your design allows, the cart can even be designed to accept a drop-in router plate, effectively transforming it into a temporary router table. For more on this, see our article on Choosing and Using Router Tables.
- Outfeed Support: Position the cart at the outfeed side of your table saw or miter saw to provide crucial support for long workpieces, enhancing safety and accuracy.
- Tool-Specific Operations: Wheel the cart, loaded with relevant tools, directly to the project area. For example, if you’re sanding a large piece, bring the cart with your sanders, abrasives, and dust extraction system right to the material.
Maintaining Organization
Effective organization is what truly allows this portable unit to shine. Regularly assess and adjust your storage strategy as your tool collection or project types evolve.
- Labels are Your Friend: Label drawers and shelves clearly. This saves time and ensures tools are returned to their proper place.
- Tool-Specific Zones: Group similar tools together. All measuring tools in one drawer, all sanding supplies in another.
- Dedicated Spots: Create custom foam inserts or dividers within drawers for delicate or frequently used tools. This keeps them protected and easy to find.
- Clear the Deck: After each project or workday, clear the assembly table surface. This encourages good habits and keeps the workspace ready for the next task.
- Regular Purge: Periodically go through your cart’s contents. Get rid of broken items, dispose of scraps, and consolidate duplicate supplies.
- Visual Organization: Utilize pegboard or French cleats on the cart’s exterior for quick-grab items. This keeps them visible and accessible without cluttering the main work surface. For additional ideas on optimizing your workshop’s organization, explore Building Modular Wood Storage Systems for Small Workshops.
By thoughtfully integrating this DIY portable tool cart and assembly table into your small workshop, you’re not just adding a piece of furniture; you’re creating a dynamic, adaptable, and highly efficient woodworking environment. This strategic addition empowers you to tackle diverse projects with greater ease, organization, and safety, regardless of your shop’s footprint.
Conclusion
The pursuit of an organized and efficient woodworking space is a continuous journey, particularly in a small workshop. Building a DIY Portable Tool Cart and Assembly Table: Maximizing Versatility in a Small Workshop represents a significant leap forward in this endeavor. By combining storage, workspace, and mobility into a single, well-designed unit, woodworkers can overcome common limitations, enhance their workflow, and unlock new levels of productivity. The integrated power, smart clamping solutions, and adaptable modular storage transform a potential bottleneck into a central hub of efficiency.
Investing time in the careful planning and precise construction of such a versatile piece of workshop furniture will pay dividends in the form of reduced setup times, improved project quality, and a more enjoyable woodworking experience. Embrace the challenge, personalize the design to your specific needs, and watch as your compact workshop becomes an even more powerful creative engine.
Actionable Next Steps:
- Assess Your Needs: Conduct a thorough inventory of your tools and current workshop layout.
- Sketch Your Design: Begin rough sketches, incorporating your ideal dimensions, storage, and power features.
- Gather Inspiration: Look at existing plans or other DIY builds for ideas on joinery, storage solutions, and caster types.
- Create a Detailed Plan: Develop a precise cut list and material breakdown to minimize waste and ensure accuracy.
- Start Building: Acquire materials and begin construction, focusing on safety and precision at every step.
References:
- Wood Magazine. (2020). Small Shop Solutions. Meredith Corporation.
- Fine Woodworking. (2022). Workshop Solutions. Taunton Press.
- Popular Woodworking. (2021). Essential Shop Jigs & Fixtures. F+W Media.
