
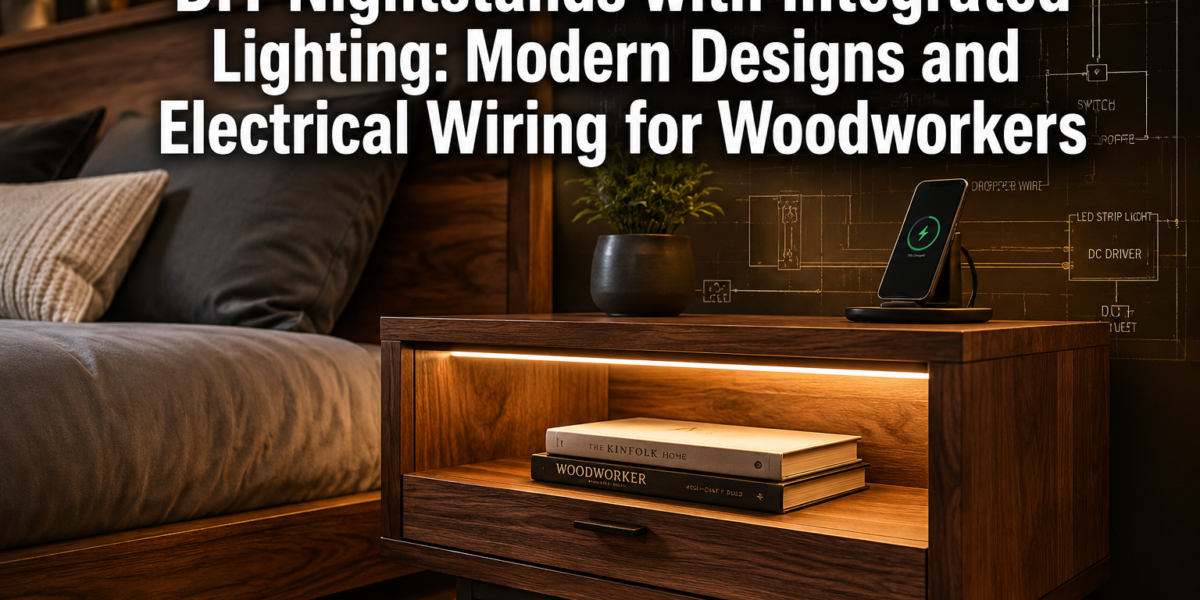
The average person spends approximately one-third of their life in bed, making the bedside environment critically important for comfort, utility, and aesthetic appeal. Yet, often overlooked are the opportunities to elevate this space through thoughtful design and integrated technology. This article will explore the process of crafting elegant DIY Nightstands with Integrated Lighting: Modern Designs and Electrical Wiring for Woodworkers, blending form and function to create truly personalized and advanced bedroom furniture in 2026.
Key Takeaways
- Design Integration is Crucial: Modern nightstands with integrated lighting prioritize seamless aesthetics, where light sources enhance the furniture’s form rather than detract from it.
- Safety First for Electrical Wiring: Proper planning, correct component selection, and adherence to electrical safety standards are paramount when incorporating lighting into wooden furniture.
- LEDs Offer Versatility: Low-voltage LED strips are ideal for integrated lighting due to their small size, low heat output, energy efficiency, and wide range of color temperatures and brightness levels.
- Material and Joinery Choices: Selecting appropriate wood species and strong joinery methods ensures the longevity and structural integrity of the nightstand, supporting both its static and dynamic loads.
- Finishing Touches Matter: Thoughtful finishing enhances durability and aesthetics, making the integrated lighting feature stand out as a premium design element.
Conceptualizing Modern Designs for DIY Nightstands with Integrated Lighting
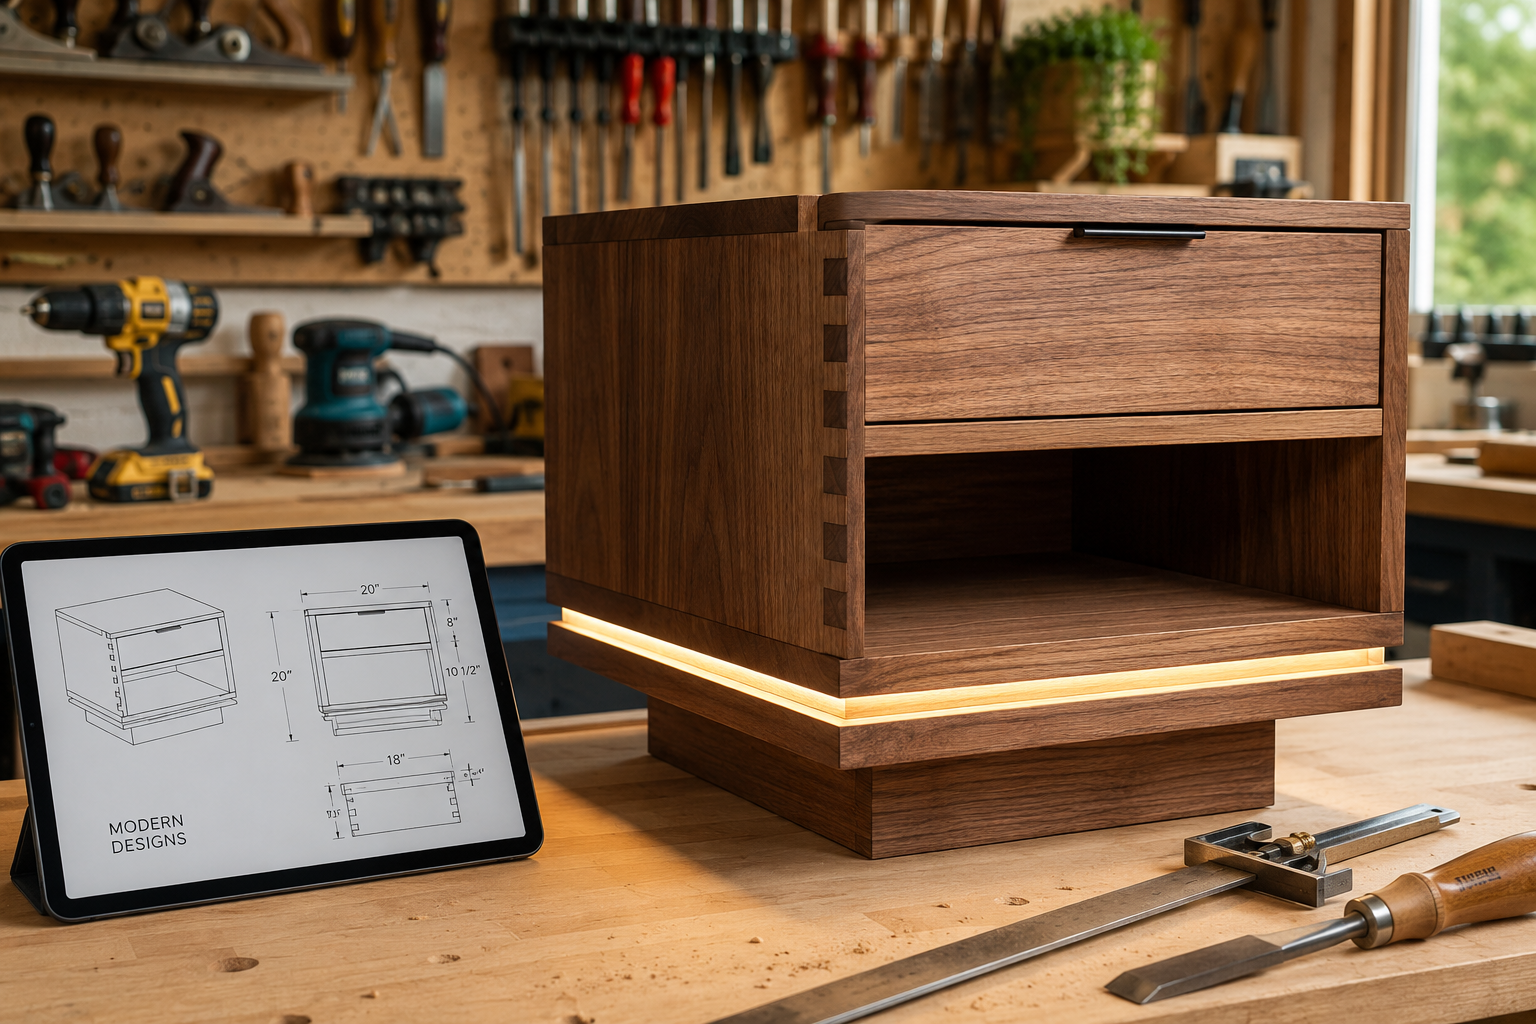
Modern design emphasizes clean lines, functional purpose, and a minimalist aesthetic. When designing DIY nightstands with integrated lighting, these principles guide the creative process, ensuring the final piece is both beautiful and practical. The key is to think of the lighting not as an add-on, but as an intrinsic part of the nightstand’s structure and visual impact.
Design Principles for Integrated Lighting
Integrating lighting into a nightstand requires careful consideration of how light interacts with the wood and the surrounding bedroom environment.
- Subtlety: The light source itself should often be hidden, allowing the emitted light to be the primary focus. This creates a softer, more diffused glow, ideal for a bedroom.
- Functionality: Consider the purpose of the light. Is it for reading, ambient illumination, or to highlight objects on the nightstand? This will dictate brightness, color temperature, and placement.
- Aesthetics: The design should complement the overall style of the room. Modern designs often feature linear light strips, subtle backlighting, or discreet spot lighting.
- Accessibility: Switches or dimmers should be easily reachable from the bed. This might include touch sensors, toggle switches, or even smart home integration.
Popular Modern Design Styles and Their Lighting Integration
Different modern styles lend themselves to specific lighting integration techniques.
- Minimalist: Characterized by extreme simplicity and a lack of ornamentation.
- Lighting: Often uses hidden LED strips along the bottom edge for a ‘floating’ effect, or recessed lights within a subtle groove. The light should be a soft, warm white.
- Mid-Century Modern: Features organic shapes, clean lines, and a mix of natural and manufactured materials.
- Lighting: Can involve integrated lights with a slight retro feel, perhaps exposed bulbs with interesting filaments (LED versions) or a subtle glowing panel within a wood frame.
- Industrial: Incorporates raw materials like metal and unfinished wood, often with exposed elements.
- Lighting: Might feature exposed conduit or wiring (safely enclosed) leading to a simple, functional light fixture integrated into the nightstand structure, often with a cooler color temperature.
- Scandinavian: Focuses on light, functionality, and simplicity, often using light woods and natural textures.
- Lighting: Soft, diffused light from hidden sources is key, often emphasizing the natural grain of the wood. Warm white LEDs are typically preferred.
Material Selection and Joinery Considerations
The choice of wood and joinery significantly impacts both the appearance and structural integrity of the nightstand, especially when routing channels for wiring and light strips.
- Wood Species:
- Hardwoods (Oak, Maple, Walnut): Durable, excellent for fine joinery, and can hold routed channels cleanly. Their distinct grain patterns can be highlighted by integrated lighting.
- Softwoods (Pine, Poplar): More affordable and easier to work with, but might not hold detail as sharply or be as durable.
- Plywood/MDF: Can offer stable surfaces for routing and painting, often used in minimalist designs where a seamless painted finish is desired.
- Joinery: Strong, precise joinery is essential for furniture that will house electrical components.
- Dovetail Joints: Offer exceptional strength and a classic aesthetic, often used in drawer construction. Learn more about hand tool joinery for visible wood joints.
- Mortise and Tenon: Extremely strong and durable, ideal for frame and panel construction.
- Pocket Hole Joinery: A quicker method for joining, suitable for hidden joints but may not offer the same structural integrity as traditional methods for load-bearing components.
- Dado and Rabbet Joints: Excellent for shelves and back panels, providing strong, clean connections.
It is important to plan the dimensions and layout of the nightstand to accommodate wiring runs, power supplies, and light fixtures without compromising the structural integrity of the wood. For instance, creating drawer boxes for the nightstand may be an opportunity to consider dovetail drawers as a design feature.
Electrical Wiring for DIY Nightstands with Integrated Lighting
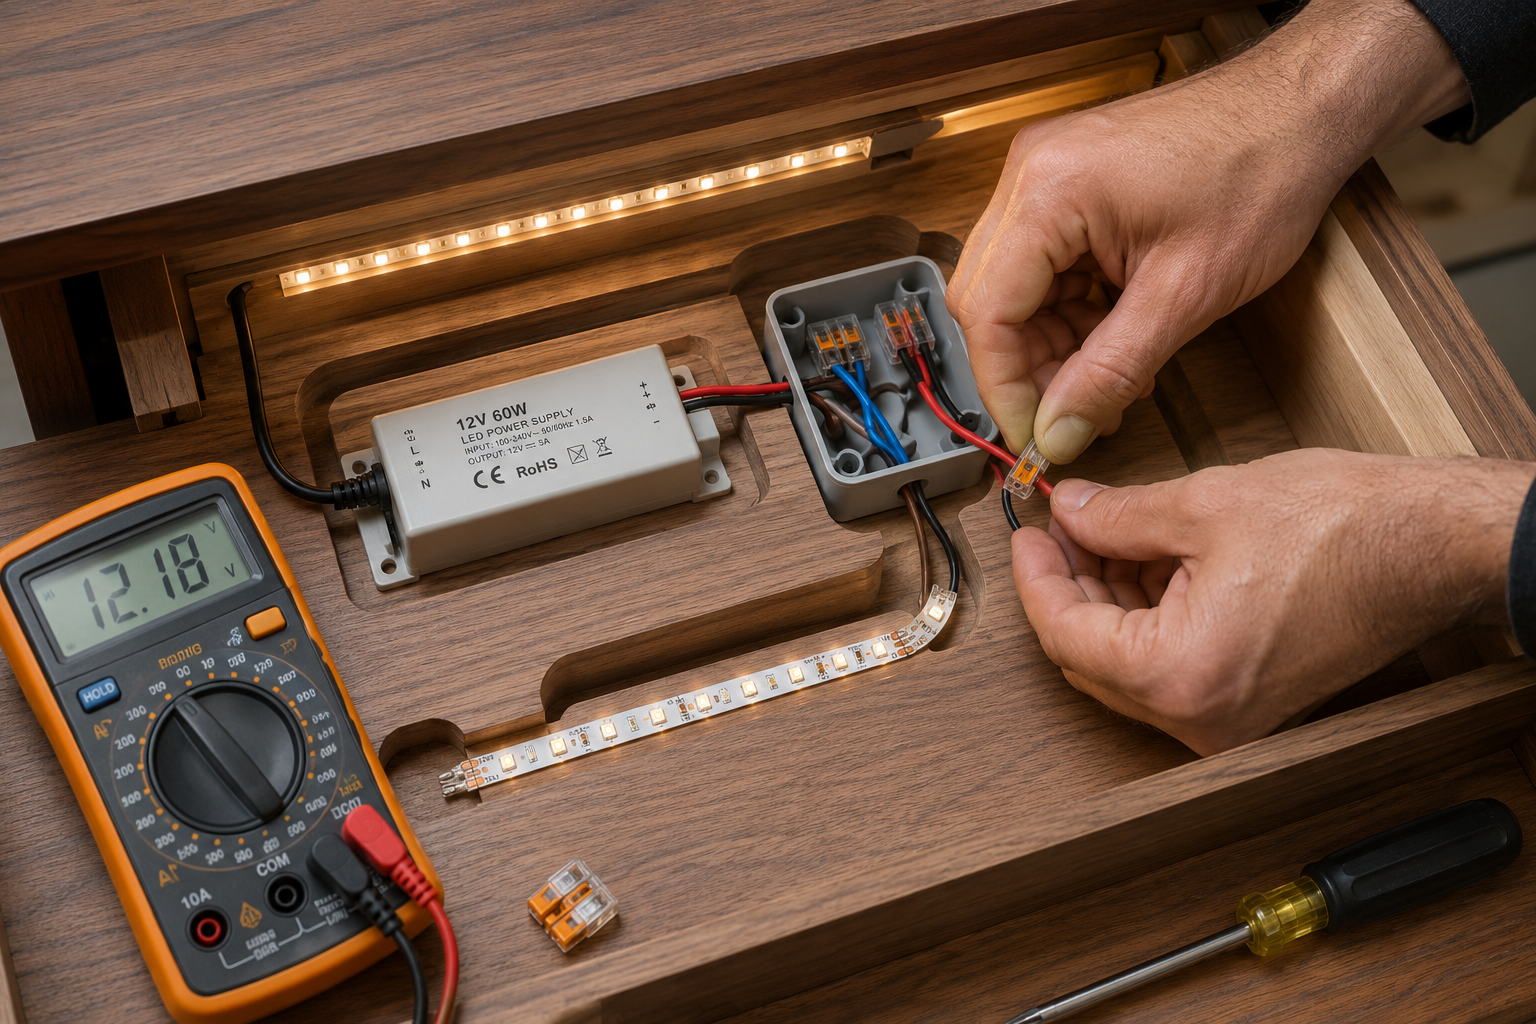
Successfully integrating lighting into a wooden nightstand requires a solid understanding of basic electrical principles and a commitment to safety. This section will guide woodworkers through the essential steps and components for safe and effective wiring.
Essential Electrical Components
For most DIY integrated nightstand lighting projects, low-voltage LED systems are the safest and most practical choice.
| Component | Description | Typical Voltage |
|---|---|---|
| LED Strip Lights | Flexible strips with embedded LEDs, available in various colors, brightnesses, and lengths. | 12V or 24V DC |
| Power Supply (Driver) | Converts household AC power to the low-voltage DC required by the LEDs. Must match LED strip voltage. | 120V AC to 12/24V DC |
| Switch | Turns the light on/off. Options include toggle, rocker, touch-sensitive, or dimmer switches. | Low Voltage DC |
| Wire Connectors | Solderless connectors (e.g., Wago, lever-nuts) or heat-shrink tubing for secure connections. | Low Voltage DC |
| Low-Voltage Wire | Typically 18-22 AWG (American Wire Gauge) stranded wire for flexibility and ease of routing. | Low Voltage DC |
| Cable Management | Wire clips, ties, and conduit (if necessary) to keep wiring neat and protected. | N/A |
Planning the Electrical Layout
Before cutting any wood or stripping any wires, a detailed electrical plan is crucial.
- Determine Light Placement: Decide where the LED strips will be installed (e.g., under a shelf, along the back panel, inside a routed groove).
- Calculate Power Requirements: Add up the wattage of all LED strips. Choose a power supply that can handle at least 20% more than the total wattage to prevent overloading.
- Example: If two 1-meter LED strips draw 5W each, total 10W. Choose a power supply rated for at least 12W.
- Map Wire Runs: Plan the path for all wires, from the power outlet to the power supply, to the switch, and finally to the LED strips. Consider routing channels or drilling holes through structural components.
- Component Placement: Decide where the power supply and switch will be mounted. The power supply should be in a well-ventilated, accessible, but hidden location. The switch needs to be conveniently located.
Wiring Steps and Safety Precautions
Proper wiring is critical for both functionality and safety. Always prioritize safety.
- Disconnect Power: When working with the AC side of the power supply (if you are wiring it directly to a wall plug), always ensure the circuit is de-energized. For most DIY projects, using a plug-in power adapter that plugs into a standard wall outlet is recommended, simplifying the AC wiring.
- Mount Power Supply: Securely attach the low-voltage power supply inside the nightstand, ensuring it has adequate ventilation.
- Route Wires: Carefully route the low-voltage wires through drilled holes or routed channels. Use wire clips or ties to secure them and prevent chafing or accidental damage.
- Internal Link: For more detailed guidance on woodworking safety and precise routing, consult resources on choosing and using router tables.
- Connect Switch: Wire the switch into the low-voltage DC circuit between the power supply and the LED strips. Follow the wiring diagram provided with your specific switch.
- Connect LED Strips: Attach the LED strips to the low-voltage wires. Many strips come with adhesive backing; ensure the surface is clean and dry before applying. Use appropriate connectors or solder for secure electrical connections.
- Test: Before final assembly, plug in the power supply and test the lighting system to ensure all connections are working correctly.
- Insulate: Use electrical tape, heat shrink tubing, or proper wire connectors to insulate all exposed wire connections, preventing short circuits.
- Strain Relief: Ensure all wires have proper strain relief at connection points to prevent them from being pulled out.
“Integrating electrical components into woodworking projects adds a layer of complexity that demands meticulous attention to detail and unwavering adherence to safety protocols. A well-planned and executed wiring scheme is as important as the perfect joint.”
Assembly, Finishing, and Refinements for DIY Nightstands with Integrated Lighting
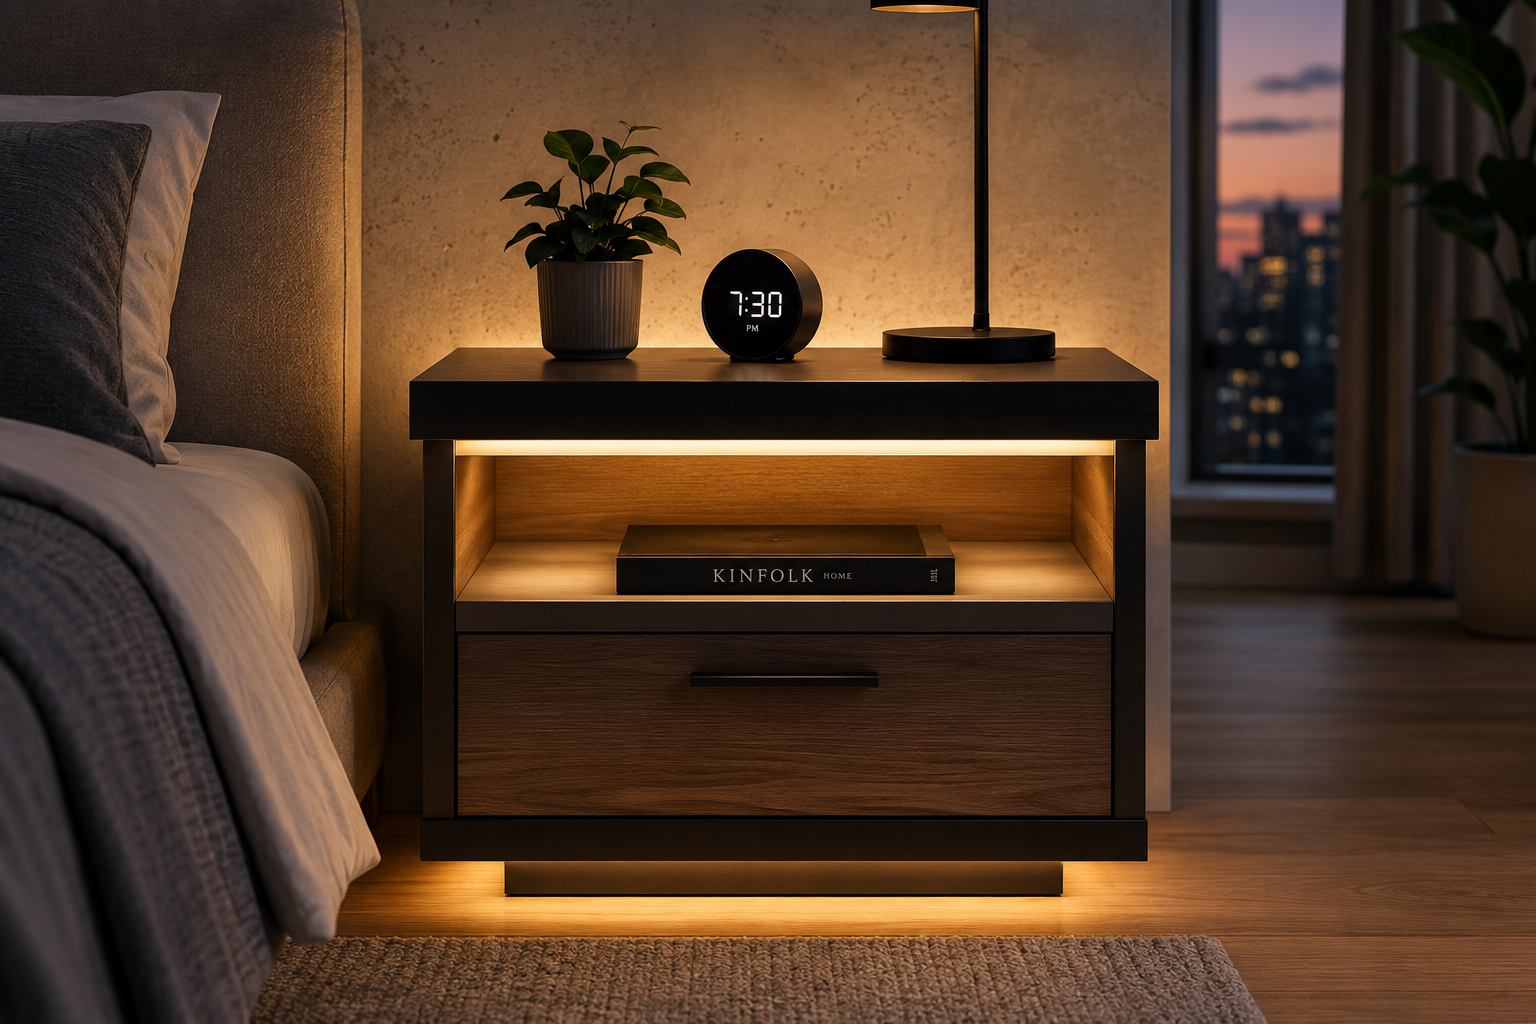
Once the woodworking and initial electrical wiring are complete, the final stages involve careful assembly, applying a durable finish, and adding any last refinements that elevate the DIY nightstands with integrated lighting from a project to a sophisticated piece of furniture.
Assembly Techniques
The order of assembly can impact the ease of wiring and the quality of the finished product.
- Sub-Assemblies: Begin by assembling individual components, such as drawers or the main frame. This often includes routing channels for wiring before pieces are permanently joined.
- Integrated Component Placement: Position the power supply and switch in their designated, hidden locations. Run the low-voltage wiring to where the LED strips will be installed.
- Final Structural Assembly: Join the major components of the nightstand. For secure joints, consider methods like mortise and tenon or robust screw joinery, possibly reinforced with the right wood glue. Ensure wire paths remain clear and unobstructed.
- LED Strip Installation: Once the structure is largely complete, install the LED strips. Many strips have adhesive backing, but consider using small clips or a thin bead of silicone for added security, especially on vertical surfaces or if exposed to friction.
- Test Again: Perform a final electrical test before applying any finish to ensure all connections are secure and the lighting functions as intended.
Finishing for Durability and Aesthetics
The finish not only protects the wood but also enhances its appearance and can even subtly interact with the integrated lighting.
- Surface Preparation: Sand all surfaces thoroughly, progressing through grits from 80 or 120 up to 220 or even 320. This is crucial for a smooth, professional finish. Wipe away all dust before applying any finish.
- Stain (Optional): If a specific wood color is desired, apply a stain evenly. Allow it to dry completely according to manufacturer instructions.
- Protective Clear Coat:
- Polyurethane (Oil-based or Water-based): Offers excellent durability and protection against scratches and moisture. Water-based polyurethanes dry faster and have less odor. Sprayable water-based polyurethane can provide a very smooth finish.
- Lacquer: Dries very quickly and builds a hard, durable finish. Requires proper ventilation and spray equipment.
- Shellac: A natural finish that provides a beautiful, warm glow. Less durable than polyurethane but easy to repair.
- Oil Finish (e.g., Tung Oil, Linseed Oil): Penetrates the wood, enhancing its natural beauty and offering good protection. Requires multiple coats and regular reapplication.
- Application: Apply finishes in thin, even coats. Sand lightly with very fine grit sandpaper (e.g., 320 or 400) between coats to ensure good adhesion and a smooth final feel. Always follow the manufacturer’s instructions for drying times and recoating.
- Consider Light Interaction: Some finishes, particularly gloss polyurethanes, can reflect light more sharply than matte finishes. Consider how this might affect the integrated lighting’s appearance.
Adding Refinements and Smart Features
To truly customize your DIY nightstands with integrated lighting, consider adding advanced features:
- Dimming Functionality: Integrate a dimmer switch (either rotary, push-button, or touch-sensitive) to adjust light intensity for various moods or tasks.
- USB Charging Ports: Incorporate USB-A or USB-C charging ports directly into the nightstand. These require a separate low-voltage power converter designed for charging devices, often powered by a 5V supply. Ensure proper isolation from the lighting circuit.
- Smart Home Integration: For those with smart home systems, connect the lighting to a smart switch or controller. This allows for voice control, scheduling, and remote operation via an app.
- Hidden Storage: Design hidden compartments or secret drawers for valuables.
- Wireless Charging Pad: Embed a wireless charging pad into the top surface of the nightstand for convenient phone charging. This typically requires routing a shallow recess for the pad and connecting it to a separate power supply.
Final inspections should include checking all screws for tightness, ensuring drawers slide smoothly, and confirming all electrical connections are secure and out of sight. The goal is a seamless, functional, and aesthetically pleasing piece that enhances the bedroom experience.
Conclusion
Crafting DIY Nightstands with Integrated Lighting: Modern Designs and Electrical Wiring for Woodworkers is a rewarding project that marries woodworking skill with practical electrical integration. By focusing on modern design principles, selecting appropriate materials and joinery, and meticulously planning the electrical components and wiring, woodworkers can create a truly custom and functional piece of bedroom furniture. The process, while detailed, emphasizes safety, precision, and an understanding of how light can transform a space. The result is not just a nightstand, but an intelligent, elegant solution that enhances the utility and ambiance of any modern bedroom, making daily routines more convenient and evenings more serene in 2026. This comprehensive approach ensures that the integrated lighting is not merely an afterthought but a fundamental, well-executed feature of a high-quality, handcrafted item.
SEO Meta Title: DIY Nightstands: Integrated Lighting, Modern Designs & Wiring SEO Meta Description: Learn to build DIY nightstands with integrated lighting in 2026. Explore modern designs, essential electrical wiring, and woodworking techniques for a stylish bedroom upgrade.