
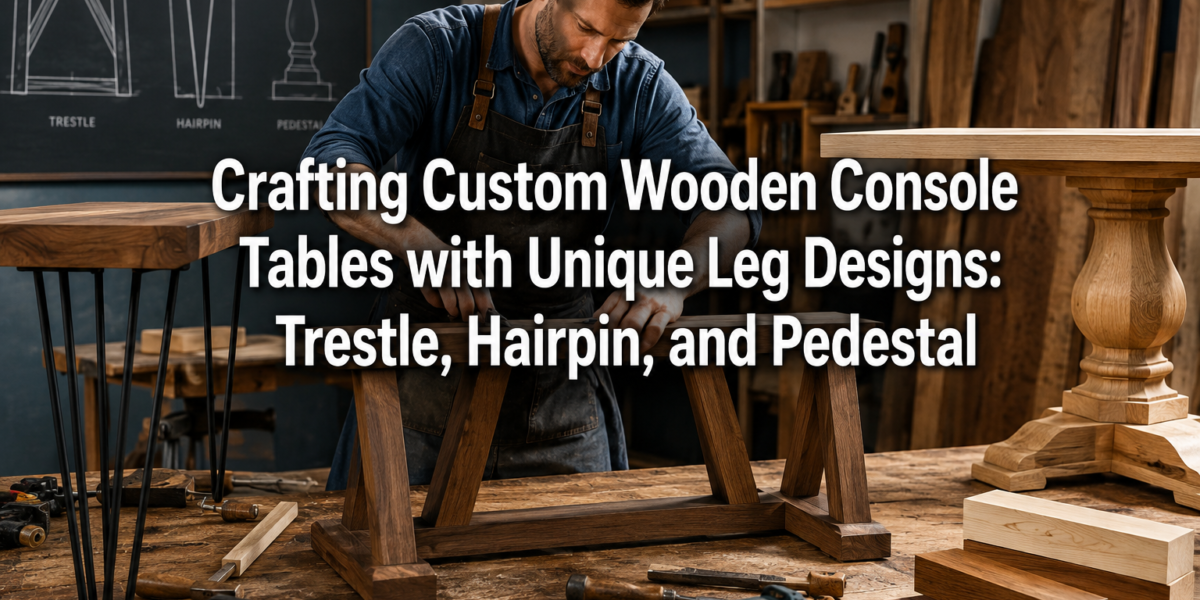
The average household in 2026 seeks furniture that not only serves a purpose but also tells a story, a reflection of individual style and meticulous craftsmanship. Mass-produced items often fall short in delivering this unique character. This growing demand has fueled a resurgence in bespoke woodworking, particularly for pieces that act as focal points, like custom console tables. Crafting Custom Wooden Console Tables with Unique Leg Designs: Trestle, Hairpin, and Pedestal offers an unparalleled opportunity to blend functionality with artistic expression, transforming a utilitarian object into a personal statement piece.
Key Takeaways
- Custom console tables elevate interior spaces by combining practical use with distinctive aesthetics.
- Selecting the right wood and finish is crucial for durability, appearance, and harmonizing with existing decor.
- Trestle, hairpin, and pedestal leg designs each offer unique structural and stylistic advantages, from classic robustness to modern minimalism.
- Detailed planning, precise joinery, and careful finishing are essential for creating a high-quality, long-lasting custom console table.
- Personalizing leg designs allows for truly unique furniture that reflects individual taste and enhances home ambiance.
The Foundation of Design: Understanding Your Custom Wooden Console Table
A console table, often placed in an entryway, hallway, or behind a sofa, serves as both a decorative and functional piece. It’s a stage for displaying art, holding keys, or offering a surface for lamps. The true magic, however, lies in its construction, specifically the interplay between the tabletop and its supporting leg structure. When considering “Crafting Custom Wooden Console Tables with Unique Leg Designs: Trestle, Hairpin, and Pedestal,” the leg design becomes the primary differentiator, imbuing the table with its distinct personality.
Before diving into specific leg designs, it’s crucial to consider the overall vision for your console table. This includes factors such as:
- Intended Use: Will it hold heavy items, or is it purely decorative? This impacts structural requirements.
- Space & Dimensions: Hallways often demand narrower tables, while entryways might accommodate more substantial pieces.
- Existing Decor: The table should complement or intentionally contrast with the surrounding furniture and style (e.g., modern, rustic, minimalist).
- Wood Selection: The type of wood dictates aesthetics, durability, and workability.
- Oak: Known for its strength and prominent grain, ideal for rustic or traditional designs.
- Walnut: A rich, dark wood offering elegance and a smooth finish, perfect for contemporary pieces.
- Maple: Light-colored with a fine grain, excellent for clean, modern aesthetics and takes stains well.
- Cherry: Develops a beautiful patina over time, offering warmth and sophistication.
- Reclaimed Wood: Offers unique character, history, and an eco-friendly option. This can add significant charm to your project, as explored in articles like Sustainable Wood Sourcing for the Modern Woodworker: Beyond Reclaimed.
The choice of wood greatly influences the table’s final look and feel. For instance, a live-edge slab offers organic beauty that pairs exceptionally well with certain leg designs, adding a touch of nature’s artistry. You can learn more about selecting and preparing these unique pieces in “Live Edge Slab Selection and Preparation: From Raw Material”.
Planning Your Console Table Project in 2026
Every successful woodworking project begins with meticulous planning. For custom console tables, this involves:
- Sketching & CAD Design: Start with rough sketches, then move to more precise drawings or CAD software to visualize the table from all angles. Consider different leg placements and how they affect stability and appearance.
- Material List: Detail all wood dimensions, hardware (screws, bolts, inserts), glue, and finishing products needed.
- Tool Requirements: Ensure you have the necessary tools, which might include a table saw, miter saw, router, drills, clamps, and various hand tools. For intricate joinery, a good set of chisels is invaluable.
- Budget & Timeline: Set realistic expectations for both cost and the time commitment required.
| Aspect | Considerations | Impact on Design |
|---|---|---|
| Location | Entryway, living room, dining room, hallway | Determines size, height, and overall style; narrow for hallways, decorative for entryways |
| Function | Display, storage, workspace, accent | Influences top thickness, presence of drawers/shelves, stability requirements |
| Style | Modern, rustic, industrial, traditional, minimalist | Dictates wood species, leg design, finish, and hardware choices |
| Dimensions | Length, width, height (standard console height is typically 30-34 inches) | Critical for usability and aesthetic balance within the chosen space |
| Wood Grain | Straight, wavy, figured; tight or open grain | Affects how stain is absorbed, overall visual texture, and perceived value |
| Finish | Oil, varnish, lacquer, paint, natural | Protects the wood, enhances its beauty, and aligns with the desired aesthetic (e.g., matte oil for rustic, gloss for modern) |
Choosing the right finish is as important as selecting the wood itself. Techniques range from deep penetrating oils that highlight natural grain to durable polyurethane coats that offer maximum protection. Exploring various wood finishing techniques can help you achieve the desired aesthetic and longevity.
Trestle Leg Designs: Classic Stability and Visual Weight
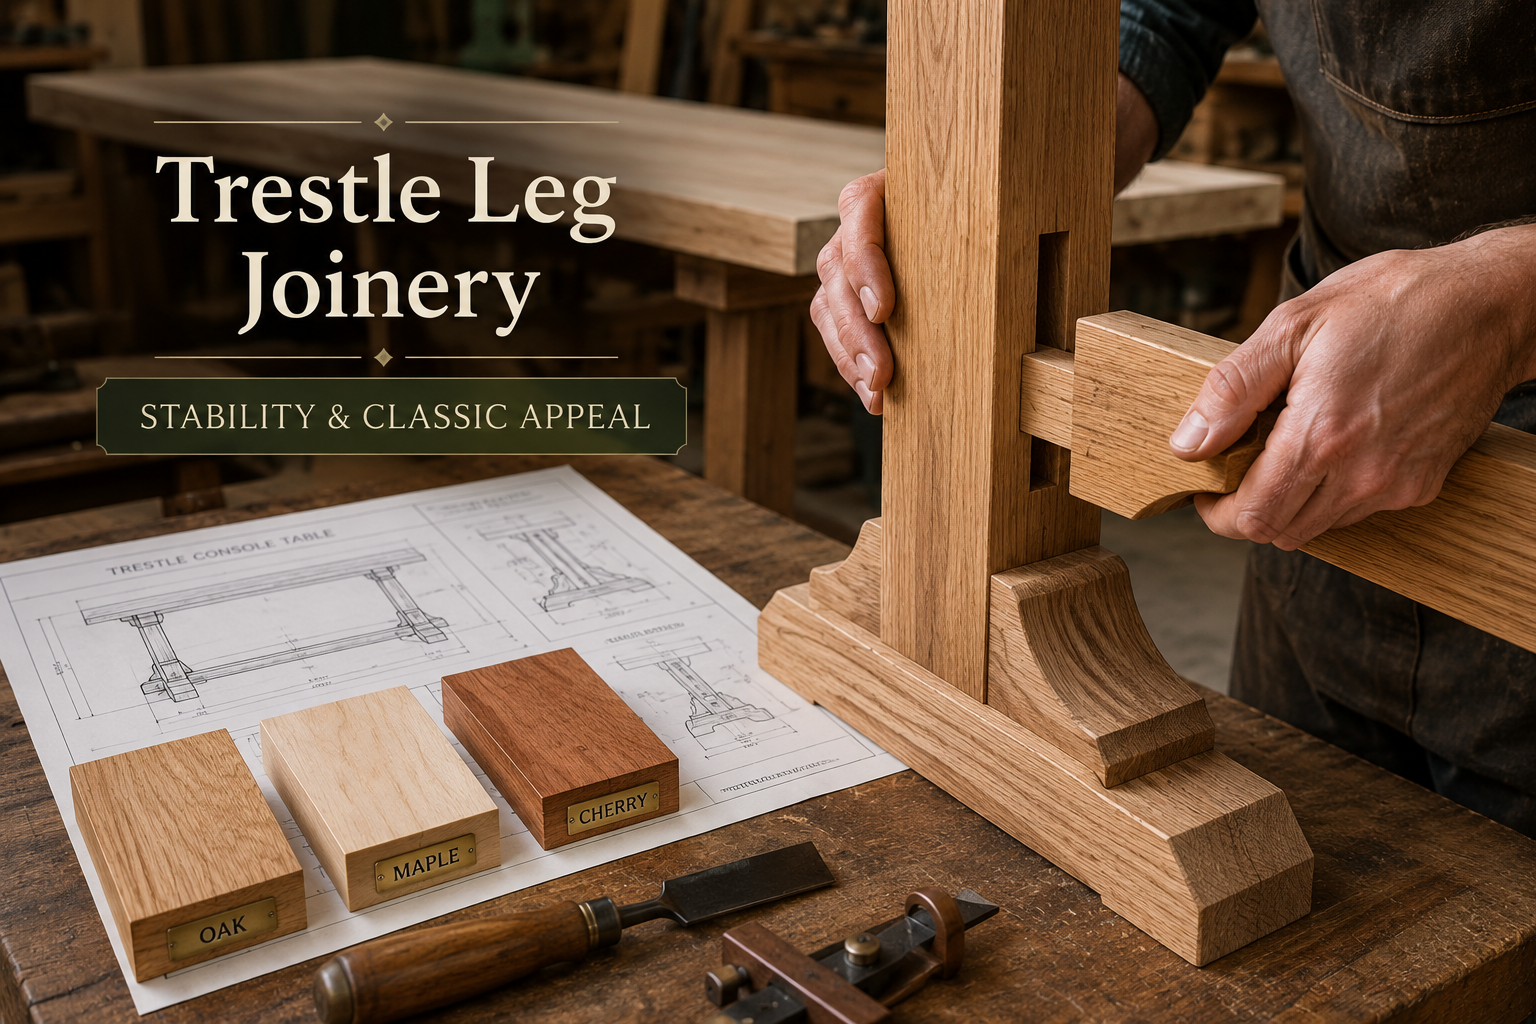
Trestle legs are synonymous with strength, tradition, and a grounded aesthetic. Characterized by two or more upright supports connected by a horizontal stretcher (the “trestle”), these designs distribute weight effectively and offer significant visual presence. They are an excellent choice for console tables intended to anchor a space or support heavier items, providing a sense of permanence and classic appeal.
Anatomy of a Trestle Leg System
A typical trestle leg system consists of:
- Vertical Posts: The main uprights that support the tabletop. These can be straight, tapered, or turned.
- Feet/Base: The horizontal elements at the bottom of the vertical posts that rest on the floor, providing stability.
- Stretcher: The horizontal beam connecting the vertical posts, often passing through them or secured with robust joinery. This is crucial for structural integrity and preventing racking.
Crafting Trestle Legs: Techniques and Considerations
- Material Sizing: For console tables, the posts typically range from 2×2 to 4×4 inches, depending on the desired scale. The stretcher should be proportionally robust.
- Joinery: The strength of trestle legs heavily relies on secure joinery.
- Mortise and Tenon Joints: These are the gold standard for trestle construction, offering incredible strength and a clean, traditional look. They are ideal for connecting the stretcher to the vertical posts and for attaching the posts to the feet.
- Dowel Joints: A simpler alternative for less structural connections, though not as strong as mortise and tenon for primary load-bearing.
- Lap Joints: Useful for connecting the stretcher to the underside of the tabletop support rails.
- Stability: Ensure the feet splay out slightly or are long enough to prevent tipping. The stretcher also plays a critical role in preventing lateral movement.
- Aesthetic Variations:
- Traditional: Often features carved details, turned posts, and substantial stretchers.
- Mission Style: Straight lines, simple forms, and exposed joinery.
- Modern Farmhouse: Combines robust, often distressed wood with cleaner lines.
Attaching the Trestle Base to the Tabletop
Several methods can be used to securely attach the finished trestle base to the tabletop:
- Z-Clips/Tabletop Fasteners: These metal clips allow for wood movement, which is essential to prevent cracking as the wood expands and contracts with humidity changes.
- Figure-8 Fasteners: Similar to Z-clips, these allow for wood movement while keeping the tabletop securely attached.
- Direct Screw Attachment (with elongated holes): If using screws directly, ensure the screw holes in the base’s attachment points are elongated to allow for cross-grain movement of the solid wood tabletop.
For console tables, trestle designs can range from a single, central trestle to two independent trestle units supporting the ends of a longer top. When working with larger timbers for such robust designs, techniques for “Custom Wooden Mantels: Sourcing Rough-Hewn Timbers and Balancing Organic Warmth with Contemporary Fireplaces” can offer relevant insights into material handling and aesthetic integration.
Hairpin Leg Designs: Modern Elegance and Industrial Flair
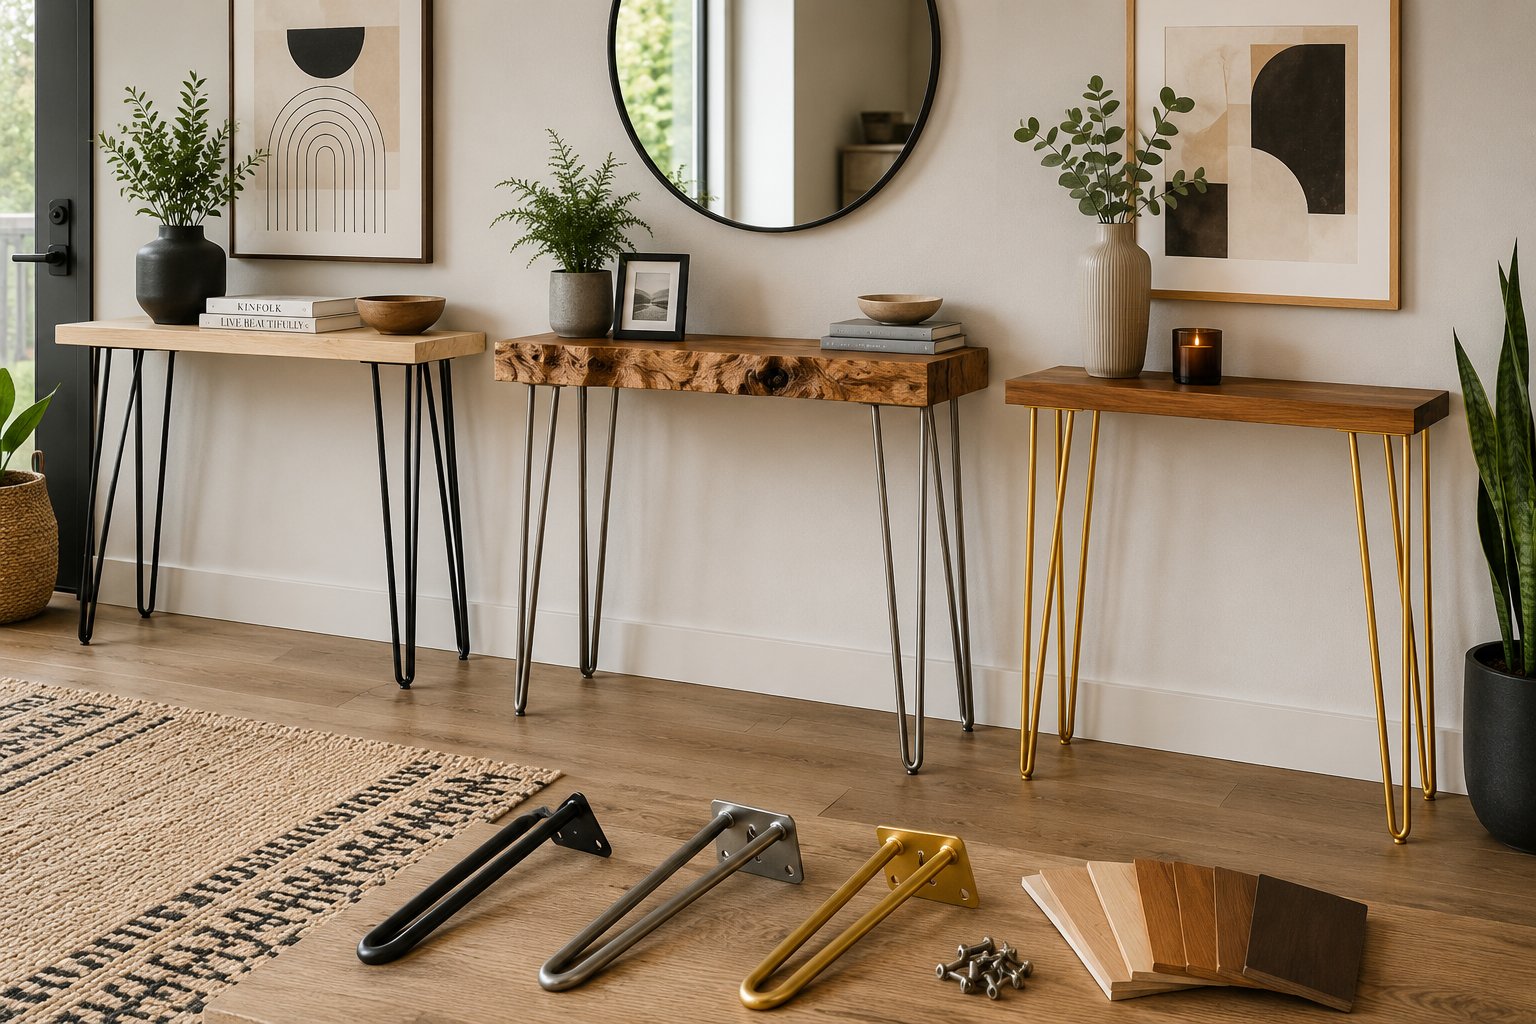
Hairpin legs bring a touch of mid-century modern, industrial, or minimalist flair to any console table. Their slender, often metal construction creates a light, airy aesthetic, contrasting beautifully with the solid wood tabletop. These legs are characterized by their “hairpin” bend, typically forming two or three rods that curve and return to the mounting plate.
The Appeal of Hairpin Legs
- Visual Lightness: Their thin profile reduces visual bulk, making them ideal for smaller spaces or when a minimalist look is desired.
- Versatility: Hairpin legs complement a wide range of wood types and finishes, from rustic live-edge slabs to highly polished modern tops.
- Ease of Installation: Often, they simply screw into the underside of the tabletop, making them a popular choice for DIY enthusiasts.
- Variety: Available in various heights, rod thicknesses (3/8″, 1/2″), finishes (raw steel, powder-coated black, brass, chrome), and rod counts (two-rod or three-rod).
Integrating Hairpin Legs with Your Custom Console Table
- Top Material & Thickness: Hairpin legs work well with solid wood tops, plywood, or even reclaimed timber. Ensure the tabletop is at least 3/4 inch thick to provide sufficient material for screw attachment.
- Mounting Considerations:
- Placement: Position legs at the corners or slightly inset, ensuring stable support. For longer tables, consider a fifth, central leg for added stability and to prevent sagging.
- Screw Type: Use appropriate wood screws that are long enough to penetrate well into the tabletop without poking through. Pilot holes are essential to prevent splitting.
- Reinforcement: For softer woods or heavy loads, consider installing threaded inserts into the tabletop. This provides a stronger, more durable attachment point that can withstand repeated assembly/disassembly.
- Finish Compatibility: The raw steel finish offers an industrial look, while powder-coated black provides a sleek, modern contrast. Brass or copper finishes can add a touch of vintage elegance.
Design Tips for Hairpin Legs
- Live Edge Tops: The organic, uneven edge of a live-edge slab creates a striking contrast with the clean lines of hairpin legs. This pairing is a staple of modern rustic design.
- Contrast: Pair black hairpin legs with light-colored woods (maple, ash) for a strong visual statement, or brass legs with dark woods (walnut, cherry) for a sophisticated touch.
- Balance: While hairpin legs are visually light, ensure the tabletop’s dimensions are balanced. Overly large or thick tops might look top-heavy with very slender legs.
For those interested in exploring modern design further, consider resources like “Warm Minimalism in Woodworking: Balancing Clean Lines with Tactile Wood Materials,” which delves into creating harmonious pieces that integrate well with contemporary spaces, often utilizing designs that pair well with hairpin legs.
Pedestal Leg Designs: Sculptural Beauty and Singular Support
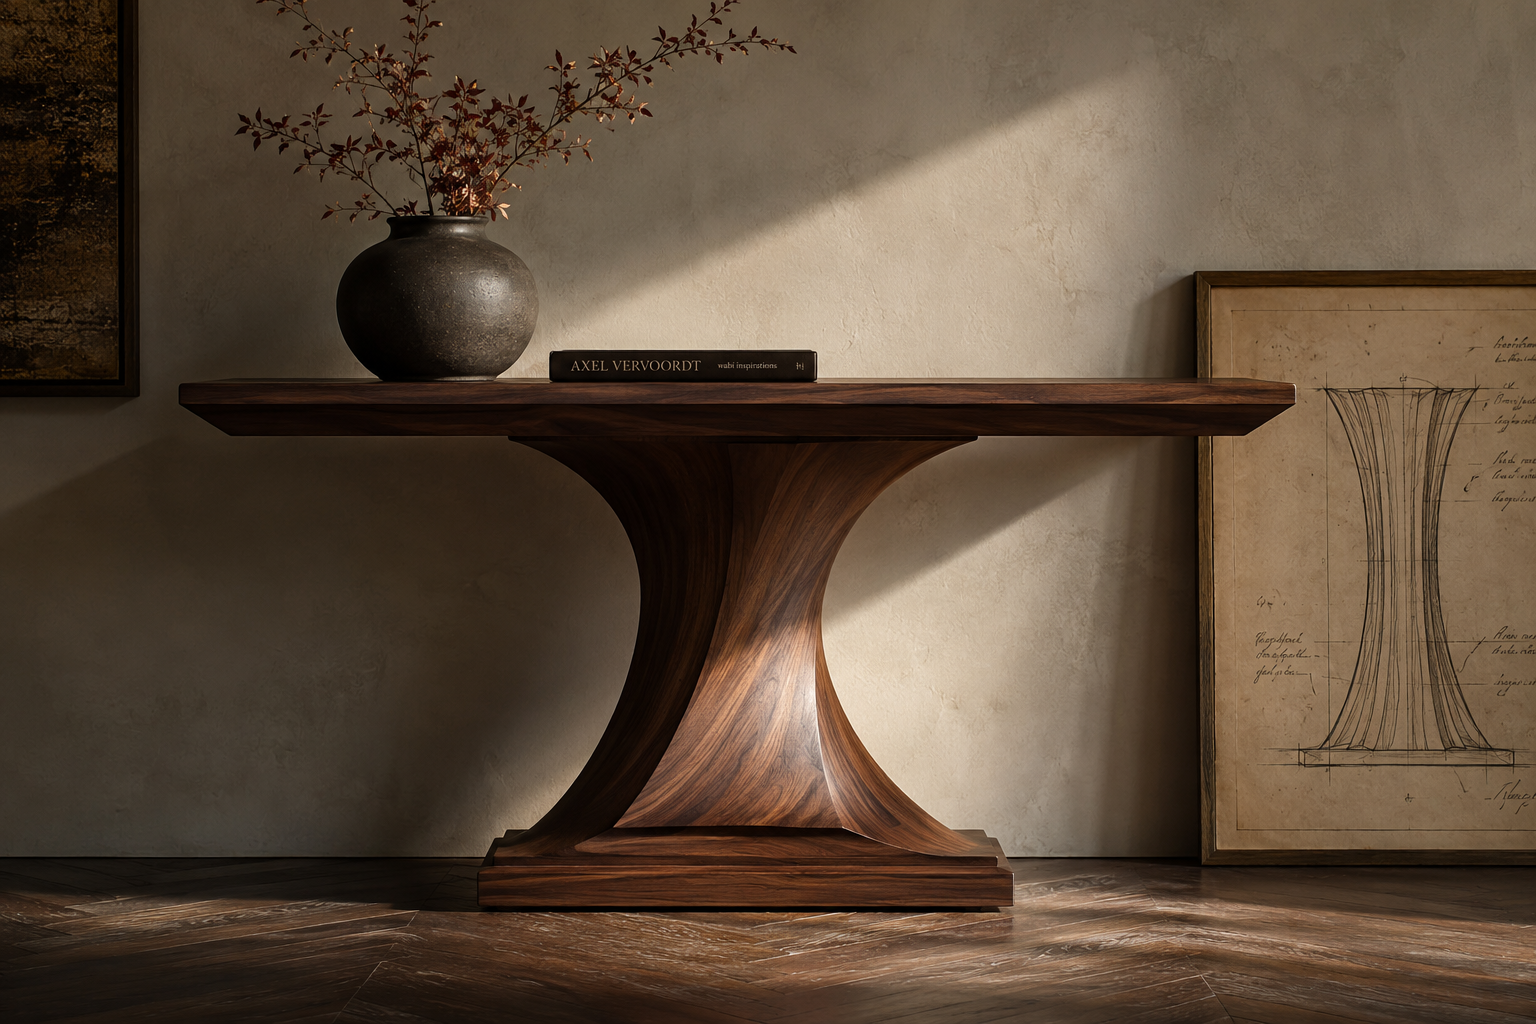
Pedestal leg designs offer a distinct alternative to traditional four-leg tables, focusing on a central or multi-column support structure. This style provides ample legroom and allows the tabletop to appear almost “floating,” creating a sophisticated, often sculptural focal point. When “Crafting Custom Wooden Console Tables with Unique Leg Designs: Trestle, Hairpin, and Pedestal,” pedestal designs truly stand out for their artistic potential.
Characteristics of Pedestal Designs
- Central Support: Typically, a single column or a cluster of columns rises from a wider base to support the tabletop.
- Openness: Eliminates corner legs, providing unobstructed space underneath.
- Sculptural Element: The pedestal itself becomes a design feature, allowing for intricate carvings, geometric shapes, or sleek, minimalist forms.
Approaches to Crafting Pedestal Legs
Single Column Pedestal:
- Construction: Can be crafted from a substantial single piece of wood, turned on a lathe for a classic look, or constructed from multiple pieces with joinery to form a square, octagonal, or fluted column.
- Base & Top Plates: Requires a stable, wide base that rests on the floor and a strong, flat top plate for attaching the tabletop. Both are crucial for distributing weight and ensuring stability.
- Joinery: Robust mortise and tenon joints or heavy-duty lag bolts are needed to secure the column to its base and top plate.
- Applications: Ideal for round or oval console tables, or smaller rectangular ones where a central point of interest is desired.
- For those interested in turning, “Ultimate Guide to Wood Lathe Turning: Pens, Bowls, and Advan” provides foundational knowledge that could be adapted for creating parts of a pedestal.
Multi-Column/Geometric Pedestal:
- Construction: Involves several smaller columns or interlocking wooden panels to create a more elaborate base. Think of intersecting planes, open box structures, or angled supports.
- Stability: The design must ensure adequate spread at the base to prevent tipping. Careful consideration of angles and bracing is paramount.
- Modern Aesthetics: This style lends itself well to contemporary designs, often using clean lines and minimalist forms. The complexity lies in the precise cutting and joining of multiple pieces.
- Consider a ‘spine’ element: A strong central spine or beam can connect various support elements, providing both structural integrity and a design feature.
Ensuring Stability in Pedestal Tables
The primary challenge with pedestal designs is ensuring unwavering stability.
- Weight Distribution: The base must be heavy and wide enough to counteract any leverage from the tabletop.
- Strong Joinery: All connections within the pedestal and between the pedestal and the tabletop must be exceptionally strong.
- Tabletop Attachment: Use robust methods like threaded inserts and machine screws, or strategically placed blocks with elongated holes for wood movement, similar to trestle tables.
- Footprint: A larger footprint for the base of the pedestal relative to the tabletop’s overhang significantly improves stability.
Materials and Finishes for Pedestal Designs
Pedestal legs often benefit from woods that offer good stability and take fine finishes well, such as walnut, mahogany, or even a dense maple. The finish can range from a high-gloss lacquer to highlight the sculptural form, to a matte oil finish that emphasizes the natural wood texture.
A custom wooden console table with a unique pedestal leg design can serve as an incredible statement piece, reflecting a high degree of craftsmanship and artistic vision. It moves beyond mere furniture to become a work of art in your home.
Conclusion
Crafting custom wooden console tables with unique leg designs, whether trestle, hairpin, or pedestal, offers an immensely rewarding woodworking journey. It is a chance to merge practical furniture needs with personal artistic expression, resulting in a piece that is truly one-of-a-kind. Each leg style brings its own set of design principles, structural considerations, and aesthetic outcomes, allowing woodworkers to tailor the final product to specific tastes and interior décors.
From the robust, timeless appeal of trestle bases to the sleek, modern lines of hairpin legs, and the sculptural elegance of pedestal supports, the choice of leg design fundamentally shapes the console table’s character. Success hinges on careful planning, precise execution of joinery, thoughtful wood selection, and an impeccable finishing process. By mastering these elements, woodworkers can create heirloom-quality console tables that not only serve a function but also elevate the beauty and ambiance of any space in 2026.
Actionable Next Steps:
- Define Your Vision: Begin by sketching out your ideal console table, considering its intended location, function, and desired aesthetic.
- Choose Your Leg Style: Select between trestle, hairpin, or pedestal designs, aligning with your aesthetic preference and skill level.
- Source Quality Materials: Select the appropriate wood species and hardware. Consider exploring sustainable or reclaimed wood options for added character.
- Plan Your Build: Create detailed plans, cut lists, and a step-by-step assembly guide before making any cuts.
- Practice Joinery: If new to specific joinery techniques (like mortise and tenon), practice on scrap pieces first to ensure accuracy and strength.
- Focus on Finishing: Dedicate time to proper sanding and applying a durable, beautiful finish that protects the wood and enhances its natural beauty.
SEO Meta Title: Crafting Custom Console Tables: Trestle, Hairpin & Pedestal Legs SEO Meta Description: Explore crafting custom wooden console tables with unique trestle, hairpin, or pedestal leg designs. Learn techniques for stunning entryway furniture in 2026.