
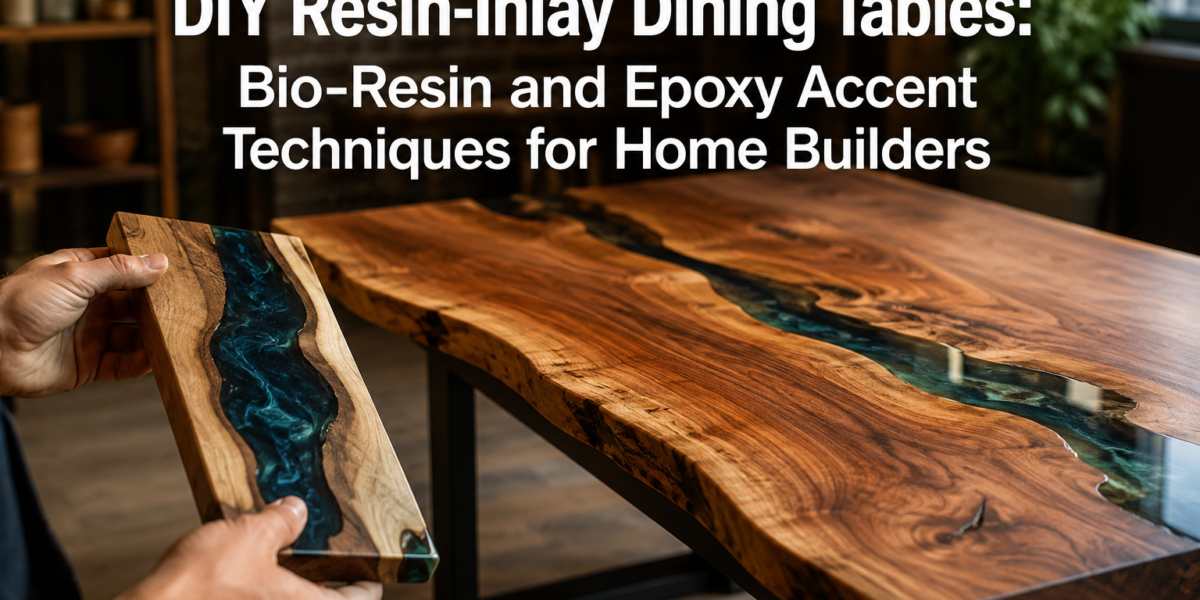
The average home builder in 2026 seeks not just functionality but also unique artistic expression within their living spaces. While mass-produced furniture offers convenience, the desire for bespoke pieces that tell a story has never been stronger. This pursuit often leads to ambitious DIY projects, with DIY Resin-Inlay Dining Tables: Bio-Resin and Epoxy Accent Techniques for Home Builders emerging as a particularly rewarding endeavor. This article will guide intermediate woodworkers through adding subtle yet striking resin inlays, from delicate veins and custom logo insets to sophisticated edge bands, to solid-wood dining tables, emphasizing food-safe resin choices, precision routing, and achieving a flawless finish.
Key Takeaways
- Subtle Resin Inlays Elevate Design: Focus on understated veins, logos, and edge bands rather than full river tables for an elegant, integrated look.
- Bio-Resin Offers Eco-Friendly Options: Explore bio-based resins for a more sustainable and less odorous alternative to traditional epoxy.
- Precision Routing is Paramount: Accurate routing with the correct bits is crucial for clean, professional-looking inlays.
- Food Safety is a Priority: Select resins specifically rated as food-safe for any dining table surface.
- Meticulous Finishing Ensures Durability: Proper leveling, sanding, and polishing are key to a smooth, integrated, and long-lasting finish.
Understanding Resin Types and Food Safety for DIY Resin-Inlay Dining Tables
Embarking on a project like DIY Resin-Inlay Dining Tables: Bio-Resin and Epoxy Accent Techniques for Home Builders requires a fundamental understanding of the materials. Resin, in this context, primarily refers to two-part systems: bio-resin and traditional epoxy resin. Both consist of a resin and a hardener that, when mixed, undergo a chemical reaction to cure into a durable, solid plastic.
Bio-Resin: The Sustainable Choice
Bio-resins are a newer class of epoxy resins formulated with a significant portion of their components derived from plant-based sources, such as soybeans, corn, or pine sap. This makes them a more environmentally conscious choice, often producing fewer volatile organic compounds (VOCs) and having a lower carbon footprint than traditional petroleum-based epoxies.
Advantages of Bio-Resin:
- Eco-Friendliness: Reduced reliance on fossil fuels.
- Lower Odor: Generally less pungent during application, improving workshop air quality.
- Reduced Toxicity: Often formulated with fewer irritants, though proper PPE is always necessary.
- Clarity and Durability: Many bio-resins offer excellent optical clarity and hard-wearing properties comparable to traditional epoxies.
Considerations for Bio-Resin:
- Cure Times: Can sometimes be longer than traditional epoxies.
- Cost: May be slightly more expensive, though prices are becoming competitive.
- Availability: While growing, the range might be slightly less than traditional epoxies.
Epoxy Resin: The Tried and True Workhorse
Traditional epoxy resin is a synthetic polymer renowned for its strong adhesive properties, durability, and versatility. It’s widely used in woodworking for its ability to create clear, glossy, and protective finishes.
Advantages of Epoxy Resin:
- Strength and Durability: Extremely hard-wearing and resistant to scratches and impacts.
- Water Resistance: Forms a waterproof barrier, ideal for dining surfaces.
- Versatility: Available in various viscosities and cure times, suitable for different applications.
- Coloration: Easily tinted with pigments to achieve desired aesthetic effects.
Considerations for Epoxy Resin:
- VOCs and Fumes: Can emit strong odors and VOCs, requiring excellent ventilation and respiratory protection.
- Petroleum-Based: Less environmentally friendly than bio-resins.
- Yellowing: Some epoxies can yellow over time, especially with UV exposure; opt for UV-stable formulas for dining tables.
Food-Safe Resin Selection
For any surface intended for food contact, such as a dining table, selecting a food-safe resin is paramount. Not all resins are created equal, and many industrial epoxies are not safe for prolonged or direct contact with food.
What “Food-Safe” Means: A food-safe resin has cured fully to a non-leaching, inert state. This means it will not transfer harmful chemicals into food that comes into contact with it. Look for resins that explicitly state they are “food-grade,” “food-safe,” or “FDA compliant” (specifically 21 CFR 175.300 for direct food contact). Always verify this information on the manufacturer’s technical data sheet (TDS) or product packaging.
Key Food Safety Best Practices:
- Read Labels Carefully: Never assume a resin is food-safe unless explicitly stated by the manufacturer.
- Full Cure: Ensure the resin is fully cured according to manufacturer instructions before any food contact. This often means several days or even weeks.
- Cleanliness: Maintain a clean workspace to prevent contaminants from mixing with the resin.
- No Solvents: Avoid using solvents to clean or thin resin on food-contact surfaces.
Crafting Inlay Designs: From Concept to Precision Routing for DIY Resin-Inlay Dining Tables
The essence of personalized DIY Resin-Inlay Dining Tables: Bio-Resin and Epoxy Accent Techniques for Home Builders lies in the thoughtful design and precise execution of the inlays. Rather than broad, sweeping river tables, this approach focuses on subtle accents, fine lines, geometric patterns, custom logos, or elegant edge bands, that enhance the wood’s natural beauty without overshadowing it.
Designing Your Inlay
The first step is to conceptualize your inlay. Consider the wood species of your table, its grain pattern, and the overall aesthetic you wish to achieve.
Inspiration for Subtle Inlays:
- Natural Veins: Mimic the natural cracks or voids often found in live edge slabs, enhancing the organic feel.
- Geometric Patterns: Simple lines, squares, or triangles can create a modern, minimalist look.
- Custom Logos/Monograms: Personalize the table with a family crest, initials, or a simple decorative emblem.
- Edge Bands: A thin strip of resin along the table’s edge can provide a striking accent and protect the wood.
- Faux Marbling: Use multiple colors of resin to create a subtle marbling effect within a routed channel.
Design Tools: Sketching by hand is a great starting point. For more complex designs, consider using graphic design software (e.g., Adobe Illustrator, Inkscape) or CAD programs to create precise templates. These digital designs can then be printed and transferred to the wood.
Transferring the Design to Wood
Once your design is finalized, it needs to be accurately transferred to your dining table surface.
- Print Template: Print your design to scale.
- Adhere Template: Use spray adhesive or painter’s tape to securely attach the template to the precise location on your table.
- Trace: Carefully trace the outline of your design onto the wood using a pencil or a sharp marking knife. For intricate details, a sharp awl can be effective.
- Remove Template: Once traced, remove the paper template.
Precision Routing for Inlays
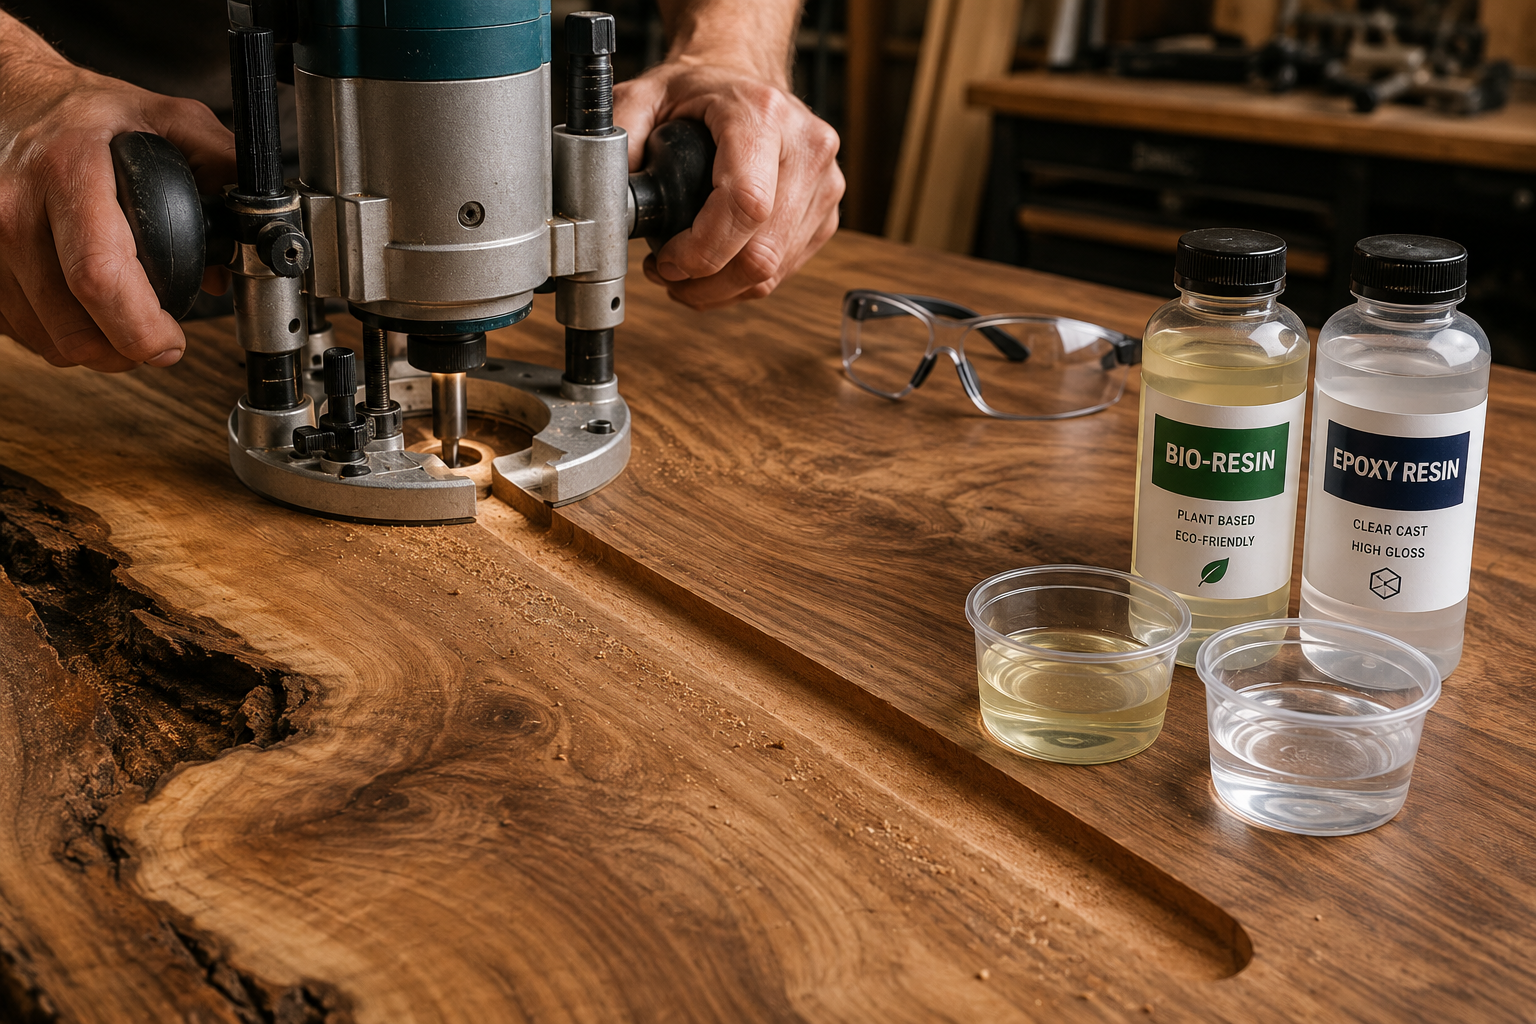
Accurate routing is the most critical step for a clean, professional inlay. A router table setup offers superior control for consistent depth and straight lines, but a hand-held router with appropriate jigs can also achieve excellent results. Mastering the Router Table: Essential Jigs, Safety, and Advanced Techniques for Precision Joinery and Edges provides invaluable information on this essential tool.
Tools and Materials:
- Router: A plunge router is often preferred for starting internal cuts.
- Router Bits:
- Straight Bits: For uniform width channels. Select a bit width that matches your desired inlay width.
- V-Groove Bits: For creating channels with sloped sides, which can be useful for unique effects or for filling existing cracks.
- Tapered or Conical Bits: For specific decorative inlays or for creating a dovetailed profile for a stronger resin lock.
- Jigs:
- Straight Edge Guide: Essential for perfectly straight lines.
- Circle Cutting Jig: For precise circular or arched inlays.
- Template Guide Bushings: For following custom templates for intricate shapes or logos.
- Clamps: To secure guides and the workpiece.
- Dust Collection: Essential for visibility and safety.
- Safety Gear: Eye protection, hearing protection, and a dust mask/respirator.
Routing Procedure:
- Set Depth: Accurately set your router’s plunge depth. For most decorative inlays, a depth of 1/8 inch to 1/4 inch is sufficient. Test on a scrap piece of the same wood first.
- Secure Workpiece: Ensure your dining table is firmly clamped to a stable workbench.
- Install Guide/Jig: Position and securely clamp your straight edge guide or template jig, ensuring it perfectly aligns with your traced lines.
- Begin Routing:
- Direction: Always route against the rotation of the bit to prevent tear-out (climb cutting is for advanced users and specific situations).
- Shallow Passes: For deeper or wider inlays, make multiple shallow passes instead of one deep pass. This reduces strain on the router and bit, minimizes tear-out, and results in cleaner cuts.
- Corner Detail: For sharp corners, use a bit with a smaller radius or finish the corners with chisels after routing.
- Clean Channels: After routing, thoroughly clean the channels to remove all sawdust and debris. Use compressed air, a vacuum, and a brush. Any remaining dust will contaminate the resin.
Important Considerations:
- Wood Grain: Pay close attention to the wood grain. Routing against the grain can cause tear-out, especially with softwoods. Make shallower passes and consider a scoring cut with a utility knife along the edges of your inlay path before routing.
- Test Cuts: Always perform test cuts on scrap wood to dial in your router depth and technique.
- Chisel Work: For intricate corners or details a router can’t reach, sharp chisels are invaluable.
Resin Application, Leveling, and Finishing for a Flawless Dining Table
With the routing complete, the exciting phase of applying the resin begins. This stage, followed by meticulous leveling and finishing, transforms your prepared table into a stunning piece of DIY Resin-Inlay Dining Tables: Bio-Resin and Epoxy Accent Techniques for Home Builders.
Preparing for Resin Pour
Before mixing, gather all your materials and ensure your workspace is clean, level, and well-ventilated.
- Seal the Wood (Optional but Recommended): For very porous woods or larger inlays, applying a thin coat of clear epoxy or shellac to the inside of your routed channels can help prevent air bubbles from escaping the wood into your resin pour. Allow it to fully cure.
- Damming (for edge bands or larger voids): If your inlay extends to the edge of the table or involves filling a large void, you may need to create a temporary dam using silicone sealant, painter’s tape, or specialized resin tape to contain the liquid resin.
- Protect Your Workspace: Lay down plastic sheeting or rosin paper to protect your floor and workbench from drips.
- Temperature: Ensure your workshop temperature is within the resin manufacturer’s recommended range (typically 70-80°F or 21-27°C). Cooler temperatures can increase viscosity and prolong cure times, while hotter temperatures can accelerate curing too much.
Mixing and Pouring the Resin
Accuracy in mixing is paramount. Follow the manufacturer’s instructions precisely regarding mix ratios (by volume or weight).
- Measure Accurately: Use a kitchen scale for weight-based mixing or clearly marked measuring cups for volume-based mixing. Even a slight deviation can prevent proper curing.
- Mix Thoroughly: Scrape the sides and bottom of your mixing container repeatedly. Mix for the recommended duration (usually 3-5 minutes). Inadequate mixing is a common cause of soft spots or uncured resin.
- Add Pigments (Optional): If using color, add liquid or powder pigments sparingly after the initial mixing of resin and hardener. Mix thoroughly again until the color is uniform.
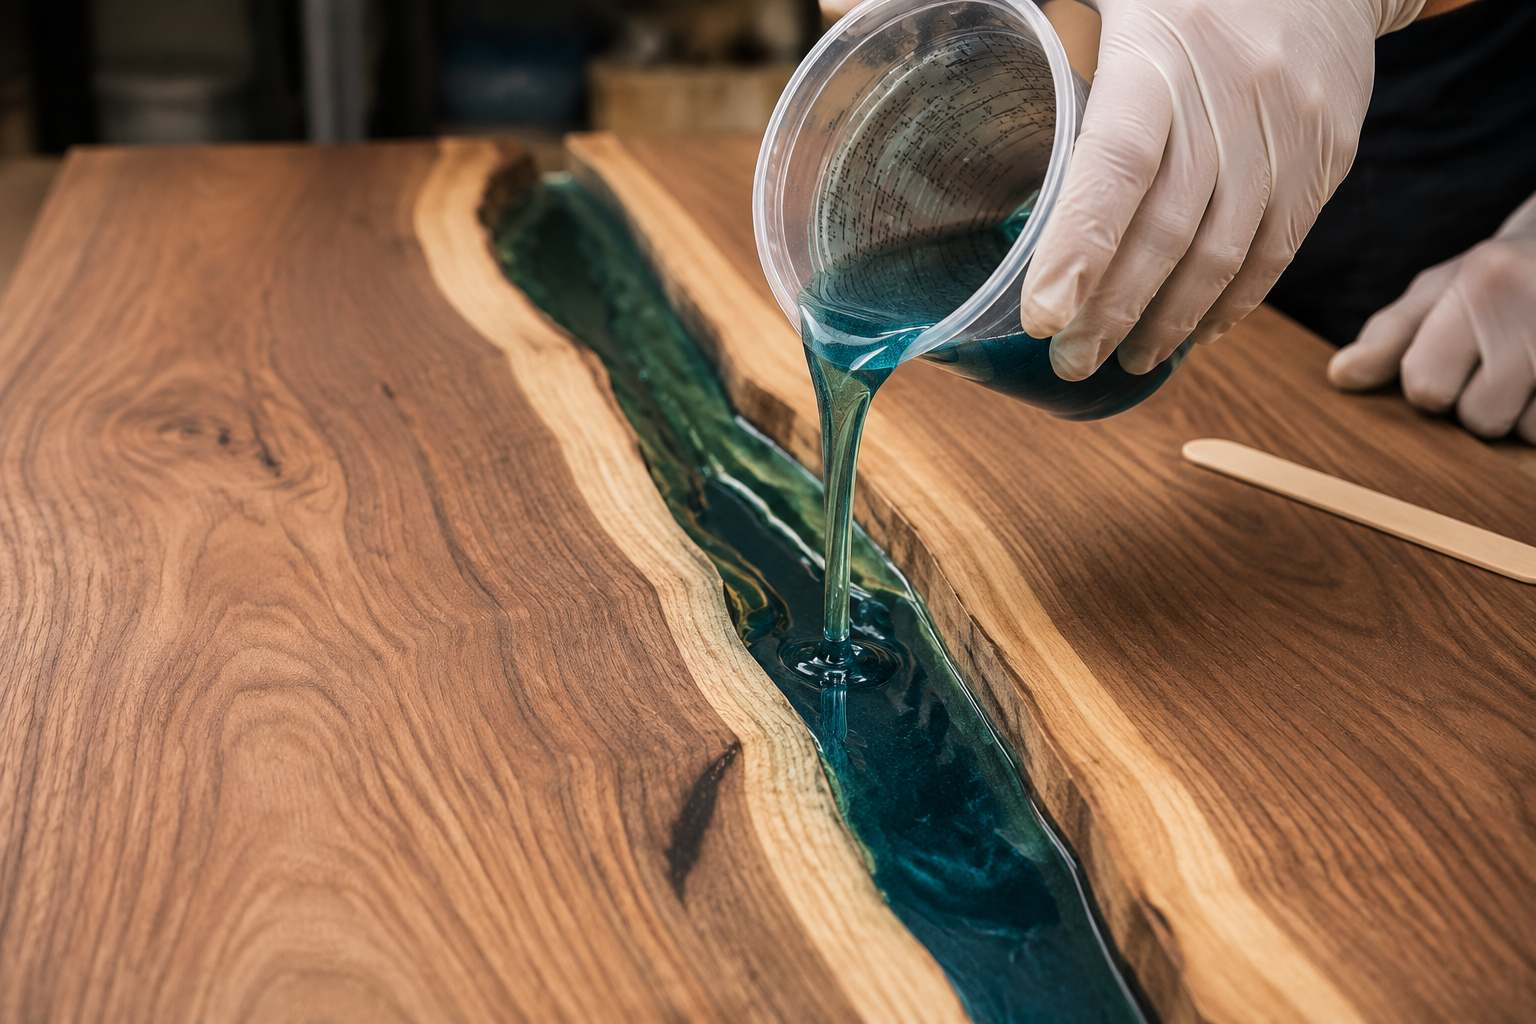
- Slow Pour: Slowly pour the mixed resin into your routed channels. Start at one end and let the resin self-level. Avoid overfilling.
- Bubble Removal: As the resin settles, air bubbles may rise. Use a heat gun (on low setting, quickly sweeping over the surface) or a small propane torch to pop them. Be careful not to scorch the resin or the wood. A toothpick can also be used for stubborn bubbles.
- Cover: Cover the table with a plastic sheet or box to protect it from dust while the resin cures.
Leveling and Sanding
Once the resin has fully cured (refer to manufacturer’s cure times, which can be 24-72 hours or more), it’s time to make it flush with the wood surface.
- Initial Leveling (if overfilled): If you overfilled your inlay significantly, you may need to use a router sled, hand plane, or a belt sander (with very coarse grit, e.g., 60-80) to bring the resin down close to the wood level. Be extremely careful not to gouge the wood.
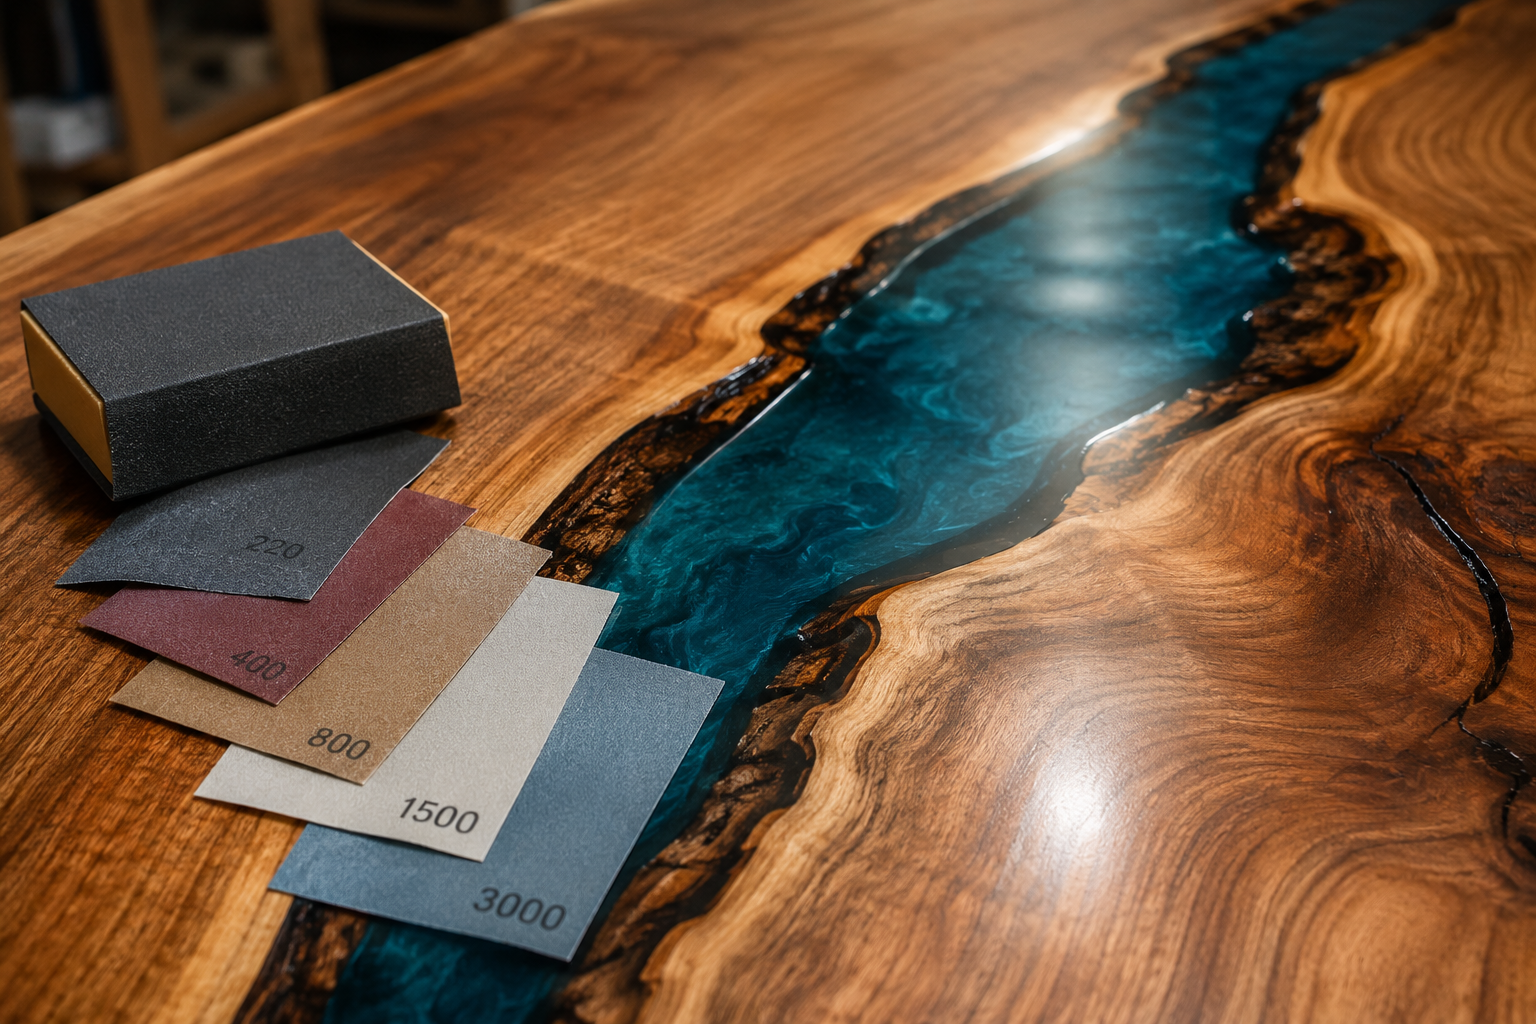
- Sanding Progression: Start with an aggressive grit (e.g., 80 or 100) to remove any remaining excess resin and level the surface. Progress through finer grits systematically: 120, 150, 180, 220, 320, 400, and potentially higher for a high-gloss finish.
- Even Pressure: Maintain even pressure and avoid concentrating sanding in one area, which can create depressions.
- Dust Removal: Thoroughly clean all sanding dust between grits. Fine dust from a coarser grit can cause scratches if carried to the next finer grit.
- Wet Sanding (Optional): For a truly pristine, high-gloss finish, consider wet sanding with very fine grits (800-3000) after dry sanding up to 400 or 600. Use water with a few drops of dish soap as a lubricant.
Final Finishing
After sanding, the table needs a protective finish to enhance its beauty and ensure durability.
- Clean Surface: Thoroughly clean the entire table surface to remove all sanding dust. Use a vacuum, compressed air, and a tack cloth.
- Apply Topcoat:
- Oil Finishes: Penetrating oil finishes (like tung oil, Danish oil, or hardwax oils) are excellent for bringing out the natural warmth of the wood and creating a durable, repairable surface. They also adhere well to cured resin. Apply according to manufacturer instructions.
- Polyurethane: For maximum protection, a polyurethane finish can be applied. Ensure the specific polyurethane is compatible with epoxy/resin. Wood Finishing Techniques offers more guidance on various finishes.
- Another Layer of Clear Epoxy (Optional): For a glass-like finish over the entire table, you could apply a thin flood coat of clear, food-safe epoxy over both the wood and the inlays. This creates a uniform, highly durable surface.
- Cure and Polish: Allow the final finish to cure completely. For an ultra-smooth, high-gloss resin inlay, you can use specialized plastic polishes and a buffing pad after the finish has fully hardened.
Conclusion
Creating DIY Resin-Inlay Dining Tables: Bio-Resin and Epoxy Accent Techniques for Home Builders is a rewarding project that allows for a unique blend of woodworking artistry and modern material application. By focusing on subtle accents, carefully selecting food-safe bio-resins or epoxies, executing precision routing, and committing to meticulous leveling and finishing, intermediate woodworkers can craft truly distinctive and functional dining tables. These pieces not only serve as a focal point in any home but also embody the skill and personal touch of their builder.
Actionable Next Steps
- Research Resins: Investigate food-safe bio-resin and epoxy options, comparing their properties, costs, and availability. Read product data sheets thoroughly.
- Design Your Inlay: Sketch out several inlay ideas, considering the size and style of your dining table. Keep it subtle and elegant.
- Practice Routing: Before working on your table, practice routing various inlay patterns on scrap wood to perfect your technique and router settings.
- Gather Tools: Ensure you have all necessary tools, including a router, appropriate bits, jigs, and safety equipment.
- Plan Your Workspace: Prepare a clean, level, and well-ventilated area for resin mixing, pouring, and curing.
By following these steps, you’ll be well-equipped to transform a solid wood slab into an heirloom-quality dining table with stunning resin accents.