
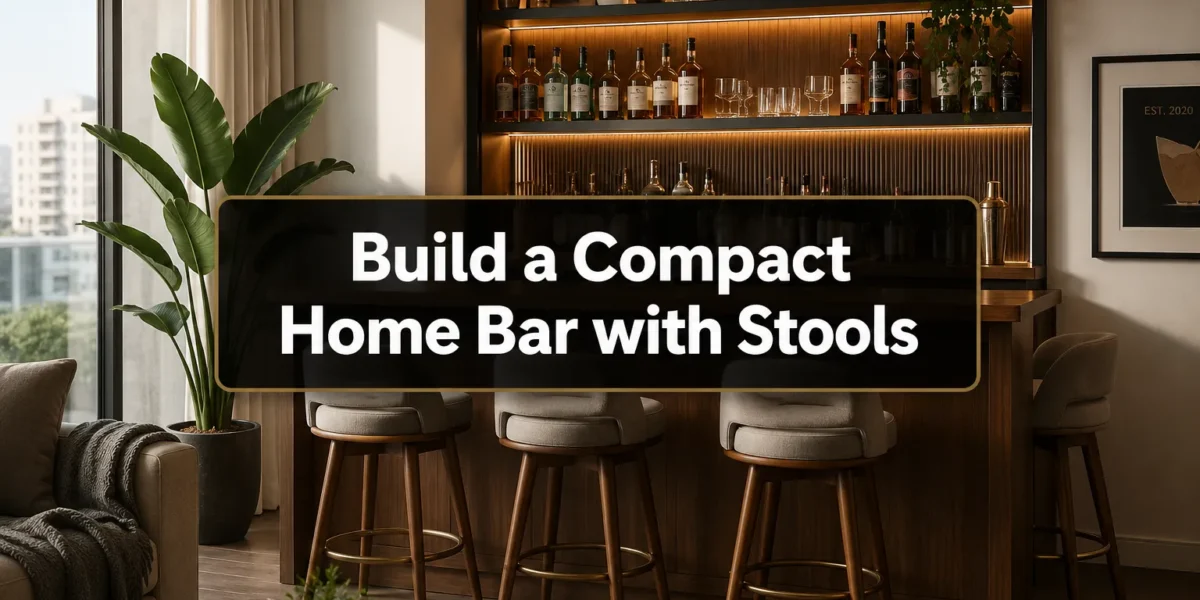
The notion that a home bar requires a sprawling footprint or an extensive budget is a pervasive myth. In reality, some of the most elegant and functional home bars are compact, expertly designed spaces that feel like a deliberate feature, not an afterthought. The secret to achieving this lies in understanding how to integrate Bar Furniture with Stools: How to Build a Compact Home Bar That Looks Finished, Not Makeshift by focusing on proportional harmony, intelligent storage, and cohesive aesthetics. This guide aims to transform your small space into a sophisticated entertaining hub.
Key Takeaways
- Proportional Matching is Crucial: Ensure your bar counter and stools are dimensionally compatible to create a comfortable and visually pleasing setup.
- Maximize Vertical and Integrated Storage: For compact spaces, built-in shelving, hidden compartments, and smart organizers are essential to keep clutter at bay.
- Choose a Cohesive Design Language: Select materials, finishes, and styles for both the bar and stools that complement each other and the surrounding room.
- Invest in Quality Materials: Durable wood and sturdy construction ensure your compact bar looks luxurious and lasts for years.
- Thoughtful Lighting Enhances Ambiance: Incorporate task and accent lighting to elevate the mood and functionality of your home bar.
Designing Your Compact Home Bar: Dimensions, Storage, and Layout
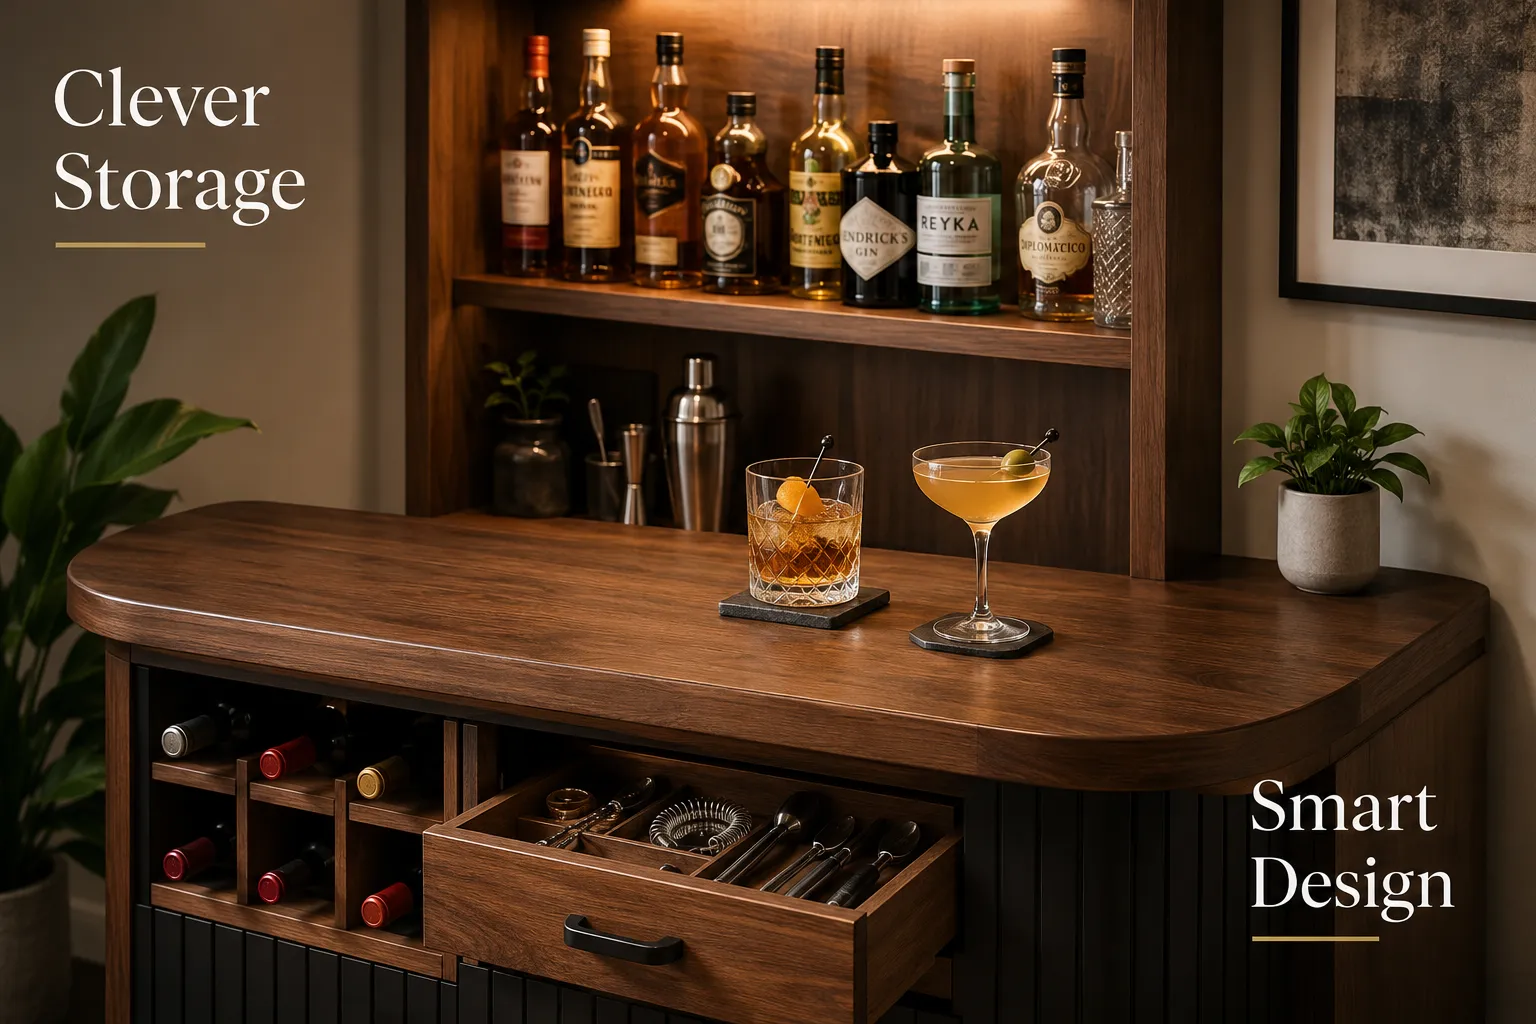
Building a compact home bar that looks finished rather than makeshift begins with meticulous planning. The goal is to create a dedicated zone that serves its purpose efficiently while seamlessly blending with your existing decor. This involves careful consideration of dimensions, storage solutions, and overall layout, especially when incorporating bar furniture with stools.
Understanding Key Dimensions for Bar Furniture with Stools
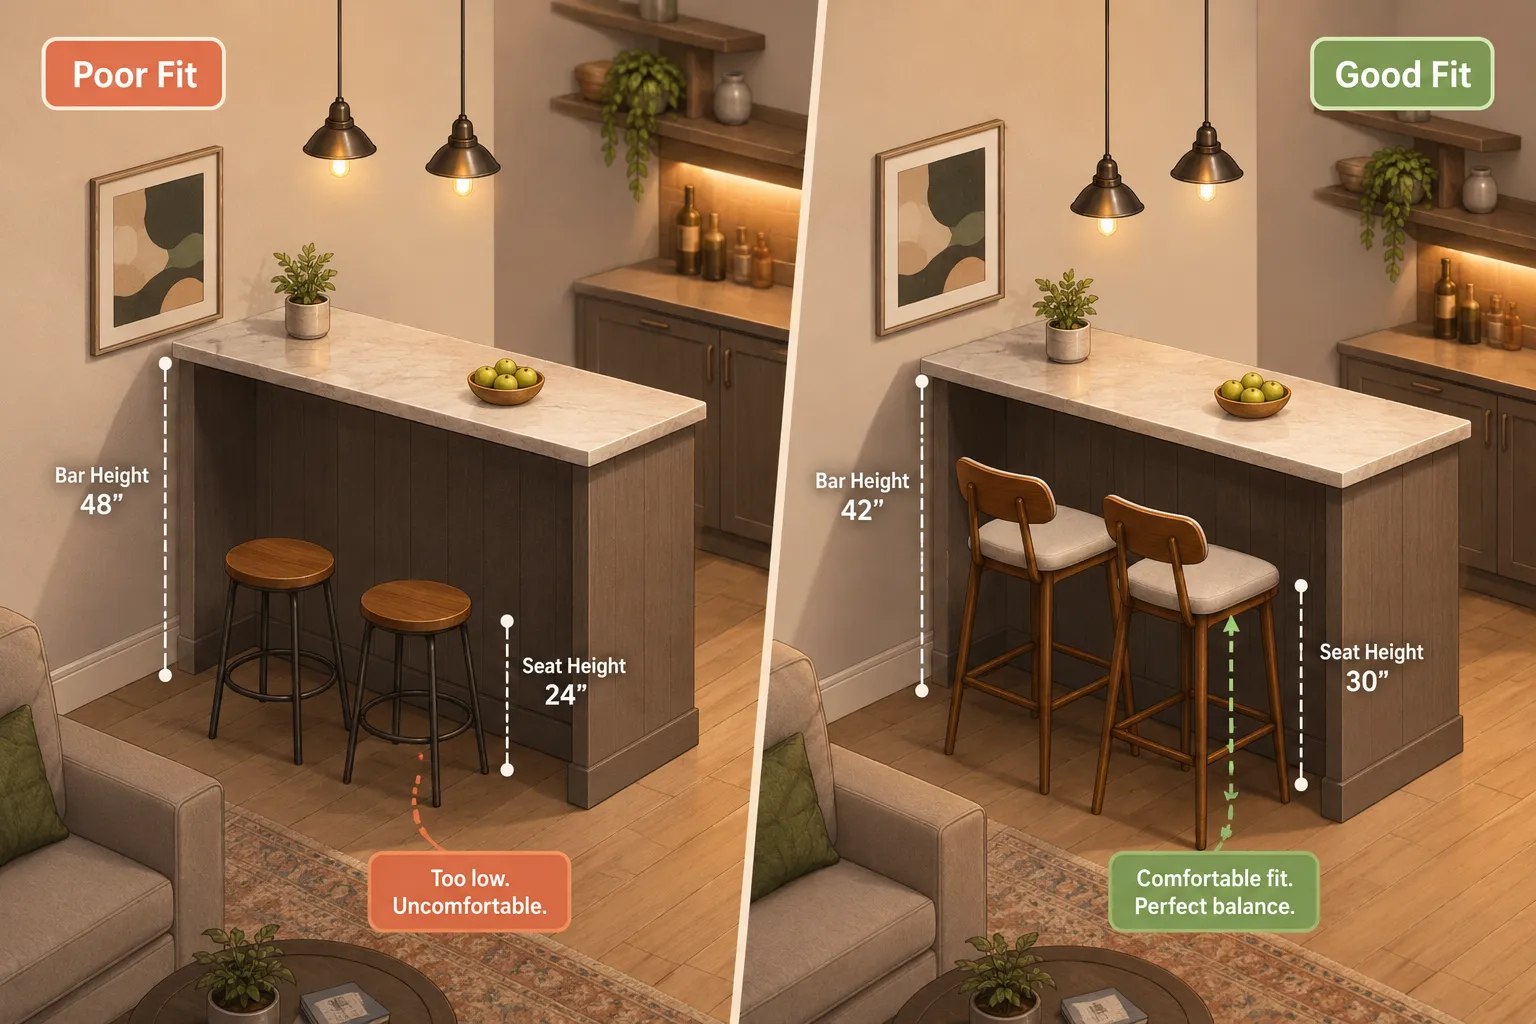
The most common mistake in compact bar design is mismatched proportions between the bar and its seating. Achieving a comfortable and aesthetically pleasing setup hinges on selecting the correct bar height and corresponding stool height.
| Bar Type | Standard Height (inches) | Ideal Stool Seat Height (inches) | Ideal Legroom (inches) |
|---|---|---|---|
| Bar Counter | 40-42 | 28-30 | 10-12 |
| Counter Height | 34-36 | 24-26 | 10-12 |
| Table Height | 28-30 | 18-20 | 10-12 |
For a home bar setup, the “bar counter” height (40-42 inches) is generally preferred to evoke a traditional bar feel. This requires bar stools with a seat height of 28-30 inches. Always aim for approximately 10-12 inches of space between the top of the stool seat and the underside of the bar counter for comfortable legroom. When crafting custom seating, exploring resources like “Crafting Custom Bar and Counter Height Stools: Wood Selection” can provide invaluable insights into achieving the right fit and finish.
Consider the depth of your bar counter as well. A minimum of 16-18 inches is needed for comfortable drink preparation and serving, though 20-24 inches provides more elbow room. For compact spaces, consider fold-down or pull-out extensions to expand surface area when needed, then neatly tuck away.
Maximizing Storage in Limited Footprints
In a compact home bar, every inch of space counts. The design must integrate clever storage to keep bottles, glassware, and bar tools organized and out of sight, preventing a cluttered appearance.
- Vertical Storage: Utilize the height of your space. Built-in shelving above or below the counter is ideal for liquor bottles and glassware. Consider adjustable shelves to accommodate varying bottle sizes.
- Integrated Cabinets: Closed cabinetry is excellent for concealing less attractive items, such as extra mixers or cleaning supplies. Opt for cabinets with soft-close hinges for a premium feel.
- Drawers and Pull-Outs: Deep drawers can store bar tools, cocktail napkins, and other accessories. A pull-out cutting board can offer extra prep space.
- Stemware Racks: Inverted stemware racks under an upper cabinet or the bar itself free up shelf space and display glassware elegantly.
- Bottle Holders: Built-in wine or liquor bottle cubbies can be a stylish way to store a small selection, adding to the bar’s aesthetic.
For small apartments, the principles of maximizing functionality with clever foldable and collapsible furniture can be directly applied to bar design. Consider modular units that can be reconfigured or expanded as needed, ensuring your compact bar is both versatile and visually appealing.
Selecting Materials and Finishes for a Cohesive Look
The choice of materials and finishes is paramount in elevating a compact home bar from makeshift to magnificent. This aspect ties directly into the primary goal of creating Bar Furniture with Stools: How to Build a Compact Home Bar That Looks Finished, Not Makeshift. The materials should not only be durable and functional but also visually harmonized with both the bar counter and its accompanying stools, as well as the surrounding room.
Wood Selection for the Bar Counter and Stools
Wood is a timeless and versatile choice for bar furniture, offering warmth, character, and durability. The type of wood and its finish profoundly impact the overall aesthetic.
- Hardwoods: Oak, maple, cherry, and walnut are excellent choices for bar counters and stools due to their durability and resistance to dents and scratches.
- Oak: Offers a distinct grain pattern, available in red or white varieties. Stains well to various hues.
- Maple: A very strong, fine-grained wood that takes finishes beautifully, often appearing lighter.
- Cherry: Known for its rich, reddish-brown hue that deepens with age.
- Walnut: A luxurious, dark wood with an elegant grain, ideal for a sophisticated look.
- Softwoods: Pine and cedar are more affordable and easier to work with but are less durable for high-traffic surfaces. If used, ensure they are adequately sealed and protected.
- Plywood and MDF: For painted or veneered finishes, high-quality plywood or MDF can be cost-effective and provide a stable base. Consider using these for structural elements or cabinet boxes, reserving solid wood for visible surfaces or edges.
The finish you apply to the wood is just as important as the wood itself. For bar surfaces, durability is key. Options include:
- Polyurethane: Highly durable, offering excellent protection against spills and scratches. Available in various sheens.
- Epoxy Resin: Provides a glass-like, incredibly durable, and waterproof surface, ideal for a high-gloss, modern look.
- Oil-Based Finishes: Penetrate the wood, enhancing its natural beauty and offering a warm, satiny glow. While beautiful, they may require more maintenance than polyurethane. For guidance, “Mastering Wood Finishing with Oil-Based Products: Techniques for Deep” provides detailed instructions.
When selecting wood, consider how it will complement the existing furniture in your home. For example, if your living room has warm minimalist wood designs, replicating a similar wood tone and finish will ensure the bar feels like an integrated part of the space.
Upholstery and Accents for Bar Stools
The stools are not merely functional; they are an integral part of the bar’s visual appeal. Their design, upholstery, and accent materials must harmonize with the bar counter.
- Upholstery:
- Leather/Faux Leather: Offers a luxurious, easy-to-clean, and durable option.
- Fabric: Choose durable, stain-resistant fabrics in colors or patterns that match your room’s aesthetic. Consider performance fabrics for longevity.
- Wood Seats: Solid wood seats, perhaps with a slight contour, can offer a clean, natural look.
- Metal Accents: Many bar stools feature metal frames or footrests.
- Brushed Brass/Gold: Adds a touch of elegance and warmth.
- Matte Black: Modern and sleek, ideal for contemporary designs.
- Polished Chrome: Reflective and classic.
Ensure the metal accents on the stools complement any hardware or fixtures on your bar counter or in the surrounding room. For example, if your bar has matte black cabinet pulls, stools with matte black frames would create a unified look.
Building and Installing Your Compact Home Bar: Tips for a Polished Finish
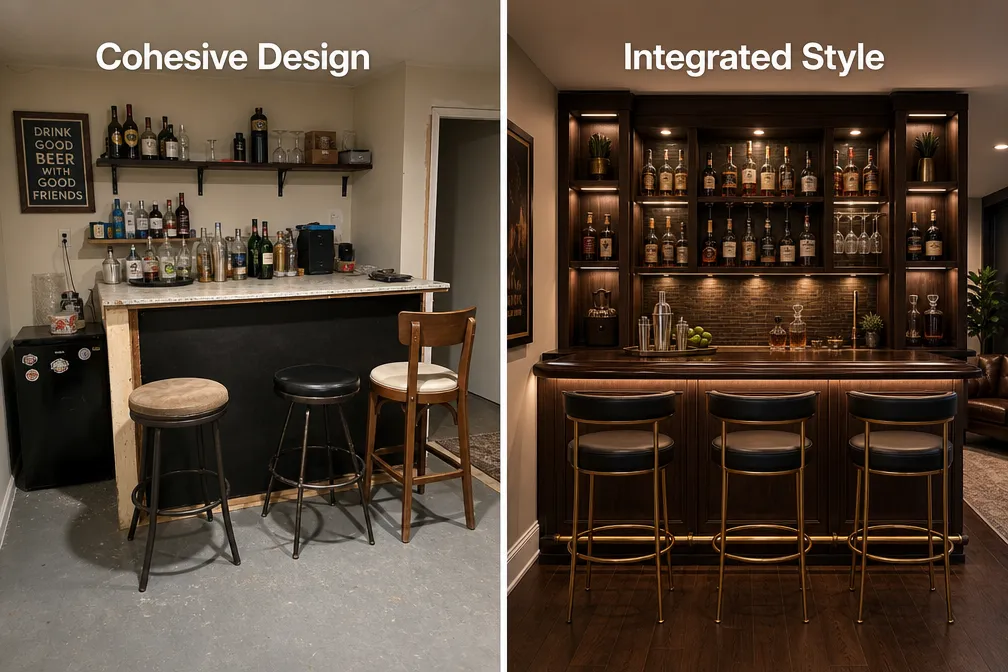
The construction and installation phase is where design decisions translate into a tangible, finished product. Even for a compact setup, attention to detail here ensures your home bar looks professionally built, not hastily assembled.
Essential Construction Techniques for a Durable Bar
For any woodworking project, particularly one that will see regular use like a home bar, solid joinery is critical for longevity and stability.
- Strong Joinery: Mortise and tenon joints, dovetail joints, or reinforced dadoes are excellent choices for constructing the bar frame and cabinetry. These traditional methods offer superior strength compared to screws alone. A beginner’s guide to hand tool joinery can be a valuable resource for mastering these techniques.
- Secure Fastening: Use quality wood screws and appropriate adhesives for all non-structural connections. Predrill pilot holes to prevent splitting.
- Leveling and Stability: Ensure the bar counter is perfectly level and securely anchored. For freestanding units, adjustable feet can compensate for uneven floors. For built-in bars, secure it to wall studs.
For those undertaking a DIY build, consider the tools that can assist in achieving precise cuts and finishes. Even for a compact workshop, selecting the best Ryobi power tools for small workshop setup can significantly improve the quality of your work.
Incorporating Lighting and Electrical Outlets
Thoughtful lighting and convenient electrical access are often overlooked but are key to a finished and functional home bar.
- Task Lighting: Small LED strip lights under upper shelves or the bar top illuminate your workspace, making drink preparation easier.
- Accent Lighting: puck lights inside glass-front cabinets or mood lighting behind bottles can create an inviting ambiance. Dimmers allow you to adjust the mood.
- Electrical Outlets: Install at least one, preferably two, discreet electrical outlets near the bar. These are essential for blenders, phone chargers, or small appliances, preventing the need for unsightly extension cords.
Consider integrating smart home technology into your woodworking projects, allowing for automated lighting controls or even voice-activated features for your bar.
Finishing Touches and Styling Your Bar Furniture with Stools
Once the construction is complete, the final touches are what truly transform a functional unit into a finished, stylish home bar.
- Hardware: Choose pulls and knobs for cabinets and drawers that complement your chosen aesthetic and the metal accents on your stools.
- Mirrored Backsplashes: A mirrored backsplash behind the bar can make a compact space feel larger and reflect light, enhancing the display of bottles.
- Glassware and Bottle Display: Arrange your finest bottles and glassware thoughtfully. A well-curated display adds to the bar’s appeal.
- Decorative Elements: Add a small plant, a decorative tray, or unique bar tools to personalize the space.
- Comfort for Stools: Consider adding small cushions to your bar stools for enhanced comfort and an extra layer of texture. Ensure they fit well and don’t slide off easily.
By paying attention to these details, you ensure your bar furniture with stools creates a compact home bar that is not only functional but also a visually appealing, integrated part of your living space.
Conclusion
Creating a compact home bar that truly looks finished, not makeshift, is an achievable goal for any homeowner, regardless of space limitations. The journey from conception to a polished product involves a blend of smart design choices, meticulous craftsmanship, and an unwavering focus on visual cohesion. By carefully considering the proportional harmony between your bar counter and stools, integrating clever storage solutions, selecting durable and aesthetically pleasing materials, and adding thoughtful finishing touches like lighting and coordinated hardware, you can transform an often-overlooked corner into a sophisticated and functional entertaining hub.
The principles discussed, from precise dimension matching to choosing the right wood and finishes, empower you to build a space that feels intentional and luxurious. This isn’t just about mixing drinks; it’s about crafting an experience, a dedicated area where form meets function in perfect balance. Approach your compact home bar project with these guidelines in mind, and you will undoubtedly create a space that you and your guests will appreciate for years to come.
Actionable Next Steps:
- Measure Your Space: Accurately measure the area designated for your bar to determine optimal bar counter dimensions.
- Sketch Your Design: Create a simple sketch or diagram to visualize your preferred layout, including storage, counter space, and stool placement.
- Choose Your Materials: Select a wood type and finish that complements your home’s existing decor and fits your durability requirements.
- Source Stools: Find bar stools that match your chosen bar height and aesthetic, paying attention to material and upholstery.
- Plan Joinery and Construction: Decide on the construction methods and tools you’ll use, ensuring structural integrity and a clean finish.
Meta Title: Compact Home Bar: Build a Finished Bar with Stools (2026) Meta Description: Learn how to build a compact home bar with stools that looks polished, not makeshift. Discover design tips, storage ideas, and material choices for 2026.