
The journey into woodworking often begins with a desire to create something tangible, functional, and beautiful. Yet, many aspiring craftspeople find themselves overwhelmed by the sheer volume of techniques and tools. The secret to unlocking true craftsmanship, especially for beginners, lies not in acquiring every tool, but in mastering the foundational skills of joinery. This article provides a definitive roadmap for Hand Tool Joinery Mastery: Complete Progression from Mortise-and-Tenon to Advanced Dovetails for Beginners, transforming the intimidating task of hand-cut joints into a clear, achievable skill path. By understanding when and how to approach each joint, you can build confidence and create furniture that stands the test of time, without relying on complex machinery.
Key Takeaways
- Progressive Learning: Begin with the foundational mortise-and-tenon joint before advancing to more intricate dovetail variations.
- Essential Hand Tools: Focus on acquiring and mastering a core set of hand tools, including sharp chisels, accurate saws, and reliable marking gauges.
- Practice is Paramount: Consistent practice on scrap wood is crucial for developing muscle memory and refining precision.
- Joint Selection Matters: Learn to choose the appropriate joint for structural integrity and aesthetic appeal based on the project’s requirements.
- Patience and Precision: Hand tool joinery demands patience, attention to detail, and a methodical approach, leading to deeply satisfying results.
The Foundation: Mastering the Mortise-and-Tenon Joint
The mortise-and-tenon joint is the bedrock of furniture construction, offering exceptional strength and durability. It involves fitting a projection (the tenon) from one piece of wood into a cavity (the mortise) in another. For beginners, this is the ideal starting point for Hand Tool Joinery Mastery: Complete Progression from Mortise-and-Tenon to Advanced Dovetails for Beginners because it teaches fundamental skills in layout, sawing, and chiseling that are transferable to all other joints.
Essential Tools for Mortise-and-Tenon
Before diving in, ensure you have the right tools:
- Mortise Chisels: These are robust chisels designed to withstand the leverage needed for chopping mortises. A 1/4-inch and 3/8-inch chisel are good starting sizes.
- Mallet: For driving chisels and ensuring firm cuts.
- Backsaw: A quality tenon saw or rip-cut backsaw is crucial for accurate shoulder cuts and cheek cuts.
- Marking Gauge: Essential for precise layout lines, ensuring consistent depth and width.
- Square and Ruler: For verifying straight lines and measurements.
- Fret Saw (optional but helpful): For clearing waste in the mortise.
Step-by-Step Mortise-and-Tenon Progression
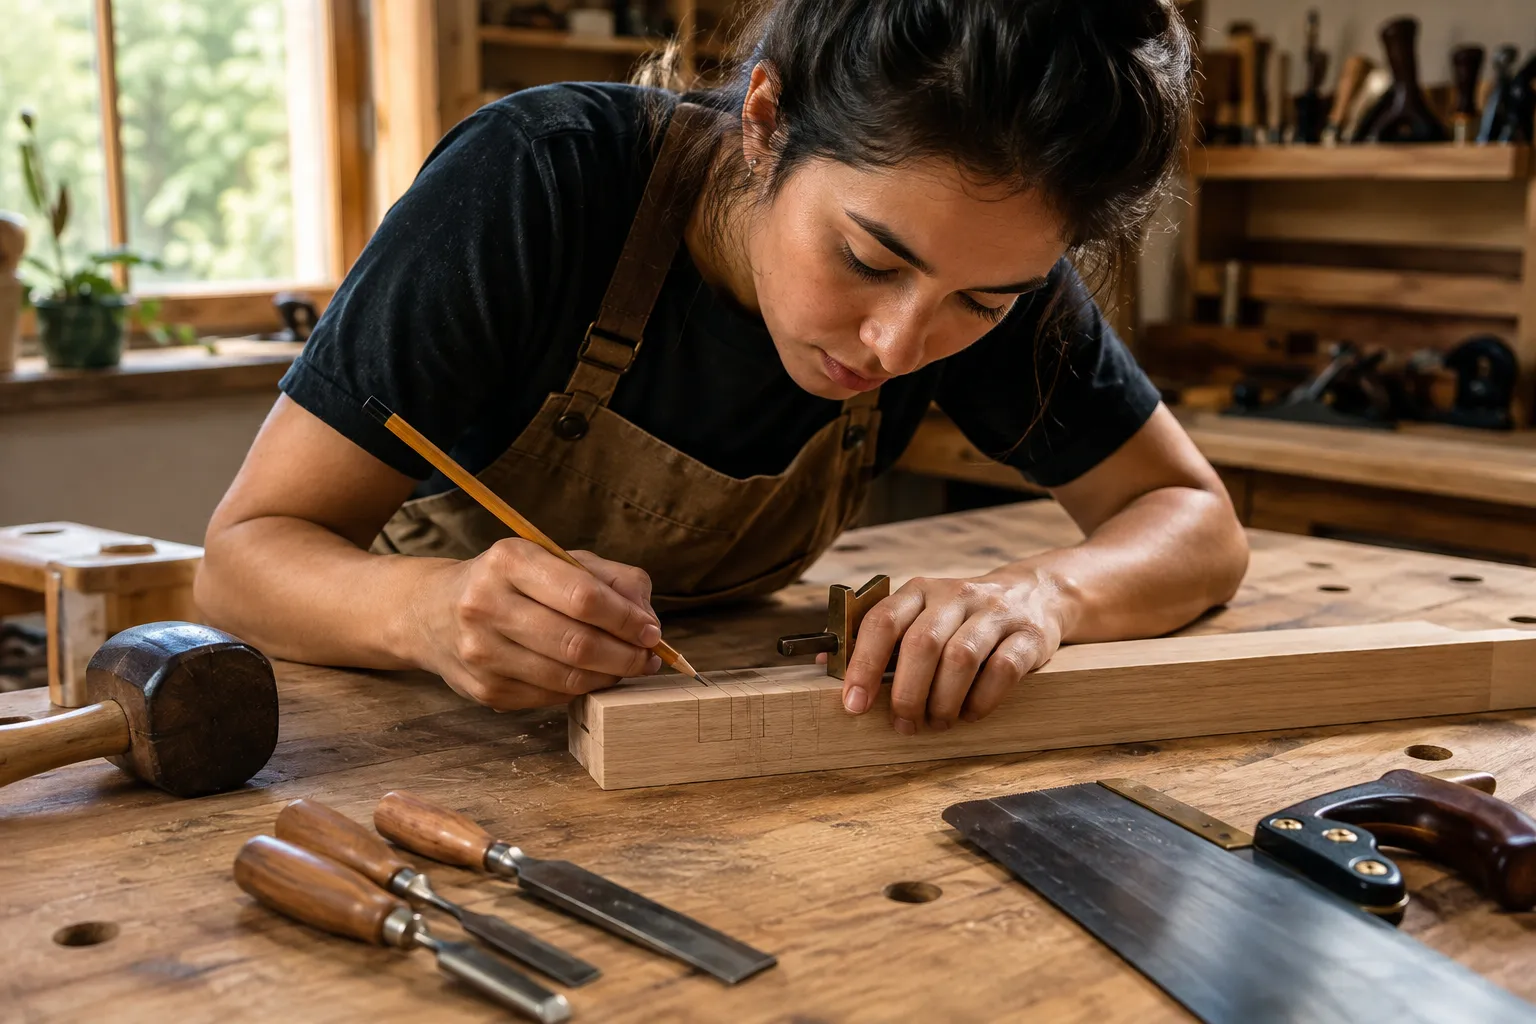
- Accurate Layout: Precision is paramount. Use a sharp pencil, marking knife, and marking gauge to scribe clear lines for both the mortise and the tenon. Ensure the tenon’s thickness matches the mortise’s width. For detailed guidance on this, consider exploring our resource on Introduction to Traditional Hand Tool Joinery: Exploring Mortise and Tenon with Chisels and Saws.
- Chopping the Mortise:
- Secure your workpiece firmly in a vise.
- Define the mortise ends by chopping straight down with a chisel, bevel facing inwards.
- Work from the center outwards, chopping in small increments (about 1/8 to 1/4 inch at a time).
- Flip the workpiece and repeat from the other side to meet in the middle, ensuring straight walls.
- Pare the walls smooth with a sharp chisel.
- Cutting the Tenon:
- Mark the shoulders and cheeks of the tenon with a marking gauge and knife.
- Saw the shoulders first, ensuring your backsaw is perfectly perpendicular to the workpiece.
- Next, saw the cheeks, making sure to stay just outside your layout lines.
- Pare to the lines with a sharp chisel, frequently checking for squareness and fit.
When to Use a Mortise-and-Tenon
This joint is ideal for frame construction, such as connecting rails to stiles in a table or chair, or for attaching legs to aprons. It provides robust mechanical strength, even before glue is applied, making it suitable for structural components that will bear weight or experience stress.
Advancing to Dovetails: Through and Half-Blind Joints
Once comfortable with the mortise-and-tenon, the natural next step in your Hand Tool Joinery Mastery: Complete Progression from Mortise-and-Tenon to Advanced Dovetails for Beginners is the dovetail. Renowned for its strength, resistance to pulling apart, and aesthetic appeal, the dovetail joint is a hallmark of fine woodworking. It requires a different set of skills focused on precise angled cuts and delicate paring.
Essential Tools for Dovetail Joinery
- Dovetail Saw: A fine-toothed backsaw designed for precise cross-grain and rip cuts.
- Dovetail Chisels: Bevel-edge chisels with thinner sides, allowing them to fit into tight corners. A 1/4-inch, 1/2-inch, and 3/4-inch set is a good start.
- Marking Gauge/Knife: For extremely accurate layout.
- Dovetail Marker/Gauge: To consistently lay out the angles of the pins and tails. Common ratios are 1:6 for hardwoods and 1:8 for softwoods.
- Coping Saw: Excellent for removing waste between tails.
Through Dovetails: The Starting Point
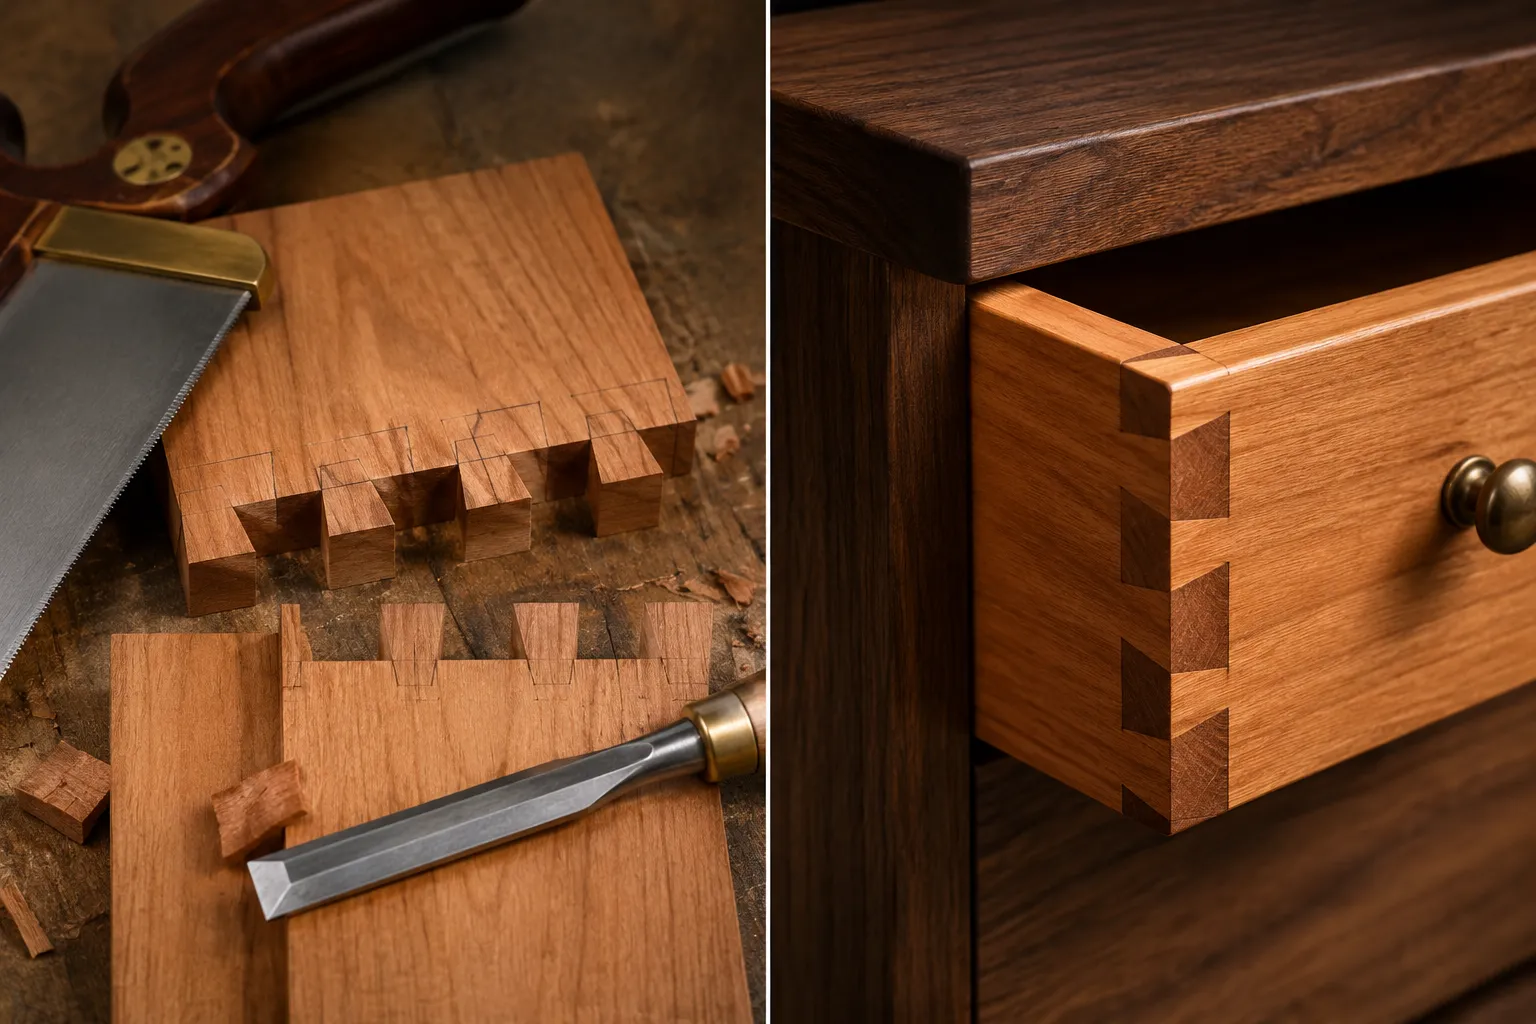
Through dovetails are visible on both faces of the joint, making them common in carcass construction, chests, and boxes where both strength and visible craftsmanship are desired.
- Layout: Decide whether to cut pins or tails first. Many beginners find cutting tails first easier. Mark the tail board’s thickness on the pin board, and vice versa. Use your dovetail marker to lay out the angles of the tails.
- Cutting Tails: Saw directly on your layout lines. Use a coping saw to remove the bulk of the waste between the tails, then pare to the baselines with chisels.
- Transferring and Cutting Pins: Place the cut tail board onto the pin board, carefully aligning them. Use a sharp marking knife to transfer the exact outline of the tails to the pin board. Saw and chisel the pins, removing waste as you did with the tails.
- Test Fit: Gently bring the joint together. It should fit snugly with a gentle tap of a mallet. If too tight, identify the high spots and pare them down. If too loose, unfortunately, it’s time to try again on new stock.
For a deeper dive into this joint, consider exploring articles such as Mastering Dovetail Joinery for Drawers: Hand and Router Methods for Cabinet Builders.
Half-Blind Dovetails: The Next Challenge
Half-blind dovetails are often used for drawer fronts, where the pins are hidden from the front face, providing a clean, elegant appearance while maintaining strength. This adds a layer of complexity as the mortises for the pins do not go all the way through.
- Layout: The drawer front (pin board) is usually thicker than the drawer side (tail board). Mark the depth of the pins on the drawer front, ensuring it doesn’t go all the way through. Layout tails on the drawer side as usual.
- Cutting Tails: Cut the tails on the drawer side as you would for a through dovetail.
- Transferring and Mortising Pins: Transfer the tails onto the drawer front. Mark the depth for the pins. Carefully chop out the mortises for the pins using a small, sharp chisel, working to the marked depth. This is a more delicate operation than chopping a through mortise.
- Fitting: Test the fit, making adjustments with fine paring cuts.
Advanced Dovetail Variations and Project Integration
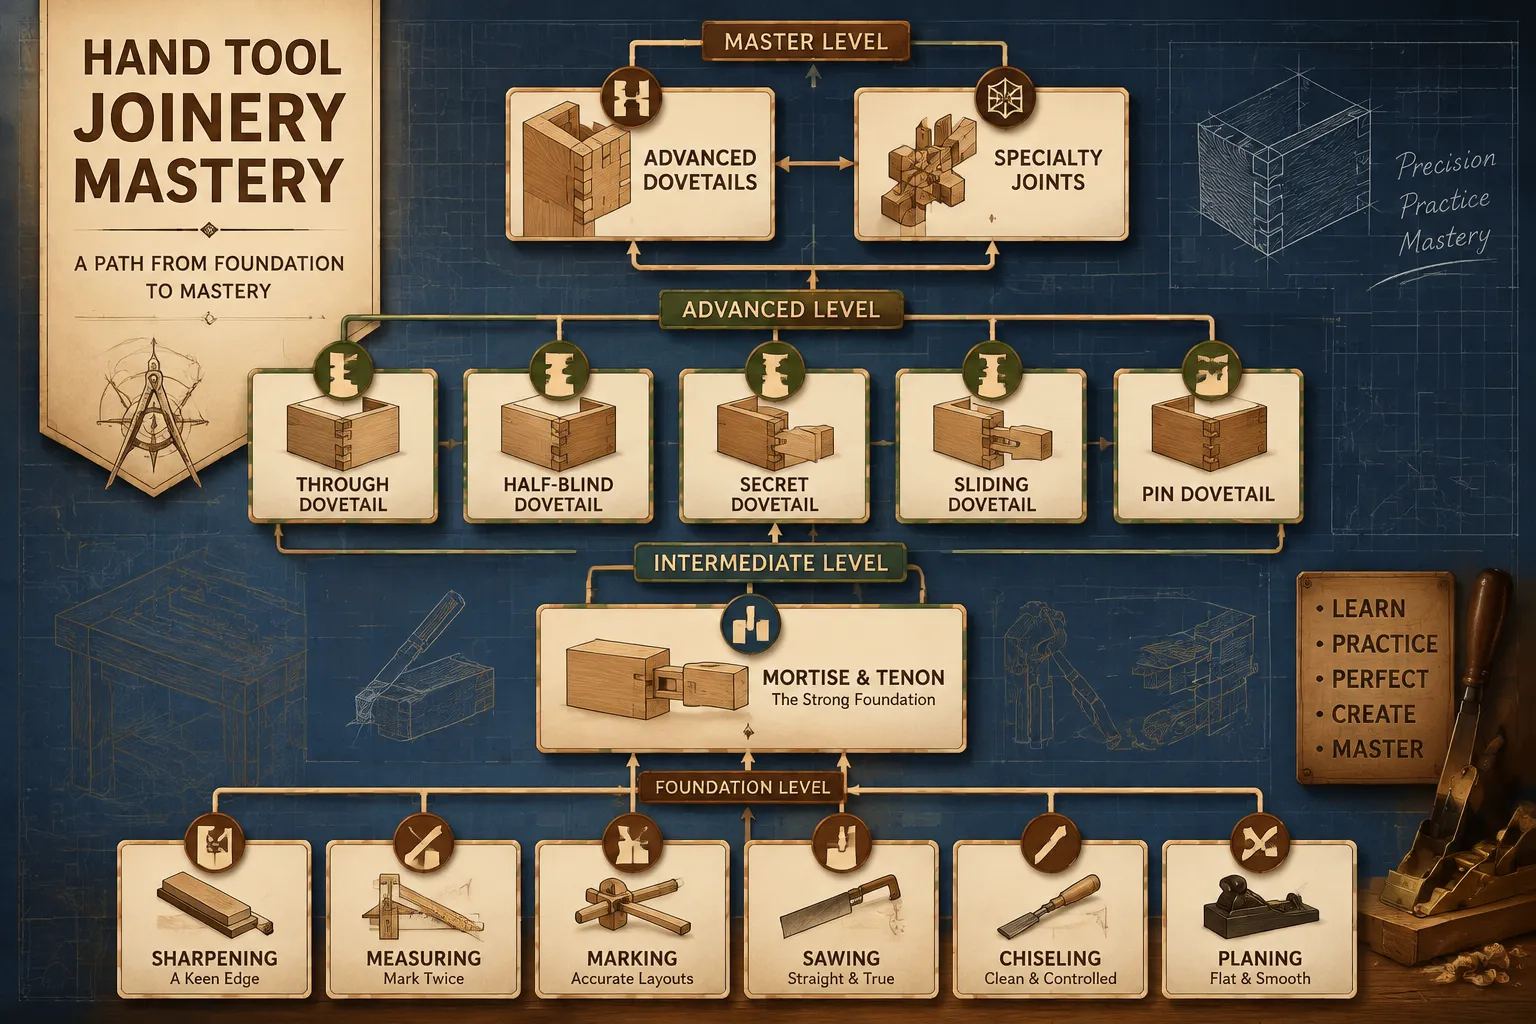
With a solid grasp of through and half-blind dovetails, you’re well on your way to Hand Tool Joinery Mastery: Complete Progression from Mortise-and-Tenon to Advanced Dovetails for Beginners. The next stage involves exploring more complex variations and integrating these joints into larger projects. This is where your creativity and precision truly shine.
Beyond the Basics: Advanced Dovetail Types
- Secret Dovetails (Mitered Dovetails): These are the most challenging, as no end grain is visible on either face, creating a seamless mitered corner. They are incredibly strong and visually stunning, often found in high-end boxes and furniture.
- Sliding Dovetails: Used for attaching shelves or dividers to cabinet sides, they offer exceptional resistance to pulling out and can hold significant weight. They involve a dovetail-shaped tenon sliding into a matching groove.
- Dovetail Keys/Splines: While not a full joint, dovetail keys are often used to reinforce mitered corners or add decorative elements to joints.
Integrating Joinery into Projects
The true measure of joinery mastery isn’t just cutting perfect joints in isolation, but effectively using them in complete projects. Consider how different joints serve different purposes:
- Frames and Structures: Mortise-and-tenons for sturdy frames, like those found in building custom bar stools from scratch.
- Carcase Construction: Through dovetails for strong, visible joints in boxes, chests, and drawer boxes.
- Drawer Construction: Half-blind dovetails for drawer fronts, offering strength without visible end grain, as discussed in Mastering Dovetail Joinery for Drawers.
- Decorative Touches: Explore Hand Tool Joinery for Visible Wood Joints: Dovetails, Mortise and Tenon, and Box Joints as Design Features to see how joinery itself can become an aesthetic element.
As you progress, you’ll find that selecting the right wood species for visible joinery can further enhance the beauty of your hand-cut work. Remember, patience, persistence, and continuous learning are key. There will be frustrating moments, but each mistake is a valuable lesson. The satisfaction of a perfectly fitted, hand-cut joint is unparalleled and a testament to your growing skill.
Conclusion
Embarking on the path of Hand Tool Joinery Mastery: Complete Progression from Mortise-and-Tenon to Advanced Dovetails for Beginners is a rewarding endeavor that deepens your connection to the craft of woodworking. By following a structured progression, starting with the robust mortise-and-tenon and gradually moving to the intricate beauty of dovetails, you build a solid foundation of skills and confidence. This journey is not just about cutting wood; it’s about cultivating precision, patience, and a keen eye for detail. As you practice and refine your techniques, you’ll find that hand tool joinery transforms ordinary lumber into pieces of lasting strength and artistic merit. Continue to challenge yourself with new variations and project integrations, always prioritizing sharp tools, accurate layout, and thoughtful execution. The world of traditional joinery awaits your skilled hands.
References
- Schwarz, C. (2011). The Anarchist’s Tool Chest. Lost Art Press.
- Tage Frid Teaches Woodworking: Book 1 – Joinery (1979). Taunton Press.
- Krenov, J. (2001). The Fine Art of Cabinetmaking. Taunton Press.
SEO Meta Title: Hand Tool Joinery Mastery: Mortise-Tenon to Dovetails for Beginners SEO Meta Description: Master hand tool joinery from foundational mortise-and-tenon to advanced dovetails. This complete progression guides beginners to craft strong, beautiful joints in 2026.