
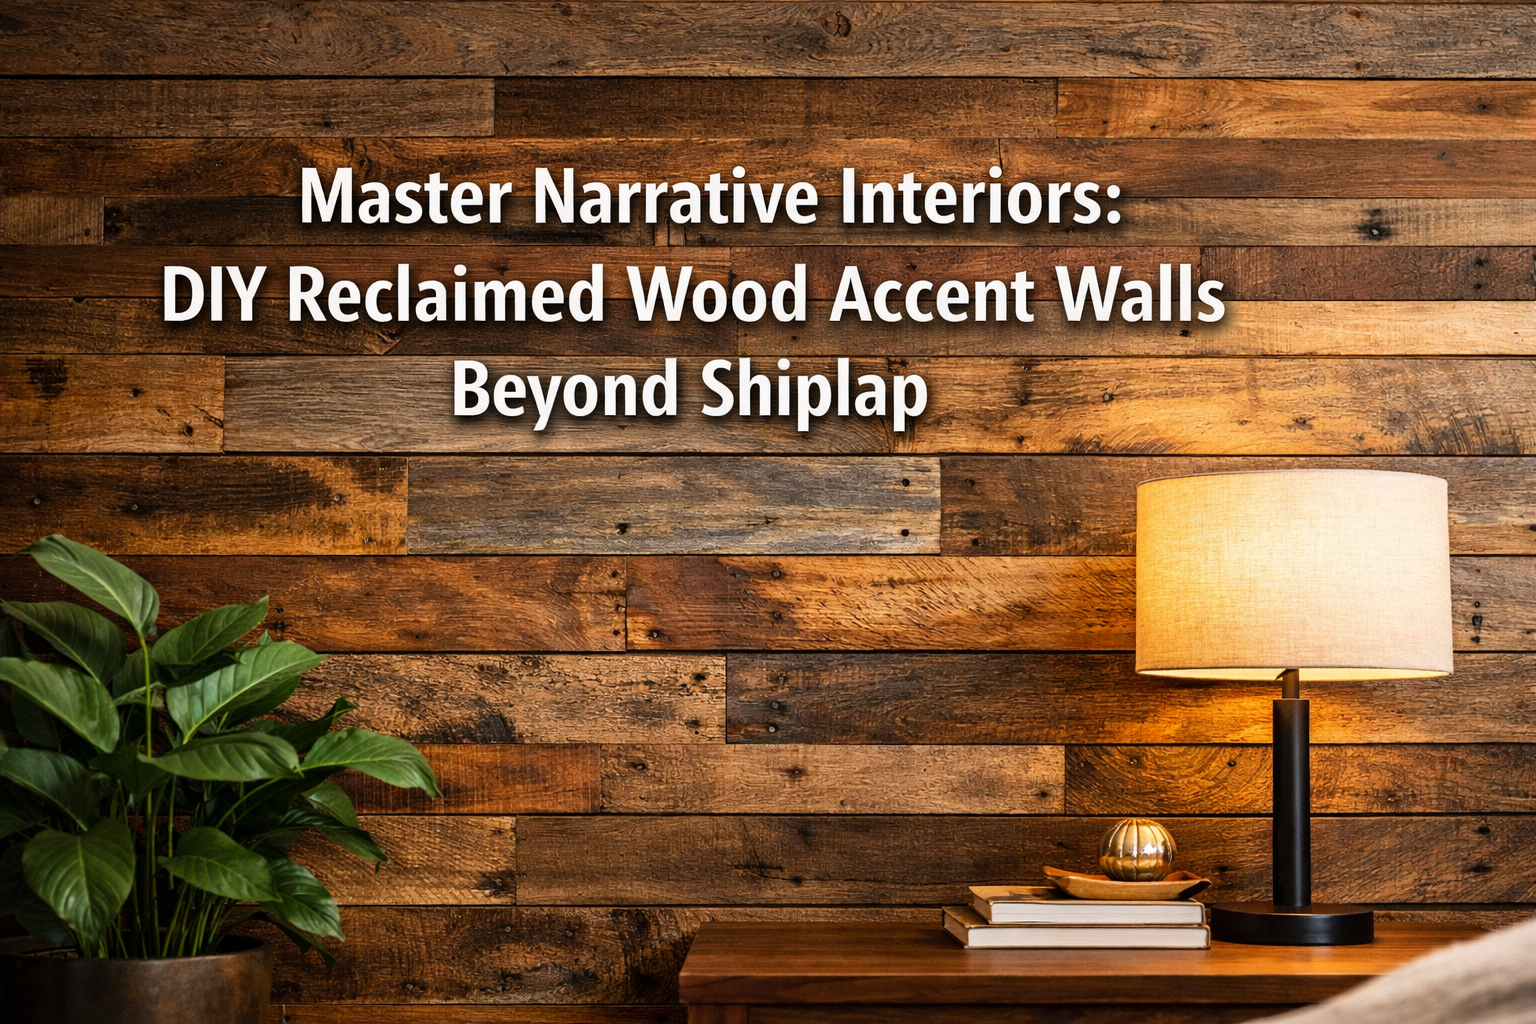

In 2026, home design is evolving, and with it, the beloved accent wall. While shiplap has had its moment, the discerning homeowner is now seeking deeper character, richer textures, and a more personalized story for their living spaces. This year, the pinnacle of interior design artistry for feature walls lies in Master Narrative Interiors: DIY Reclaimed Wood Accent Walls Beyond Shiplap. Imagine transforming a plain wall in your home office or a serene bedroom into a captivating focal point using the authentic beauty of reclaimed, mixed-width barnwood paneling. This isn’t just about adding wood to a wall; it’s about weaving a narrative, bringing history and natural elegance into your daily life, and achieving a professional, luxurious finish that stands apart.
The allure of reclaimed wood lies in its unique imperfections – the nail holes, the saw marks, the weathered patinas – each telling a silent story of its former life. Moving beyond the uniform lines of shiplap, 2026 embraces diverse plank widths, varied textures, and sophisticated finishing techniques to create accent walls that are true works of art. This comprehensive guide will take you through every step, from selecting the perfect wood to the final protective finish, ensuring your DIY project results in a stunning, high-authority statement piece that embodies the essence of “Master Narrative Interiors.”

Key Takeaways
- Elevate Design Beyond Shiplap: 2026 design trends favor mixed-width, textured reclaimed wood for accent walls over traditional shiplap, offering richer visual interest and deeper character.
- Careful Planning is Crucial: Proper wall preparation, accurate measurements, and thoughtful wood selection are foundational for a successful and lasting installation.
- Source Sustainably & Smartly: Understand where to find quality reclaimed wood, how to prepare it, and the importance of pest control and cleaning for salvaged materials.
- Precision Installation for Pro Results: Utilize appropriate tools and techniques for secure, level, and aesthetically pleasing plank arrangement, avoiding common DIY pitfalls.
- Finish with Finesse: Choose finishing techniques that enhance the natural beauty of reclaimed wood while providing durability, moving from rustic charm to sophisticated elegance.
Chapter 1: The Vision & Preparation – Laying the Foundation for Master Narrative Interiors: DIY Reclaimed Wood Accent Walls Beyond Shiplap
Before any hammer swings or saw blades spin, a successful DIY project, especially one as impactful as a reclaimed wood accent wall, demands meticulous planning and preparation. This initial phase sets the stage for the entire undertaking, ensuring a smooth process and a stunning final result that truly captures the spirit of Master Narrative Interiors: DIY Reclaimed Wood Accent Walls Beyond Shiplap.
Defining Your Aesthetic: Beyond the Shiplap Trend
The first step is to clearly define the look and feel you want to achieve. While shiplap offers a clean, rustic farmhouse vibe, a reclaimed wood accent wall opens up a world of more intricate and sophisticated aesthetics. Consider these elements:
- Wood Type & Character: Are you aiming for a warm, inviting feel with a mix of pine and fir, or a more robust, sophisticated look with aged oak or hickory? Each wood species carries its own grain patterns, color variations, and inherent character.
- Mixed-Width Planks: This is where the “beyond shiplap” truly shines. Instead of uniform planks, embracing a variety of widths – perhaps 3-inch, 5-inch, and 7-inch boards – creates a dynamic, visually rich texture. This asymmetry is key to the “narrative” aspect.
- Texture & Finish: Do you want deeply weathered, raw wood, or something smoother with a clear, protective coat? The finishing technique you choose will dramatically impact the wall’s overall appearance. For ideas on enhancing natural wood, explore natural wood finishing techniques.
- Color Palette: Reclaimed wood often has a beautiful, natural patina. Decide if you want to enhance these existing colors with a clear sealant, or if you prefer to subtly alter them with a stain or wash that complements your room’s decor.
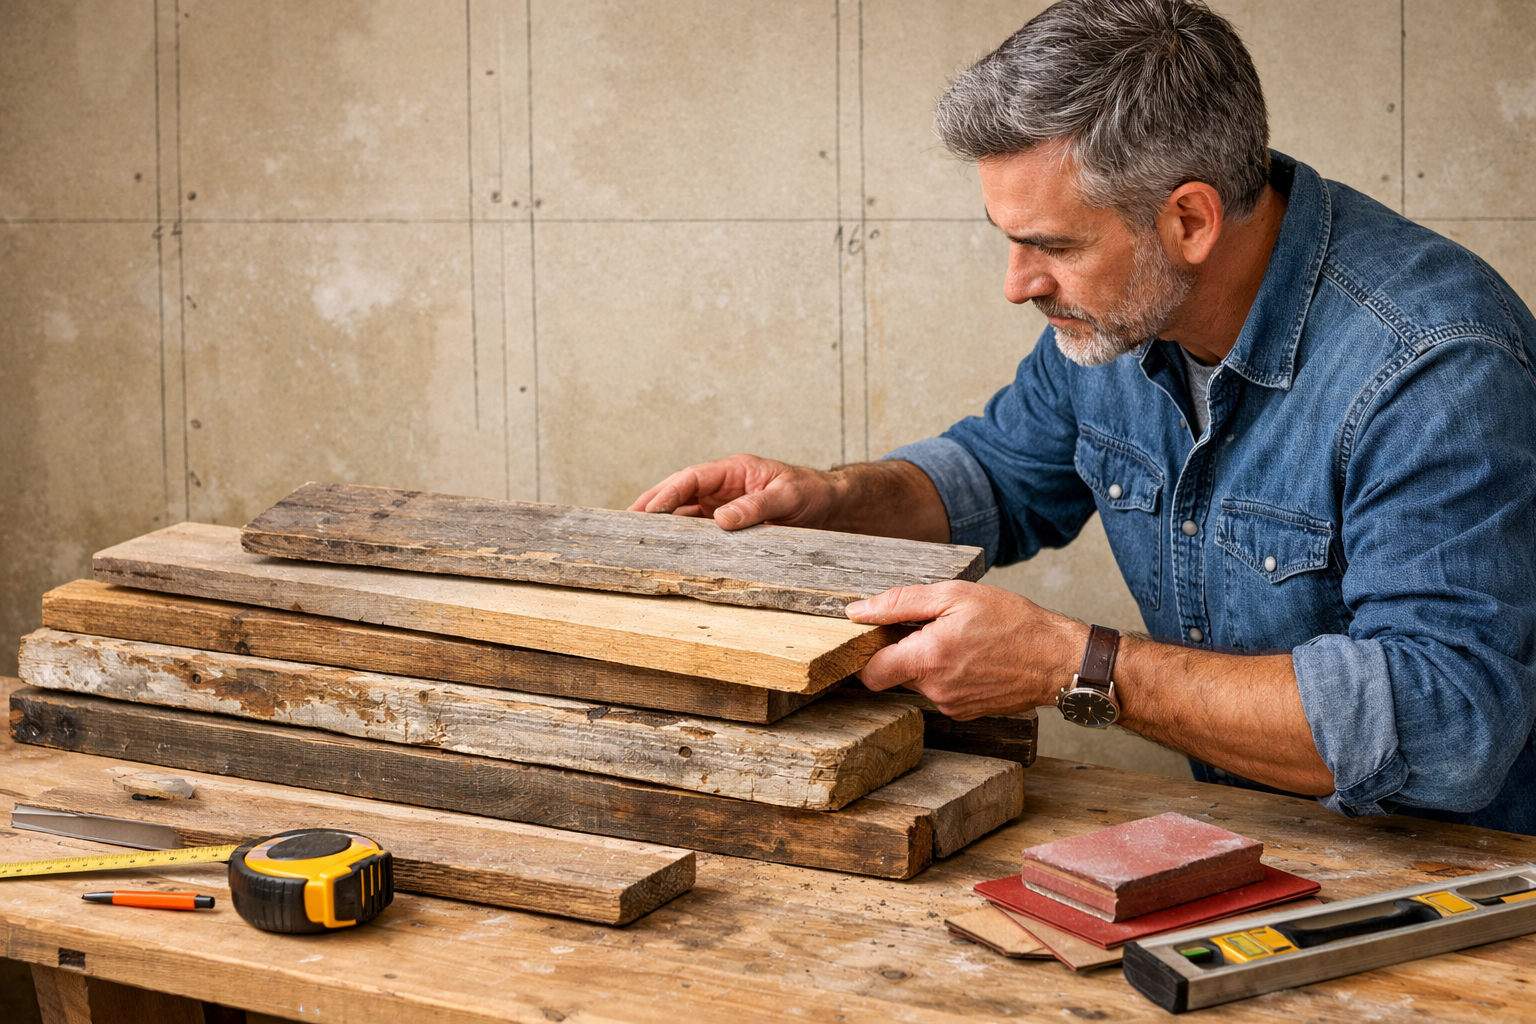
Sourcing Your Reclaimed Wood: A Treasure Hunt for Character
Finding the right reclaimed wood is half the adventure. Quality, character, and ethical sourcing are paramount.
- Local Salvage Yards & Architectural Reclamation Centers: These are often the best places to find a wide variety of old barnwood, factory flooring, or structural beams. You might uncover unique species and sizes here. Be prepared to inspect the wood thoroughly.
- Demolition Companies: Sometimes, these companies are willing to sell salvaged wood directly from tear-down projects. This can be a cost-effective option, but requires more legwork in cleaning and preparing the wood yourself.
- Online Marketplaces & Specialty Retailers: For those seeking specific types or pre-processed reclaimed wood, online vendors can be a convenient, albeit sometimes pricier, option. Always request samples and detailed photos.
- Local Farmers/Barn Owners: In rural areas, you might find individuals willing to sell wood from old barns or outbuildings they are dismantling. This can yield incredible, authentic pieces.
Important Considerations for Sourcing:
- Pest Control: Reclaimed wood can harbor insects or fungi. Ask suppliers about their kiln-drying or heat-treatment processes. If sourcing raw wood, consider professional pest treatment or DIY methods like freezing or baking (for smaller pieces) to prevent unwanted guests in your home.
- Cleaning: Expect to spend time cleaning the wood. Remove old nails, screws (consider our guide on Mastering Woodworking Screws: Your Ultimate Guide for 2026 for removal tips), dirt, debris, and any loose paint or finishes. A stiff brush, scraper, and sometimes a power washer can be invaluable.
- Milling: Depending on the source, your wood might be rough-sawn. Decide if you want to keep the raw, rustic edge or have it planed for a smoother, more uniform thickness. A planer can be a significant investment, but services might be available. For insights into planers, check out our guide on the RBI Planer: A Comprehensive Guide to Benefits, Setup, and Maintenance.
Wall Preparation: A Smooth Canvas for Your Masterpiece
The wall itself needs careful attention before installation.
- Clean the Wall: Ensure the wall is clean, dry, and free of dust or grease.
- Remove Obstructions: Take off any existing trim, baseboards, switch plates, and outlet covers.
- Repair & Patch: Fill any holes or cracks with spackle and sand smooth. A flat surface is crucial for a flush installation.
- Paint the Wall (Optional but Recommended): Paint the wall a dark, neutral color (like charcoal or black) that matches the gaps between planks. This minimizes the visibility of any small spaces between boards, making the wall look more cohesive and professional.
- Locate and Mark Studs: Using a stud finder, locate and mark the vertical studs on your wall. These will be your primary anchor points for the planks. Mark them clearly with a pencil line from floor to ceiling. This is a critical step for secure attachment.
“The true narrative of a reclaimed wood wall begins not with the first nail, but with the thoughtful selection and careful preparation of each piece, honoring its past while crafting its future in your home.”
— Wood Craft Wiz Design Team, 2026
Chapter 2: Installation Techniques – Crafting Your Master Narrative Interiors: DIY Reclaimed Wood Accent Walls Beyond Shiplap
With your wood sourced and prepared, and your wall ready, it’s time to bring your vision of Master Narrative Interiors: DIY Reclaimed Wood Accent Walls Beyond Shiplap to life. This chapter focuses on the practical installation techniques that will ensure a durable, beautiful, and professional-looking accent wall that truly stands out from common shiplap designs.
Essential Tools for Success
Having the right tools makes all the difference in a DIY project. Here’s a list of what you’ll likely need:
- Measuring Tape: For accurate measurements.
- Level (4-foot and Torpedo): Critical for ensuring planks are perfectly straight.
- Stud Finder: To locate wall studs for secure fastening.
- Miter Saw or Circular Saw: For precise cross-cuts on planks. For maximizing your saw’s efficiency, you might want to review our article on Miter Saw Height: Exploring the Ideal Setup for Precision and Accuracy.
- Jigsaw or Oscillating Multi-tool: For cutting around outlets and irregular shapes.
- Nail Gun (Brad Nailer or Finish Nailer): Electric or pneumatic, with 1.5-inch to 2-inch brad or finish nails.
- Air Compressor (if using pneumatic nailer):
- Wood Glue (construction adhesive): Optional, but highly recommended for extra hold.
- Pencil: For marking cuts and stud lines.
- Safety Glasses & Gloves: Always protect your eyes and hands.
- Sander (orbital or detail sander): For minor adjustments and finish preparation.
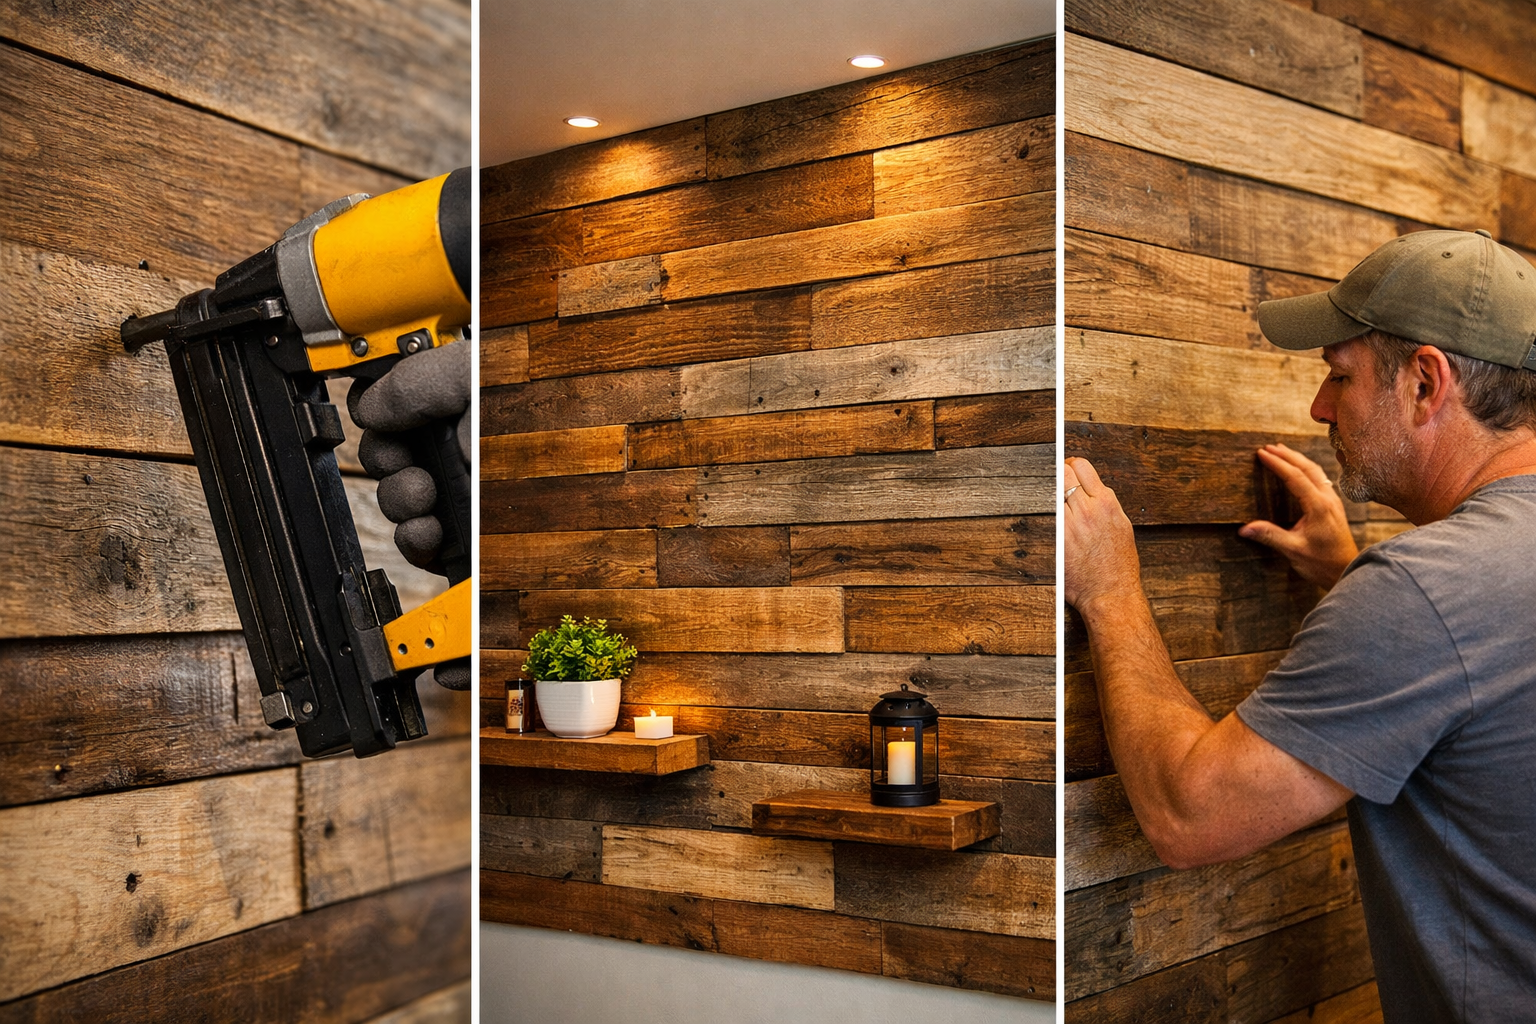
The Installation Process: Step-by-Step Excellence
The key to a visually striking reclaimed wood wall is a deliberate, staggered pattern that mimics natural wood paneling, unlike the repetitive nature of shiplap.
Plan Your Layout:
- Dry Fit: Before applying any adhesive or nails, lay out a few rows of your mixed-width planks on the floor to visualize your pattern. Experiment with different arrangements, staggering the end joints of adjacent planks by at least 12 inches to avoid a “ladder” effect.
- Start from the Bottom: Typically, it is easiest to start installing from the bottom of the wall and work your way up. Use a level to draw a perfectly straight starter line across the bottom of your wall, just above your baseboard (if reinstalling later).
- Avoid Repetition: Actively mix plank widths and wood tones to create a truly organic and unique “narrative.”
First Row Installation:
- Apply a zigzag bead of construction adhesive to the back of your first plank (optional, but adds significant durability).
- Align the bottom edge of the plank with your level line.
- Press the plank firmly against the wall.
- Using your nail gun, fasten the plank to the wall. Aim for studs where possible, using two nails per stud per plank. If not hitting a stud, angle nails into the drywall for better grip, or rely more heavily on adhesive.
Continue with Subsequent Rows:
- Stagger Joints: As you move to the next plank in the row, ensure its end joint is offset from the first. When starting a new row, begin with a shorter or longer plank to maintain the staggered pattern.
- Check Level Regularly: Periodically step back and use your 4-foot level to ensure your rows are remaining level and straight. Minor adjustments can be made as you go.
- Intermix Widths: Remember to constantly vary the plank widths. For instance, follow a 3-inch board with a 7-inch, then a 5-inch, avoiding predictable sequences. This is crucial for the “beyond shiplap” aesthetic.
- Cutting Around Obstacles:
- Outlets/Switches: Carefully measure and mark the cutout area on the back of the plank. Use a jigsaw or oscillating multi-tool to make precise cuts. Ensure the cutout is slightly larger than the electrical box for easy reinstallation of covers.
- Corners: When reaching interior or exterior corners, measure carefully and cut planks to fit snugly. For a seamless look, you may choose to miter the corner pieces.
Top Row and Trimming:
- The top row may require ripping planks lengthwise to fit the remaining space. Measure the gap precisely at several points along the wall, as it might not be perfectly uniform. Use a circular saw with a straight edge guide for clean, long cuts.
- Once all planks are installed, you can reinstall your baseboards and any door/window trim that was removed.
Troubleshooting Common Challenges
Even experienced DIYers encounter hiccups. Here are a few tips:
- Uneven Walls: If your wall is significantly uneven, you might need to use shims behind some planks to achieve a flatter surface.
- Gap Management: Small gaps between planks are part of the reclaimed aesthetic. The dark painted wall behind helps them blend in. Avoid trying to force planks together too tightly, which can lead to buckling.
- Nail Blowouts: If nails are splitting the wood, adjust the pressure on your nail gun or try a different nail type/gauge. Predrilling pilot holes for softer woods can also help, especially near plank ends.
- Working Alone: A second pair of hands is always helpful, but if working solo, clamps can temporarily hold planks in place while you fasten them.
By following these installation guidelines, focusing on precision, and embracing the unique character of your chosen wood, you will be well on your way to creating a truly captivating focal point that breathes life into your interior design narrative. For additional woodworking techniques and tools, consider exploring guides on Precision Woodworking Tools: Top 5 Picks for Your Shop and Master Your Craft: Building the Ultimate Woodworking Storage Bench in 2026.
Chapter 3: Finishing Touches – Enhancing Your Master Narrative Interiors: DIY Reclaimed Wood Accent Walls Beyond Shiplap
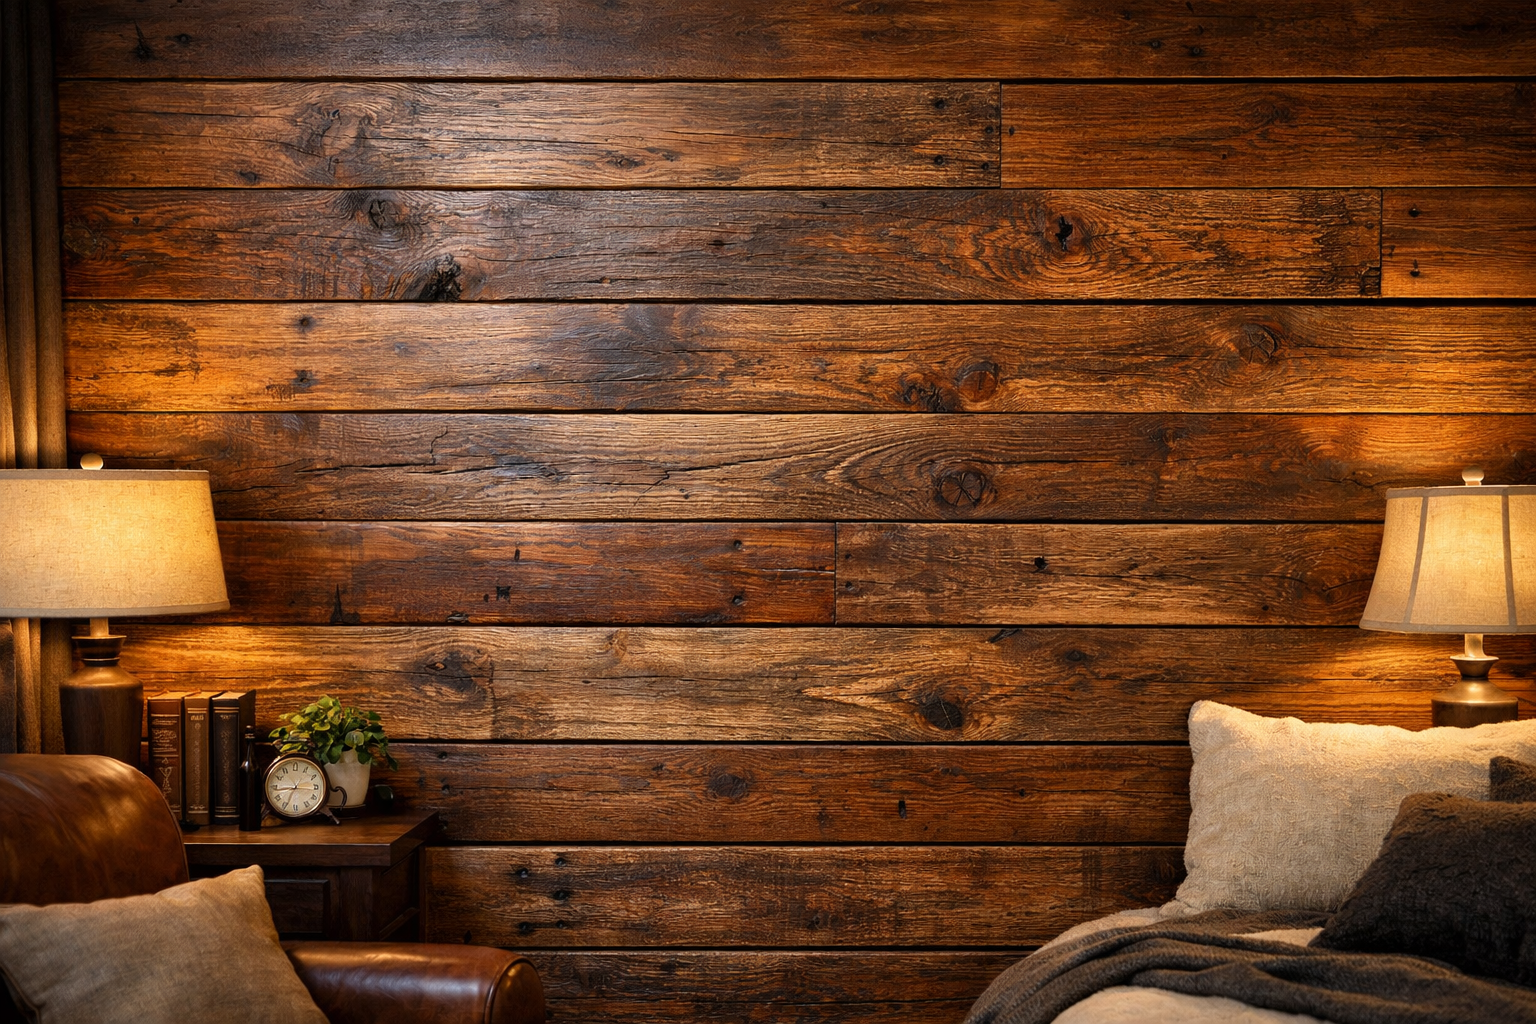
The installation is complete, and your wall of reclaimed wood is taking shape. Now comes the exciting part: applying the finishing touches that will transform raw timber into a polished, breathtaking feature, truly embodying Master Narrative Interiors: DIY Reclaimed Wood Accent Walls Beyond Shiplap. This final stage is crucial for protecting the wood, enhancing its natural beauty, and ensuring your accent wall lasts for years to come.
Sanding: Unveiling Hidden Beauty
While the charm of reclaimed wood often lies in its rough character, some level of sanding is usually beneficial, especially for a wall that will be touched or placed in a high-traffic area.
- Spot Sanding: Focus on any particularly rough edges, splinters, or areas with unwanted debris. A detail sander or even a sanding block with 100-120 grit sandpaper can be effective. The goal isn’t to make it perfectly smooth like new lumber, but to make it safe and pleasant to the touch while preserving its rustic appeal.
- Light Overall Sanding: For a slightly smoother finish, a very light pass with a fine-grit (150-180) orbital sander can unify the surface without erasing its history.
- Clean Dust: After sanding, thoroughly wipe down the entire wall with a tack cloth or a damp cloth to remove all sanding dust. Any residual dust will interfere with the finish’s adhesion and clarity.
Choosing Your Finish: The Narrative’s Final Polish
The type of finish you choose will dictate the wall’s ultimate aesthetic and durability. Consider these popular options for reclaimed wood, each offering a distinct “narrative.” For more inspiration on enhancing wood, delve into cool wood finishing techniques or rustic wood finishing techniques.

Clear Protective Sealants (Polyurethane, Polycrylic, Lacquer):
- Purpose: These finishes protect the wood from moisture, dirt, and wear while enhancing its natural color and grain.
- Polyurethane: A durable, oil-based or water-based finish suitable for high-traffic areas. Oil-based polyurethane can add a warm, amber tone to wood, while water-based varieties dry clear. For optimal application, consider techniques for aerosol polyurethane benefits, application, and types or understanding polycrylic spray vs. brush.
- Polycrylic: A water-based alternative that dries clear and is less prone to yellowing, ideal for preserving the natural look of lighter woods.
- Lacquer: Dries very quickly and provides a hard, durable finish. Often applied by spraying for a smooth, professional look.
- Application: Apply in thin, even coats with a brush, roller, or sprayer, following manufacturer instructions. Lightly sand with very fine-grit sandpaper (220+) between coats for best adhesion and smoothness.
- Narrative Impact: Preserves the existing story of the wood, adding a protective sheen that highlights its unique texture and color variations.
Wood Oils (Linseed Oil, Tung Oil):
- Purpose: Oils penetrate the wood, nourishing it from within and creating a natural, hand-rubbed look. They offer less surface protection than sealants but provide a very authentic feel.
- Application: Apply generously with a cloth, allow to penetrate, then wipe off excess. Multiple coats may be needed.
- Narrative Impact: Creates a soft, low-sheen finish that deepens the wood’s color and highlights its grain, making the wall feel rich and tactile. For details, consult oil on pine: benefits, tips & alternatives and Can You Stain Over Linseed Oil? | Ultimate Guide to Achieving Desired Finish.
Stains or Washes:
- Purpose: To alter or enhance the wood’s existing color. A wash (thinned paint or stain) can soften the look, while a full stain can dramatically change its tone.
- Application: Apply evenly with a brush or cloth, wiping off excess as directed. Always test on a scrap piece of your reclaimed wood first, as reclaimed wood can absorb stains unpredictably due to varying porosity.
- Narrative Impact: Allows you to control the color story, perhaps achieving a more uniform tone across varied planks or introducing a specific shade to match your decor.
Wax Finishes:
- Purpose: Provides a low-luster, protective coat with a soft, antique feel. Best for areas with minimal contact, as wax is not as durable as other finishes.
- Application: Rub on with a cloth, allow to haze, then buff to a sheen.
- Narrative Impact: Enhances the aged appearance of reclaimed wood, adding a subtle richness that feels authentic and historical. Compare options with Johnson Paste Wax vs. Minwax: A Comprehensive Comparison and consider wax over polyurethane benefits, application tips, and maintenance.
Recommendation for Master Narrative Interiors: DIY Reclaimed Wood Accent Walls Beyond Shiplap: For most reclaimed wood accent walls, a clear, low-sheen polyurethane or polycrylic is often the ideal choice. It offers excellent protection while allowing the natural beauty, variations, and “story” of the wood to shine through without excessive gloss. If you desire a slightly warmer, deeper tone, an oil-based polyurethane or a hand-rubbed oil finish can be stunning.
Final Touches & Maintenance
- Reinstall Trim: Once the finish is dry, carefully reinstall any baseboards, door casing, or window trim you removed. Use a brad nailer for a clean look.
- Clean Up: Remove any painter’s tape, clean tools, and dispose of waste properly.
- Curing Time: Allow the finish to fully cure according to manufacturer instructions before placing furniture against the wall or subjecting it to heavy use. This can take several days to a few weeks.
- Ongoing Care: Clean your reclaimed wood accent wall with a soft, damp cloth as needed. Avoid harsh chemicals or abrasive cleaners, which can damage the finish and the wood.
By thoughtfully applying these finishing techniques, your DIY reclaimed wood accent wall will become a stunning testament to your craftsmanship and a unique centerpiece in your home. It’s more than just a wall; it’s a carefully crafted element of your “Master Narrative Interiors.”
Conclusion: Embracing the Narrative in Your Home
The journey of creating Master Narrative Interiors: DIY Reclaimed Wood Accent Walls Beyond Shiplap is more than just a home improvement project; it’s an act of storytelling. In 2026, as design trends lean towards authenticity, sustainable choices, and personalized spaces, a reclaimed wood accent wall serves as a powerful testament to these values. By moving past the ubiquitous shiplap, and embracing mixed-width, textured planks with thoughtful finishing, you craft a focal point that is rich in history, character, and visual depth.
From the exciting treasure hunt for the perfect reclaimed timber to the meticulous installation and the final, protective finish, each step contributes to a unique narrative woven into the fabric of your home. This endeavor not only enhances the aesthetic appeal of your living spaces but also imbues them with a sense of warmth, history, and bespoke luxury that mass-produced options simply cannot replicate.
The beauty of DIY lies in the control you have over every detail, ensuring the final product aligns perfectly with your vision. Whether gracing a vibrant home office or providing a serene backdrop in a bedroom, your reclaimed wood accent wall will be a conversation starter, a reflection of your style, and a cherished part of your Master Narrative Interiors.
Actionable Next Steps:
- Visualize and Sketch: Before anything else, visualize the specific wall and sketch out different layouts for mixed-width planks to solidify your aesthetic.
- Source Sustainably: Begin researching local salvage yards, demolition companies, or online retailers for reclaimed wood. Prioritize suppliers who ensure the wood is treated for pests and responsibly sourced.
- Gather Your Tools: Make a comprehensive list of the tools you’ll need, including a reliable stud finder, a miter saw, and a nail gun. Check out guides on Mastering Shelf Woodworking: Your Definitive Guide for 2026 for broader tool insights.
- Prepare Diligently: Clean and prep your chosen wall. Paint it a dark, neutral color to ensure a professional finish, minimizing the visibility of any gaps.
- Practice on Scraps: If you’re new to woodworking, practice cutting and nailing on scrap pieces of wood before tackling your actual planks. This builds confidence and refines your technique.
- Embrace the Process: Remember that slight imperfections are part of the reclaimed wood’s charm. Embrace the unique character of each plank and enjoy the creative journey of crafting your one-of-a-kind accent wall.
