
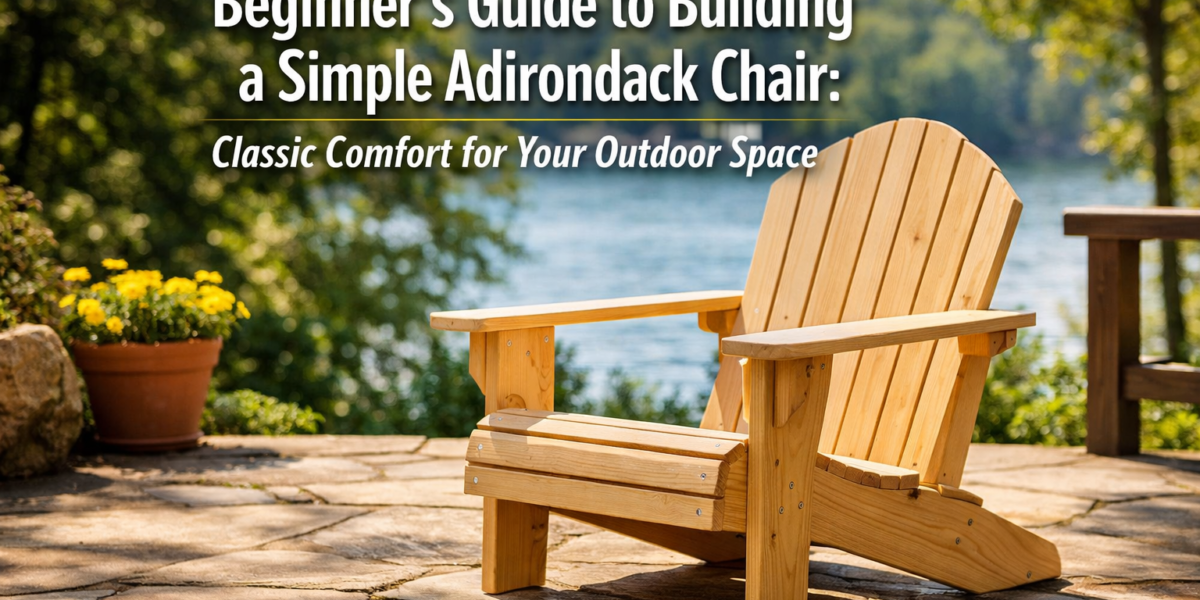

When considering a rewarding woodworking project that offers both practical utility and timeless charm, many new woodworkers might feel intimidated by complex joinery or expensive tools. However, creating a beautiful piece of outdoor furniture doesn’t require decades of experience or a fully stocked professional shop. The truth is, building a simple Adirondack chair can be an incredibly accessible and satisfying endeavor, perfectly suited for beginners using readily available lumber and straightforward construction techniques. This Beginner’s Guide to Building a Simple Adirondack Chair: Classic Comfort for Your Outdoor Space will walk you through every step, proving that classic comfort is well within your reach.
Key Takeaways
- Adirondack chairs offer an iconic, comfortable seating option for any outdoor space.
- Beginner-friendly designs emphasize straightforward cuts and simple screw-and-glue joinery.
- Selecting the right weather-resistant lumber is crucial for durability and longevity.
- Proper sanding and finishing techniques protect your chair and enhance its appearance.
- Building your own Adirondack chair is a highly rewarding project that boosts woodworking confidence.
Preparing for Your First Adirondack Chair Build: A Beginner’s Guide to Building a Simple Adirondack Chair: Classic Comfort for Your Outdoor Space
Embarking on any woodworking project requires careful planning, and building an Adirondack chair is no exception. For new woodworkers, focusing on approachable joinery and selecting the right materials will make the process enjoyable and yield a successful outcome. This initial phase sets the foundation for your classic outdoor chair.

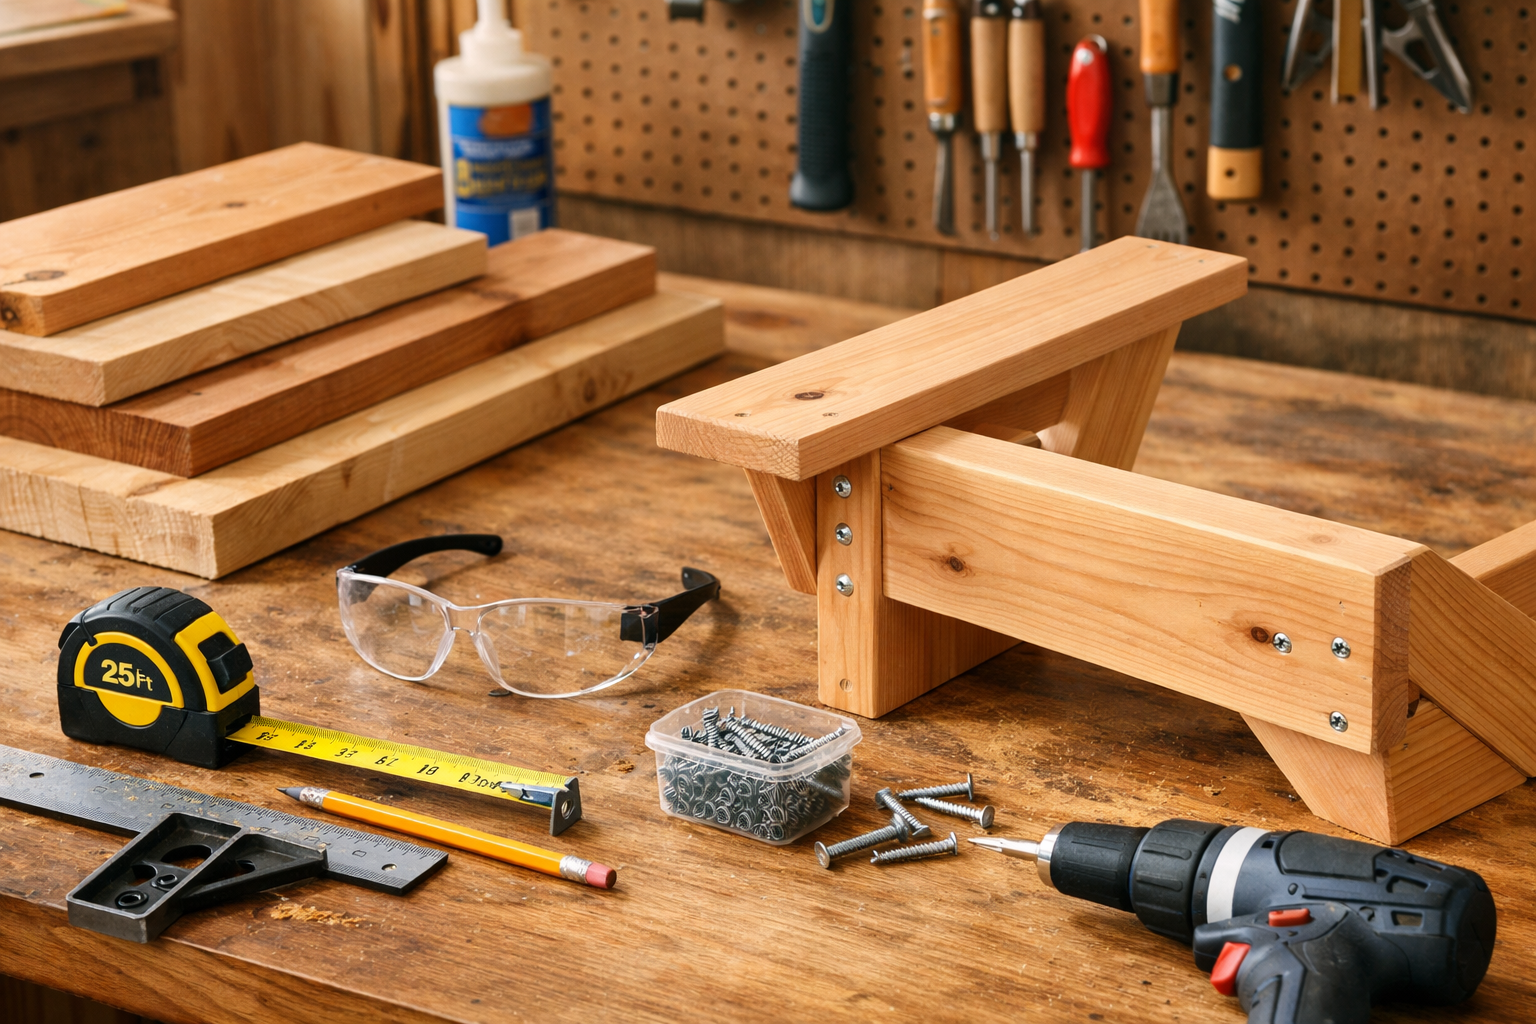
Selecting the Right Wood and Tools
The choice of wood is paramount for an outdoor furniture piece like an Adirondack chair, as it will endure various weather conditions.
- Cedar: A popular choice due to its natural resistance to rot, decay, and insect infestation. It’s lightweight, easy to work with, and ages beautifully.
- Treated Pine: More economical, but ensure it’s rated for outdoor use. It’s heavier and can sometimes warp or crack if not properly maintained.
- Redwood: Another excellent, durable option with natural resistance to the elements, though often pricier than cedar.
- Cypress: Similar properties to cedar and redwood, offering good weather resistance and stability.
For this beginner-friendly project, we’ll focus on readily available lumber, typically 1×4, 1×6, and 1×8 boards. The key is to select straight boards free from significant knots or warps.
When it comes to tools, you might be surprised at how few are truly essential:
- Measuring Tape & Pencil: For accurate marking.
- Circular Saw or Miter Saw: For precise, straight cuts. A miter saw is ideal for consistent angles.
- Jigsaw (optional): Useful for cutting curves, like on armrests or seatbacks if your design includes them.
- Drill/Driver: For pre-drilling holes and driving screws. A cordless drill offers great flexibility.
- Sanding Blocks or Random Orbit Sander: For smoothing rough edges and preparing for finishing.
- Clamps: Essential for holding pieces securely during assembly and gluing.
- Safety Glasses & Hearing Protection: Non-negotiable for safe woodworking.
- Wood Glue (waterproof): For strong, weather-resistant joints.
- Stainless Steel or Galvanized Screws: Typically 1 ½-inch and 2 ½-inch, chosen for outdoor use to prevent rust streaks.
For those looking to optimize their workspace, consider building a portable workbench to make your construction process even smoother. Having a dedicated, stable surface is invaluable.

Understanding Basic Plans and Cuts
Numerous free plans are available online for simple Adirondack chairs. Look for designs that prioritize straight cuts and minimal complex angles. A typical Adirondack chair consists of these main components:
- Legs (Front & Back): Form the chair’s stance.
- Seat Slats: Create the sitting surface.
- Back Slats: Form the distinctive fan-shaped backrest.
- Armrests: Provide comfort and stability.
- Armrest Supports: Connect armrests to the frame.
- Stretchers/Braces: Reinforce the structure.
Table 1: Common Lumber Dimensions for Adirondack Chair Components
| Component | Typical Dimensions (approx.) | Quantity (per chair) | Notes |
|---|---|---|---|
| Front Legs | 1×4 x 22 inches | 2 | May have a slight angle at the bottom. |
| Back Legs | 1×6 x 30 inches | 2 | Often angled at top and bottom. |
| Armrests | 1×6 x 28 inches | 2 | Can have rounded corners or be straight. |
| Armrest Supports | 1×4 x 18 inches | 2 | Angle cut to meet back legs. |
| Seat Slats | 1×4 x 20 inches | 5-7 | Length varies by design, central slat might be wider. |
| Back Slats | 1×4 or 1×3 x 20-30 inches | 7-9 | Varies in length and angle for fan shape. |
| Front Stretcher | 1×4 x 22 inches | 1 | Connects front legs. |
| Back Stretcher | 1×4 x 22 inches | 1 | Connects back legs. |
Before making any cuts, always double-check your measurements against your chosen plan. Mark all cut lines clearly and consider labeling each piece as you cut it to avoid confusion during assembly. Remember, a common woodworking adage is “measure twice, cut once.”
Step-by-Step Assembly: Your Beginner’s Guide to Building a Simple Adirondack Chair: Classic Comfort for Your Outdoor Space
With your wood cut and tools ready, it’s time to bring your Adirondack chair to life. This section focuses on a straightforward assembly process, perfect for beginners, utilizing strong and simple screw-and-glue construction.
Assembling the Side Frames
The side frames form the foundational structure of your chair. Each side frame typically consists of one front leg, one back leg, and an armrest support.
- Attach Armrest Supports: Take one front leg and one back leg. Position an armrest support between them. The exact placement and angle will be dictated by your specific plans, but generally, the armrest support will connect near the top of the front leg and further down on the back leg.
- Glue and Screw: Apply waterproof wood glue to the mating surfaces. Clamp the pieces securely. Pre-drill pilot holes to prevent splitting, then drive your 2 ½-inch stainless steel or galvanized screws through the armrest support into the legs. Use at least two screws per joint for strength.
- Repeat: Construct the second side frame identically. Ensure both frames are mirror images of each other, not identical copies.
For projects involving outdoor furniture, it’s also important to understand wood movement to ensure your joints remain strong and stable over time.
Connecting the Frames and Adding the Seat
Once the two side frames are assembled, you’ll connect them with stretchers and then add the seat slats.
- Attach Front and Back Stretchers: Position the front stretcher between the two front legs, typically flush with the top edge of the front legs. Apply glue, clamp, pre-drill, and secure with 2 ½-inch screws. Do the same for the back stretcher, connecting the two back legs. These stretchers are critical for the chair’s stability and squareness.
- Install Seat Slats: Begin with the frontmost seat slat. Position it so it’s flush with the front of the armrest supports. Apply glue to the contact points, clamp, pre-drill, and secure with 1 ½-inch screws.
- Spacing: Work your way backward, attaching the remaining seat slats. Most plans suggest a small, even gap (e.g., ¼-inch) between slats for drainage and aesthetic appeal. You can use scrap wood pieces as spacers to ensure consistent gaps. The central slat is often placed first to help with alignment.

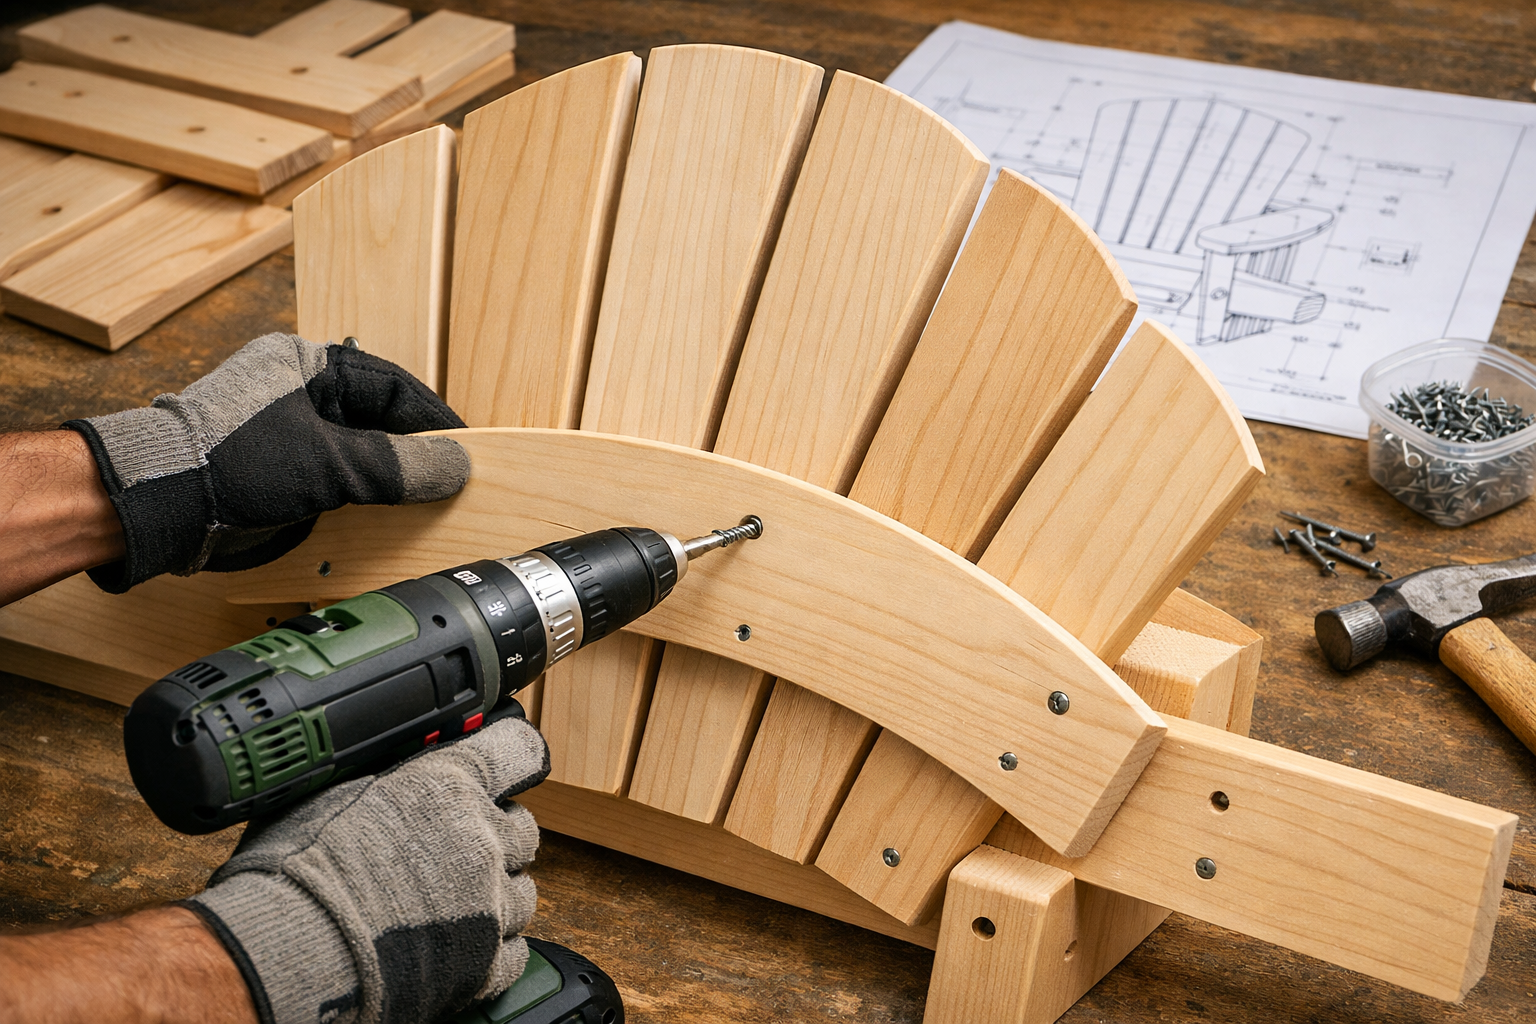

Constructing and Attaching the Backrest & Armrests
The backrest gives the Adirondack chair its iconic comfortable recline, and the armrests complete the classic look.
- Assemble Backrest Slats: This is where the fan shape comes in. The back slats will vary slightly in length, with the central slat usually being the longest. They are typically attached to two horizontal backrest supports. Lay out the slats on a flat surface, arranging them in the fan pattern. The bottom ends of the slats are typically flush with a lower backrest support, while the top ends spread out.
- Attach Backrest Supports: Apply glue to the contact points between the slats and the backrest supports. Clamp, pre-drill, and secure each slat to both supports with 1 ½-inch screws.
- Attach Backrest to Chair Frame: Position the assembled backrest onto the chair frame. The lower backrest support will rest on the back stretcher, and the upper backrest support will connect to the back legs, often requiring a specific angle. Clamp the backrest in place, ensuring it’s centered and aligned. Pre-drill and secure with 2 ½-inch screws into the back legs and back stretcher.
- Install Armrests: Place each armrest on top of its respective armrest support, ensuring it’s flush with the front and properly aligned. Apply glue, clamp, pre-drill, and secure with 1 ½-inch or 2 ½-inch screws (depending on your plan’s thickness requirements). You may also want to add a screw from the top of the armrest into the back leg for extra stability.
This construction method is similar to techniques used in other outdoor projects, such as building picnic tables which also benefit from robust, weather-resistant joinery.
Finishing Touches and Enjoyment: The Final Steps for Your Simple Adirondack Chair
Once assembled, your Adirondack chair is structurally complete. The final steps involve sanding, applying a protective finish, and then finding the perfect spot in your outdoor space to enjoy your handiwork.
Sanding and Smoothing
Sanding is a crucial step that not only improves the chair’s appearance but also its comfort and longevity. Rough edges can splinter and trap moisture, leading to premature deterioration.
- Start with Coarse Grit: Begin with 80-100 grit sandpaper to remove any rough spots, pencil marks, and minor imperfections. Use a random orbit sander for large, flat surfaces and a sanding block for edges and curves.
- Progress to Finer Grits: Move to 120-150 grit sandpaper, then finish with 180-220 grit. This will create a smooth, comfortable surface. Pay special attention to armrests, seat edges, and any area where skin will make contact.
- Dust Removal: After each sanding stage, thoroughly wipe down the entire chair with a tack cloth or a damp rag to remove all dust. Dust can interfere with the adhesion of your chosen finish.
Proper sanding is foundational for any good finish, whether you’re working on an Adirondack chair or mastering maple wood finishing techniques for indoor furniture.
Applying a Protective Finish
Choosing the right finish is essential for protecting your Adirondack chair from the elements and enhancing its natural beauty.
- Exterior Stain: Provides color and some protection. Available in transparent, semi-transparent, and solid options. Transparent stains allow the wood grain to show through, while solid stains offer more opaque color and UV protection. Apply according to manufacturer directions, typically two coats.
- Exterior Paint: Offers the most comprehensive protection and a wide range of color choices. Requires a primer for best adhesion and durability. Apply two coats of high-quality exterior paint.
- Clear Exterior Sealant/Varnish: If you love the natural look of the wood, a clear exterior polyurethane or spar varnish will provide excellent UV and moisture protection. These often require multiple coats (3-4 for best results), with light sanding between coats.
- Oil Finish: Penetrating oils (like teak oil or tung oil specifically formulated for outdoor use) enhance the natural wood color and offer good protection, though they require more frequent reapplication than paint or varnish.
Always apply finishes in a well-ventilated area, following the manufacturer’s safety guidelines. Allow ample drying time between coats.
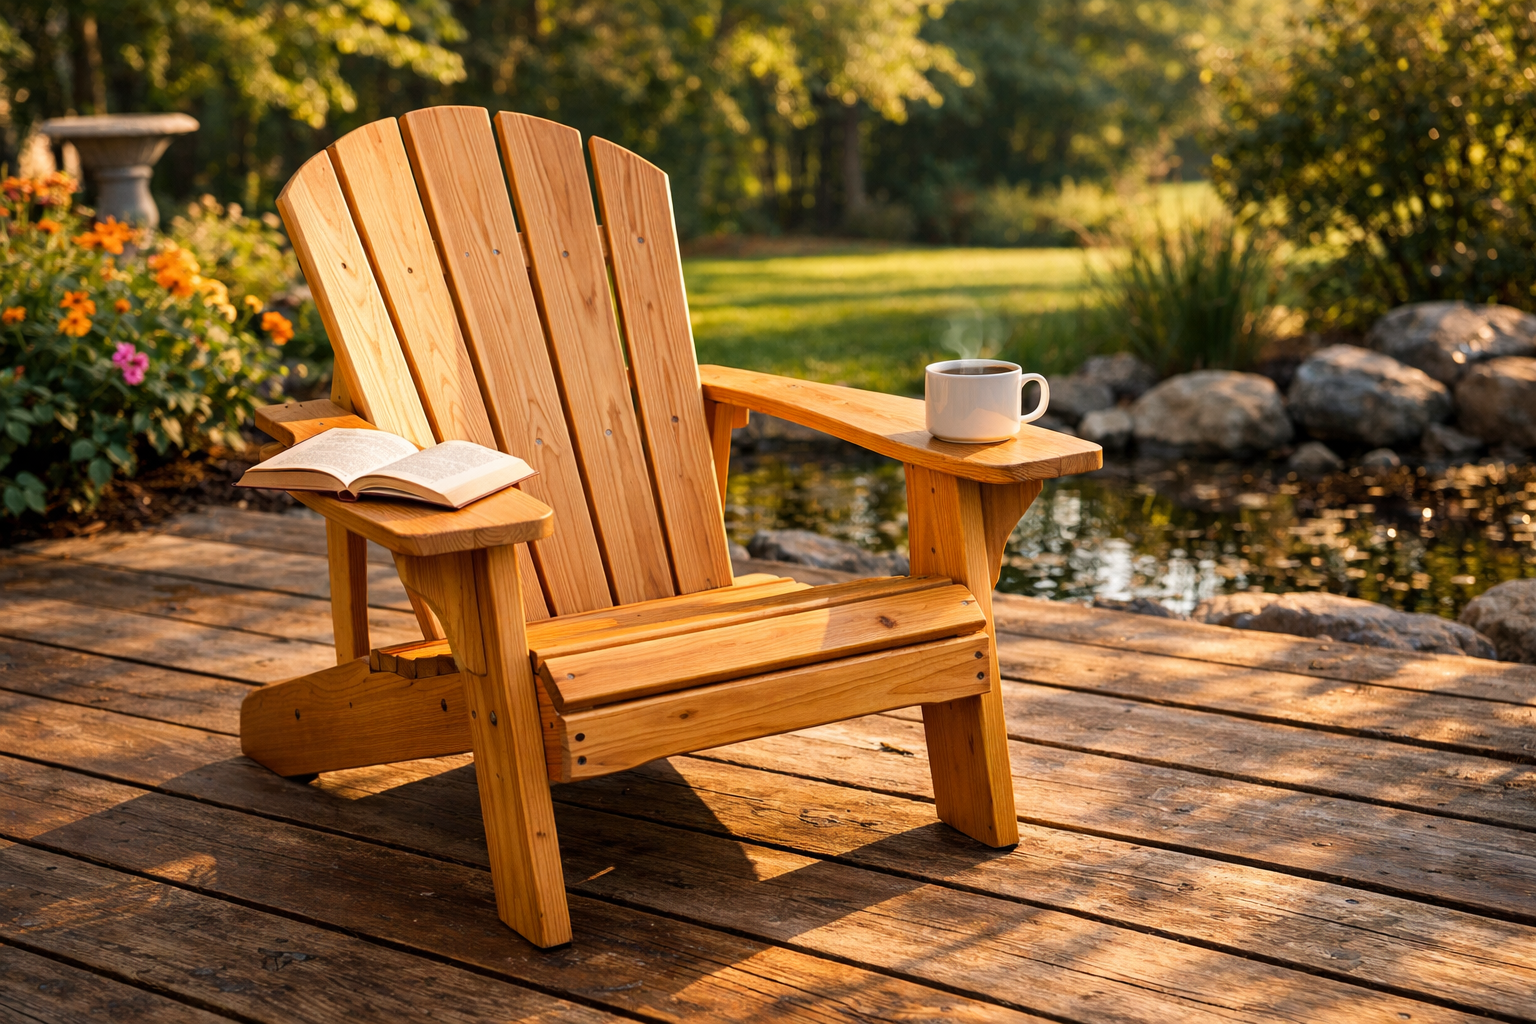
Placement and Enjoyment
Once your finish has cured, your Beginner’s Guide to Building a Simple Adirondack Chair: Classic Comfort for Your Outdoor Space project is complete!
- Strategic Placement: Consider placing your new chair where you can best enjoy your outdoor space—perhaps facing a garden, overlooking a patio, or near a fire pit. Adirondack chairs are heavy enough to stay put but can be moved for sun or shade.
- Add Comfort: Enhance your chair with weather-resistant cushions or outdoor pillows for added comfort and a pop of color.
- Maintenance: Periodically clean your chair and inspect the finish. Reapply stain, paint, or sealant as needed, typically every 2-5 years depending on the product and exposure. This simple maintenance will ensure your chair lasts for many seasons.

Building your own furniture, even a seemingly simple piece like an Adirondack chair, is incredibly rewarding. It provides not only a functional and comfortable addition to your home but also a tangible representation of your growing woodworking skills. You can even explore other outdoor projects like crafting custom wooden planters to complement your new seating arrangement.
Conclusion
Building an Adirondack chair is a quintessential woodworking project, especially for those new to the craft. This Beginner’s Guide to Building a Simple Adirondack Chair: Classic Comfort for Your Outdoor Space has outlined a clear path from selecting materials to applying the final finish, emphasizing approachable techniques and readily available resources. By focusing on simple screw-and-glue joinery and careful attention to detail, you can create a durable, comfortable, and aesthetically pleasing piece of outdoor furniture that will provide years of enjoyment.
The satisfaction of relaxing in a chair you built with your own hands is unparalleled. It’s a project that builds confidence, refines basic skills, and results in a timeless piece that enhances any outdoor living area. So, gather your materials, follow these steps, and prepare to enjoy the fruits of your labor in 2026 and beyond.

Actionable Next Steps
- Choose Your Plan: Find a beginner-friendly Adirondack chair plan online or from a woodworking book that suits your aesthetic and skill level.
- Gather Materials: Purchase your chosen lumber (cedar or treated pine are great starting points) and fasteners, ensuring they are suitable for outdoor use.
- Prepare Your Workspace: Set up a clean, organized, and safe area for cutting and assembly. Consider exploring options for DIY smart workshop storage solutions to keep your tools accessible.
- Start Cutting: Carefully measure and cut all your components according to your plan. Double-check each piece before cutting.
- Assemble with Care: Follow the step-by-step assembly process, paying attention to squareness, glue application, and pilot holes.
- Finish Strong: Dedicate time to thorough sanding and apply a high-quality exterior finish for longevity and beauty.
Enjoy the process, embrace the learning, and soon you’ll be unwinding in your very own, handcrafted Adirondack chair!
References:
- Fine Woodworking. (2024). Essential Guide to Building an Adirondack Chair. Taunton Press.
- Wood Magazine. (2023). Outdoor Projects for Beginners. Meredith Corporation.
