
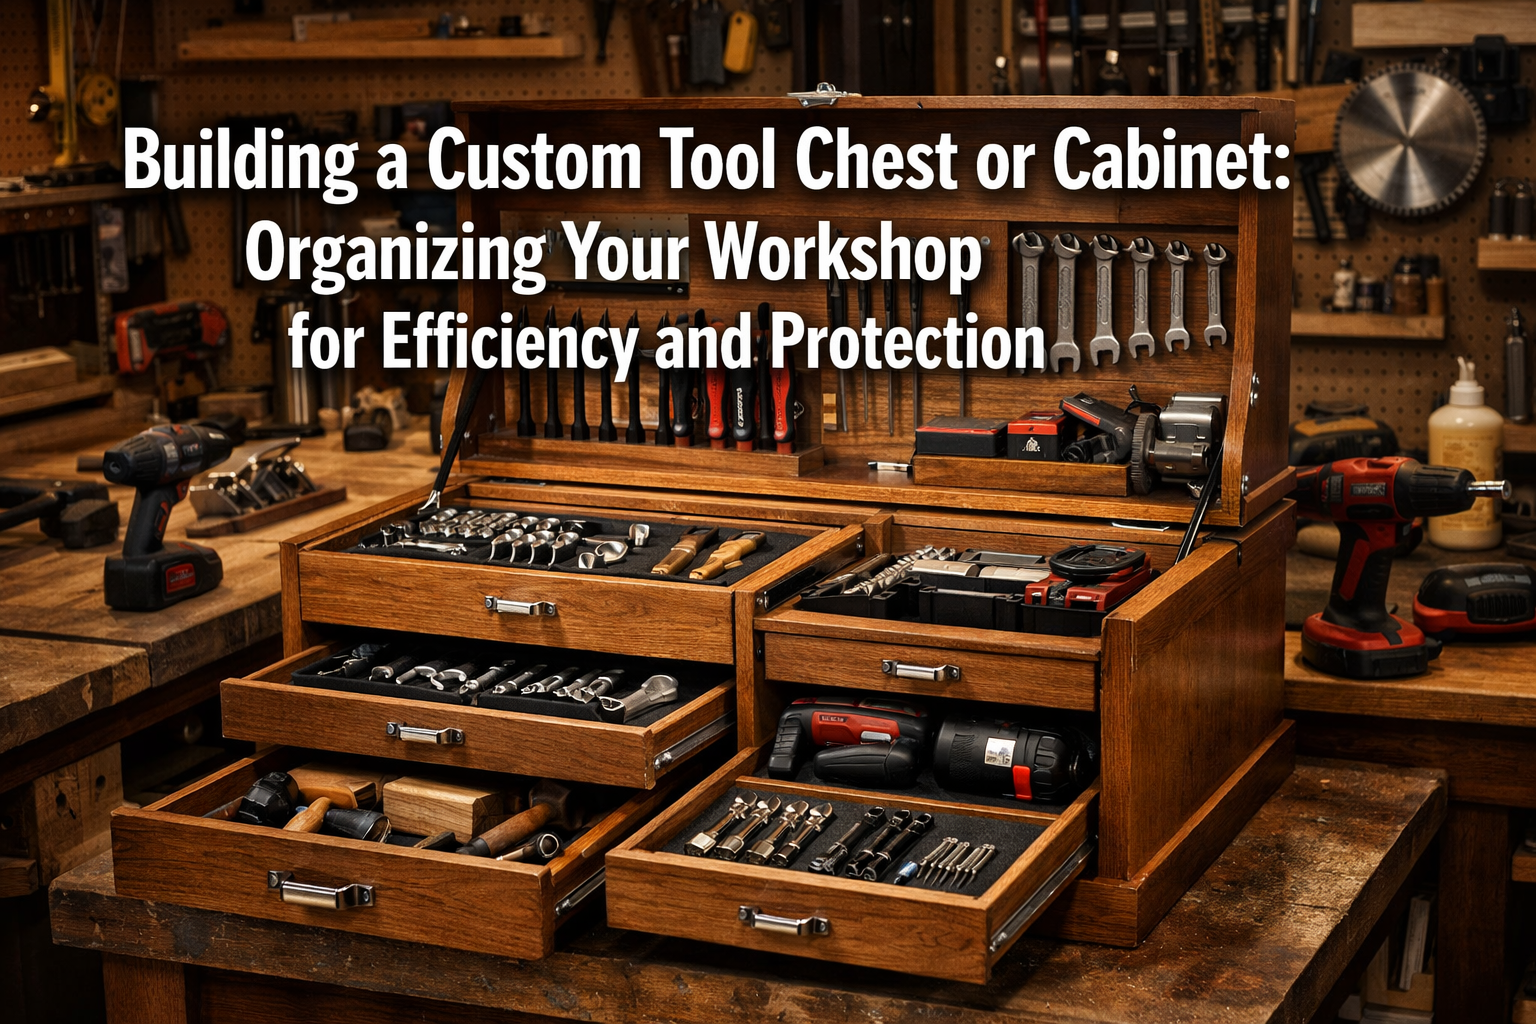

A cluttered workshop can be a source of frustration, wasted time, and even damaged tools. Imagine walking into your workspace, every tool precisely where it belongs, readily accessible, and perfectly protected. This vision is not merely a dream; it’s an achievable reality when you commit to Building a Custom Tool Chest or Cabinet: Organizing Your Workshop for Efficiency and Protection. Constructing a personalized wooden tool chest or a wall-mounted cabinet offers unparalleled benefits, safeguarding your valuable instruments while drastically improving workflow and overall productivity. This guide will walk you through the process, focusing on smart design for accessibility and expandability in 2026.
Key Takeaways
- Tailored Organization: Custom storage allows for specific compartments and layouts, ensuring every tool has its place, unlike generic off-the-shelf solutions.
- Enhanced Tool Protection: Proper storage protects tools from dust, moisture, and impact damage, extending their lifespan and maintaining their precision.
- Improved Workshop Efficiency: Easy access to tools reduces search time, minimizes interruptions, and streamlines project execution.
- Scalability and Adaptability: Custom designs can be expanded or modified over time to accommodate new tools or changing workshop needs.
- Personalized Aesthetic: A custom-built chest or cabinet adds a unique, professional, and often beautiful element to your workspace.
Planning Your Custom Tool Chest or Cabinet: Foundations for Efficiency
The cornerstone of any successful woodworking project, especially when Building a Custom Tool Chest or Cabinet: Organizing Your Workshop for Efficiency and Protection, is meticulous planning. This initial phase dictates the functionality, durability, and overall success of your storage solution. Rushing this stage often leads to compromises and regrets down the line.

Assessing Your Current Tool Collection and Future Needs
Before you even think about cutting wood, conduct a thorough inventory of your tools. Categorize them by type, frequency of use, and size.
- Hand Tools: Chisels, planes, screwdrivers, wrenches, measuring tapes, squares. Consider how many of each you own and their varying dimensions.
- Power Tool Accessories: Drill bits, router bits, saw blades, sanding discs. These often require specialized storage to keep them organized and protected.
- Specialty Tools: Unique items that might only be used occasionally but still need a secure home.
Beyond what you currently own, think about your aspirations. Are you planning to acquire more woodworking planes, a new set of carving tools, or expand your power tool arsenal? Your custom storage should ideally have room for future growth, or at least be designed with expandability in mind.
Design Principles for Accessibility and Protection
Effective design balances ease of access with robust protection.
- Accessibility:
- Visibility: Can you see what you need quickly? Open trays, shallow drawers, and clear labeling help.
- Ergonomics: Is it easy to retrieve and return tools without strain? Consider drawer height, depth, and the placement of frequently used items. For creating an ergonomic workspace, refer to Creating Ergonomic Workshop Furniture: Building Custom Workbenches.
- Logical Grouping: Store similar tools together. All chisels in one drawer, all screwdrivers in another.
- Protection:
- Dust and Debris: A well-sealed cabinet or chest protects tools from airborne particles that can dull edges and clog mechanisms.
- Moisture: Wood, especially well-sealed plywood or solid wood, offers good protection against humidity fluctuations.
- Impact: Individual compartments or custom-fitted inserts prevent tools from banging into each other, preserving their sharpness and calibration. Foam inserts or wooden dividers are excellent for this.
- Security: If desired, integrate locks to protect valuable tools.
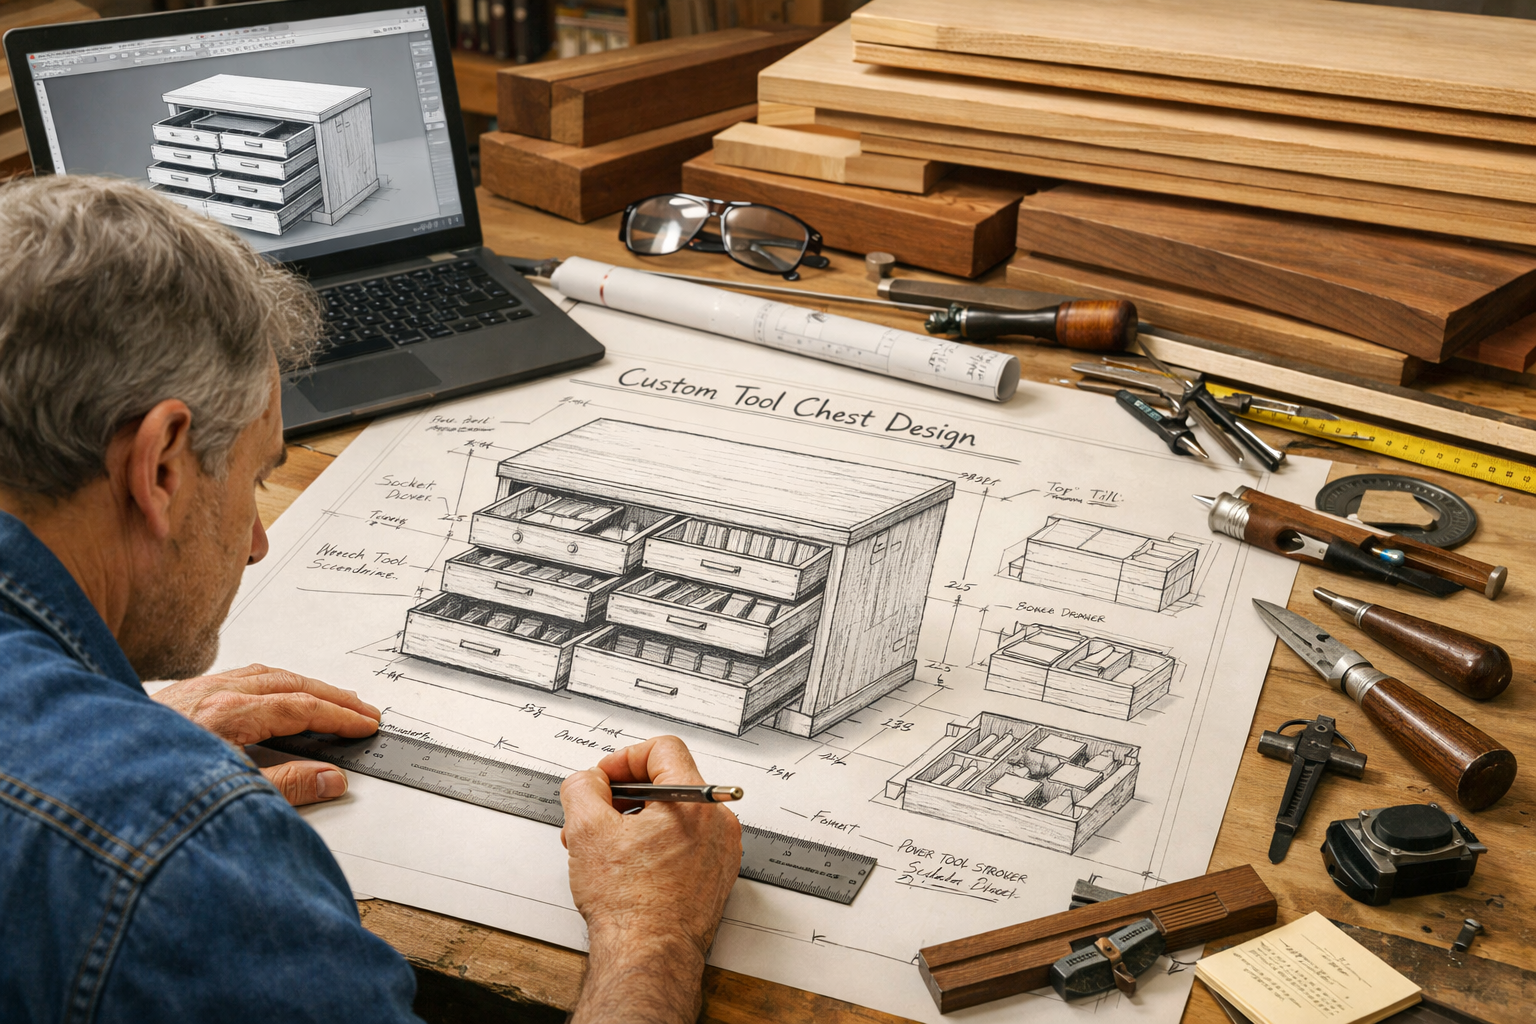
Sketching and Prototyping Your Design
Translate your inventory and design principles into detailed plans.
- Rough Sketches: Start with rough drawings, considering overall dimensions, the number of drawers, and potential wall-mounted sections.
- Detailed Drawings: Use graph paper or CAD software (like SketchUp) to draw precise plans. Include measurements for every component: drawer boxes, carcase panels, dividers, and hardware placement.
- Drawers vs. Doors: Decide on the mix. Drawers are excellent for smaller tools and accessories, offering organized, pull-out access. Doors are better for larger items, bins, or power tools, potentially revealing pegboards or shelves.
- Drawer Depth: Vary drawer depths to match tool sizes. Shallow drawers for chisels and bits, deeper ones for larger hand planes or specialized jigs.
- Internal Organization: Plan for dividers, custom trays, or shadow boards within drawers and behind doors.
- Material Selection:
- Plywood: A popular choice for cabinets due to its stability, strength, and relatively lower cost. High-quality Baltic birch plywood (¾” for the carcase, ½” or ¼” for drawer bottoms) is excellent. Learn more about 12 Plywood for Cabinets: Strength, Durability, and Design Considerations.
- Solid Wood: Offers superior aesthetics and durability, but can be more expensive and prone to seasonal movement. Hardwoods like oak, maple, or cherry are excellent choices for a heirloom-quality chest.
- Hardware: Drawer slides (full-extension are highly recommended), hinges, latches, handles. Choose quality hardware that can withstand daily use.
- Mock-ups: Before committing to cutting expensive materials, consider creating a simple cardboard or cheap plywood mock-up for critical sections. This allows you to test clearances, tool fit, and overall flow.
💡 Pro Tip: Photograph your tools laid out on your workbench. This visual reference can be invaluable when designing custom compartments and planning drawer layouts.
Construction Techniques for Durability and Functionality
Once your design is finalized, the construction phase begins. Employing sound woodworking techniques will ensure your custom tool chest or cabinet stands the test of time, effectively fulfilling its role in Building a Custom Tool Chest or Cabinet: Organizing Your Workshop for Efficiency and Protection.
Carcase Construction: The Backbone of Your Storage
The carcase (the main box) forms the structural foundation.
- Material Preparation:
- Cut List: Generate a precise cut list from your plans.
- Dimensioning: Accurately cut all carcase panels (sides, top, bottom, back) to size. A table saw or track saw will ensure straight and square cuts. For insights on using specific tools, refer to guides like Craftsman 113.299 Table Saw: A Comprehensive Guide.
- Edge Banding (Plywood): If using plywood, apply edge banding to exposed edges for a cleaner look and splinter protection.
- Joinery: Strong joinery is crucial for durability.
- Dados and Rabbets: These are excellent choices for plywood carcases. Dados (grooves cut across the grain) and rabbets (grooves cut along the edge) provide significant glue surface and mechanical strength. Use a router table or dado stack on a table saw.
- Dovetails or Finger Joints: For solid wood chests, traditional joinery like dovetails or finger joints offer exceptional strength and aesthetic appeal. Hand Tool Joinery for Visible Wood Joints: Dovetails, Mortise and Tenon, and Box Joints provides detailed guidance.
- Screws and Glue: Always use high-quality wood glue in addition to screws or traditional joinery for maximum strength. For choosing the right adhesive, see The Ultimate Guide to Wood Glue: Choosing the Right Adhesive for Every Project.
- Assembly: Ensure the carcase is square during assembly. Use clamps and corner squares to maintain accuracy.
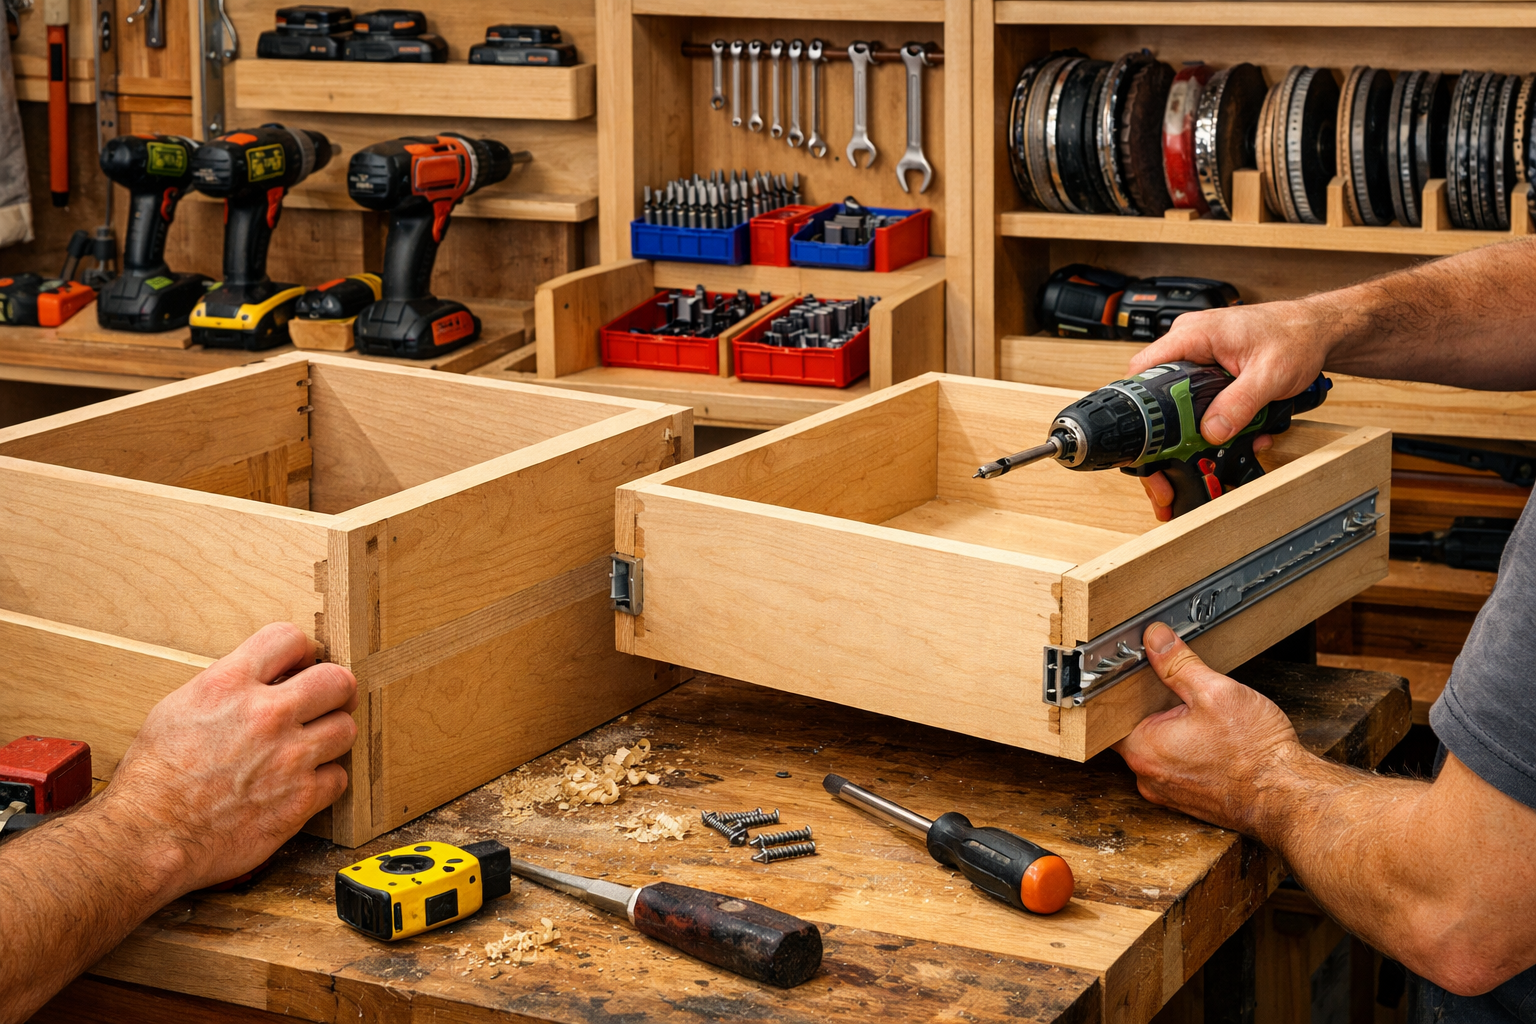
Building Drawers and Doors
Drawers and doors are key components for access and organization.
- Drawer Boxes:
- Joinery: Dovetails, box joints, or simple rabbet and dado joints reinforced with screws are common.
- Bottoms: Use ¼” or ½” plywood for drawer bottoms, captured in a dado groove on the drawer sides.
- Drawer Slides: Install full-extension drawer slides for maximum accessibility. Precisely measure and mount them to ensure smooth operation.
- Cabinet Doors:
- Construction: Can be solid panel, frame-and-panel, or a simple plywood slab.
- Hinges: Choose appropriate hinges (e.g., concealed European hinges, surface-mount hinges) based on your design and desired aesthetic.
- Shelving and Dividers:
- Adjustable Shelves: Consider drilling shelf-pin holes for adjustable shelves, offering flexibility for storing various-sized items.
- Fixed Dividers: Use dados or simple cleats to install fixed dividers for separating larger tool categories.
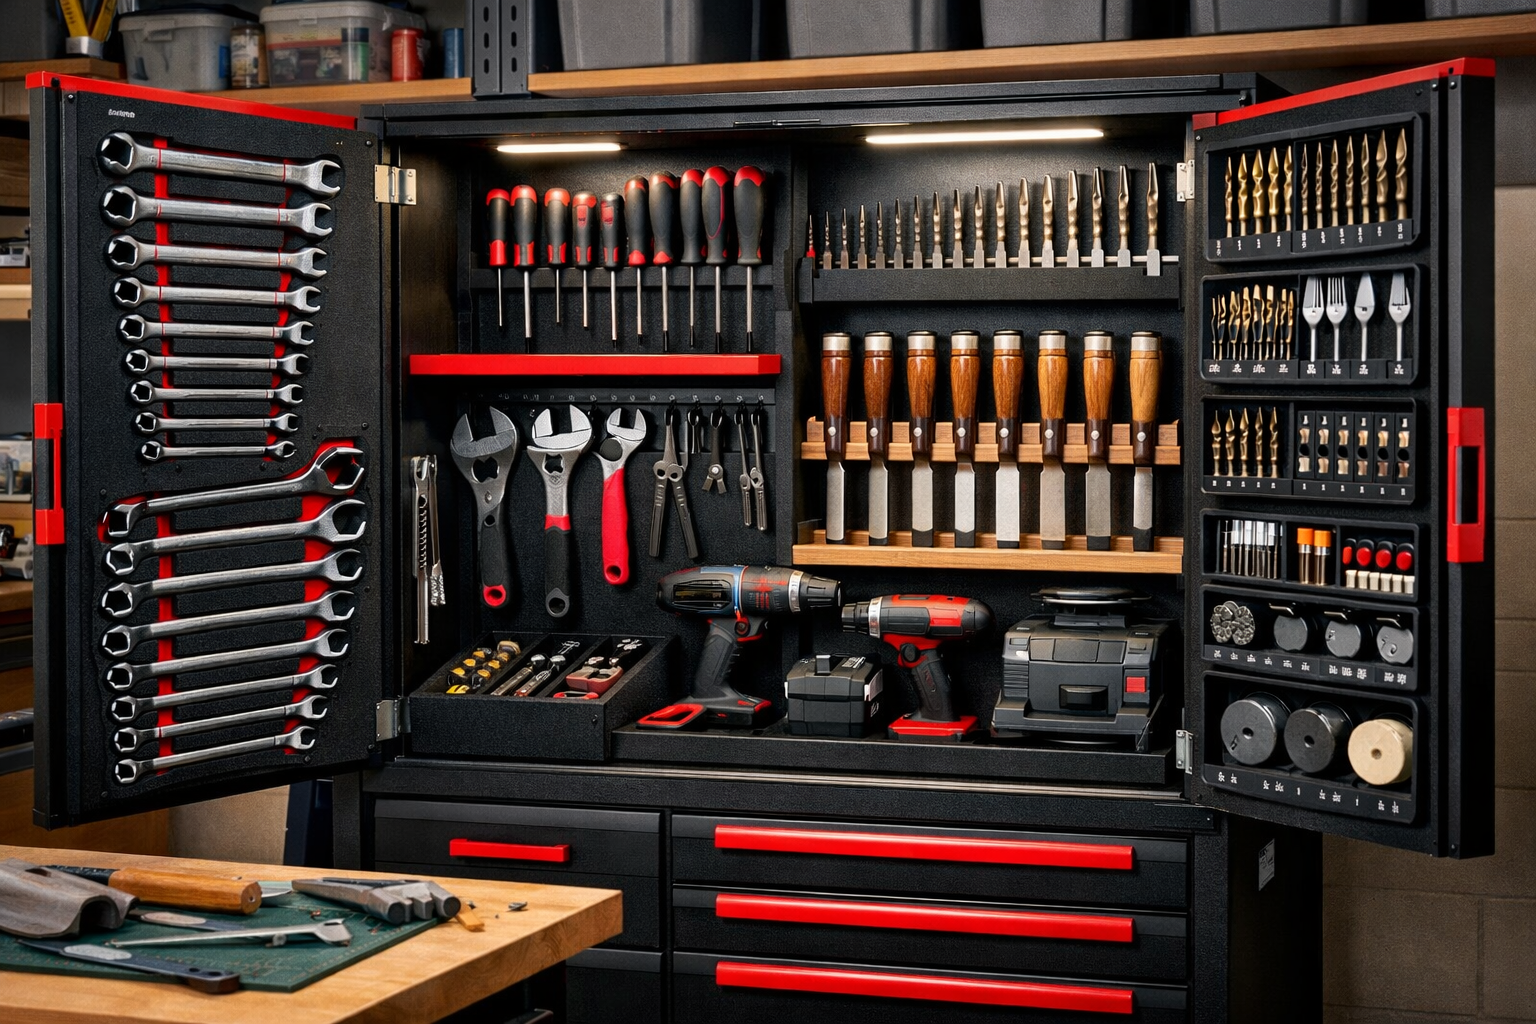
Integrating Specialized Tool Holders and Inserts
This is where the “custom” aspect truly shines.
- Custom Foam Inserts: Purchase dense foam sheets (e.g., Kaizen foam) and trace your tools. Cut out the shapes for a perfect, protective fit. This is ideal for precision tools, router bits, and drill bits.
- Wooden Dividers and Trays: Fashion wooden dividers or small trays to fit within drawers, creating specific slots for chisels, screwdrivers, or wrenches.
- Pegboard/French Cleat Systems: Behind cabinet doors or on internal panels, a pegboard or French cleat system can hold frequently used hand tools, maximizing vertical space. For workbench enhancements, consider options from Building a Custom Wood Workbench: Design Considerations and Step-by-Step Plans.
- Magnetic Strips: Install magnetic strips for storing drill bits, small files, or metal rulers.
Finishing and Workshop Integration: Completing Your Organizational Hub
The final steps in Building a Custom Tool Chest or Cabinet: Organizing Your Workshop for Efficiency and Protection involve applying a protective finish and strategically integrating your new storage into your workshop layout. These steps are crucial for both the longevity of your build and the overall efficiency of your workspace.
Applying a Durable Finish
A proper finish protects the wood from moisture, spills, and general workshop wear and tear.
- Sanding: Thoroughly sand all surfaces, progressing through grits from 120 to 220, or even 320 for a very smooth finish. This is essential for a professional look and feel.
- Dust Removal: Critically important. Use an air compressor, tack cloth, or a shop vacuum with a brush attachment to remove all sanding dust before applying any finish.
- Choosing a Finish:
- Polyurethane: A highly durable and protective finish, available in oil-based and water-based formulas. Oil-based typically offers more ambering and protection, while water-based dries faster and cleans up with water.
- Varnish: Similar to polyurethane, often used for outdoor projects or heavy-duty applications.
- Oil Finish: Penetrates the wood, providing a natural look and feel. Less protective against scratches than film-building finishes but easy to repair. Examples include tung oil or linseed oil.
- Paint: A good option for a more opaque look, often used for cabinet interiors or utilitarian workshop furniture. Use a durable enamel paint.
- Application: Follow the manufacturer’s instructions for your chosen finish. Typically, this involves multiple thin coats with light sanding between coats to achieve a smooth, durable surface. Ensure adequate ventilation.
Organizing Tools for Maximum Efficiency
Once the finish is dry, it’s time for the gratifying task of populating your custom storage.
- Categorize and Place:
- Most Used: Place frequently used tools in the most accessible locations – shallow, upper drawers, or easily reachable sections behind doors.
- Less Used: Store specialty tools or those used less often in deeper or lower drawers/cabinets.
- Safety First: Sharp objects like chisels and plane blades should have dedicated, protective slots to prevent accidental cuts and preserve their edges.
- Grouping: Keep related tools together. For example, all measuring and marking tools in one section, all drilling accessories in another.
- Custom Inserts & Dividers: Now is the time to implement all those custom foam inserts, wooden dividers, and specialized holders you planned. This is crucial for preventing tools from shifting, getting damaged, or becoming a jumbled mess.
- Labeling: Consider labeling drawers or compartments, especially if you have many similar-looking items or if others might use your workshop. Clear labels save time.
Strategic Placement in Your Workshop
The location of your tool chest or cabinet significantly impacts your workshop’s efficiency.

- Proximity to Workbench: Position primary tool storage near your main Building a Compact and Ergonomic Workbench for Small Workshops or primary work area. This minimizes steps and interruption.
- Traffic Flow: Ensure the chest or cabinet does not obstruct walkways or access to other machines. If it’s on casters, ensure it can be moved easily.
- Wall-Mounted Solutions: For smaller workshops, wall-mounted cabinets free up valuable floor space. Ensure they are securely anchored to wall studs. Consider a sturdy Custom Floating Shelves: Design, Fabrication, and Installation approach for heavy items.
- Lighting: Ensure your tool storage is well-lit, making it easy to see and retrieve tools.
A well-organized workshop is a productive workshop. Your custom-built tool chest or cabinet is not just a storage unit; it’s an investment in your efficiency, the longevity of your tools, and your enjoyment of the craft.
Conclusion
Building a Custom Tool Chest or Cabinet: Organizing Your Workshop for Efficiency and Protection is a project that offers immense rewards far beyond the initial effort. By carefully planning, constructing, and integrating a personalized storage solution, you transform a potentially chaotic workspace into a haven of productivity and precision. This custom approach ensures every tool has its designated, protected spot, readily accessible when needed, and safely stowed away when not. The result is less time spent searching, more time spent creating, and a longer, more productive life for your valuable tools.
Investing in a custom tool organization system in 2026 is an investment in your craft itself. It elevates your workshop’s functionality, protects your assets, and brings a sense of order and professionalism to your creative space.
Actionable Next Steps:
- Inventory & Visualize: Take an hour today to inventory all your tools. Sketch out where you ideally want each type of tool to live within a new custom chest or cabinet.
- Research Materials & Hardware: Explore different wood types (plywood vs. solid wood) and hardware options (drawer slides, hinges) to fit your budget and desired aesthetic.
- Start Small: If a large cabinet seems daunting, begin with a smaller, custom wall-mounted organizer for your most frequently used hand tools or power tool accessories.
- Embrace the Process: Enjoy the journey of designing and building. The satisfaction of a well-organized workshop built by your own hands is truly unparalleled.
