

Are you dreaming of hosting delightful outdoor gatherings, but your compact patio or cozy garden space seems to limit your entertaining aspirations? The good news is that you don’t need a sprawling backyard to create a vibrant social hub. This comprehensive guide focuses on Building a Portable and Collapsible Outdoor Bar Cart: Entertaining Solutions for Small Patios and Gardens, offering a perfect blend of functionality, style, and space-saving design. Imagine easily wheeling out a fully stocked bar for an impromptu cocktail hour, then neatly folding it away when the festivities conclude. This project empowers you to maximize your outdoor living area, making every corner an opportunity for celebration in 2026.
{{IMG_SLOT_1}}

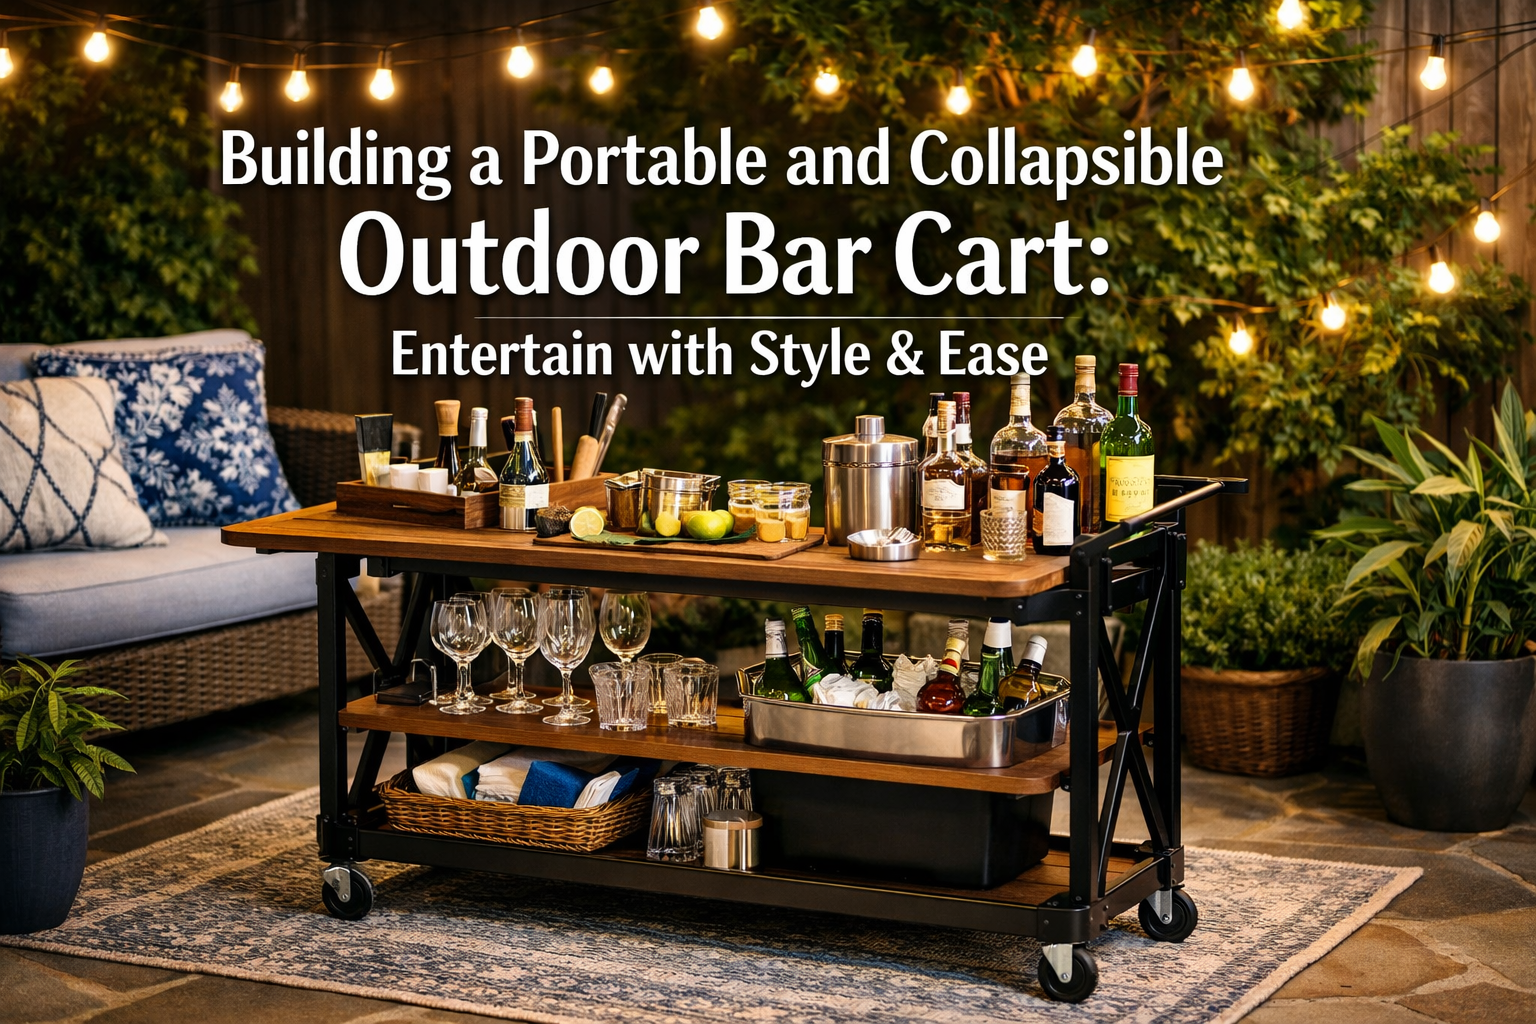
A well-designed portable bar cart can transform any small outdoor space into an entertaining oasis. It provides a dedicated station for beverages, snacks, and essential serving tools, keeping everything organized and within reach. Moreover, its collapsible nature ensures that precious square footage isn’t permanently occupied, allowing for flexible use of your patio or balcony.
Key Takeaways
- Space Optimization: Design principles focus on portability and collapsibility, making it ideal for small outdoor areas.
- Material Selection: Choosing the right weather-resistant materials is crucial for durability and longevity.
- Functional Design: Incorporate features like wheels, shelving, and easy-fold mechanisms for maximum utility.
- Customization Potential: Personalize the cart to match your style and specific entertaining needs.
- DIY Accessibility: This project is achievable for woodworkers with intermediate skills, offering a rewarding build.
Planning Your Portable and Collapsible Outdoor Bar Cart Design
The foundation of any successful woodworking project lies in meticulous planning. When Building a Portable and Collapsible Outdoor Bar Cart: Entertaining Solutions for Small Patios and Gardens, special attention must be paid to dimensions, materials, and the specific mechanisms that allow for easy setup and breakdown.
Understanding Your Space and Needs
Before cutting any wood, measure your available outdoor space, both when the cart is in use and when it needs to be stored. Consider:
- Footprint: How much space can the cart occupy when open?
- Storage Dimensions: What are the maximum length, width, and height for storage?
- Terrain: Will it primarily be on a paved patio, a wooden deck, or uneven garden ground? This affects wheel choice.
- Entertaining Style: Do you need space for multiple bottles, an ice bucket, glassware, or just a few essentials?
“The secret to successful small-space entertaining is multi-functional furniture. A collapsible bar cart is the epitome of this principle, offering high utility with a minimal footprint.”
Choosing the Right Materials for Outdoor Durability
Given that this bar cart will live outdoors, material selection is paramount. Weather resistance, durability, and aesthetics are key considerations.
Table: Recommended Materials for an Outdoor Bar Cart
| Material Type | Pros | Cons | Ideal Use |
|---|---|---|---|
| Wood | |||
| Cedar | Naturally weather-resistant, lightweight, attractive grain | Softer wood, prone to dents, requires sealing | Shelving, frame, aesthetic accents |
| Teak | Extremely durable, naturally resistant to rot and pests | Expensive, heavier, sourcing can be challenging | Premium surfaces, structural elements |
| Treated Pine | Affordable, widely available, good rot resistance | Can warp/crack, chemicals may leach (seal thoroughly) | Frame, less visible structural parts |
| Redwood | Good weather resistance, beautiful color, lightweight | Can be costly, requires regular maintenance | Visible surfaces, lighter frame |
| Hardware | |||
| Stainless Steel | Rust-proof, strong, sleek appearance | More expensive than galvanized, can be harder to work with | Hinges, latches, screws, handles, casters |
| Galvanized Steel | Rust-resistant, affordable, strong | Less aesthetically pleasing than stainless, can chip | Internal brackets, non-visible structural supports |
| Wheels | |||
| Rubber/Urethane | Smooth rolling, quiet, good on various surfaces | Can be more expensive, UV exposure can degrade rubber | General use, patio, deck |
| Hard Plastic | Affordable, durable, good on smooth surfaces | Noisy on uneven ground, less shock absorption | Paved patios, indoor/outdoor transition |
For a robust and long-lasting cart, consider a combination of treated pine or cedar for the main frame, complemented by teak or redwood for visible surfaces if your budget allows. All wood must be properly sealed and finished to protect against moisture and UV damage. Stainless steel hardware is highly recommended for all outdoor applications to prevent rust and ensure smooth operation of folding mechanisms.
Designing for Collapsibility and Portability
This is where the “collapsible and portable” aspect truly comes into play. Key design elements include:
- Folding Legs/Supports: Implement sturdy hinge mechanisms that allow legs to fold flat against the main body or inward. Barrel hinges or heavy-duty strap hinges are excellent choices.
- Removable Shelves/Trays: Design shelves that can either slide out or fold down. This simplifies the collapse process.
- Caster Wheels: Four sturdy, locking swivel casters are essential for easy movement. Choose wheels appropriate for your outdoor surfaces. Consider larger wheels for navigating slightly uneven garden paths.
- Latches and Locks: Secure the cart in both its open (set up) and closed (collapsed) positions to prevent accidental folding or unfolding. Heavy-duty toggle latches or barrel bolts work well.
- Handles: Integrate comfortable handles for pulling or pushing the cart when it’s fully loaded.
Explore resources like “Building a Portable Workbench: Designs for Small Spaces and On-the-Go” to gain insights into creating sturdy, movable structures. Similarly, examining “Building a Mobile Dust Collection Cart for Any Workshop: Design, Filtration, Portability” can offer valuable ideas on integrating mobility and compact design.
Construction: Building Your Portable and Collapsible Outdoor Bar Cart
Once your design is finalized and materials are selected, it’s time to bring your vision to life. This section outlines the general steps for Building a Portable and Collapsible Outdoor Bar Cart: Entertaining Solutions for Small Patios and Gardens.
{{IMG_SLOT_2}}
Step-by-Step Assembly Guide
While specific plans will vary, a typical construction process might involve:
- Cut All Wood Components: Using a table saw or circular saw, precisely cut all pieces according to your design. Remember to account for the thickness of joinery if using dadoes or rabbets.
- Assemble the Main Frame: Construct the central body or table-top frame first. This will be the anchor for all folding components. Use strong joinery methods such as mortise and tenon, dowel joints, or robust pocket screws complemented by waterproof wood glue. For guidance on appropriate adhesives, refer to “The Ultimate Guide to Wood Glue: Choosing the Right Adhesive for Every Project.”
- Install Folding Legs/Supports: Attach the folding legs or support arms using your chosen heavy-duty hinges. Ensure they swing freely and can lock securely into place when extended. Test the stability repeatedly.
- Create and Fit Shelves: Build your shelves. If they are removable, ensure they slide smoothly into their slots. If they fold, attach them with hinges, making sure they don’t interfere with the leg folding mechanism.
- Attach Caster Wheels: Mount the locking swivel casters to the bottom of the main frame. Position them strategically to ensure maximum stability and ease of movement.
- Install Handles: Secure ergonomic handles to the desired locations for easy maneuverability.
- Add Latches and Securing Mechanisms: Install all necessary latches and bolts to hold the cart securely in both its open and closed positions. This is critical for both safety and convenience.
- Sanding and Finishing: Thoroughly sand all surfaces, starting with a coarser grit and moving to finer grits (e.g., 80, 120, 220). Apply an appropriate outdoor-grade sealant or stain-and-sealant combination to protect the wood from the elements. This step is crucial for longevity.
Essential Tools and Safety Tips
For this project, you will need a range of woodworking tools.
Required Tools:

- Measuring Tools: Tape measure, carpenter’s square, marking pencil
- Cutting Tools: Circular saw, miter saw, jigsaw (for curves)
- Drilling Tools: Cordless drill, various drill bits (including countersink bits)
- Fastening Tools: Clamps, screwdrivers
- Sanding Tools: Orbital sander, sanding blocks, various grit sandpaper
- Safety Gear: Safety glasses, ear protection, dust mask, gloves
Safety Tips:
- Always wear appropriate personal protective equipment (PPE).
- Read and understand all tool manuals before operation.
- Keep your workspace clean and free of clutter.
- Secure workpieces with clamps before cutting or drilling.
- Disconnect power tools before changing blades or bits.
- Work in a well-ventilated area, especially when applying finishes.
Finishing Touches and Entertaining with Your New Bar Cart
With construction complete, the final steps involve applying the perfect finish and then putting your new creation to good use. Building a Portable and Collapsible Outdoor Bar Cart: Entertaining Solutions for Small Patios and Gardens culminates in a functional and stylish piece ready for any occasion.
{{IMG_SLOT_3}}
Applying a Durable Outdoor Finish
The finish is not just about aesthetics; it’s about protecting your investment from sun, rain, and temperature fluctuations.
- Cleanliness is Key: Ensure all sawdust and debris are removed before applying any finish. A tack cloth works wonders.
- Pre-Stain Conditioner (Optional but Recommended): For softer woods like pine or cedar, a pre-stain conditioner helps achieve a more even stain absorption, preventing blotchiness.
- Stain (Optional): Choose an exterior-grade wood stain in a color that complements your outdoor decor. Apply with a brush or rag, wiping off excess according to product instructions. Allow ample drying time.
- Topcoat/Sealant: This is the most critical protective layer. Opt for an outdoor-grade spar varnish, polyurethane, or oil finish. These finishes contain UV inhibitors and are flexible enough to withstand temperature changes without cracking. Apply multiple thin coats, sanding lightly with fine-grit sandpaper (220-320) between coats for a smooth, durable finish. Follow the manufacturer’s recommendations for drying times and recoating intervals. For more insights on finishing, consider guides on “Cool Wood Finishing Techniques” or “Unique Wood Finishing Techniques.”
Accessorizing and Maximizing Utility
Once finished, accessorizing your bar cart can significantly enhance its functionality and appeal.
- Ice Bucket and Tongs: Essential for keeping drinks chilled. Look for insulated options.
- Glassware: Choose durable outdoor-friendly glassware, perhaps acrylic or melamine, to avoid breakages.
- Bottle Openers and Corkscrews: Keep these readily available.
- Small Cutting Board and Knife: Perfect for preparing garnishes like citrus slices.
- Napkins and Coasters: Add a touch of elegance and protect surfaces.
- Lighting: Consider battery-operated LED string lights or small lanterns for evening ambiance.
- Plant Decor: A small potted herb (like mint for mojitos!) or a succulent can add a fresh, natural touch. For more plant-related DIY, check out our article on “DIY Wooden Plant Stands.”
- Storage Bins: Small, attractive bins can hold straws, stirrers, or extra napkins, keeping the cart tidy.
- Towel Holder: A simple hook can hold a small towel for quick clean-ups.
This versatile piece of furniture is also an excellent companion to other portable or space-saving solutions, such as a mastered wooden beer caddy build for craft brew lovers, enhancing your entire outdoor entertaining setup.
Maintenance for Longevity
To ensure your portable and collapsible bar cart lasts for many seasons:
- Regular Cleaning: Wipe down surfaces after each use to remove spills and residue.
- Seasonal Inspection: Annually check all hardware, hinges, and latches for tightness and signs of wear. Tighten screws as needed.
- Reapplication of Finish: Depending on exposure, plan to reapply a protective topcoat every 1-3 years. Lightly sand the surface before reapplication for best adhesion.
- Proper Storage: When not in use, store the collapsed cart in a dry, sheltered location, such as a garage, shed, or covered patio, to further protect it from harsh weather.
Conclusion
Building a Portable and Collapsible Outdoor Bar Cart: Entertaining Solutions for Small Patios and Gardens is a rewarding project that transforms how you entertain. It offers unparalleled versatility, allowing you to maximize even the most compact outdoor areas for lively gatherings. From the initial design considerations and material selection to the careful construction and final decorative touches, each step contributes to creating a functional and stylish piece of furniture that serves your needs for years to come.
By investing your time and effort into this DIY project, you’re not just building a bar cart; you’re crafting an experience. This portable hub of hospitality ensures that whether it’s an intimate balcony brunch or a vibrant garden cocktail party, your small outdoor space is always ready to host. So gather your tools, unleash your creativity, and get ready to enjoy countless memorable moments in 2026 with your custom-built portable bar cart.
Meta Title: Build a Portable & Collapsible Outdoor Bar Cart | Small Patios Meta Description: Learn to build a portable and collapsible outdoor bar cart. Perfect for small patios & gardens, this DIY guide offers entertaining solutions for 2026.
