
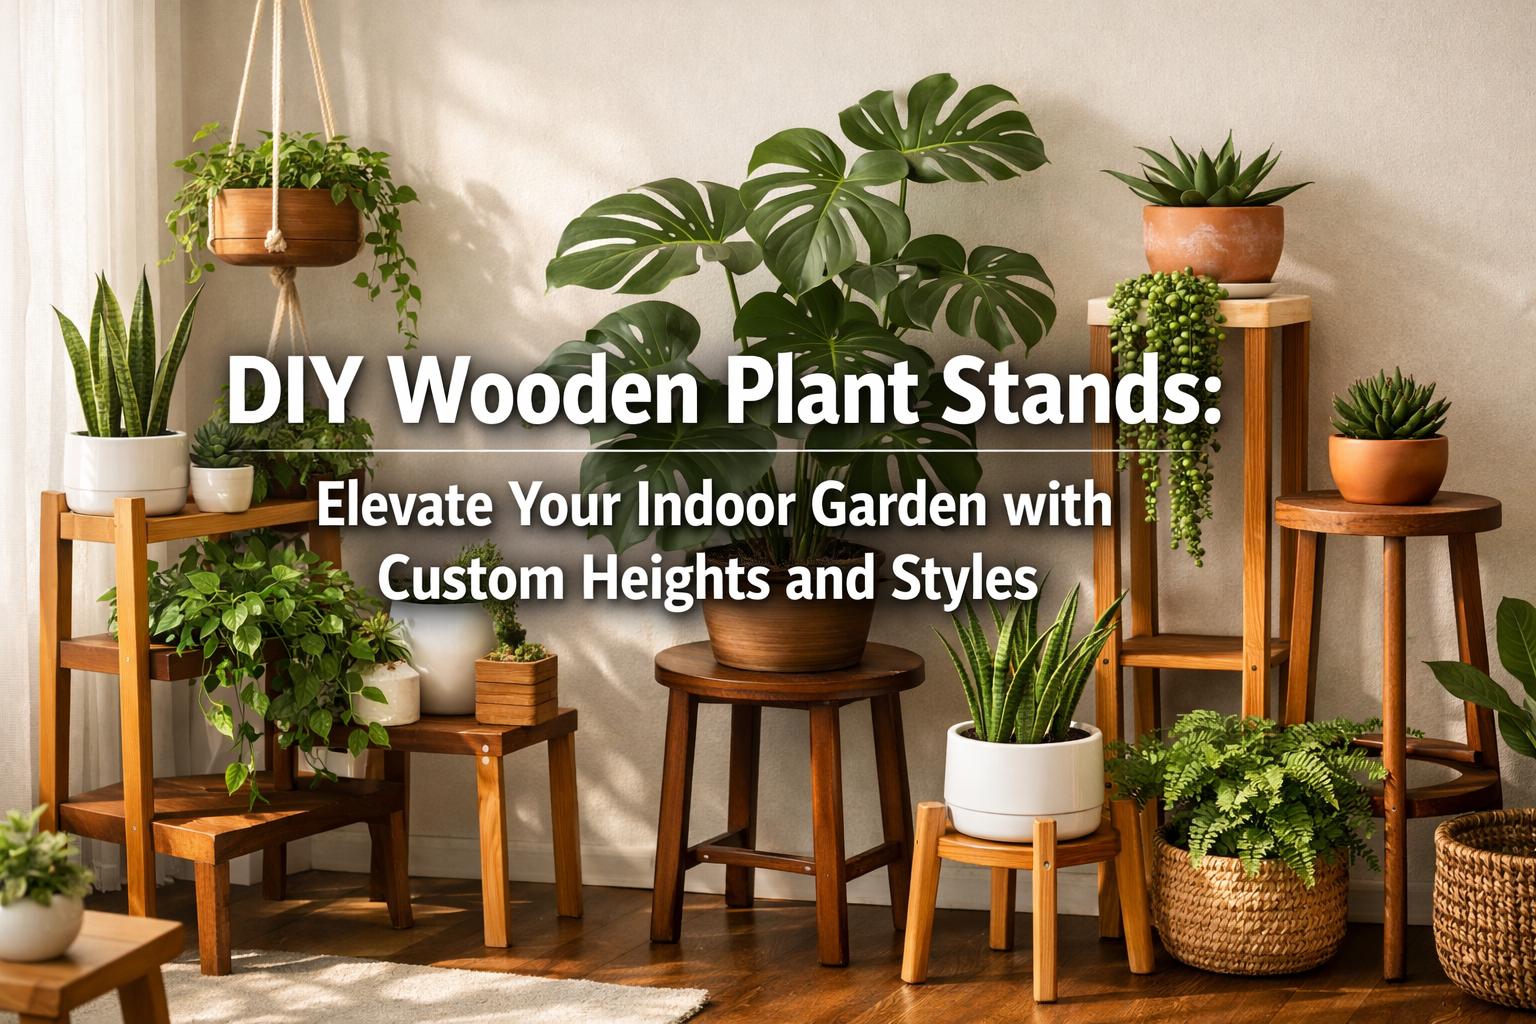

Indoor gardening has become a cherished hobby for many, transforming living spaces into vibrant, green sanctuaries. As plant collections grow, so does the need for creative and functional ways to display them. This is where the magic of DIY Wooden Plant Stands: Elevate Your Indoor Garden with Custom Heights and Styles comes into play. For urban makers looking to blend the satisfaction of woodworking with the burgeoning indoor plant trend, crafting your own plant stands offers an unparalleled opportunity to customize, create, and elevate your botanical displays. This comprehensive guide explores step-by-step builds for tiered, hanging, and minimalist plant stands using affordable hardwoods, complete with tool guides for beginners and advanced joinery options for maximum stability and aesthetic appeal.
Beyond mere functionality, a custom wooden plant stand is a statement piece, reflecting personal style and enhancing the overall ambiance of a room. It allows you to strategically position plants to optimize light exposure, improve air circulation, and create visual interest through varying heights and arrangements. In 2026, as sustainability and bespoke craftsmanship continue to trend, building your own plant stands aligns perfectly with conscious living and personalized home decor.

Key Takeaways
- Customization is Key: DIY plant stands offer endless possibilities for tailoring height, style, and finish to perfectly match your plants and home decor.
- Affordable Hardwoods: Utilize readily available and often inexpensive hardwoods like pine, poplar, or even reclaimed wood to build durable and attractive stands.
- Essential Tools: A basic set of hand tools is sufficient for many designs, making this an accessible project for beginners in woodworking.
- Enhanced Plant Health: Elevating plants improves light exposure and air circulation, contributing to healthier, happier indoor gardens.
- Sustainable Crafting: Embrace eco-friendly practices by choosing sustainable wood sources and low-VOC finishes for your projects.
Getting Started: Planning Your DIY Wooden Plant Stands and Sourcing Materials
Embarking on a woodworking project, especially one focused on DIY Wooden Plant Stands: Elevate Your Indoor Garden with Custom Heights and Styles, begins with careful planning. This initial phase is crucial for ensuring a smooth build and a successful outcome. It involves choosing your design, selecting the right wood, and gathering the necessary tools.
Choosing Your Plant Stand Design
The beauty of DIY lies in the freedom to design. Consider the types and sizes of plants you wish to display, the available space, and your home’s aesthetic.
- Tiered Stands: Ideal for maximizing vertical space and showcasing multiple plants. Designs can range from simple two-tier stands to complex multi-level units. These are particularly useful for creating a lush, jungle-like effect in a smaller footprint.
- Hanging Stands: Perfect for vining plants or creating a bohemian vibe. These often involve a sturdy wooden frame from which plants can be suspended using ropes or chains.
- Minimalist Stands: Focus on clean lines and simple forms, letting the plant itself be the star. Often a single pot elevated to a specific height. Think mid-century modern or Scandinavian styles.
- Window Shelf Stands: Utilize window space to give plants maximum natural light, often featuring multiple shelves at varying heights.
When envisioning your design, draw sketches, look for inspiration online, and even mock up dimensions with cardboard to get a feel for scale in your space. This will help refine your ideas before cutting any wood.
Selecting the Right Wood for Your Project
The choice of wood significantly impacts the stand’s durability, appearance, and ease of construction. For DIY Wooden Plant Stands, affordable hardwoods are often the best choice, offering a balance of strength, workability, and aesthetic appeal.
| Wood Type | Characteristics | Best For | Considerations |
|---|---|---|---|
| Pine | Soft, affordable, easy to work with, light color. | Beginner projects, painted finishes, rustic styles. | Prone to dents, takes stain unevenly without conditioner. |
| Poplar | Medium density, relatively inexpensive, takes paint well. | Painted stands, projects requiring stability without a strong grain. | Can have green or purple streaks, not ideal for natural finishes. |
| Oak | Hard, durable, strong grain, moderate cost. | Robust stands, projects needing longevity and a classic look. | Harder to work with, heavier, can be more expensive. |
| Maple | Hard, dense, fine grain, light color, smooth finish. | Modern, sleek designs, stands requiring strength and a pristine finish. | More expensive, harder to cut and sand. |
| Reclaimed Wood | Unique character, sustainable, varied wood types. | Rustic, industrial, eco-conscious designs. | Requires more prep (cleaning, de-nailing), inconsistent dimensions. |
For those new to woodworking, starting with pine or poplar is recommended due to their workability. If you’re keen on exploring various wood types and showcasing their natural beauty, consider checking out our guide on wood species selection for visible joinery for more detailed insights.
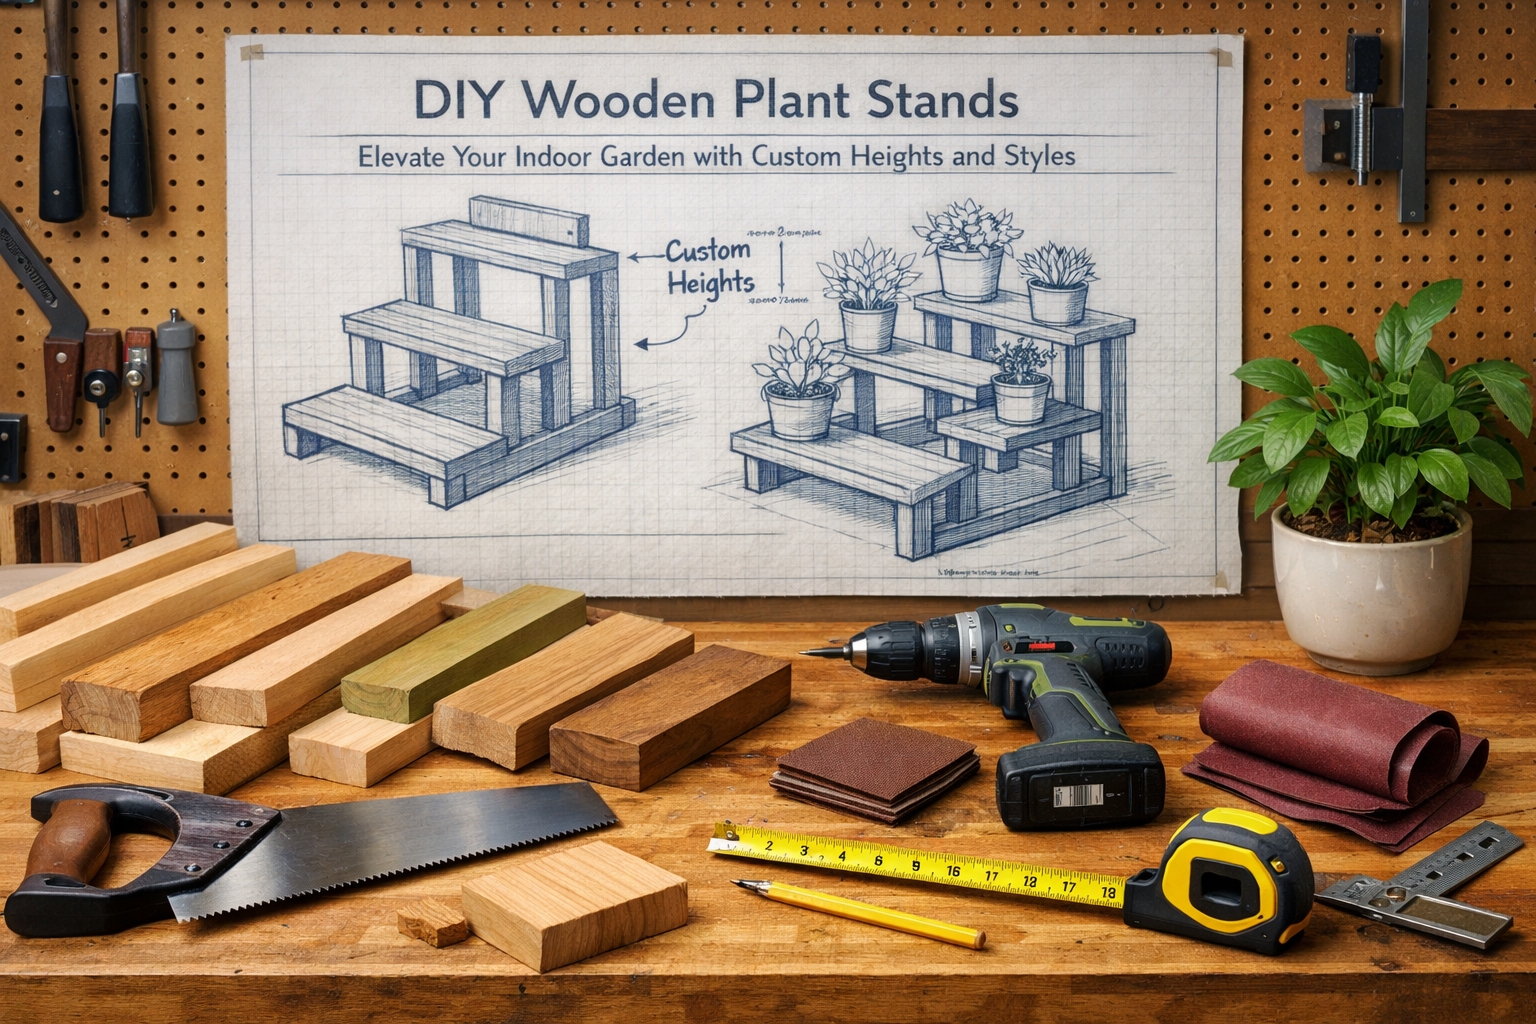
Essential Tools for Your Workshop
You don’t need a professional workshop to build beautiful plant stands. Many projects can be completed with a basic set of hand tools. However, a few power tools can significantly speed up the process and improve precision.
Basic Hand Tools:
- Measuring Tape and Pencil: For accurate measurements.
- Hand Saw or Japanese Pull Saw: For cutting wood to size.
- Wood Chisel: For precise cuts and joint preparation.
- Clamps: Essential for holding pieces securely during glue-up and assembly.
- Sanding Blocks and Sandpaper (various grits): For smoothing surfaces.
- Drill (hand drill or cordless drill): For pilot holes and screws.
- Screwdrivers: For assembling with screws.
- Square: For ensuring cuts and joints are at perfect 90-degree angles.
Recommended Power Tools (for efficiency and precision):
- Miter Saw: For quick and accurate crosscuts and angled cuts. If considering one, our article on miter saw station height offers valuable setup tips.
- Jigsaw: For curved cuts or cutting out shapes.
- Orbital Sander: Speeds up sanding significantly.
- Router: For decorative edges or creating joinery. Learn more about router bits for box joints for advanced joinery.
- Table Saw: Ideal for ripping long boards and achieving precise, consistent cuts. For those with a Craftsman table saw, our guide on Craftsman table saw model 137 might be helpful.
“The right tool for the job isn’t always the most expensive one; it’s the one that helps you achieve precision and safety with comfort.”
Adhesives and Fasteners
- Wood Glue (PVA glue): Provides strong, permanent bonds.
- Wood Screws: Ensure strong mechanical connections. For a deep dive, see Mastering Woodworking Screws: Your Ultimate Guide for 2026.
- Dowel Pins or Biscuits: For reinforcing joints, especially helpful for clean, invisible joinery.
By taking the time to plan, choose appropriate materials, and gather your tools, you set yourself up for a rewarding and successful woodworking project, culminating in stunning DIY Wooden Plant Stands that truly elevate your indoor garden.
Step-by-Step Builds: Crafting Custom DIY Wooden Plant Stands
Now, let’s dive into the exciting part: bringing your designs to life! These step-by-step instructions will guide you through constructing different styles of DIY Wooden Plant Stands: Elevate Your Indoor Garden with Custom Heights and Styles, from beginner-friendly to slightly more advanced. Remember to always prioritize safety when working with tools.
Project 1: Simple Mid-Century Modern Minimalist Plant Stand (Beginner-Friendly)
This design is iconic, easy to build, and perfect for showcasing a single potted plant.
Materials:
- 1×2 (or 1×3) hardwood boards (e.g., pine or poplar), total length depends on desired height.
- Wood glue
- 1 1/4″ wood screws
- Sandpaper (120, 220 grit)
- Wood finish (oil, stain, or paint)
Cut List (Adjust dimensions based on your pot size and desired height):
- Legs: 2 pieces, length = (desired stand height + pot height)
- Top Rails: 2 pieces, length = (pot diameter + 1″)
- Bottom Rails: 2 pieces, length = (pot diameter + 1″)
Instructions:

- Measure and Cut: Carefully measure and cut your wood pieces according to your desired dimensions. Use a miter saw for precise, clean cuts, or a hand saw with a miter box.
- Sanding: Sand all cut edges and surfaces with 120-grit sandpaper, then smooth with 220-grit. This is crucial for a professional finish.
- Assemble the Sides: Take one leg and one top rail. Apply wood glue to the end of the top rail and attach it perpendicular to the leg, flush with the top. Secure with two screws. Repeat for the other leg and top rail. You’ll now have two ‘L’ shapes.
- Create the Box: Lay one ‘L’ assembly flat. Apply glue to the end of a bottom rail and attach it to the bottom of the leg, parallel to the top rail. Secure with screws. Repeat for the other leg. This creates a rectangular side frame. Do the same for the second ‘L’ assembly to create the other side frame.
- Join the Sides: Stand both side frames upright. Apply glue to the ends of the remaining top and bottom rails. Attach these to connect the two side frames, forming a complete rectangle at the top and bottom. Ensure everything is square using a speed square. Clamp well while the glue dries.
- Add Cross Braces (Optional but Recommended): For added stability, cut two short pieces of 1×2 to fit snugly inside the top rectangular frame, running parallel to the shorter sides. Glue and screw these in place, centered, to create a stable cross support for your pot.
- Finishing: Once the glue is completely dry, do a final light sanding. Apply your chosen finish. For a natural wood look, consider Danish oil or a clear varnish. If painting, prime first. Our guide on danish oil vs. linseed oil offers great insights into wood finishes.
Project 2: Multi-Tiered Plant Stand for Varied Heights (Intermediate)
This design allows for displaying multiple plants at different levels, creating a dynamic visual.
Materials:
- 1×2 or 1×3 hardwood boards for legs
- 1×6 or 1×8 hardwood boards for shelves
- Wood glue
- 1 1/4″ and 2″ wood screws
- Sandpaper, wood finish
Cut List (Example for a 3-tier stand; adjust as needed):
- Legs: 4 pieces, length = (desired total height)
- Small Shelf: 1 piece, e.g., 8″x8″ square
- Medium Shelf: 1 piece, e.g., 10″x10″ square
- Large Shelf: 1 piece, e.g., 12″x12″ square
- Support Braces: 12 pieces (3 per shelf x 4 legs), e.g., 6″ long (for 1×2 legs)
Instructions:
- Prepare Legs and Shelves: Cut all leg pieces to the same desired height. Cut your shelf pieces into squares or rectangles. Sand all components thoroughly.
- Mark Shelf Positions: Decide on the heights for each tier. Mark these positions clearly on all four leg pieces. Ensure consistency across all legs.
- Attach Support Braces: For each shelf position, attach two support braces to adjacent sides of a leg, forming an ‘L’ shape for the shelf to rest on. Use wood glue and 1 1/4″ screws. Repeat for all four legs at each shelf height.
- Assemble Leg Frames: Take two legs. Align them with the support braces facing inwards. Place a shelf on the support braces at the lowest marked position. Attach the shelf to the braces with 1 1/4″ screws, ensuring it’s level. Repeat for the middle and top shelves with the same two legs. You’ll now have a two-legged stand with shelves.
- Complete the Stand: Carefully attach the remaining two legs to the other side of the shelves using wood glue and 2″ screws (drilling through the leg into the edge of the shelf). This will require careful alignment and potentially an extra pair of hands or good clamping. Ensure the stand is square and stable.
- Reinforce (Optional): For very heavy plants, consider adding diagonal braces between legs at the bottom for extra stability.
- Finishing: Sand any rough spots and apply your chosen finish.
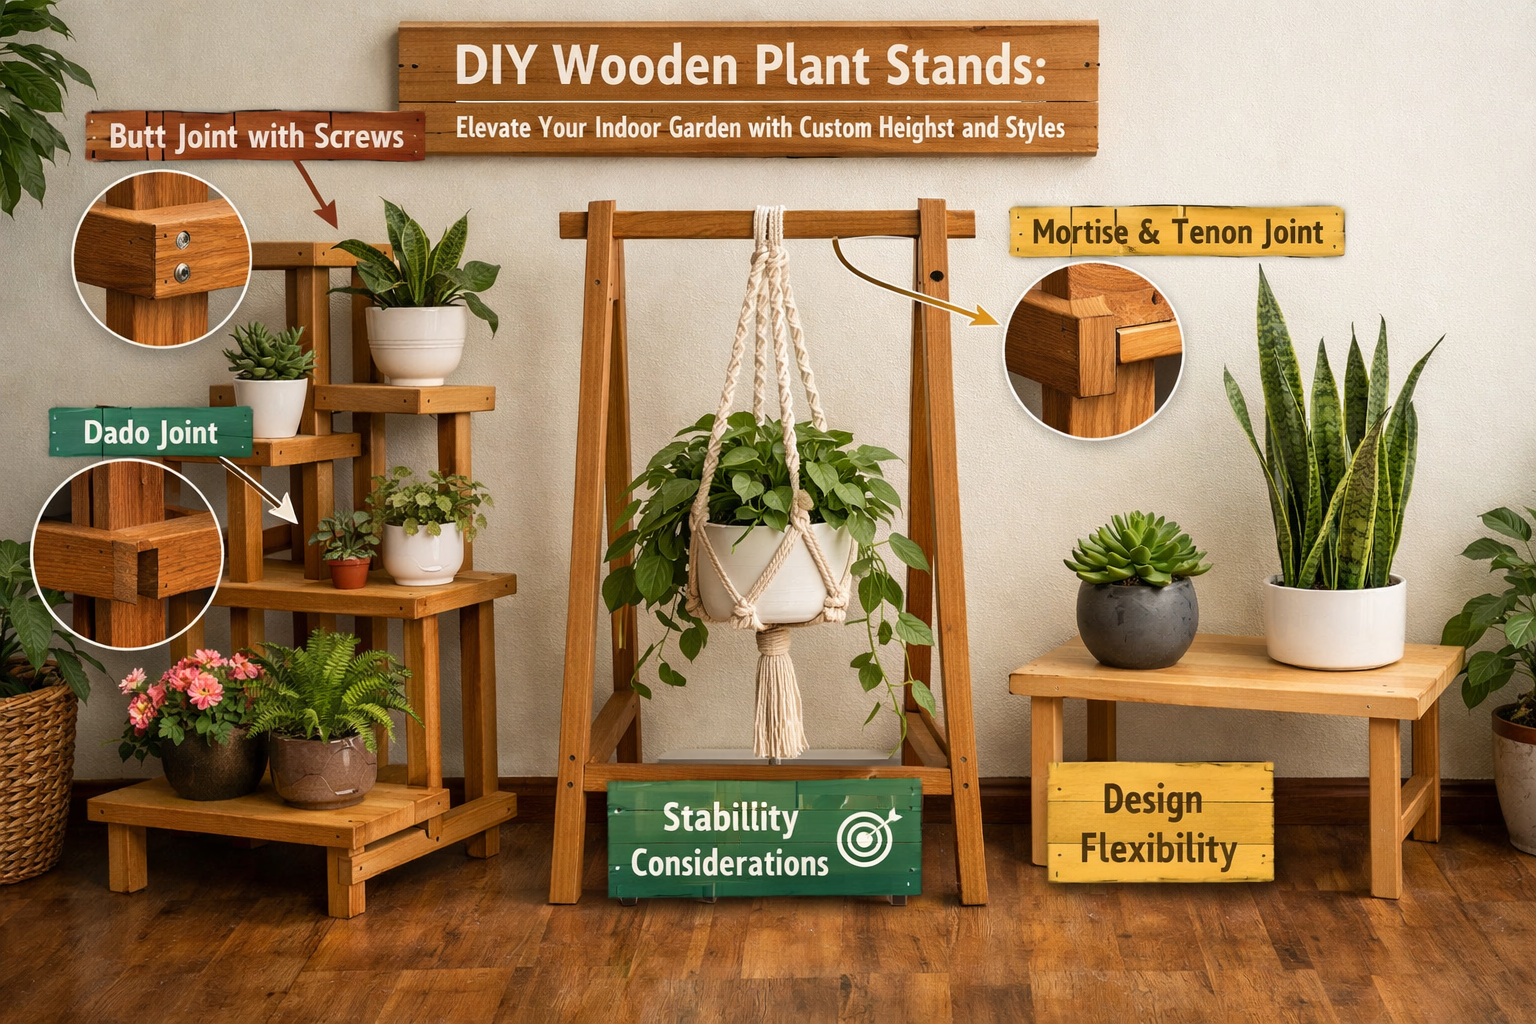
Project 3: Hanging Plant Shelf (Advanced Joinery Option)
This design utilizes more advanced joinery for a cleaner look and superior strength, showcasing DIY Wooden Plant Stands with a touch of craftsmanship.
Materials:
- 1×4 hardwood boards (e.g., oak or maple) for the main shelf
- 1×2 hardwood boards for the hanging supports
- Wood glue
- Dowel pins or biscuits (optional, for joinery)
- Rope or strong chain for hanging
- Sandpaper, wood finish
Cut List (Example for a single shelf; adjust dimensions):
- Main Shelf: 1 piece, e.g., 24″ long x 4″ deep
- Hanging Supports (Vertical): 2 pieces, e.g., 12″ long
- Cross Support (Horizontal): 1 piece, e.g., 20″ long (to fit between vertical supports)
Instructions:
- Prepare Components: Cut all wood pieces to size and sand thoroughly.
- Create Mortise and Tenon Joints (Advanced):
- For the main shelf, mark and cut two tenons on each end, sized to fit into corresponding mortises on the vertical hanging supports. Alternatively, use simple dado joints if you have a router. Learn more about mastering modern hand-cut joinery.
- For the vertical hanging supports, mark and cut the mortises where the main shelf’s tenons will insert.
- For a simpler approach, you can butt joint the shelf to the supports and reinforce with screws or dowels.
- Assemble the Shelf Unit:
- Apply wood glue to the tenons of the main shelf and insert them into the mortises of the vertical hanging supports. Clamp tightly and ensure squareness.
- Attach the horizontal cross support between the two vertical hanging supports, at a height where it won’t interfere with the plant, but provides stability for hanging. This can be done with wood glue and dowels, or pocket holes for a clean look.
- Drill Rope Holes: Once the glue is dry, drill two holes (sized for your rope/chain) through the top ends of the vertical hanging supports. Ensure they are evenly spaced and far enough from the edge for strength.
- Finishing: Sand, then apply your desired finish. Consider sustainable finishes for reclaimed wood for an eco-friendly choice.
- Attach Rope/Chain: Thread your rope or chain through the holes and secure it with knots or hardware. Ensure the knot is strong and the stand hangs level.
- Installation: Hang your plant shelf securely from a ceiling hook or wall bracket. Always ensure the mounting point can support the weight of the stand, pot, and plant.
These projects provide a solid foundation for creating beautiful and functional DIY Wooden Plant Stands. By adjusting dimensions, wood types, and finishes, you can continuously innovate and personalize your indoor garden displays.
Finishing Touches and Maintenance for Your DIY Wooden Plant Stands
Once your DIY Wooden Plant Stands: Elevate Your Indoor Garden with Custom Heights and Styles are assembled, the finishing touches are what truly transform them from raw wood into elegant furniture pieces. Proper finishing not only enhances their appearance but also protects the wood, ensuring longevity, especially in the humid environment of an indoor garden.
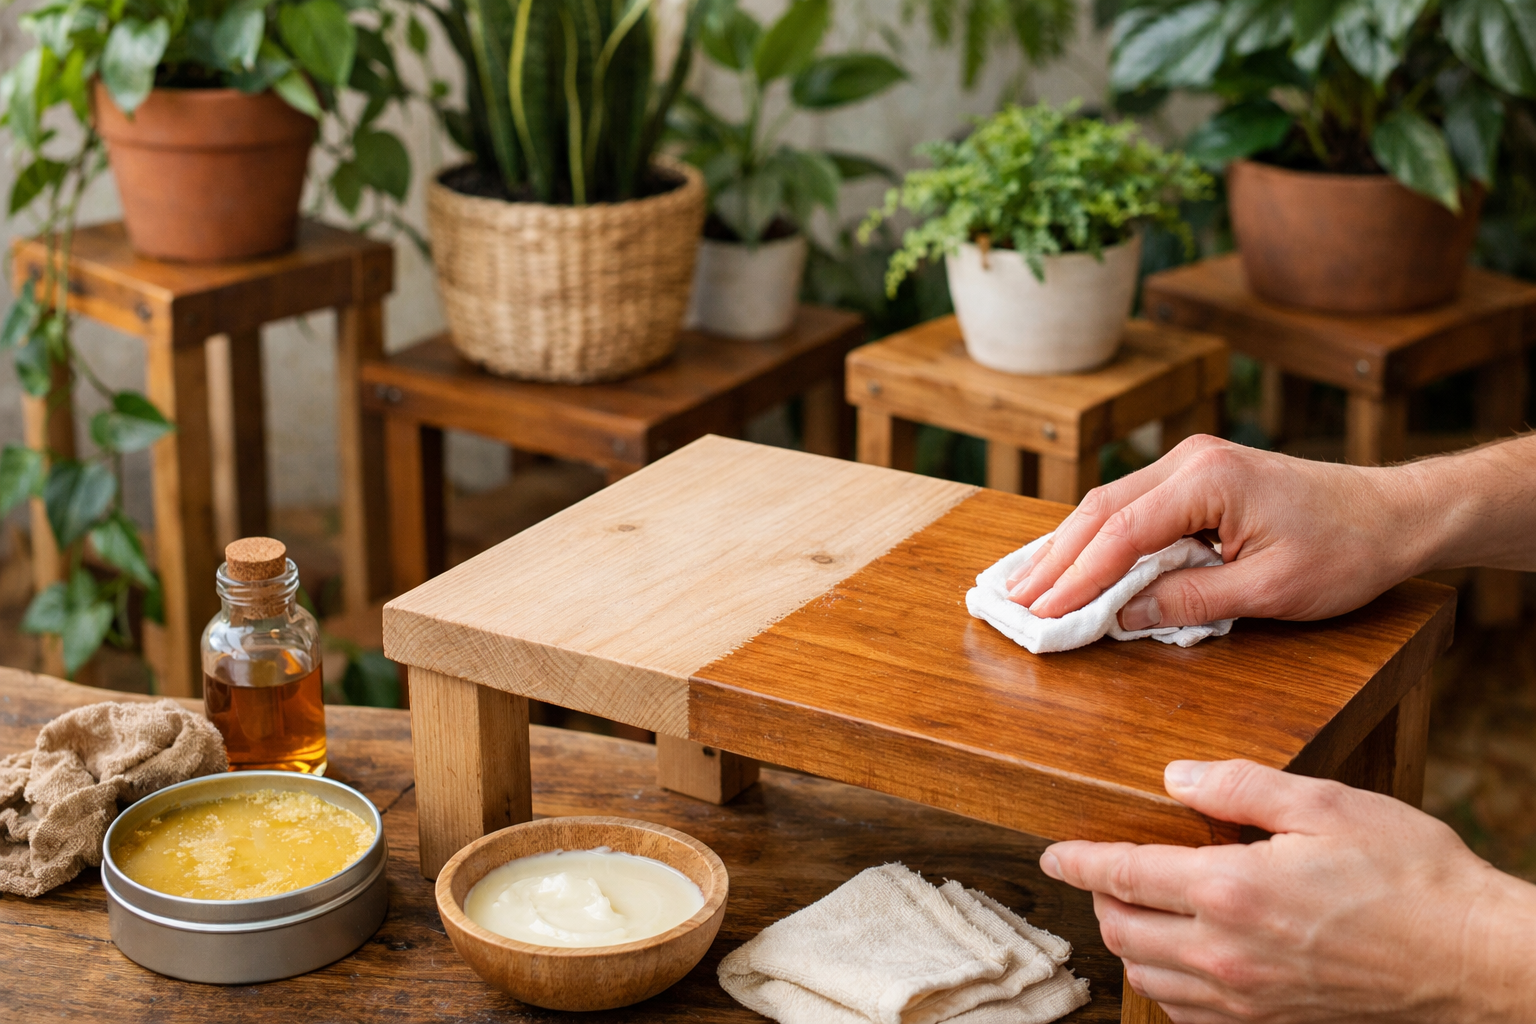
Choosing and Applying the Right Finish
The type of finish you choose depends on the wood species, the desired aesthetic, and the level of protection needed.
- Oils (Danish Oil, Tung Oil, Linseed Oil): These penetrate the wood, enhancing its natural grain and providing a warm, subtle sheen. They offer good water resistance and are easy to reapply for maintenance. They are excellent for showcasing the natural beauty of hardwoods like oak or mahogany. For more on this, check out our guide on mahogany wood finishing techniques.
- Application: Apply with a cloth, let it soak in, then wipe off excess. Repeat multiple coats for increased protection.
- Waxes (Beeswax, Carnauba Wax): Offer a natural, low-sheen finish that feels lovely to the touch. Provides some water resistance but less than oils or varnishes. Often used over an oil finish for added protection and luster.
- Application: Rub on, let sit, then buff to a shine.
- Varnishes and Polyurethanes (Clear Coats): Create a protective film on the wood surface, offering excellent durability and water resistance. Available in various sheens (matte, satin, semi-gloss, gloss). Ideal for stands that will hold heavy, frequently watered plants.
- Application: Apply thin, even coats with a brush or sprayer, sanding lightly between coats. Our article on spraying water-based poly can provide useful techniques.
- Stains: Change the color of the wood while allowing the grain to show through. Always follow with a clear protective topcoat (varnish or polyurethane) for durability.
- Application: Apply evenly, wipe off excess, let dry, then apply topcoat. For specific woods, see our guide on staining birch dark.
- Paints: Offer full coverage and allow for complete color customization. A great option for transforming less attractive wood types or matching specific decor.
- Application: Prime first, then apply two thin coats of paint, sanding lightly between coats.
Finishing Tip: Always test your chosen finish on a scrap piece of the same wood to see how it looks before applying it to your finished stand.

Ensuring Plant Stand Stability and Longevity
Stability is paramount for plant stands, especially those holding heavy pots or multiple plants.
- Check for Wobbly Legs: After assembly and before finishing, place the stand on a flat surface. If it wobbles, identify the uneven leg and gently sand or trim it until the stand is stable. You can also add small furniture glides or felt pads to the bottom of the legs to help level and protect floors.
- Reinforce Joints: For added peace of mind, consider reinforcing joints with corner blocks or metal L-brackets on the inside where they won’t be visible. This is especially important for larger or tiered stands.
- Water Protection:
- Trays: Always use drip trays under your potted plants to catch excess water.
- Waterproof Liners: For open-shelf designs, you can line the shelf surface with a clear waterproof mat or adhesive vinyl to protect the wood from spills.
- Rubber Feet: Attach small rubber feet to the bottom of the stand’s legs. This elevates the wood slightly from the floor, preventing moisture absorption and allowing for air circulation, which can prevent rot or mildew buildup.
Maintenance Tips for 2026
To keep your DIY Wooden Plant Stands looking their best for years to come:
- Regular Cleaning: Wipe down the stands regularly with a damp cloth to remove dust and dirt. Avoid harsh chemical cleaners, as they can damage the finish.
- Address Spills Immediately: Wipe up any water spills or condensation from pots as soon as possible to prevent water stains or damage to the wood.
- Reapply Finish: Depending on the type of finish and how much exposure the stand gets to moisture, you may need to reapply a protective coat every few years. Oil finishes are particularly easy to refresh.
- Monitor for Pests: Inspect your stands for any signs of wood-boring insects or mold, especially if plants have had pest issues. Early detection can prevent significant damage.
- Inspect Fasteners: Periodically check screws and joints for looseness. Tighten any loose screws to maintain structural integrity.
By paying attention to these finishing touches and committing to routine maintenance, your custom DIY Wooden Plant Stands: Elevate Your Indoor Garden with Custom Heights and Styles will remain beautiful and functional additions to your indoor garden for many seasons.
Conclusion
Creating your own DIY Wooden Plant Stands: Elevate Your Indoor Garden with Custom Heights and Styles is a deeply rewarding endeavor that merges the art of woodworking with the joy of cultivating indoor plants. From the initial spark of an idea to the final placement of a flourishing potted plant, each step in the process offers an opportunity for creativity, learning, and personal expression. This guide has provided you with the knowledge and confidence to embark on projects ranging from simple minimalist designs to more intricate tiered and hanging structures, all while using affordable and sustainable materials.
The benefits extend beyond mere aesthetics. Custom-built stands ensure your plants receive optimal light and air circulation, contributing to their health and vitality. Furthermore, by choosing to build rather than buy, you embrace a sustainable approach to home decor, reduce waste, and gain the satisfaction of crafting something unique and enduring with your own hands.
As you look around your indoor garden in 2026, imagine the possibilities. A corner transformed by varying plant heights, a windowsill made vibrant with multiple levels of greenery, or a hanging vine gracefully cascading from a bespoke wooden perch. These are the spaces that reflect your passion and skill.
Actionable Next Steps:
- Start Small: If you’re new to woodworking, begin with a simple minimalist plant stand. This will allow you to practice basic cuts, sanding, and assembly techniques.
- Gather Your Tools: Invest in a few essential hand tools. Remember, you don’t need a full workshop to start. Consider exploring resources like our guide on [DIY coffee table plans](https://woodcraftwiz.com/diy-coffee-table-plans-15-beginner-friendly-designs-for-your-home-in-2025 – Wood Craft Wiz) for other beginner-friendly projects that use similar tools.
- Source Sustainable Wood: Look for local lumberyards, reclaimed wood suppliers, or even use scrap wood from other projects. This not only saves money but also promotes eco-conscious crafting. Don’t forget to check out Turning Shop Scraps into Design Features for inspiration on utilizing offcuts.
- Experiment with Finishes: Play around with different oils, stains, or paints on scrap pieces to find the perfect look that complements your plants and home.
- Share Your Creations: Join online woodworking communities or plant enthusiast groups to share your finished plant stands and gather inspiration for future projects.
Embrace the journey of creating beautiful and functional DIY Wooden Plant Stands and watch your indoor garden flourish like never before.
