
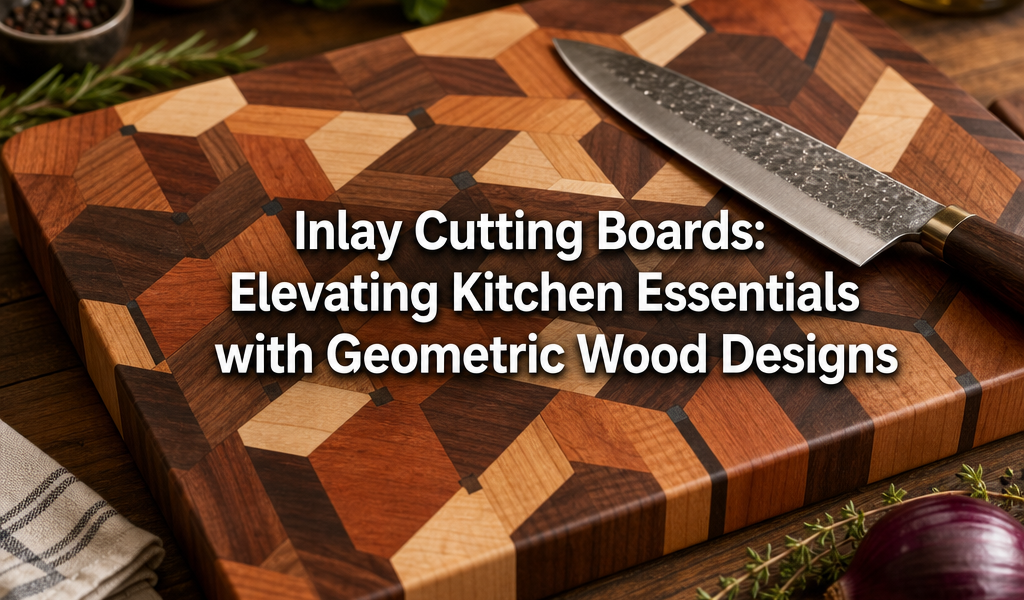
The average kitchen cutting board, a humble workhorse, often goes unnoticed beyond its utilitarian purpose. Yet, in 2026, a growing appreciation for artisanal craftsmanship is transforming this essential tool into a captivating piece of functional art. This transformation is largely driven by the rising popularity of Inlay Cutting Boards: Elevating Kitchen Essentials with Geometric Wood Designs. These boards, far from simple planks of wood, represent a fusion of advanced woodworking techniques, artistic vision, and practical durability, creating marketable pieces that stand out in any culinary space. The intricate process of embedding contrasting woods and epoxy, utilizing precise router methods and meticulous alignment jigs, culminates in stunning, food-safe creations that are both beautiful and robust.
Key Takeaways
- Inlay cutting boards combine artistic design with practical kitchen functionality through geometric wood patterns.
- Advanced techniques like router work, precise joinery, and custom jigs are crucial for creating high-quality inlays.
- Contrasting wood species and food-safe epoxy are key materials for achieving striking visual effects and durable finishes.
- Careful sealing with food-safe oils and waxes is essential to protect the board and ensure its longevity and hygiene.
- Crafting these boards offers significant market potential for woodworkers due to their unique aesthetic and utility.
The Art and Science of Geometric Wood Inlays in Cutting Boards
Creating Inlay Cutting Boards: Elevating Kitchen Essentials with Geometric Wood Designs is a sophisticated woodworking endeavor that blends precision engineering with artistic expression. The core concept involves embedding pieces of contrasting wood—and sometimes other materials like epoxy—into a base cutting board to form intricate patterns. This technique transcends simple edge gluing, requiring a deep understanding of wood movement, router mechanics, and meticulous assembly. The goal is not just a pattern, but a seamless integration that enhances both the board’s aesthetic and its structural integrity.
The foundation of any exceptional inlay cutting board lies in material selection. Hardwoods known for their durability and stability, such as maple, walnut, cherry, and sometimes exotic species like padauk or wenge, are ideal. The contrast between these woods is paramount for the geometric designs to truly pop. For instance, the stark difference between light maple and dark walnut creates visually arresting patterns that draw the eye.
Essential Tools and Techniques for Precise Inlays
Achieving the sharp, clean lines and tight fits characteristic of high-quality inlay work demands specific tools and honed techniques.
- Router and Router Table: These are indispensable. A high-quality router equipped with precision bits is used to carve the pockets and shape the inlay pieces. A router table provides the stability and control necessary for repeatable cuts, which is critical for complex geometric patterns. For more on maximizing precision, explore Choosing and Using Router Tables: Maximizing Precision and Safety for edge profiling and joinery.
- Precision Jigs and Templates: Custom-made jigs are often necessary to guide the router accurately for intricate shapes like diamonds, squares, or chevrons. These jigs ensure consistent angles and dimensions across multiple inlay pieces, leading to a professional finish.
- Band Saw or Table Saw: For initial sizing and breaking down larger stock into manageable pieces for inlay elements. Mastering the Band Saw: Essential Techniques for Resawing, Curve Cutting, and Joinery Preparation can offer valuable insights here.
- Thickness Planer/Sander: To achieve consistent thickness for both the base board and inlay elements, ensuring a flush finish.
- Clamps: A wide array of clamps is needed for strong, even pressure during glue-up.
- Food-Safe Adhesives: Waterproof wood glue is essential for the longevity of a cutting board that will regularly be exposed to moisture.
- Food-Safe Epoxy: For filling small voids, creating accent lines, or even larger design elements, epoxy adds a modern touch and exceptional durability.
- Scrapers and Sanders: For flattening and smoothing the board after assembly, preparing it for finishing.
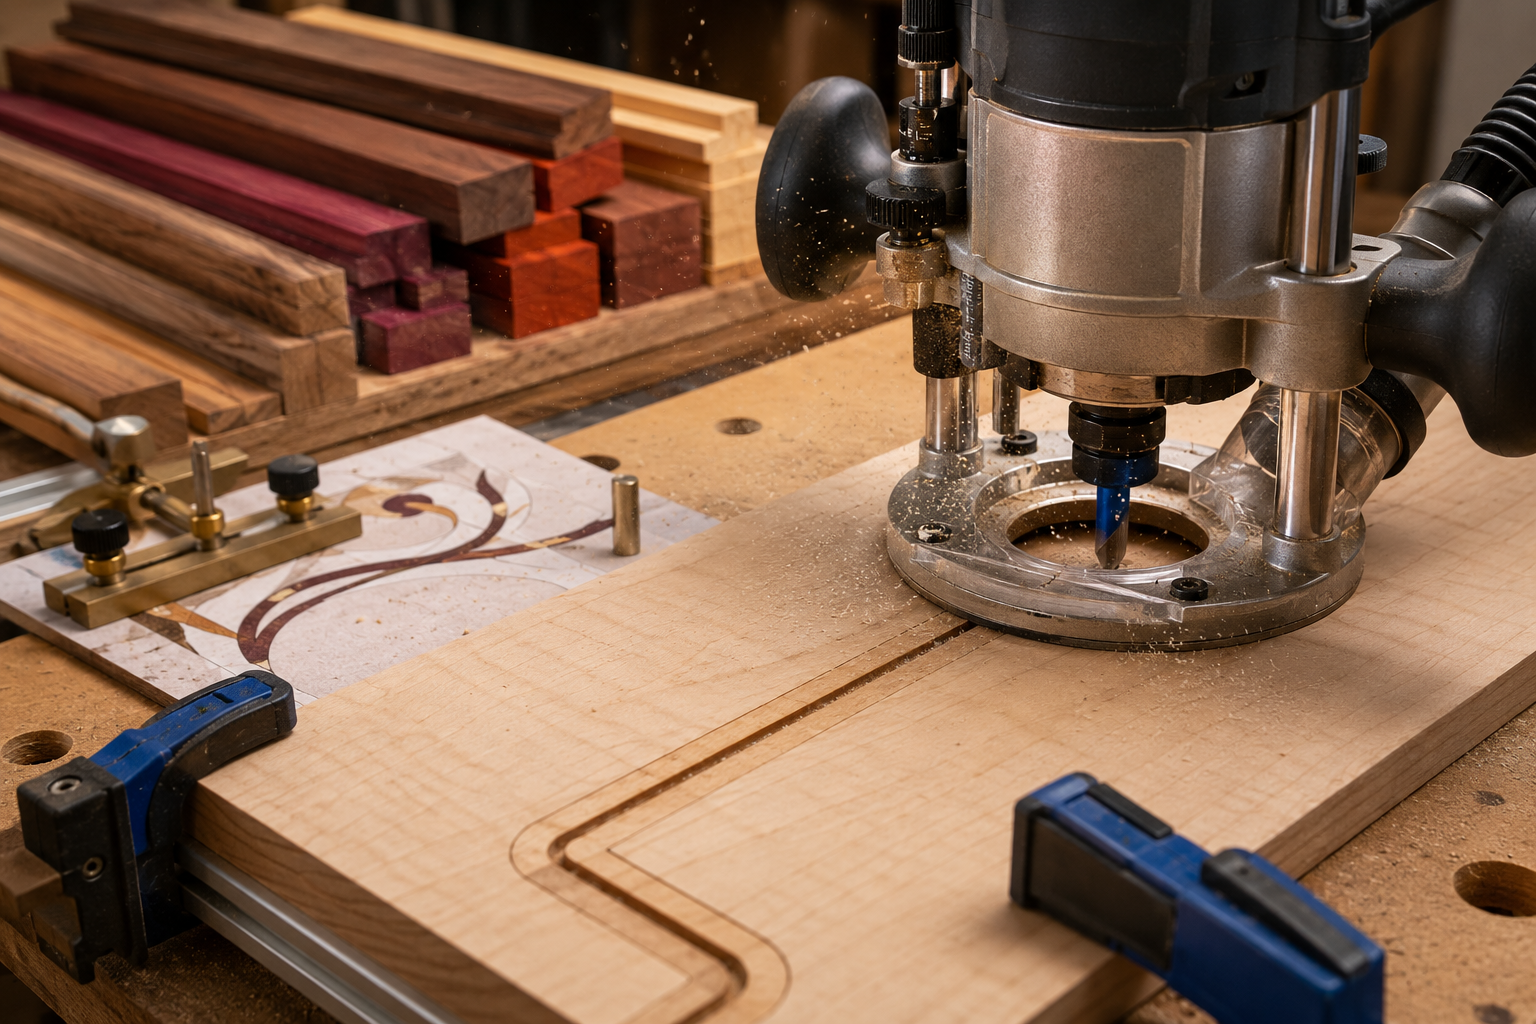
The process typically begins with designing the geometric pattern. This often involves sketching, computer-aided design (CAD), or using specialized woodworking software to plan the layout and dimensions of each inlay piece. Once the design is finalized, the base board is prepared, and the pockets for the inlay are routed. Simultaneously, the inlay pieces are cut and shaped to fit precisely into these routed areas. This intricate dance of cutting and fitting is what gives inlay boards their character.
Crafting Marketable Inlay Cutting Boards: Techniques and Considerations
The journey from raw wood to a stunning, marketable inlay cutting board involves several critical stages, each demanding careful attention to detail. The focus here is not just on creating a functional item, but on producing a piece that possesses an elevated aesthetic and stands as a testament to craftsmanship, making it attractive to buyers in 2026.
Advanced Inlay Techniques for Visual Impact
Beyond simple geometric shapes, advanced inlay techniques can dramatically enhance the visual appeal of these kitchen essentials.
- Segmented and End-Grain Inlays: Combining inlay techniques with segmented or end-grain construction (as discussed in Ultimate Guide to Wooden Cutting Boards: End-Grain Patterns, Tool Sharpening, and Food-Safe Finishes) creates complex, mesmerizing patterns. End-grain boards offer superior durability and are gentler on knife edges, making them a premium product. Adding an inlay to an end-grain board pushes the artistic boundaries further.
- Veneer Inlays: While less common for the primary cutting surface due to durability concerns, thin wood veneers can be used for decorative inlays on the sides or non-cutting areas of a board, offering a vast array of wood species and colors without adding significant thickness.
- Epoxy Infills and Accents: Food-safe epoxy is a game-changer for inlay cutting boards. It can be used to:
- Fill Gaps: Even with the most precise routing, minor gaps can occur. Epoxy ensures a perfectly smooth surface.
- Create Contrasting Lines: Thin lines of colored epoxy between wood segments can define geometric patterns, adding a modern, vibrant touch.
- Embed Objects: Small, decorative elements (like metal powder or even small natural objects) can be embedded in epoxy within the inlay, though care must be taken to ensure food safety and smooth surfaces.
- Mitered Inlays: For patterns that wrap around corners or create frames, perfectly mitered inlay pieces are essential, demanding precise angle cuts.
| Wood Species | Color Contrast (with Maple) | Hardness (Janka Scale) | Common Uses in Inlays |
|---|---|---|---|
| Hard Maple | Light, Creamy | 1450 lbf | Base, light inlay |
| Black Walnut | Dark Brown, Rich | 1010 lbf | Contrasting inlay |
| Cherry | Reddish-Brown | 950 lbf | Warm inlay, accents |
| Padauk | Bright Red/Orange | 1970 lbf | Vibrant accent inlay |
| Wenge | Very Dark Brown/Black | 1630 lbf | Strong contrast inlay |
Precision Routing and Alignment Jigs
The secret to flawlessly integrated inlays lies in the precision of the routed pockets and inlay pieces.
- Template Creation: Begin with a high-quality template of the desired inlay shape. This can be made from MDF, plywood, or even acrylic.
- Routing the Pocket: Use a guided router bit (e.g., a bearing-guided flush trim bit) with the template to accurately rout the recess in the base board. Depth consistency is crucial.
- Routing the Inlay Piece: This is where things get clever. A slightly different technique is often used for the inlay piece itself. Sometimes, a “double-sided tape” method is used, where the inlay material is temporarily adhered to a sacrificial board. The router, again guided by a template (or the same template with a slightly different bit or bushing), then cuts the inlay piece. The key is ensuring the inlay piece is cut slightly smaller than the pocket by the exact width of the router bit’s offset or guide bushing, allowing for a tight fit when inserted.
- Dry Fitting and Adjustments: Before applying any glue, always dry-fit the inlay pieces. They should fit snugly without being forced. Minor adjustments can often be made with careful sanding or a sharp chisel.
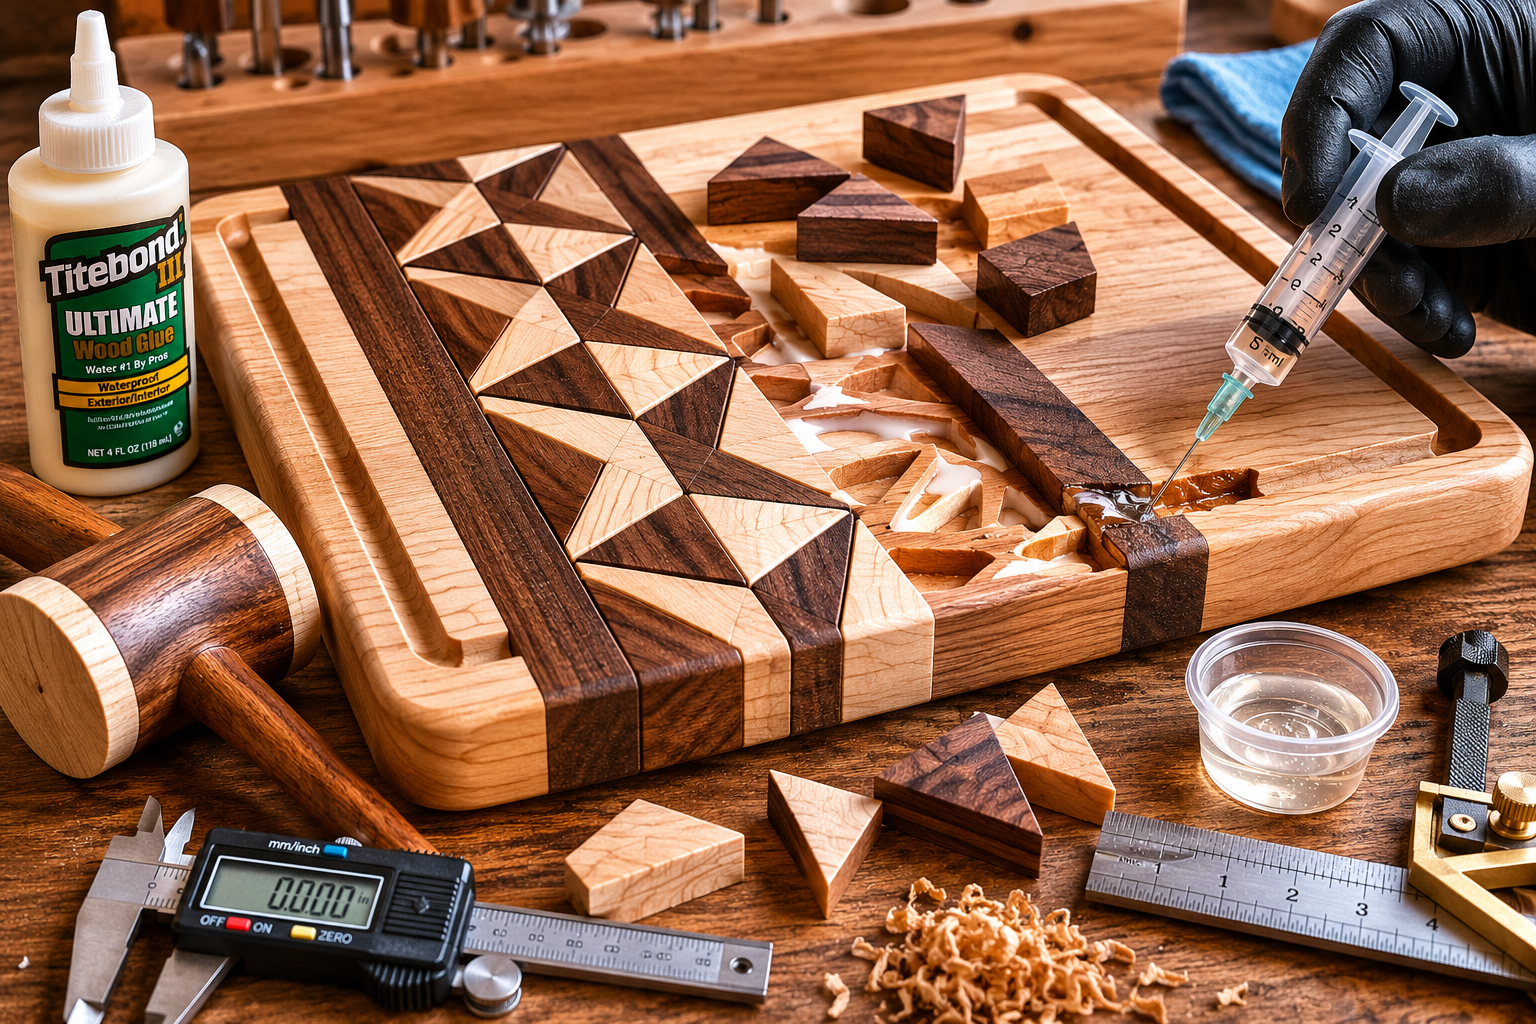
For complex patterns, such as those found in “Warm Minimalism in Woodworking: Balancing Clean Design with Textured Natural Materials” (https://woodcraftwiz.com/warm-minimalism-in-woodworking-balancing-clean-design-with-textured-natural-materials/), the use of specialized jigs ensures perfect alignment and repeatability. These might include sleds for repetitive cuts on a table saw or fixed router jigs designed to cut specific geometric elements.
Finishing and Marketability of Inlay Cutting Boards
Once the intricate inlay work is complete and the glue has fully cured, the focus shifts to preparing the board for use and ensuring its long-term durability and aesthetic appeal. The finishing process is crucial, not only for protection but also for bringing out the natural beauty of the various wood species and any epoxy elements.
The Importance of Food-Safe Finishes
For any kitchen item that will come into contact with food, selecting a food-safe finish is paramount. This means avoiding lacquers, varnishes, and other finishes that are not designed for direct food contact. The most common and recommended finishes for cutting boards are:
- Mineral Oil: A non-toxic, food-grade oil that penetrates the wood, preventing it from drying out, cracking, and staining. It needs to be reapplied regularly.
- Beeswax/Paraffin Wax Blends: Often combined with mineral oil to create a “board butter” or “board conditioner.” The wax provides an additional layer of protection and a subtle sheen, helping to seal the wood and repel water.
- Walnut Oil or Tung Oil: These are natural, food-safe drying oils that polymerize within the wood, offering more durable protection than mineral oil alone. However, they can take longer to cure, and walnut oil is an allergen concern for some.
When applying the finish, liberal coats of mineral oil should be applied until the wood is saturated, often requiring several applications over 24-48 hours. The board should then be wiped clean and buffed, followed by a coat of board butter. This process enhances the grain of the wood, making the inlaid patterns pop with vibrant clarity. For projects like Profitable Beginner Woodworking: Picture Frames, Cutting Boards, and Kitchen Products That Sell Fast, proper finishing is key to product longevity and customer satisfaction.
Maintaining and Marketing Your Inlay Cutting Board
Proper care is vital for the longevity of an inlay cutting board. Customers should be advised to:
- Hand wash only: Never put a wooden cutting board in a dishwasher.
- Dry immediately: Do not let it soak in water.
- Reapply finish regularly: Depending on use, monthly reapplication of mineral oil or board butter keeps the wood hydrated and protected.
- Avoid extreme temperatures: Sudden changes can cause cracking.
From a marketing perspective, Inlay Cutting Boards: Elevating Kitchen Essentials with Geometric Wood Designs offer significant potential. Their unique aesthetic positions them as premium products, appealing to consumers who value craftsmanship, unique kitchen decor, and high-quality tools. Highlighting the type of wood used, the geometric pattern’s complexity, and the food-safe finishing process can justify a higher price point. Professional photography showcasing the board in an aspirational kitchen setting, alongside fresh ingredients, effectively communicates its value as both a functional item and a piece of art. Consider the appeal of a beautifully designed cutting board as a central element in a kitchen, similar to how Wooden Fruit Bowls: Lathe-Turned and Segmented Builds for Kitchen Statement Pieces become focal points.
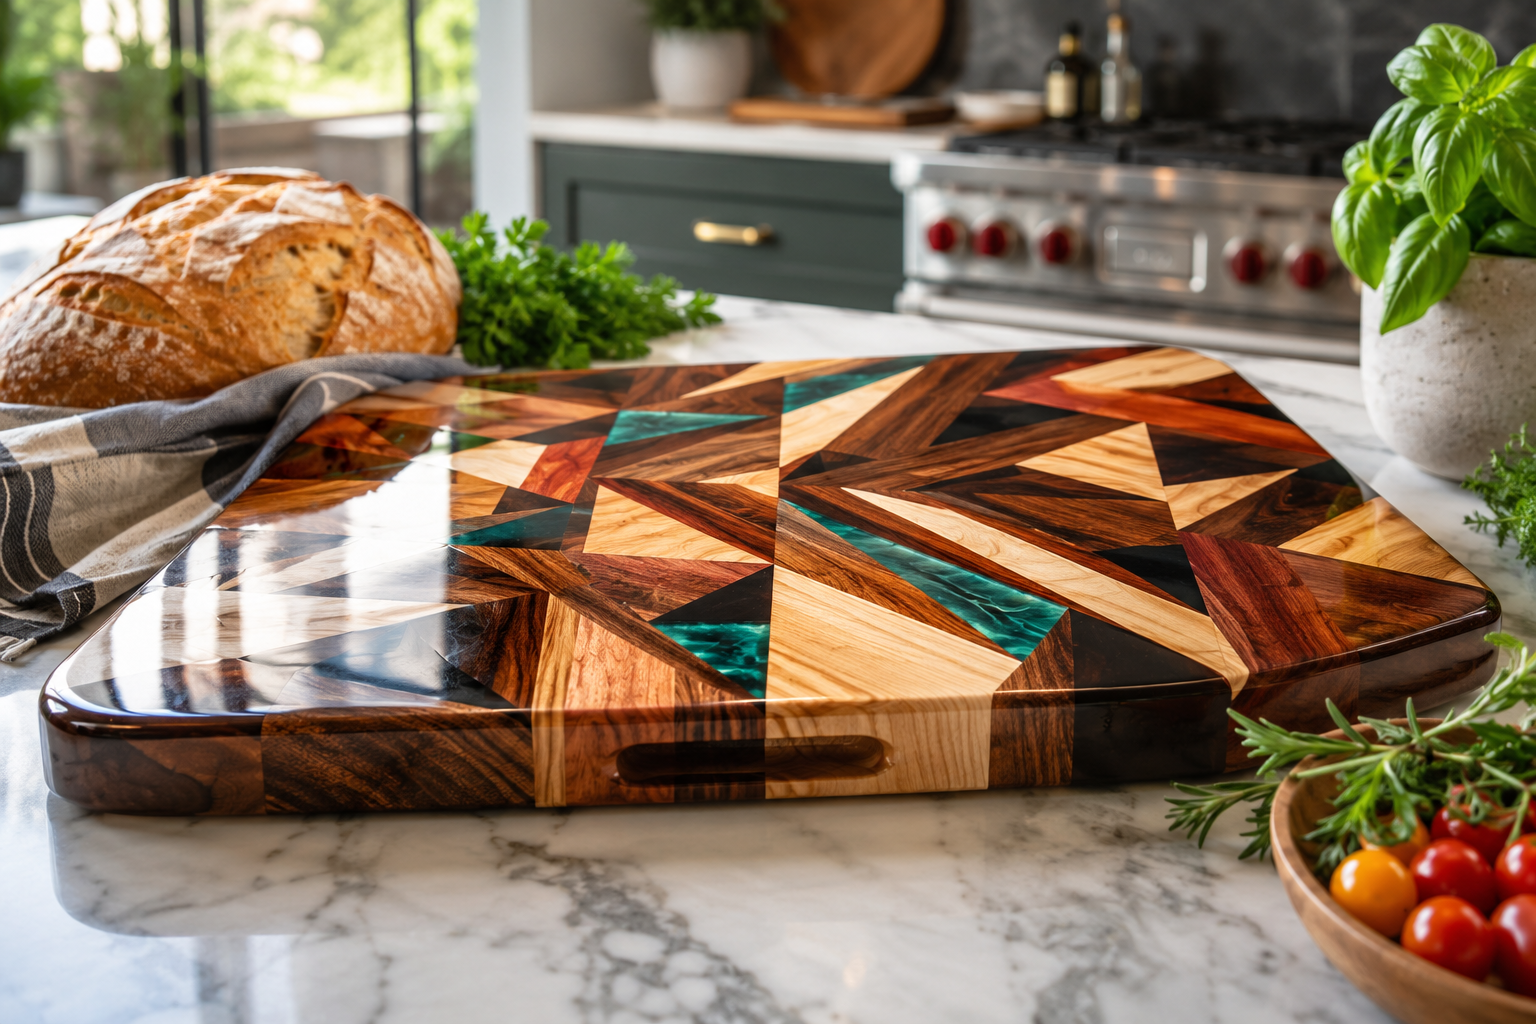
In 2026, customization is also a strong selling point. Offering personalized engravings or bespoke geometric designs can further enhance marketability, allowing customers to commission a truly unique piece that aligns with their personal style or makes for an unforgettable gift.
Conclusion
Inlay cutting boards transcend their simple utility, emerging as sophisticated pieces of functional art that beautifully demonstrate the power of Inlay Cutting Boards: Elevating Kitchen Essentials with Geometric Wood Designs. From the meticulous planning of geometric patterns and the precision of router work to the careful selection of contrasting hardwoods and the application of food-safe finishes, each step contributes to a marketable product that is both durable and visually stunning. For woodworkers, mastering these advanced techniques opens a pathway to creating highly desirable kitchen essentials that command attention and respect. As consumers increasingly seek unique, handcrafted items that blend utility with aesthetic appeal, the demand for these exquisitely designed cutting boards will only continue to grow. Embrace the challenge, hone your skills, and transform a kitchen staple into a true masterpiece.
Actionable Next Steps:
- Invest in Precision Tools: Prioritize a high-quality router and consider a dedicated router table for accurate, repeatable cuts.
- Experiment with Wood Combinations: Explore various hardwood species to understand their contrasting colors and grain patterns.
- Master Jig Building: Develop custom jigs for specific geometric patterns to ensure perfect alignment and tight joints.
- Practice Food-Safe Finishing: Become proficient in applying mineral oil and wax blends to achieve a durable, beautiful, and safe finish.
- Develop a Strong Portfolio: Document your inlay cutting board creations with high-quality photography to showcase your craftsmanship and attract potential buyers.
SEO Meta Title: Inlay Cutting Boards: Geometric Wood Designs for Elevated Kitchens SEO Meta Description: Discover how inlay cutting boards transform kitchens with stunning geometric wood designs. Learn techniques, materials, and finishing for these functional art pieces.