
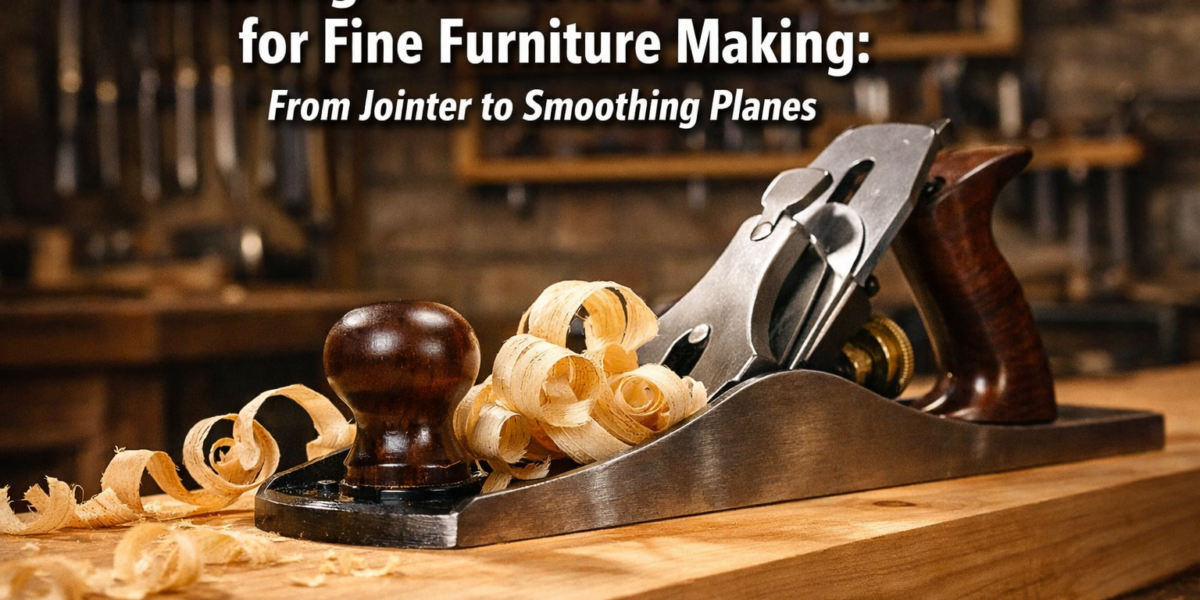

The whisper of wood shavings falling to the workshop floor, the subtle resistance of a sharp blade gliding across grain, and the transformation of rough lumber into a silky-smooth surface – these are the hallmarks of a master woodworker wielding traditional hand planes. In an era dominated by power tools, the meticulous craft of Mastering Traditional Hand Planes for Fine Furniture Making: From Jointer to Smoothing Planes stands as a testament to precision, patience, and an unparalleled connection to the material. This article delves deep into the nuances of selecting, tuning, and expertly utilizing these timeless instruments to achieve a level of finish and accuracy that machines often struggle to replicate.
Key Takeaways
- Essential Plane Types: Understand the distinct roles of jointer, fore, jack, and smoothing planes in preparing and refining lumber.
- Precision Tuning: The critical importance of sharpening and setting plane irons for optimal performance and flawless results.
- Technique Mastery: Learn the proper stance, grip, and motion for effective and efficient hand planing across different applications.
- Surface Perfection: Discover how various planes contribute to achieving perfectly flat, square, and glass-smooth surfaces for high-end furniture.
- Beyond the Machine: Recognize the unique advantages and tactile satisfaction of traditional hand planing in fine woodworking.
Understanding the Arsenal: Types of Traditional Hand Planes for Furniture Making
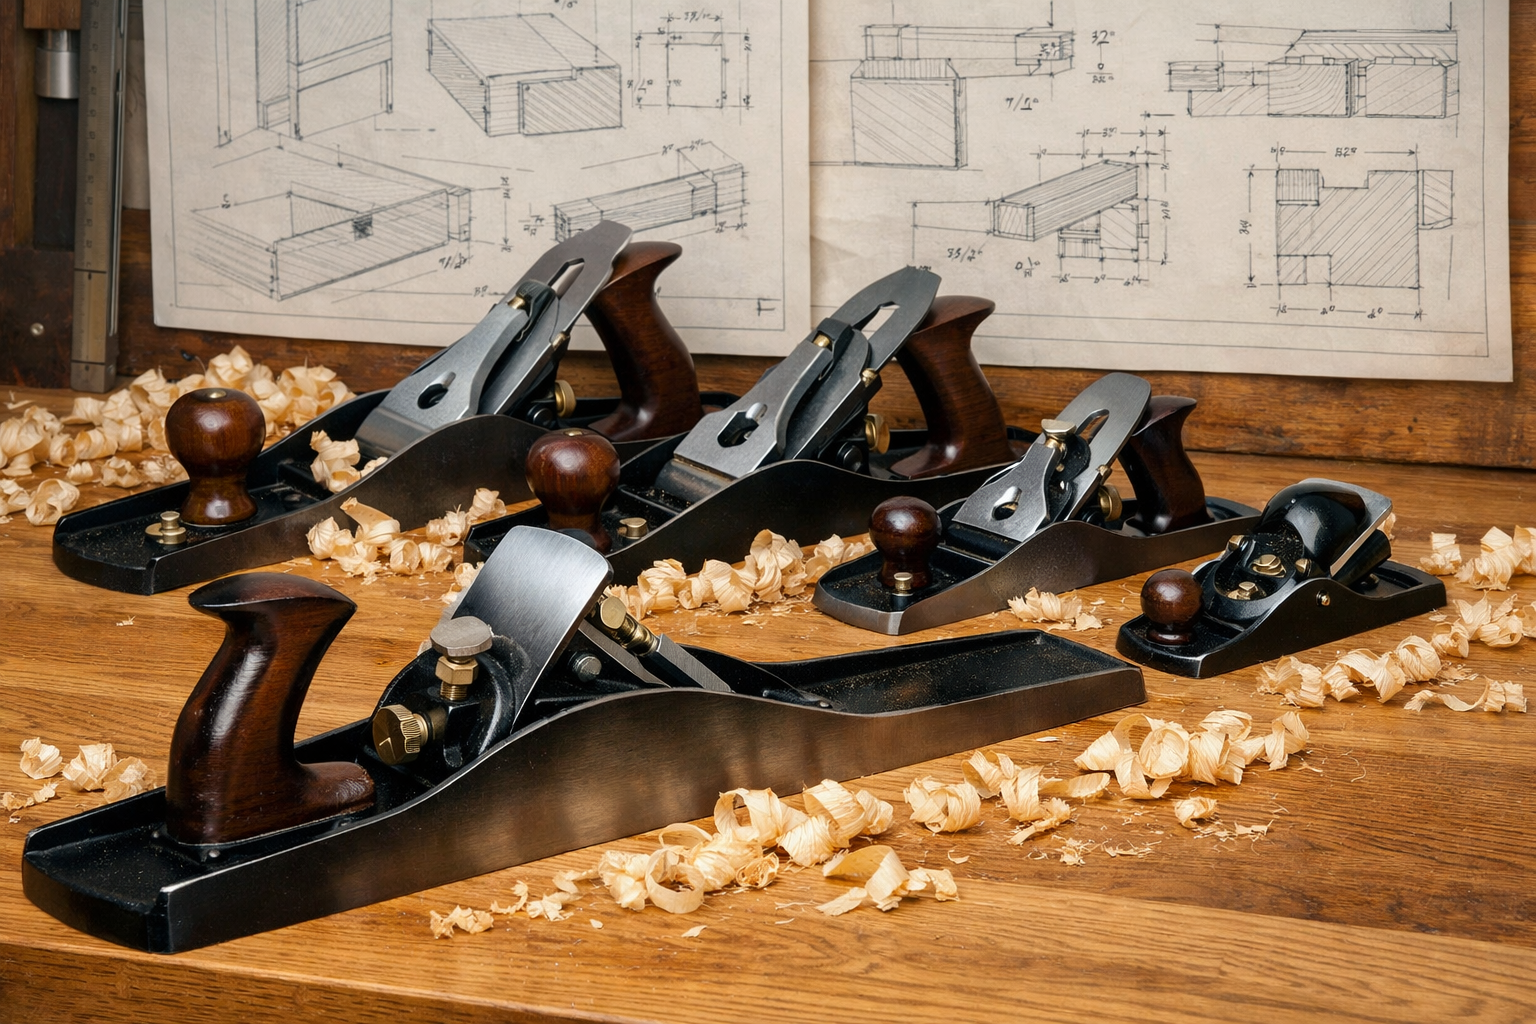 The journey to Mastering Traditional Hand Planes for Fine Furniture Making: From Jointer to Smoothing Planes begins with a clear understanding of each plane’s purpose. These tools are not interchangeable; rather, they form a synergistic system, each performing a specific function in the process of preparing and refining wood surfaces.

Jointer Planes (No. 7 & 8)
The jointer plane is the workhorse for creating perfectly straight edges and flat faces on longer boards. Typically the longest planes (18 to 24 inches or more), their extended sole acts as a reference, bridging high and low spots to establish a true, flat plane. A perfectly jointed edge is crucial for tight-fitting glue joints in wide panels or carcases. Think of it as the foundational tool for preparing your lumber. Without flat, square stock, subsequent operations will be compromised. For creating perfectly square edges for joinery, exploring guides like Mastering Dovetail Joints with Hand Tools: A Step-by-Step Guide for can further enhance your understanding of precise stock preparation.
Fore Planes (No. 6) and Jack Planes (No. 5)
These planes are the next step down in size from jointers, serving as intermediate tools for stock removal. The fore plane, often around 18 inches long, is used to flatten longer boards after initial rough milling, bridging some of the gap between the jointer and the jack plane.
The jack plane, typically 14 inches long, is perhaps the most versatile of the bench planes. Its name implies it can “jack of all trades,” and it excels at rapidly removing material to bring boards closer to their final dimensions. A jack plane’s iron is often set with a slight camber (curve) to facilitate aggressive stock removal without digging in at the edges. This makes it ideal for flattening roughsawn lumber or taking down thicker sections before moving to finer planes.
Smoothing Planes (No. 3 & 4)
The smoothing plane is where the magic of a pristine surface truly happens. These smaller planes, usually 8 to 10 inches long, are designed for the final passes that eliminate plane tracks, tear-out, and other imperfections, leaving a surface ready for finish. A smoothing plane’s iron is typically set with a very slight camber or even perfectly straight, with extremely fine shavings being the goal. The sole must be impeccably flat to avoid introducing new irregularities. Achieving a glass-smooth surface with a properly tuned smoothing plane is immensely satisfying and differentiates fine furniture from merely functional pieces.
| Plane Type | Typical Length | Primary Function | Iron Setting | Ideal Use Case |
|---|---|---|---|---|
| Jointer (No. 7/8) | 18-24″ | Establishing flat faces and straight edges on long stock | Straight/very slight camber | Panel glue-ups, milling long boards |
| Fore (No. 6) | 18″ | Heavy stock removal, initial flattening of longer boards | Slight camber | Reducing rough stock to approximate thickness/width |
| Jack (No. 5) | 14″ | General purpose, rapid material removal, initial flattening | Pronounced camber | Dimensioning lumber, removing significant imperfections |
| Smoothing (No. 3/4) | 8-10″ | Final surface refinement, removing plane tracks & tear-out | Straight/very slight camber | Preparing surfaces for finishing, delicate work |
The Crucial Art of Tuning and Sharpening Traditional Hand Planes
 Even the finest plane is useless without proper tuning and a razor-sharp iron. This step is non-negotiable for Mastering Traditional Hand Planes for Fine Furniture Making: From Jointer to Smoothing Planes. A dull or improperly set plane will tear, chatter, or simply refuse to cut, leading to frustration and poor results.
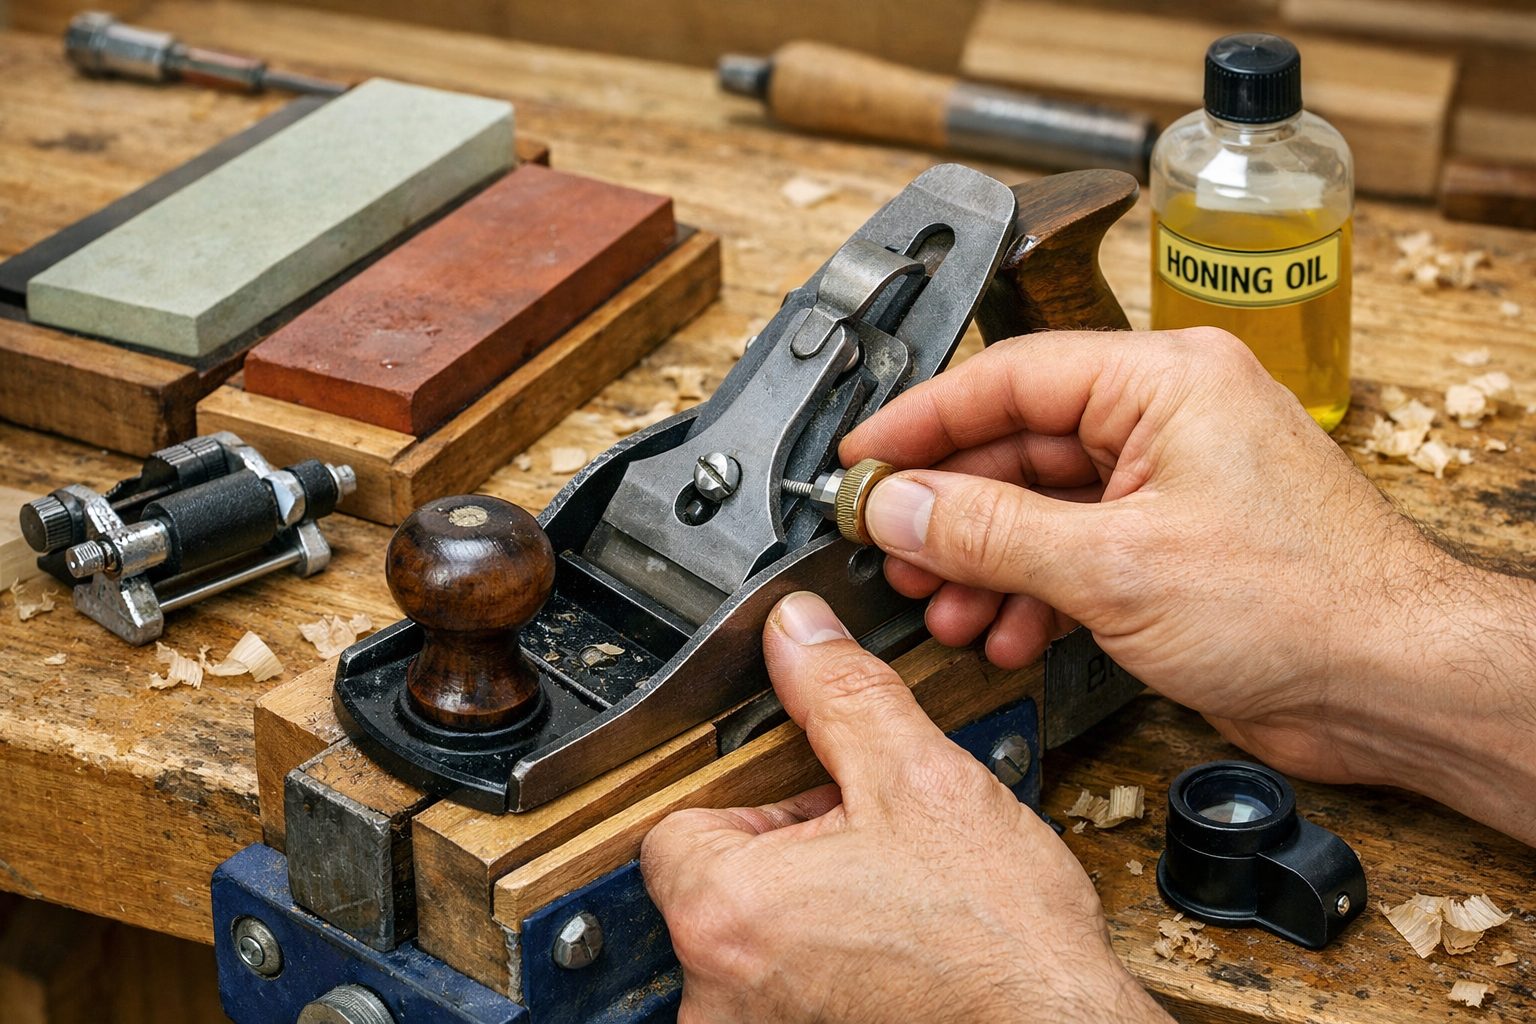
Achieving a Razor Edge
The sharpness of your plane iron is paramount. It should be sharp enough to shave hair from your arm or effortlessly slice end grain. This is achieved through a multi-stage sharpening process:
- Grinding: If the edge is damaged or a new bevel angle is desired, a grinder or coarse sharpening stone (e.g., 1000 grit) is used to establish the primary bevel (typically 25-30 degrees).
- Honing: Progress through increasingly finer sharpening stones (2000, 4000, 8000+ grit) to refine the edge and create a micro-bevel (30-35 degrees). A honing guide can ensure consistent angles.
- Stropping: The final step involves stropping the iron on a leather strop loaded with honing compound to remove any remaining burr and polish the edge to a mirror finish.
Regular honing and stropping are far more efficient than allowing an iron to become completely dull. A quick touch-up can extend the life of a sharp edge significantly. More details on precision tool maintenance can be found in resources like Hand Tool Mastery for Detail Work: Chisels, Hand Planes, and.
Setting the Plane Iron (Blade)
Once razor-sharp, the iron needs to be properly installed and adjusted.
- Chip Breaker: Ensure the chip breaker is tightly seated against the back of the iron, with its edge very close to the cutting edge (1/32″ to 1/16″ for fine work, slightly more for aggressive cuts). This helps curl and break the shavings, preventing tear-out.
- Depth of Cut: The iron should protrude minimally through the sole – often a fraction of a hair’s width for smoothing planes. Too much protrusion leads to aggressive cuts and tear-out; too little, and it won’t cut. Adjust the depth knob incrementally.
- Lateral Adjustment: Check the plane’s mouth from the sole. The cutting edge should appear perfectly parallel to the mouth opening. Use the lateral adjustment lever to correct any skew, ensuring an even shaving across the entire width of the cut.
A properly tuned plane will produce consistent, full-width shavings without chattering or undue effort. It’s a delicate balance that comes with practice but is fundamental to achieving high-quality results in fine furniture making.
Mastering the Stroke: Techniques for Flawless Hand Planing
 With sharp blades and tuned planes, the next step in Mastering Traditional Hand Planes for Fine Furniture Making: From Jointer to Smoothing Planes is perfecting your technique. This involves body mechanics, understanding grain direction, and knowing how to adapt your approach to various planing tasks.
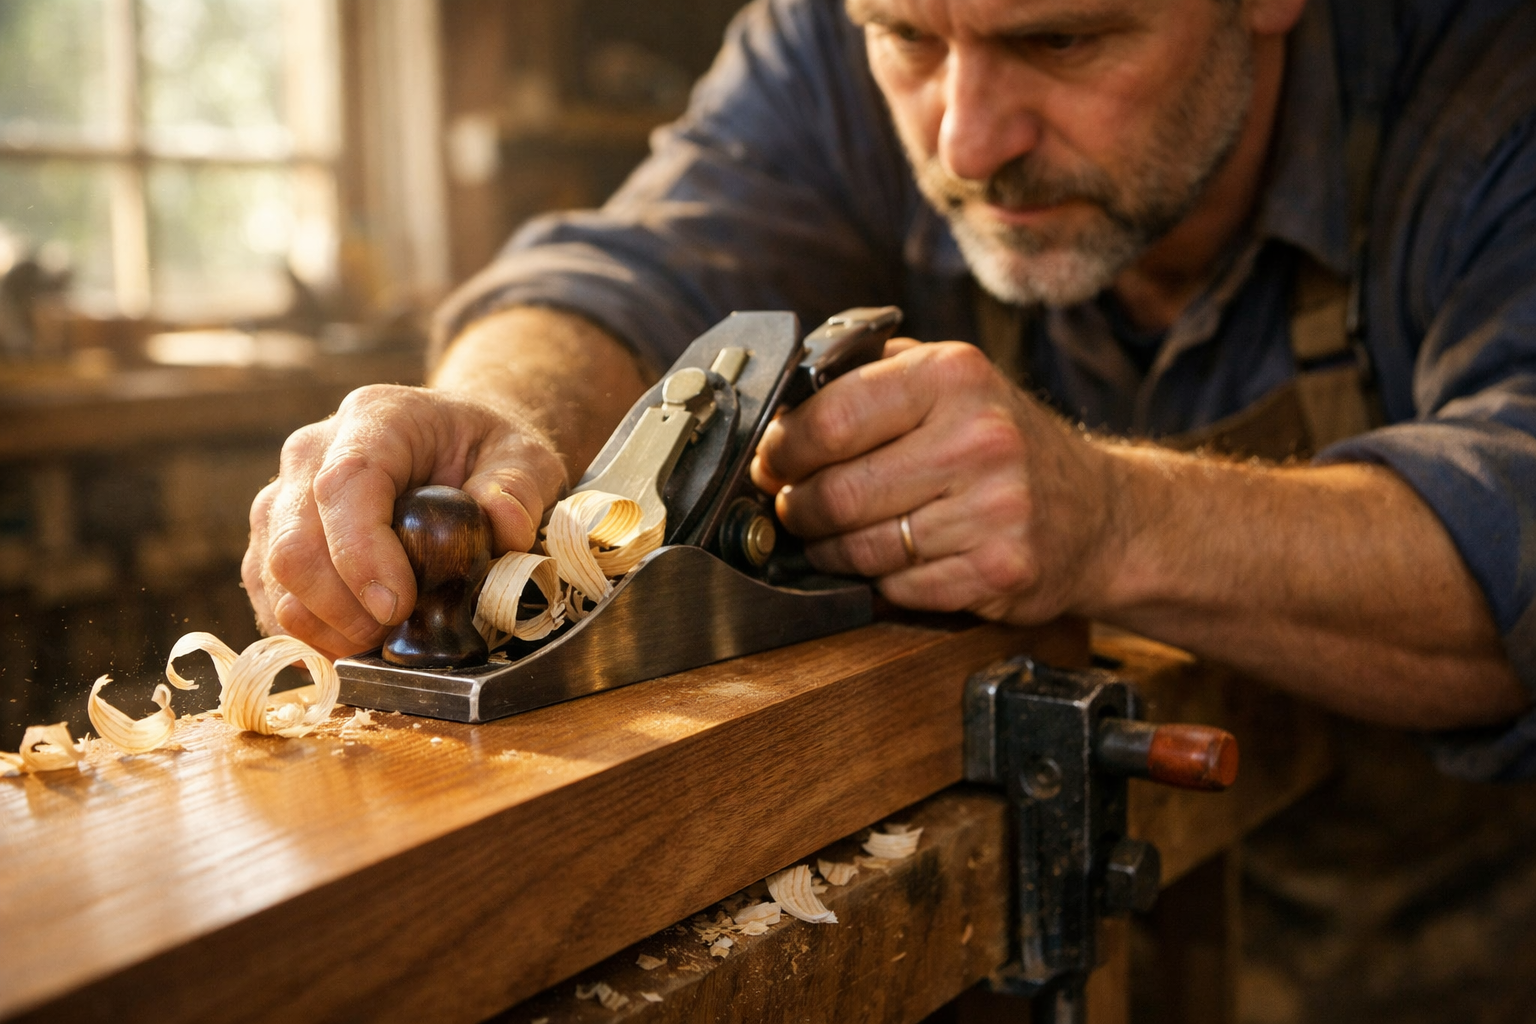
Body Mechanics and Stance
Proper body mechanics are crucial for effective and comfortable planing.
- Stance: Stand with your feet shoulder-width apart, one foot slightly forward. This provides a stable base and allows you to lean into the plane.
- Grip: Hold the plane firmly but not rigidly. The front knob guides the plane, while the rear tote (handle) provides power and propulsion.
- Full Body Engagement: Don’t just push with your arms. Use your entire body weight to drive the plane forward, especially with larger planes. This conserves energy and provides more consistent pressure.
- Follow Through: Maintain consistent downward pressure throughout the stroke. As you finish the stroke, ease pressure on the front knob to prevent the plane from diving at the end of the board. Conversely, start with more pressure on the front to avoid digging in at the beginning.
Reading the Grain and Preventing Tear-Out
Understanding grain direction is paramount. Always plane with the grain. Planing against the grain will lift wood fibers, causing tear-out – a rough, splintered surface.
- Visually Inspect: Look at the wood fibers. They generally point in a direction, like little arrows. Plane in the direction the “arrows” point.
- Test Cuts: If unsure, make a shallow test cut. If it tears, reverse direction.
- Oblique Angling: For challenging grain (e.g., highly figured wood), try planing at an oblique angle (skewing the plane). This creates a slicing action, reducing tear-out.
- Scrub Plane for Roughing: For initial heavy stock removal, a scrub plane (often a jack plane with a heavily cambered iron) can be used more aggressively, even against the grain in short bursts, as the subsequent planes will clean up the surface.
Sequential Planing for Surface Perfection
The process of achieving a perfectly flat and smooth surface is sequential, moving from aggressive stock removal to fine refinement:

- Rough Flattening (Jack Plane/Fore Plane): Use an aggressively set jack or fore plane to quickly remove high spots and bring the board close to flat. Don’t worry about perfection here; focus on efficient material removal.
- Jointing/Squaring (Jointer Plane): For edges, use the jointer plane to create perfectly straight and square edges. For faces, use the jointer or a long-bodied jack plane to establish a true reference face, often by taking diagonal passes initially, then longitudinal passes. This is critical for robust joinery, as detailed in guides on Mastering Dovetail Joinery for Drawers: Hand and Router Meth.
- Dimensioning (Jack Plane): Once one face is flat and one edge is square to it, use the jack plane to bring the board to its approximate thickness and width, referencing the already prepared surfaces.
- Final Smoothing (Smoothing Plane): The last step. With a finely set smoothing plane, take very light, full-length passes with the grain. Aim for transparent, whisper-thin shavings. The goal is to remove any plane tracks from previous operations and leave a silky-smooth, almost polished surface. This stage prepares the wood perfectly for subsequent finishing steps, eliminating the need for extensive sanding.
“The true measure of a hand plane’s mastery is not in the size of the shavings, but in the silence of their fall and the glass-like finish they leave behind.”
This meticulous process yields furniture surfaces with an unparalleled tactile quality and visual depth, distinguishing truly handcrafted pieces. The investment in time and skill reaps rewards far beyond what power tools alone can offer.
Conclusion
Mastering Traditional Hand Planes for Fine Furniture Making: From Jointer to Smoothing Planes is an art form that elevates woodworking from a craft to a true expression of skill and dedication. From the initial flattening of rough lumber with a robust jointer plane to the final, whisper-thin passes of a smoothing plane that reveal the wood’s inherent beauty, each tool plays a vital role. The journey requires patience in learning to tune and sharpen, and practice in developing the subtle hand motions that yield perfect results.
By embracing these timeless tools, woodworkers can achieve a level of precision, surface quality, and connection to their material that is increasingly rare in the modern workshop. The satisfaction of feeling a perfectly planed surface under your hand, knowing it was achieved through skill and a keen understanding of wood, is a unique reward.
Actionable Next Steps:
- Acquire a Core Set: Start with a good quality No. 5 Jack Plane and a No. 4 Smoothing Plane. These two will cover most fundamental tasks.
- Invest in Sharpening Gear: Obtain a set of sharpening stones (at least 1000/4000/8000 grit) and a honing guide. Dedicate time to mastering sharpening.
- Practice on Scrap: Before tackling your fine furniture projects, practice on scrap wood. Experiment with different depths of cut, grain directions, and plane angles.
- Observe and Learn: Watch experienced woodworkers using planes, either in person or through high-quality instructional videos. Pay attention to their stance, grip, and the sound of the plane.
- Build a Project: Apply your newfound planing skills to a small furniture project, perhaps a simple box or a small table. For inspiration, consider building Building Statement Furniture Pieces: Designing and Construct or explore Beginner’s Guide to Essential Woodworking Joints: When to Use Which for relevant joinery challenges.
- Maintain Your Tools: Regularly clean and lightly oil your planes, and frequently touch up the edges of your irons. Proper maintenance ensures longevity and consistent performance.
