
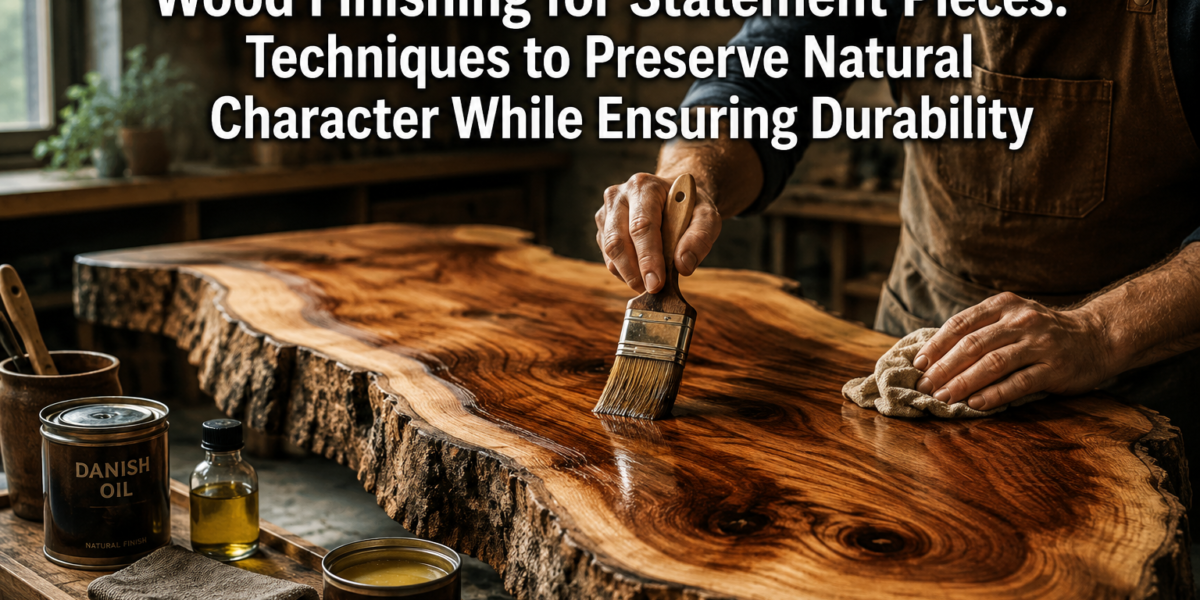

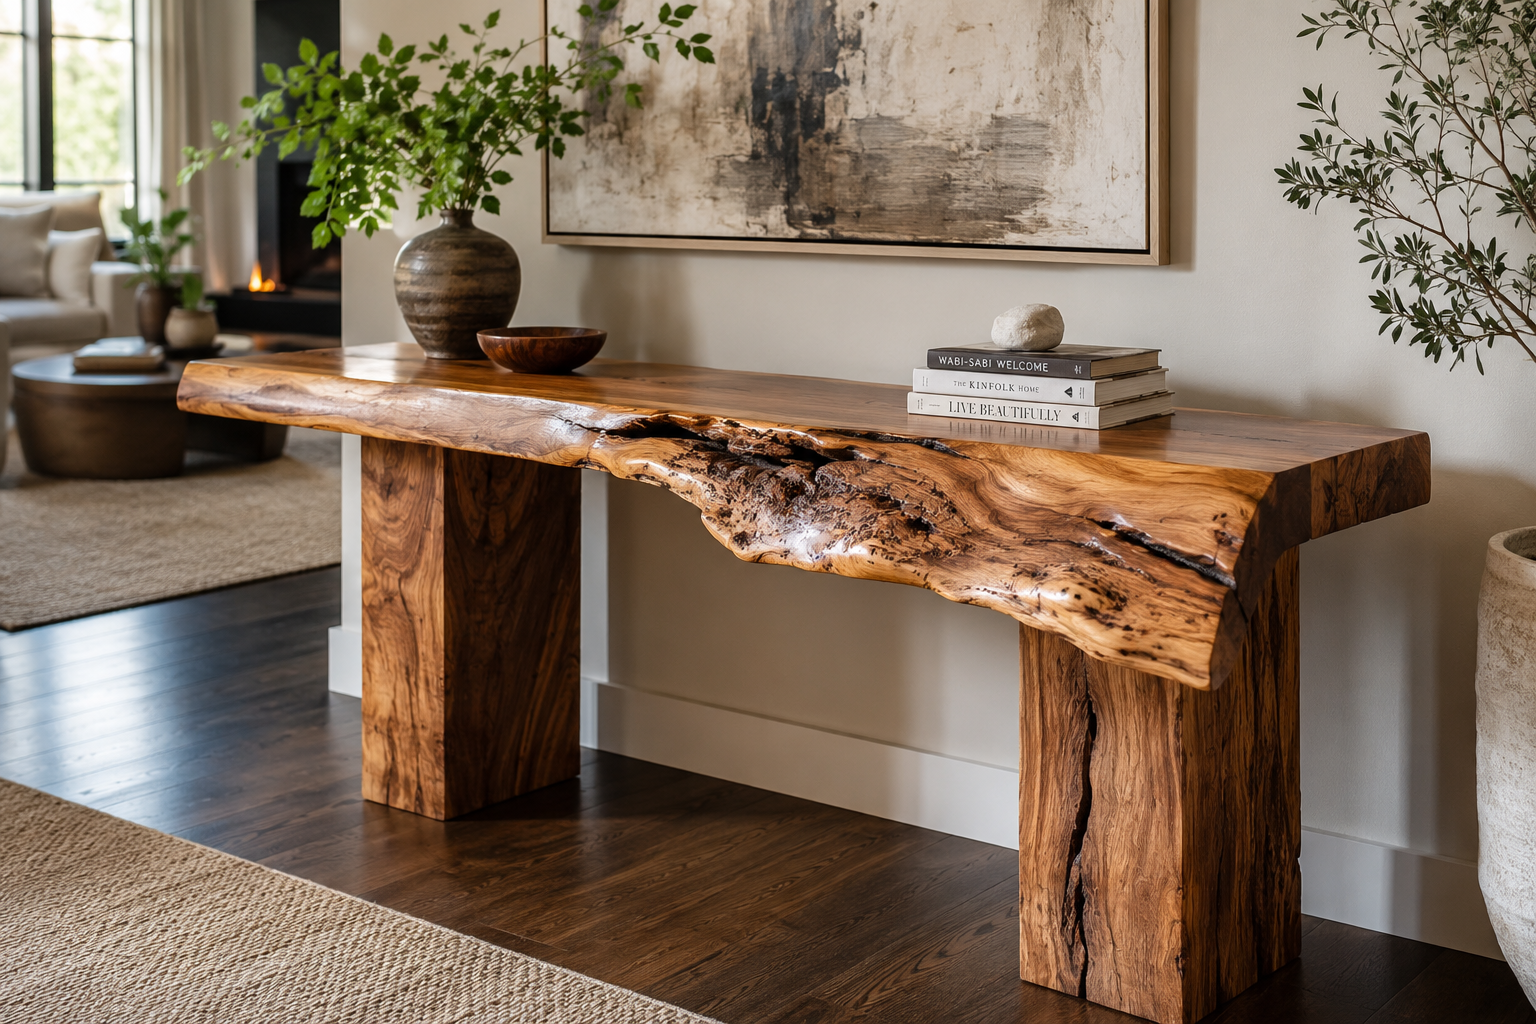
The subtle beauty of natural wood, with its unique grain patterns, knots, and organic imperfections, often forms the core appeal of a statement piece. However, translating this raw beauty into a durable, functional item that withstands the rigors of daily use, or simply the passage of time, presents a significant challenge. Many woodworkers grapple with the dilemma of protecting their creations without masking the very character that makes them special. This article delves into professional finishing techniques that maintain the natural integrity and character of live edge slabs, reclaimed wood, and rough-hewn timbers, while creating durable, food-safe, or high-traffic surfaces. The goal is to achieve a finish that not only preserves but enhances the wood’s innate charm, ensuring longevity without sacrificing authenticity.
Key Takeaways

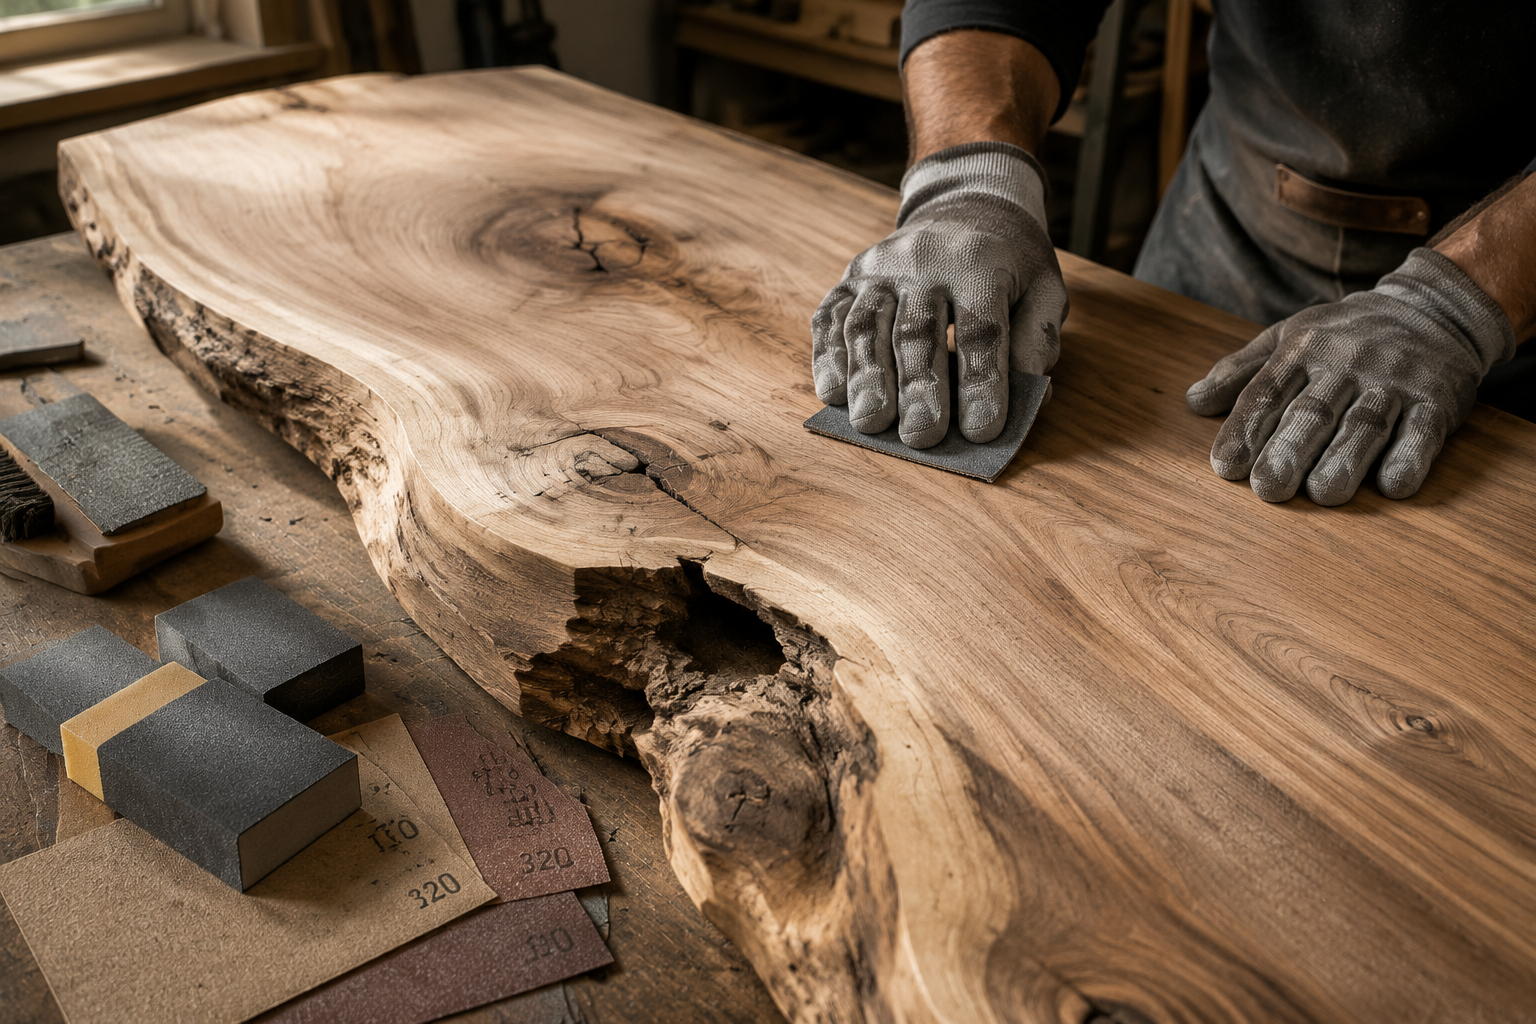
- Pre-finishing preparation, including proper sanding and cleaning, is crucial for any successful wood finish, especially for statement pieces where natural character is paramount.
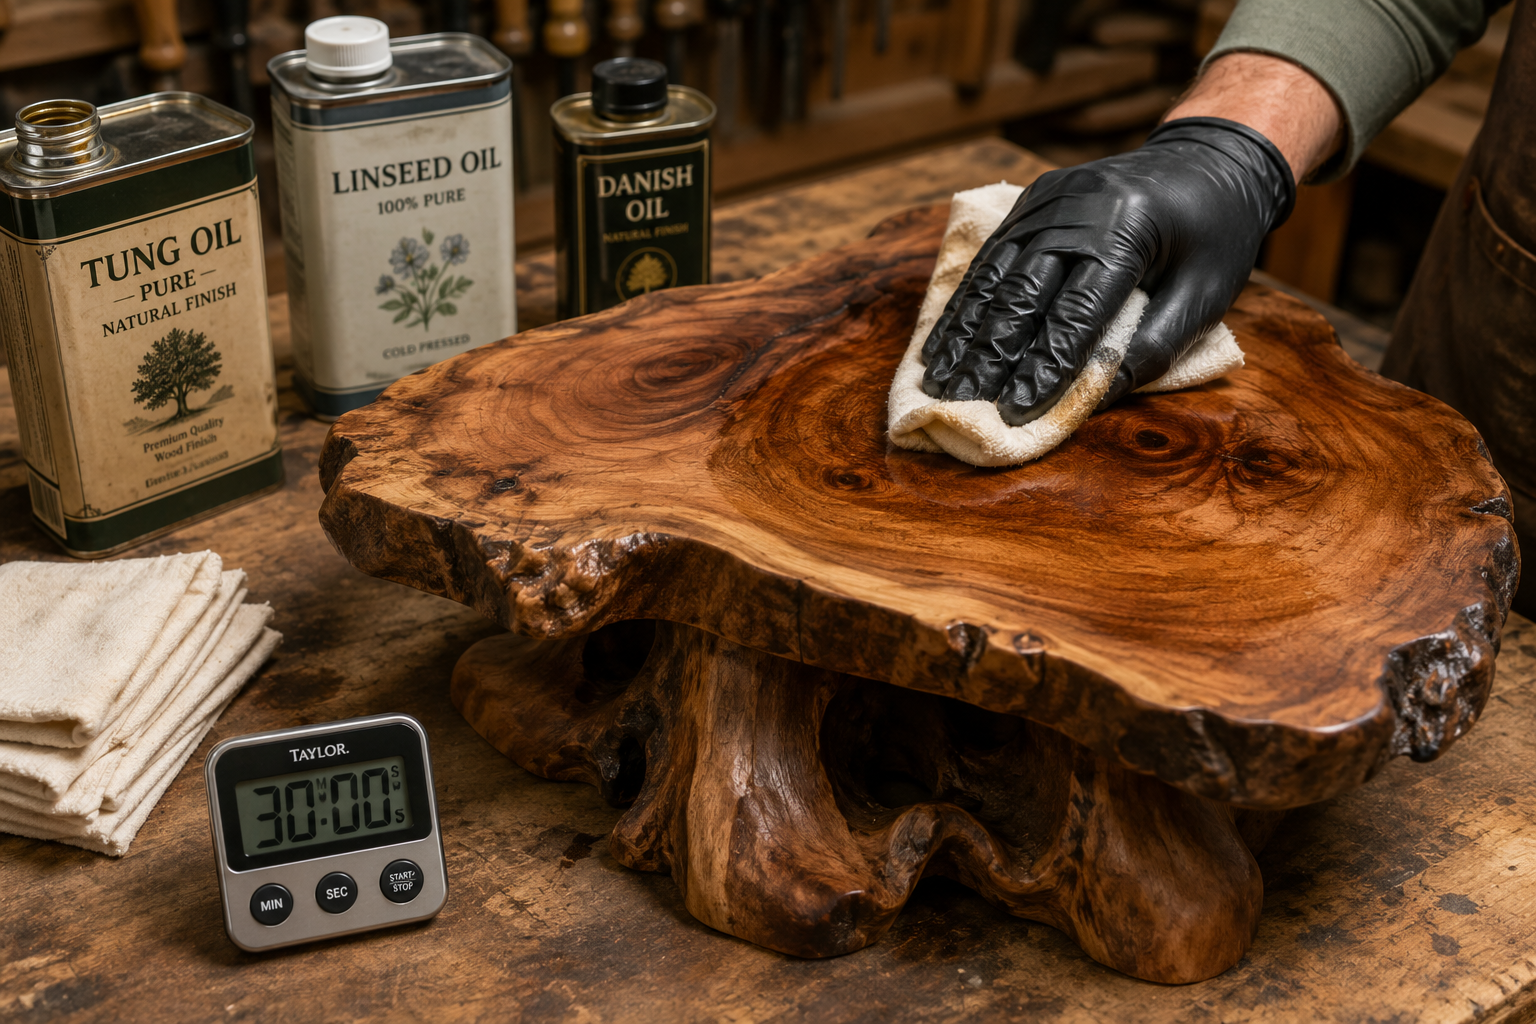
- Penetrating oil finishes (e.g., tung oil, linseed oil, Danish oil) are ideal for preserving natural character by soaking into the wood and enhancing its grain without forming a thick surface film.
- For increased durability, especially on high-traffic or food-contact surfaces, consider hybrid finishes that combine the aesthetic benefits of oils with the protective qualities of harder topcoats like polyurethane or epoxy.
- Specialized techniques like grain filling, burnishing, and selective staining can further enhance specific features or create a desired aesthetic while maintaining wood integrity.
- Proper application, curing, and maintenance are essential for the long-term performance and appearance of any finish, ensuring durability for years to come.
Foundations of Wood Finishing for Statement Pieces: Techniques to Preserve Natural Character While Ensuring Durability
Achieving a high-quality, durable finish that respects the natural character of wood begins long before the first coat of finish is applied. The preparatory stages are perhaps the most critical, laying the groundwork for how well the finish will adhere, penetrate, and ultimately present the wood’s inherent beauty. For statement pieces, where every swirl of grain and unique imperfection tells a story, these steps are non-negotiable.
Understanding Your Wood and Its Needs
Before selecting a finish, it is crucial to understand the type of wood you are working with, its intended use, and the environment it will inhabit. A live edge slab for a dining table requires a different approach than a decorative carved piece.
- Hardness and Porosity: Denser woods like oak or maple absorb finishes differently than softer, more porous woods like pine or poplar. The porosity affects how deeply penetrating oils can soak in and how evenly film-forming finishes will lay.
- Grain Structure: Open-grained woods (e.g., oak, ash) often benefit from grain filling if a perfectly smooth surface is desired, though for a rustic statement piece, the open grain can be part of its charm. Closed-grain woods (e.g., maple, cherry) are generally easier to get a smooth finish on without extensive filling.
- Intended Use: Will the piece be exposed to moisture (kitchen, bathroom)? Will it endure heavy wear and tear (tabletop, flooring)? Is it a decorative item only? These factors dictate the level of protection needed. For surfaces that contact food, such as wooden fruit bowls, food-safe finishes are paramount.
- Environmental Factors: High humidity can cause wood to expand, while low humidity can cause it to contract. Understanding wood movement is key to preventing finish failure over time. For insights into this, consult “Understanding Wood Movement: How to Design and Build Furniture That Lasts Through Seasonal Changes” – https://woodcraftwiz.com/understanding-wood-movement-how-to-design-and-build-furniture-that-lasts-through-seasonal-changes/.
Essential Surface Preparation
No finish, no matter how high-quality, can truly hide poor surface preparation. For statement pieces, where flaws are easily magnified, meticulous preparation is essential.
Sanding: This is the bedrock of a good finish. Start with a coarser grit (e.g., 80 or 100) to remove milling marks, deep scratches, or significant imperfections, especially on raw live edge slabs. Progress systematically through finer grits (120, 150, 180, 220, and sometimes even 320 or 400), ensuring all previous grit scratches are removed before moving to the next. For delicate carvings or highly figured wood, hand sanding may be preferable to power tools to avoid sanding through detail or creating swirl marks.
Dust Removal: After each sanding stage, especially before the final grit and before applying finish, thoroughly remove all dust. A shop vacuum, followed by compressed air, and then a tack cloth or a rag dampened with mineral spirits (or denatured alcohol for water-based finishes) works best. Any residual dust will become embedded in the finish, creating an undesirable texture.
Grain Raising (Optional but Recommended): For water-based finishes, lightly dampen the wood surface with distilled water after final sanding. This will raise any loose wood fibers, which can then be lightly sanded off with your final grit sandpaper once dry. This prevents the finish itself from raising the grain and leaving a rough texture.
Addressing Imperfections: For statement pieces, certain “imperfections” like small checks, knots, or insect trails can enhance character. Decide if these should be filled (e.g., with epoxy for stability) or left natural. If left natural, ensure edges are clean and stable. For larger voids, “Live Edge Slab Selection and Milling: From Raw Wood to Finis” provides excellent guidance on handling raw wood, including natural defects – https://woodcraftwiz.com/live-edge-slab-selection-and-milling-from-raw-wood-to-finished-surfaces-for-tables-and-islands/.
Choosing the Right Finish: Balancing Aesthetics and Protection
The selection of a finish is a critical decision in Wood Finishing for Statement Pieces: Techniques to Preserve Natural Character While Ensuring Durability. The ideal finish will enhance the wood’s natural beauty, provide adequate protection for its intended use, and be durable enough to withstand its environment.
Penetrating Oil Finishes: Enhancing Natural Beauty
Penetrating oils soak into the wood fibers, hardening within the wood rather than forming a film on the surface. This approach highlights the natural grain and texture, giving the wood a deep, rich luster without a plastic-like appearance.
- Tung Oil: A pure, natural oil that offers excellent water resistance and a durable, satin finish. It cures slowly but provides a beautiful, natural look. Multiple thin coats are necessary.
- Linseed Oil (Boiled Linseed Oil – BLO): Another natural oil, BLO dries faster than raw linseed oil due to added metallic dryers. It imparts a warm, golden hue and enhances grain. It offers good protection but is less water-resistant than tung oil. For a deeper dive, see https://woodcraftwiz.com/danish-oil-vs-linseed-the-ultimate-wood-finishing-guide/.
- Danish Oil: Often a blend of oil (linseed or tung), varnish, and a solvent. It penetrates well, offers moderate protection, and is easy to apply. It provides a beautiful hand-rubbed, satin finish.
- Wiping Varnishes/Gel Stains: These are thinned versions of traditional varnish or polyurethane, making them easier to apply and allowing for better penetration into the wood. They offer more protection than pure oils while still maintaining a relatively close-to-wood feel.
- Application: Apply thin coats, wipe off excess after 15-30 minutes, and allow ample drying time between coats (often 12-24 hours). Repeated thin coats build up protection and depth.
Pros of Oil Finishes:
- Enhances natural grain and chatoyancy (the shimmering effect in certain woods).
- Easy to repair scratches and damaged areas by spot-sanding and re-applying.
- Provides a “close-to-wood” feel.
- Non-toxic and food-safe options available once fully cured.
Cons of Oil Finishes:
- Less durable than film-forming finishes against abrasion and moisture.
- Requires more frequent reapplication and maintenance.
- Slow drying/curing times.
Hybrid and Film-Forming Finishes: Prioritizing Durability
When high durability is a priority for Wood Finishing for Statement Pieces: Techniques to Preserve Natural Character While Ensuring Durability, especially for surfaces like tabletops or flooring, film-forming finishes are often combined with or layered over penetrating oils.
- Polyurethane (Oil-based and Water-based):
- Oil-based Polyurethane: Highly durable, moisture-resistant, and adds a warm amber tone to wood. It forms a hard, protective film. Best applied in thin coats with light sanding between coats.
- Water-based Polyurethane: Dries faster, less odor, and clearer finish (doesn’t yellow wood as much). Slightly less durable than oil-based but still provides good protection. Excellent for preserving the natural, lighter tones of certain woods.
- Varnish (Spar Varnish, Alkyd Varnish): Offers excellent water resistance and durability, especially spar varnish for outdoor use. Contains more solids than wiping varnishes. Creates a strong film.
- Epoxy (Tabletop Epoxy): For ultimate durability and a glass-like surface, especially on live edge tables with large voids or inclusions. Epoxy provides unparalleled protection against moisture, heat, and impact. However, it creates a thick, often glossy film that can obscure the wood’s natural texture, making it less suitable if a “bare wood” feel is paramount. It’s often used in conjunction with “Live Edge Slab Selection and Milling” projects – https://woodcraftwiz.com/live-edge-slab-selection-and-milling-from-raw-wood-to-finished-surfaces-for-tables-and-islands/.
- Shellac: A natural resin finish, shellac is easy to apply and repair. It’s an excellent sealer and provides a beautiful, soft luster. However, it’s not very durable against water or alcohol and is more suited for decorative pieces or as a barrier coat under other finishes.
- Lacquer: Dries extremely fast and can be buffed to a high gloss. It provides a durable finish but requires spray equipment for professional results.
Combining Finishes:
A common technique for statement pieces is to use a penetrating oil (e.g., tung oil, BLO) for the initial coats to bring out the wood’s natural depth and color, followed by several coats of a film-forming finish (e.g., polyurethane, varnish) for enhanced protection. This “oil-then-varnish” approach offers a good balance between natural aesthetics and robust durability. Always allow the oil to fully cure (which can take weeks) before applying a film finish to ensure proper adhesion.
Advanced Techniques and Long-Term Care for Statement Pieces
Beyond the basic application of finishes, several advanced techniques can be employed to further enhance the aesthetic appeal and long-term durability of statement pieces. This section focuses on these specialized methods and the crucial aspect of ongoing maintenance to preserve the finish and the wood itself.
Enhancing Natural Character
- Grain Filling: For open-grained woods (like oak, ash, or walnut) where a perfectly smooth, glass-like surface is desired under a film finish, grain fillers (water-based or oil-based) can be used. These paste-like products are worked into the pores of the wood and allowed to dry, then sanded flush. This creates a level surface for topcoats while still allowing the grain pattern to show through.
- Burnishing: After applying an oil finish, allowing it to cure, and perhaps applying a few light coats of a hard wax, burnishing the surface with a clean, soft cloth or felt pad can create a deep, lustrous sheen. This process gently heats the wax and compacts the wood fibers, resulting in a smooth, almost polished feel that enhances the natural character.
- Selective Staining/Dyeing: While the goal is to preserve natural character, sometimes a subtle stain or dye can deepen existing tones or create a more uniform base without obscuring the grain. Water-soluble dyes penetrate more deeply and evenly than pigment stains, providing vibrant colors without muddying the grain. Always test on scrap wood first. For specific wood types, like mahogany, specialized finishing techniques exist: https://woodcraftwiz.com/mahogany-wood-finishing-techniques/.
- Food-Safe Finishes: For kitchen items like cutting boards, serving trays, or wooden fruit bowls, food-safe finishes are paramount. Mineral oil, beeswax, or a combination of both are popular choices as they are non-toxic and easy to reapply. While they offer less protection than harder finishes, they are safe for direct food contact. For more on kitchen projects, explore “Wooden Fruit Bowls: Lathe-Turned and Segmented Builds for Ki” – https://woodcraftwiz.com/wooden-fruit-bowls-lathe-turned-and-segmented-builds-for-kitchen-statement-pieces/.
Curing and Environmental Control
The drying and curing process is often overlooked but is fundamental to the durability of a finish.
- Drying vs. Curing: “Drying” refers to the evaporation of solvents, while “curing” is the chemical process where the finish hardens and gains its full protective properties. Curing can take days, weeks, or even months, depending on the finish type and environmental conditions.
- Ventilation and Temperature: Ensure adequate ventilation during application and drying. Most finishes cure best at moderate temperatures (65-75°F or 18-24°C) and average humidity. Extreme temperatures or humidity can negatively impact curing time and film formation.
- Dust Control: Maintain a clean, dust-free environment during application and the initial drying stages to prevent airborne particles from settling on the wet finish. A dedicated finishing booth or a well-ventilated space with minimal air movement is ideal.
Long-Term Maintenance and Repair
Even the most durable finishes require some care to maintain their appearance and protective qualities over time.

- Regular Cleaning: Dust regularly with a soft, dry cloth. For deeper cleaning, use a damp cloth with a mild, wood-specific cleaner. Avoid harsh chemicals, silicone-based sprays, or excessive water.
- Protection: Use coasters, placemats, and trivets to protect tabletops from moisture, heat, and scratches. Avoid placing hot items directly on finished surfaces.
- Reapplication and Repair:
- Oil Finishes: These are the easiest to repair. Minor scratches or worn areas can often be sanded lightly and re-oiled. The entire piece can be refreshed periodically with a new coat of oil.
- Film Finishes: Minor scratches in a film finish can sometimes be buffed out with fine abrasive pads or polishing compounds. For deeper damage, selective sanding and reapplication of the topcoat are often necessary. In severe cases, complete stripping and refinishing may be required.
- Wax Finishes: A wax topcoat over an oil or film finish provides an additional layer of protection and a beautiful sheen. It can be easily reapplied as needed.
By understanding the properties of different finishes, applying them correctly, and committing to ongoing maintenance, woodworkers can ensure their statement pieces remain beautiful and functional for generations. These techniques empower creators to highlight the intrinsic beauty of wood while guaranteeing its longevity.
Conclusion
Creating wood statement pieces that captivate with their natural character while standing the test of time requires a thoughtful approach to finishing. In 2026, the demand for authentic, durable woodworking continues to grow, emphasizing the need for techniques that balance aesthetic preservation with robust protection. From meticulous surface preparation to the careful selection of penetrating oils, durable film finishes, or a strategic combination of both, every step contributes to the final outcome. Embracing the nuances of wood species, understanding their intended use, and applying finishes with precision allows the unique story held within each grain to shine through, unmarred by daily wear. Ultimately, the goal of Wood Finishing for Statement Pieces: Techniques to Preserve Natural Character While Ensuring Durability is not just to coat the wood, but to honor its essence, ensuring that these cherished creations remain focal points of beauty and function for decades to come.
To further develop your skills in handling and finishing unique wood pieces, consider exploring advanced power tool techniques for professional results on decorative projects, which often require careful finishing considerations.
Next Steps:
- Experiment with different finish types on scrap pieces of your project wood to observe how they affect color and grain.
- Invest in high-quality sanding abrasives and finishing applicators for the best results.
- Always read and follow the manufacturer’s instructions for any finishing product, paying close attention to safety precautions and drying times.
- Practice patience. Rushing the finishing process is the most common cause of unsatisfactory results.
SEO Meta Title: Wood Finishing: Preserving Natural Character & Durability SEO Meta Description: Master wood finishing for statement pieces. Learn techniques to preserve natural wood character while ensuring exceptional durability for lasting beauty in 2026.
Wood finishing, natural character, durability, live edge, reclaimed wood, tung oil, polyurethane, wood protection, statement pieces, woodworking techniques
