
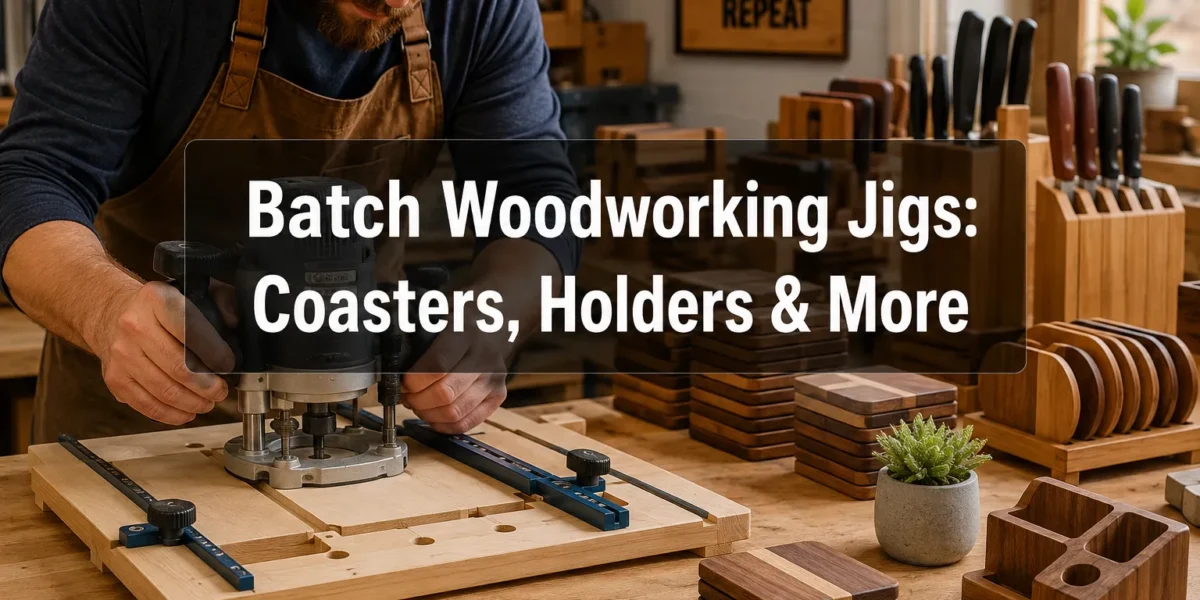
The difference between a hobbyist and a productive small-shop seller often hinges on one crucial element: consistency. Imagine producing a dozen identical coasters, knife holders, or small organizers, each perfect, without the painstaking re-measurement and adjustment that typically consumes time. This level of efficiency is not magic; it’s the direct result of embracing Woodworking Jigs for Batch Production: Simple Fixtures for Coasters, Knife Holders, and Small Organizer Runs. These clever, often simple, shop-made tools transform repetitive tasks into systematic processes, ensuring precision, speed, and ultimately, profitability for crafters moving beyond one-off projects.
Key Takeaways
- Jigs Drive Efficiency: Woodworking jigs standardize repetitive tasks, significantly reducing production time for batch runs.
- Enhance Precision and Consistency: Simple fixtures eliminate measurement errors, ensuring every piece in a batch is identical.
- Reduce Material Waste: Accurate cuts and drills prevent mistakes, minimizing costly material spoilage.
- Boost Profitability: Faster, more accurate production allows for higher output and better quality, leading to increased sales and customer satisfaction.
- Empower Small Shops: Even with limited space and tools, well-designed jigs enable small workshops to compete with larger-scale production.
The Power of Precision: Understanding Woodworking Jigs for Batch Production
For any woodworker aiming to scale production, even slightly, the traditional method of measuring and marking each piece individually becomes a bottleneck. This is where Woodworking Jigs for Batch Production: Simple Fixtures for Coasters, Knife Holders, and Small Organizer Runs become indispensable. A jig is essentially a device that holds the workpiece and guides a tool, or holds the tool and guides the workpiece, ensuring that cuts, holes, or profiles are replicated identically every single time. Their primary purpose is to simplify complex operations, increase safety, and ensure repeatability.
The beauty of jigs for batch production lies in their ability to remove human error from repetitive tasks. Whether you’re cutting a specific length of wood repeatedly, drilling holes at exact intervals, or routing a consistent profile, a well-designed jig ensures that the first piece is identical to the hundredth. This consistency is vital for maintaining product quality and customer satisfaction, particularly when selling handcrafted items. Moreover, jigs drastically reduce setup time between pieces, allowing for a smooth, uninterrupted workflow that feels less like work and more like an assembly line.
Consider the common challenges faced by small woodcraft businesses:
- Time Consumption: Manually measuring and marking each piece is slow.
- Inconsistency: Slight variations creep into each product, leading to imperfections.
- Material Waste: Errors from manual processes often result in ruined material.
- Safety Concerns: Repetitive freehand cuts can increase the risk of accidents.
Jigs address these issues head-on. By pre-setting dimensions and guides, they allow the user to focus on the process rather than the measurements, making the operation safer and more efficient. For those looking to streamline their sales processes, integrating jigs into their workflow can be a game-changer, allowing for consistent quality that commands premium prices, especially for personalized items. Learn more about customization strategies for mass-producing small woodcraft.
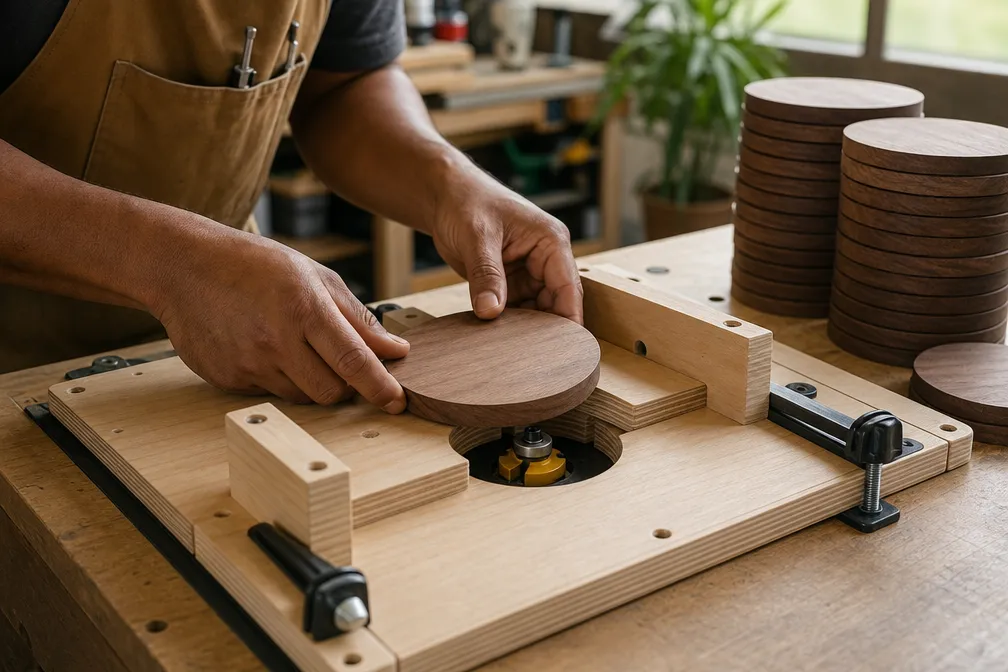
Essential Jigs for Coaster Production
Coasters are a fantastic entry point for batch production, often requiring precise square or circular cuts and sometimes decorative routing. Here’s how simple jigs can revolutionize their creation:
1. Crosscut Sled with Stop Block
A crosscut sled is fundamental for any workshop, but adding an adjustable stop block transforms it into a batch production powerhouse.
- Purpose: To cut multiple coaster blanks to identical lengths.
- Construction: A plywood base slides in the table saw miter slots, with a fence mounted square to the blade. A T-track or simple clamp system allows a stop block to be set at a precise distance from the blade.
- Operation: Set the stop block to the desired coaster dimension. Place a longer piece of stock against the fence and stop block, make the cut. Repeat for subsequent pieces. Each coaster blank will be exactly the same length.
2. Circle Cutting Jig for Routers or Band Saws
For round coasters, a circle cutting jig is essential.
- Purpose: To cut perfect circles consistently.
- Construction (Router): A piece of plywood with a pivot point (a nail or screw) at one end and a mounting point for your router at the other. The distance between the pivot and the router bit determines the circle’s radius.
- Construction (Bandsaw): Similar pivot point, but guides the wood around the bandsaw blade.
- Operation: Secure your coaster blank to the jig, then guide the router or workpiece around the pivot to create a perfect circle.
3. Edge Rounding/Chamfering Jig
Many coasters benefit from softened edges.
- Purpose: To apply a consistent round-over or chamfer to all edges.
- Construction: A simple fixture that securely holds the coaster while you run it along a router table with a round-over or chamfer bit. It might feature fences or clamps to ensure even pressure and prevent tear-out.
- Operation: Clamp the coaster into the jig, then feed the jig and coaster along the router bit. Rotate and repeat for all four edges.
Efficient Fixtures for Knife Holders and Small Organizer Runs
Moving beyond coasters, the principles of jig-based batch production apply equally well to more complex items like knife holders and small organizers. The key is to break down the project into repetitive steps and design a jig for each one. This approach significantly speeds up processes like drilling, routing dados, and ensuring consistent dimensions.
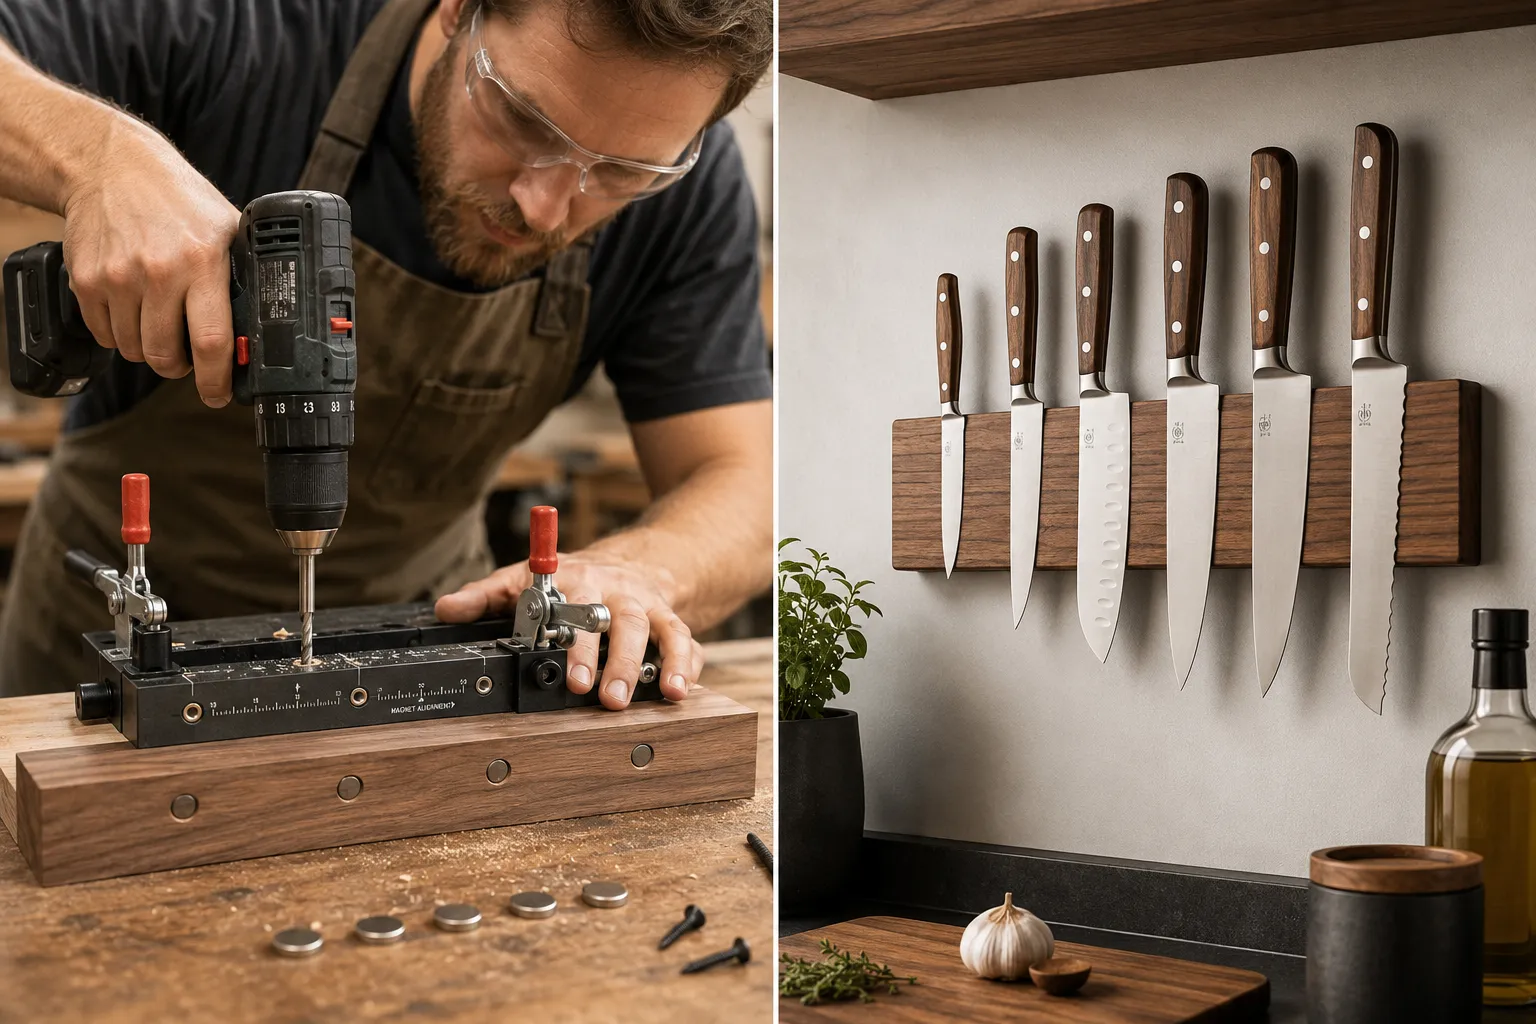
Batch Producing Magnetic Knife Holders
Magnetic knife holders require precise drilling for rare-earth magnets and often a routed channel or recess.
- Drilling Jig for Magnet Placement:
- Purpose: To drill precisely spaced and depth-controlled holes for magnets.
- Construction: A piece of acrylic or thin hardwood with holes drilled exactly where the magnets need to be. Add small dowels or clamps to register the jig perfectly on each knife holder blank.
- Operation: Place the jig on the wooden blank, clamp it down, and use a drill press or hand drill with a depth stop to bore the holes. This ensures all magnets are perfectly aligned and at the correct depth.
- Routing Jig for Recess (Optional):
- Purpose: To create a consistent channel for flush-mounted magnets or decorative accents.
- Construction: A router guide or template made from MDF that allows a router with a guide bushing to follow a precise path, creating a uniform recess along the back of the knife holder.
- Operation: Clamp the blank and the template to your workbench, then route the recess.
For more on optimizing storage, consider exploring crafting custom magnetic tool holders and organizers.
Streamlining Small Organizer Production
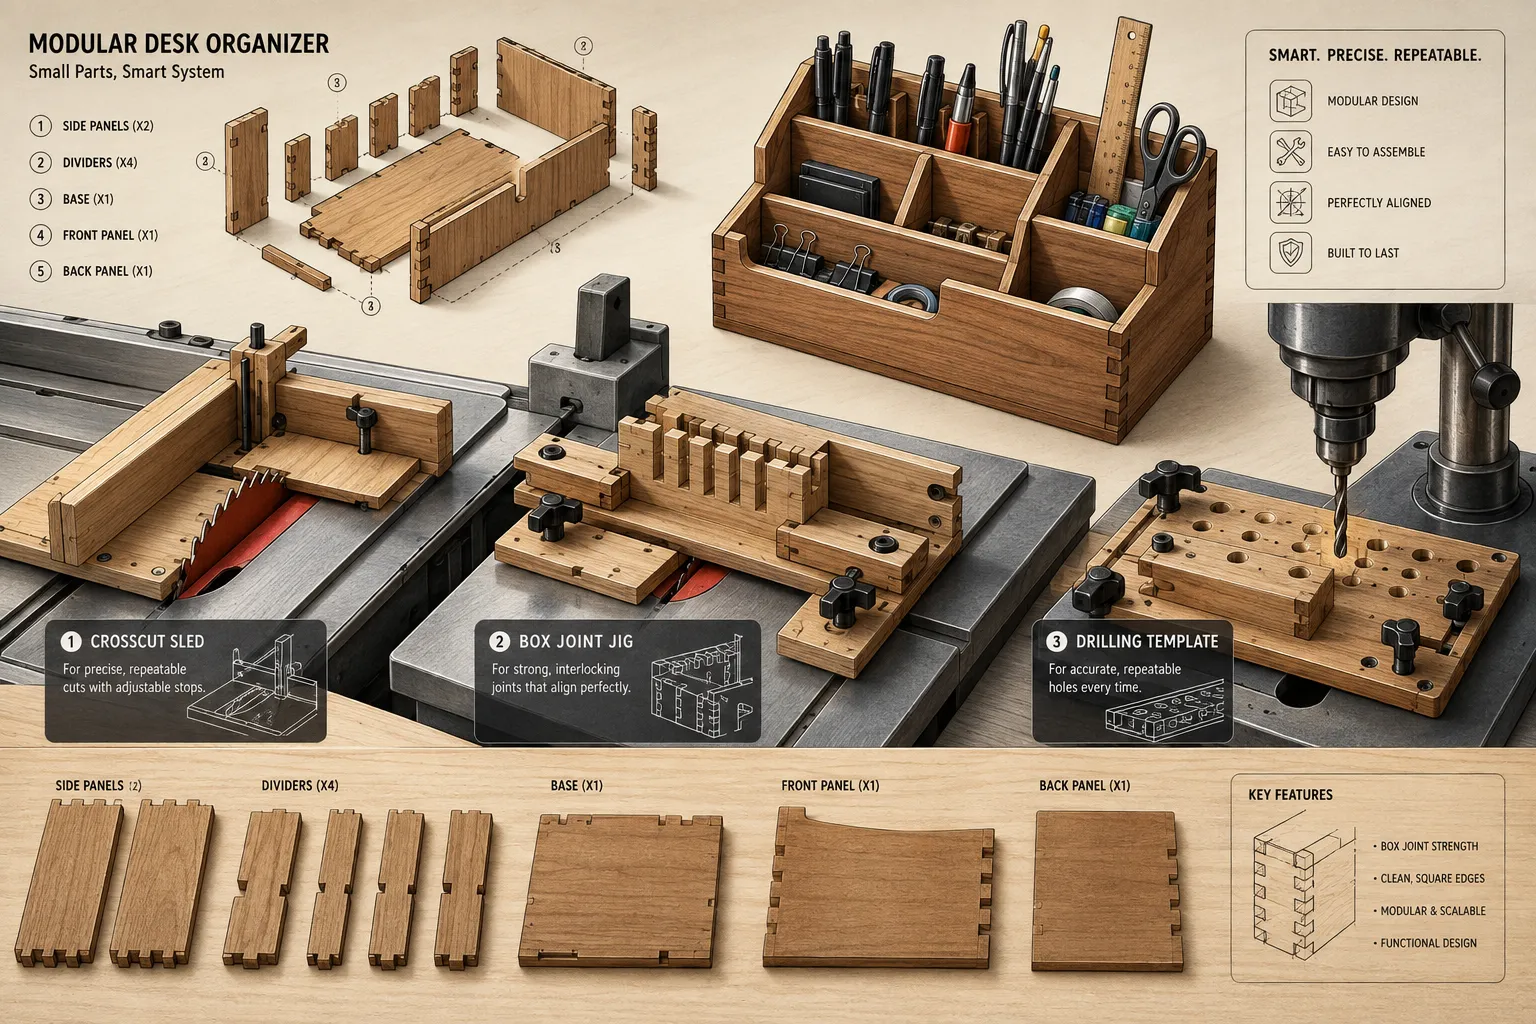
Small organizers, such as desk caddies, remote control holders, or jewelry boxes, often involve repetitive dado cuts, rabbets, and drilling operations for dividers or hardware.
1. Dado and Rabbet Jig for Table Saw
- Purpose: To cut identical dados (grooves) or rabbets (shoulders) for joinery in multiple pieces.
- Construction: A simple sled or fence attachment for your table saw that accurately positions your workpiece for dados or rabbets. Adjustable stops ensure precise spacing for internal dividers.
- Operation: Set the dado blade (or standard blade with multiple passes) and fence to the desired width and depth. Use the jig to guide each piece through, ensuring all dados are uniform.
2. Box Joint Jig for Table Saw
For visually appealing and strong joinery on organizers, a box joint jig is invaluable.
- Purpose: To create precise, interlocking box joints for strong corners.
- Construction: This jig typically consists of a sub-fence that attaches to your miter gauge, with a key or pin that registers against previously cut slots.
- Operation: By carefully indexing each cut against the pin, you can create perfectly matched box joints with minimal effort.
3. Assembly Fixtures
Sometimes, the jig isn’t for cutting, but for holding parts together during assembly.
- Purpose: To hold multiple pieces of an organizer square and true while glue dries.
- Construction: Simple wooden forms or clamping cauls that hold parts at 90-degree angles.
- Operation: Apply glue, place pieces into the assembly jig, and clamp. This prevents misalignment and ensures a square final product. The ultimate guide to wood glue can help you select the best adhesive for these applications.
Designing and Building Your Own Jigs
The process of designing and building your own jigs is a valuable skill that pays dividends in a batch production environment. It requires a clear understanding of the task, careful measurement, and often, iterative refinement. The beauty of these simple fixtures is that they often use inexpensive materials like plywood, MDF, or even scrap wood.
Principles of Jig Design
- Safety First: A jig should always make the operation safer, not more dangerous. Ensure it keeps hands away from blades and bits.
- Accuracy and Repeatability: The jig must hold the workpiece firmly and guide the tool precisely to ensure identical results every time.
- Ease of Use: Jigs should be quick to set up, load, and unload. Overly complex jigs can negate their efficiency benefits.
- Durability: While often made from scrap, a good jig needs to withstand repeated use without losing accuracy.
- Versatility (Optional): Some jigs can be designed with adjustability to accommodate different sizes or slight variations in products, increasing their utility.
Materials for Jig Construction
- Plywood/MDF: Excellent choices for jig bodies due to their stability and affordability. Baltic birch plywood is particularly good for precision.
- Hardwood Scraps: Useful for fences, stop blocks, and wear surfaces.
- Hardware: T-tracks, knobs, bolts, toggle clamps, and screws are all common components that add functionality and ease of adjustment.
Step-by-Step Example: Coaster Edge Routing Jig
Let’s walk through building a simple jig for routing consistent round-over edges on multiple square coasters.
- Identify the Need: We need to consistently round over the four edges of many square coasters. Freehand routing is prone to inconsistency and burn marks.
- Sketch the Design: A simple sled or platform that holds the coaster securely while allowing all four edges to be presented to the router bit.
- Gather Materials: A piece of MDF or plywood for the base, two strips of wood for fences, toggle clamps, screws.
- Cut the Base: Cut a rectangular base, slightly larger than the largest coaster you’ll make.
- Add Fences: Attach two perpendicular fences to the base. These fences will form a corner where the coaster sits. One fence can be fixed, the other adjustable for different coaster sizes. Ensure the fences are perfectly square to each other.
- Integrate Clamping: Mount a toggle clamp (or two) to hold the coaster firmly against the fences. The clamp should hold the coaster without interfering with the router bit’s path.
- Test and Refine: Use a scrap piece to test the jig on your router table. Ensure the coaster can be loaded/unloaded quickly and that the clamp holds it securely. Make any necessary adjustments for optimal performance and safety.
By investing time in building such jigs, your small workshop can achieve a level of professionalism and efficiency typically associated with larger operations. This frees you up to focus on other aspects of your business, such as marketing handmade woodcraft on social media.
Conclusion
The pursuit of excellence in woodworking, especially for those selling their creations, often involves a shift from one-off craftsmanship to efficient, repeatable production. Woodworking Jigs for Batch Production: Simple Fixtures for Coasters, Knife Holders, and Small Organizer Runs are the unsung heroes of this transition. They are not merely accessories; they are foundational tools that empower small shops to achieve professional-grade consistency, significantly cut down production time, minimize material waste, and ultimately, increase profitability.
As we move through 2026, the demand for high-quality, handcrafted wood items continues to grow. By adopting a jig-centric approach, woodworkers can meet this demand with greater ease and confidence. From basic crosscut sleds with stop blocks to sophisticated box joint jigs, each fixture you build or acquire is an investment in your workshop’s capability and your business’s future. Start small, identify repetitive tasks in your current projects, and then design a simple jig to streamline them. The satisfaction of watching identical pieces emerge from your shop, quickly and flawlessly, is unparalleled, setting the stage for growth and sustained success.
References
- Fine Woodworking. (2020). Jigs & Fixtures: Woodworking Techniques, Tips & Tricks. Taunton Press.
- Peters, R. (2018). Woodworking Jigs and Shop Accessories. Fox Chapel Publishing.
- Schwarz, C. (2012). The Anarchist’s Workbench. Lost Art Press.