
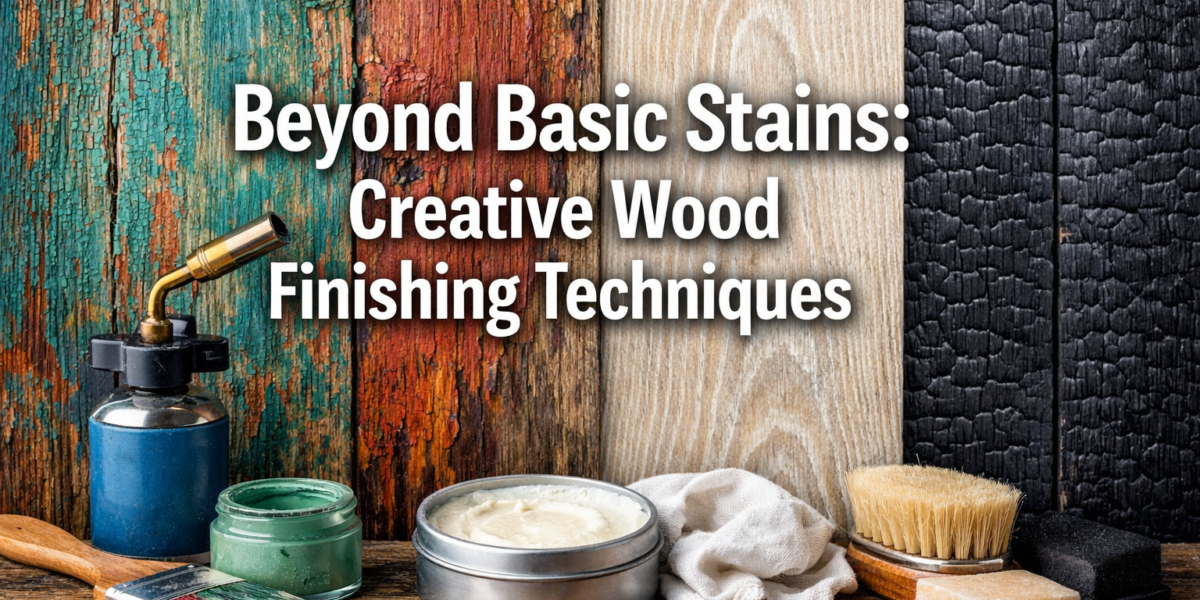

The average piece of raw timber holds an untapped artistic potential far beyond the simple application of a translucent stain. In 2026, woodworkers and DIY enthusiasts are increasingly seeking ways to imbue their projects with unique character and depth. This article delves into “Beyond Basic Stains: Creative Wood Finishing Techniques with Milk Paint, Liming Wax, and Shou Sugi Ban,” offering a professional guide to transforming ordinary wood into extraordinary statements. These methods provide texture, historical charm, and dramatic visual impact, moving beyond conventional approaches to celebrate the inherent beauty and versatility of wood.
Key Takeaways

- Milk Paint: Offers a rustic, chippy, and aged look, perfect for farmhouse or antique aesthetics, and is an eco-friendly option.
- Liming Wax: Creates a sophisticated, translucent white-washed effect that highlights wood grain, ideal for coastal, Scandinavian, or modern interiors.
- Shou Sugi Ban: A Japanese charring technique that results in a durable, distinctive, and striking black finish with a unique texture, offering natural protection.
- Preparation is Key: Proper wood preparation, including sanding and cleaning, is essential for optimal results with any of these techniques.
- Experimentation Encouraged: Each technique offers room for customization and artistic expression, allowing for truly personalized wood finishes.
Unleashing Rustic Charm: Creative Wood Finishing Techniques with Milk Paint
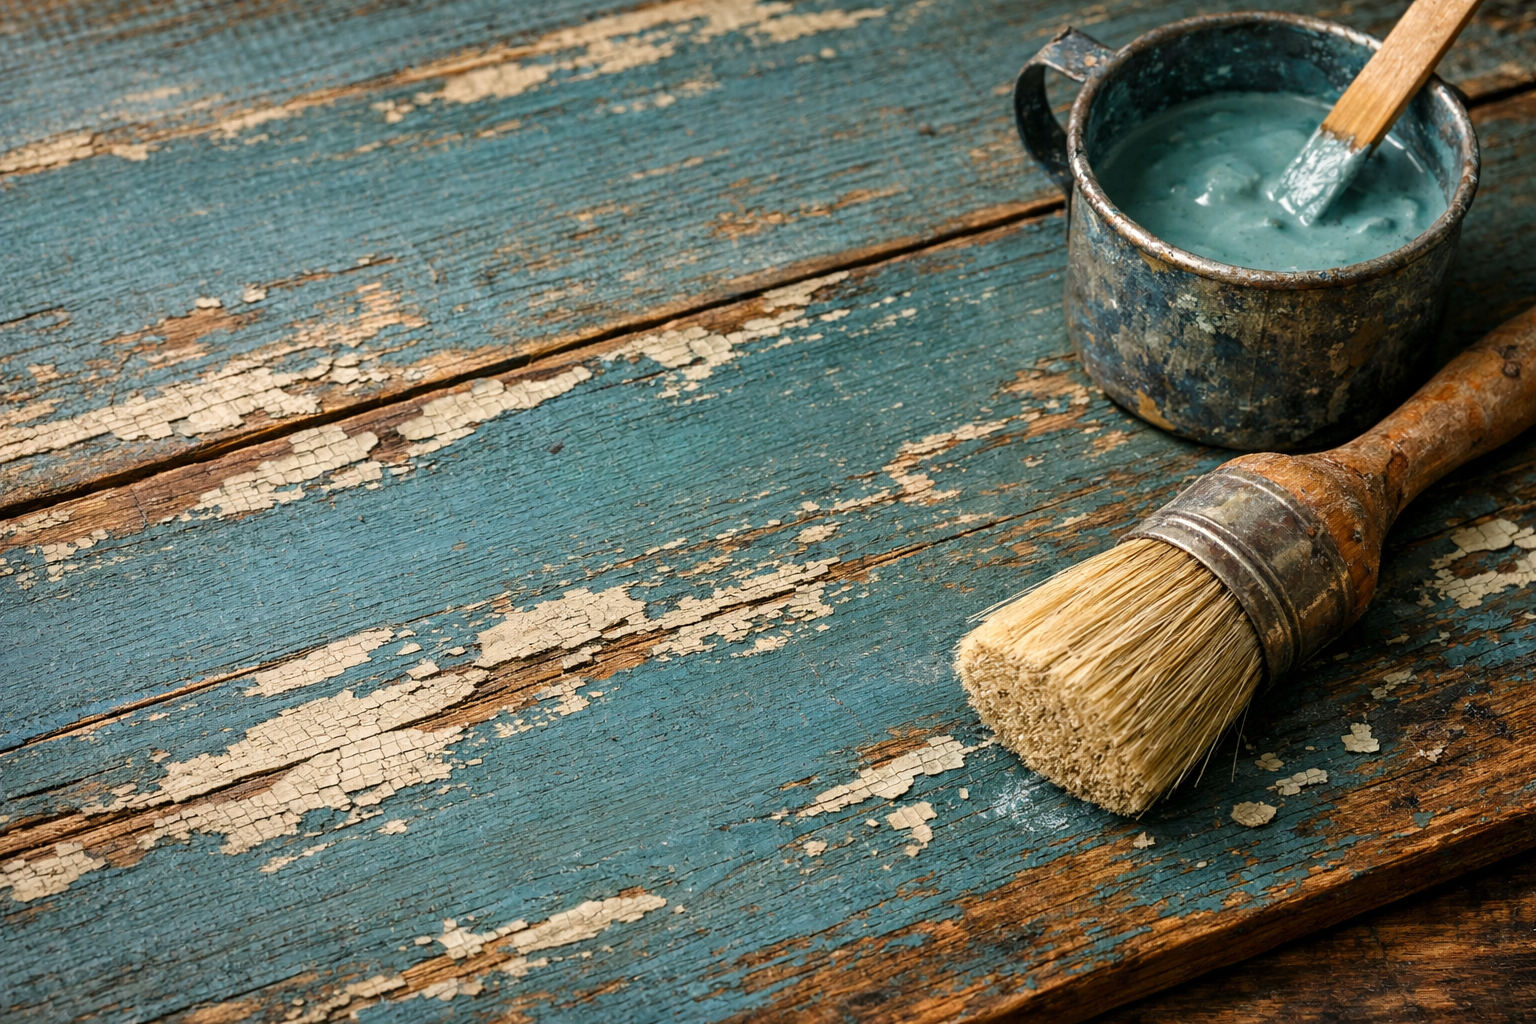
Milk paint, an ancient finish made from milk protein (casein), lime, clay, and natural pigments, has seen a significant resurgence. Unlike modern latex or oil paints, milk paint creates a uniquely matte, porous finish that can chip and distress naturally over time, yielding an authentic antique or farmhouse look. This characteristic “chippy” effect is highly sought after and difficult to replicate with other finishes.
The Allure of Authentic Distress
One of the primary reasons to choose milk paint is its ability to create genuine character. The way it adheres (or sometimes subtly resists adhesion) to surfaces, particularly those that are already sealed or very smooth, allows for a beautiful, organic distress. This isn’t just about applying paint; it’s about crafting a narrative for the wood.
Benefits of Milk Paint:
- Eco-Friendly: Made from natural ingredients, it’s a non-toxic, low-VOC option.
- Breathable: Allows wood to “breathe,” which can be beneficial for antique pieces.
- Versatile: Can be used on raw wood, painted surfaces (with a bonding agent), or for a distressed look.
- Historic Look: Ideal for replicating period furniture finishes.
Application Process for Milk Paint
Achieving the desired effect with milk paint requires understanding its unique properties.
- Preparation: For a chippy look, minimal prep is best on sealed or previously finished wood. For better adhesion and a more uniform coat, lightly sand raw wood with 150-220 grit sandpaper. Clean thoroughly to remove dust.
- Mixing: Milk paint usually comes as a powder. Mix it with water according to the manufacturer’s instructions. Consistency is key – too thin, and it won’t cover; too thick, and it will be difficult to apply smoothly.
- First Coat: Apply a thin, even first coat using a brush or roller. If a chippy look is desired, apply directly. For better adhesion, a bonding agent can be mixed into the first coat.
- Distressing (Optional): Once dry, lightly sand areas where natural wear would occur (edges, corners, raised details) to reveal the wood or previous finish beneath. Use a fine-grit sandpaper (220-320) or even a sanding sponge. For more dramatic chipping, use a scraper.
- Second Coat (Optional): Apply a second coat if more coverage is desired. This can be a contrasting color for a layered distressed look.
- Sealing: Milk paint is porous and needs to be sealed. A clear wax, topcoat, or oil finish will protect it and deepen the color. For a truly authentic look, consider a soft wax.
Expert Tip: For intentional chipping, apply a resist (like Vaseline or a wax stick) to specific areas before painting. The milk paint will not adhere to these spots, creating controlled flakes when dried. This can be particularly effective on Advanced Wood Carving Techniques for Decorative Furniture Accents where you want to highlight carved details.
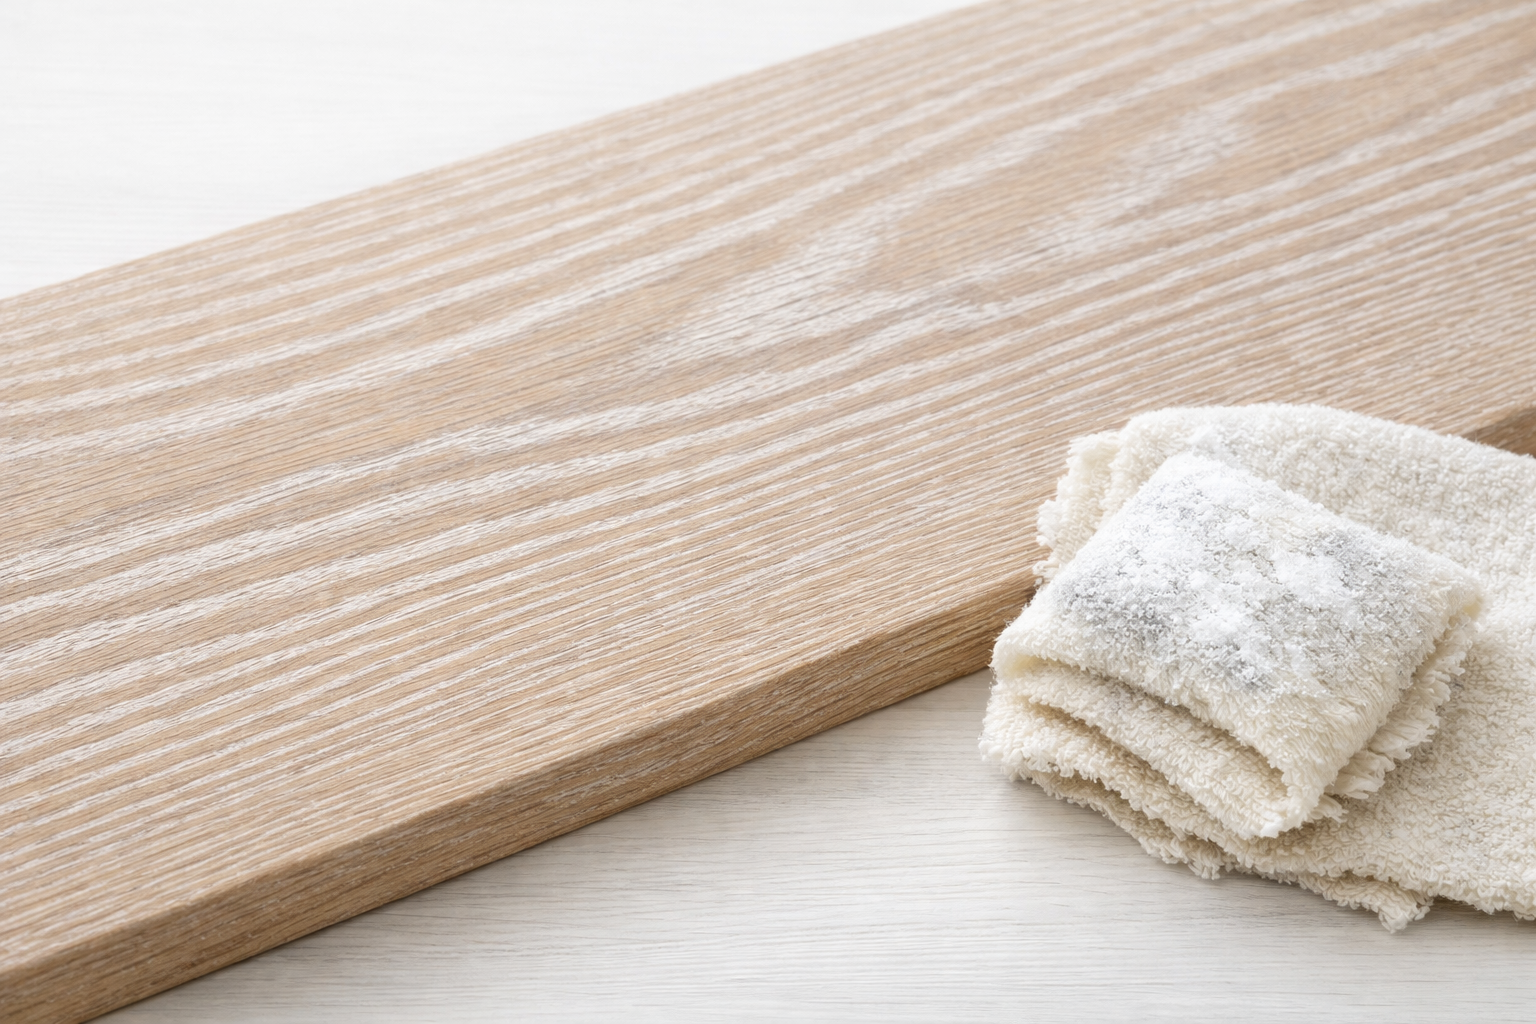
The Subtle Elegance of Liming Wax in Creative Wood Finishing
Liming wax, also known as pickling wax or ceruse wax, is a translucent white wax designed to highlight the open grain of wood, especially porous woods like oak, ash, or elm. It creates a beautiful, subtle white-washed or bleached effect, adding depth and texture without completely obscuring the wood’s natural beauty. This technique is perfect for achieving a coastal, Scandinavian, or French country aesthetic, and it’s a stellar example of going “Beyond Basic Stains: Creative Wood Finishing Techniques with Milk Paint, Liming Wax, and Shou Sugi Ban.”
Enhancing Natural Grain with Liming Wax
Unlike paint, liming wax doesn’t coat the surface entirely. Instead, its white pigment settles into the wood’s open pores and grain lines, creating a delicate contrast that makes the grain pop. The result is a sophisticated, understated finish that feels both modern and timeless.
Key Characteristics of Liming Wax:
- Grain Enhancement: Specifically designed to accentuate the wood’s natural grain patterns.
- Translucent Finish: Allows the underlying wood color to show through, creating a soft, ethereal look.
- Protective: Provides a layer of protection similar to other waxes.
- Versatile Aesthetic: Complements various decor styles, from rustic to contemporary.
Applying Liming Wax: A Step-by-Step Guide
The application of liming wax is straightforward but requires careful preparation to achieve the best results.
- Wood Preparation: Begin by preparing the wood. Sand with progressively finer grits (up to 180 or 220) to ensure a smooth surface. For woods with naturally tight grain, you might need to open the grain further using a wire brush, brushing along the grain. This allows the wax to penetrate effectively. Clean off all dust.
- Application: Using a clean cloth, steel wool (very fine 0000 grade), or a stiff brush, apply the liming wax generously to the wood surface. Work in small sections, rubbing the wax firmly into the open grain. Ensure the wax penetrates all the pores.
- Working into Grain: For deeper penetration and a more pronounced effect, especially on open-grain woods, use a soft brass brush or a plastic scrubbing pad to really work the wax into the grain.
- Wipe Off Excess: Immediately after applying and working in a section, wipe off the excess wax across the grain with a clean, lint-free cloth. This removes the wax from the surface while leaving it in the pores. Buff lightly in the direction of the grain to remove any remaining haze.
- Curing and Buffing: Allow the wax to cure for the time recommended by the manufacturer (usually a few hours to overnight). Once cured, buff the entire surface with a clean, soft cloth to achieve a gentle sheen.
Pro Tip: For a slightly different effect, some woodworkers apply a thin coat of clear shellac or sanding sealer before liming wax. This prevents the white pigment from staining the main wood surface, making the grain lines stand out even more crisply. This technique could be applied to projects like Ultimate Guide to Wooden Candle Holders: Stacked Designs wit for an enhanced visual appeal.
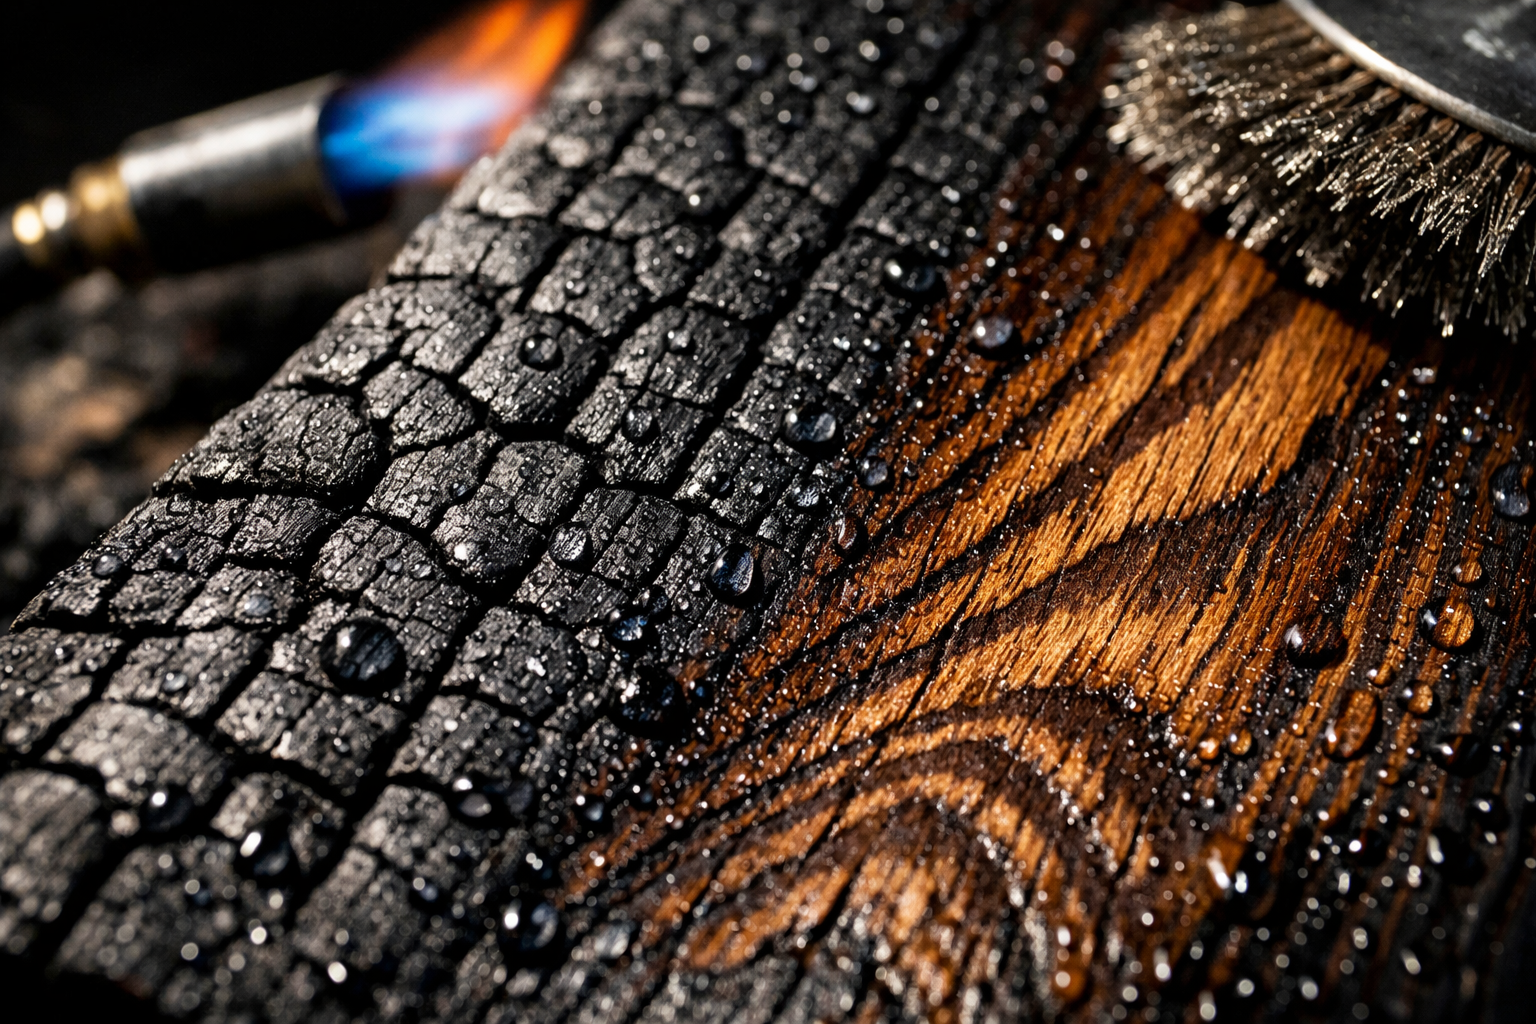
The Dramatic Art of Shou Sugi Ban: Beyond Basic Stains
Shou Sugi Ban, also known as Yakisugi, is an ancient Japanese technique of charring wood to preserve and finish it. Originally used to make cedar siding more durable and fire-resistant, it has gained immense popularity in 2026 as a dramatic and distinctive aesthetic for both interior and exterior applications. This method truly pushes the boundaries of “Beyond Basic Stains: Creative Wood Finishing Techniques with Milk Paint, Liming Wax, and Shou Sugi Ban.”

The Alchemy of Fire and Wood
The process involves carefully charring the surface of wood, cooling it, cleaning off the soot, and then finishing it with an oil. The resulting finish is not only visually striking but also offers natural protection against rot, insects, and even fire. The texture can range from a smooth, subtle char to a dramatic, alligator-skin effect, depending on the wood type and charring intensity.
Advantages of Shou Sugi Ban:
- Exceptional Durability: Charred wood is more resistant to weathering, rot, and pests.
- Natural Fire Resistance: The charred layer makes the wood less combustible.
- Unique Aesthetic: Creates a deep, rich black finish with incredible texture and depth.
- Low Maintenance: Once sealed, it requires very little upkeep.
- Eco-Friendly: A natural process that avoids chemical stains and preservatives.
Performing Shou Sugi Ban: A Controlled Burn
Working with fire requires caution and proper safety measures. Always have a fire extinguisher and water nearby, and work in a well-ventilated, outdoor area away from flammable materials.
- Wood Selection: Cedar, cypress, and other softwoods with prominent grain are traditionally used and yield the most dramatic results. However, hardwoods like oak or maple can also be charred, though they may require more heat.
- Charring: Use a propane torch (weed burner or roofing torch works well) to char the surface of the wood. Move the flame evenly over the surface, aiming for an even burn. The depth of the char depends on the desired effect – a lighter char for a subtle look, a deeper char for prominent “alligator skin.”
- Quenching: Once charred, allow the wood to cool naturally or quench it with water to stop the burning process.
- Cleaning: Use a stiff wire brush (a brass brush is good for softer wood) to gently brush away the loose soot and char. Brush with the grain. This step reveals the underlying texture and color variations. The more you brush, the more natural wood will show through, creating a striking contrast.
- Washing: Rinse the wood with water to remove any remaining dust or loose char. Let it dry completely.
- Sealing: Apply a penetrating oil (like tung oil, linseed oil, or a marine-grade finish) to nourish and protect the charred surface. This will deepen the black color and give it a subtle sheen. Multiple coats may be required.
Safety First: When working with Shou Sugi Ban, personal protective equipment (gloves, eye protection, respirator) is crucial. Ensure you have proper ventilation and fire suppression tools on hand. For larger projects, consider checking out our guide on Complex Exposed Ceiling Beam Layouts for inspiration on how this technique can be incorporated architecturally.
Combining Techniques for Hybrid Finishes
The beauty of these creative techniques lies not only in their individual impact but also in their potential for combination. Imagine a piece with a Shou Sugi Ban base, lightly sanded and then dry-brushed with a hint of milk paint, or a limed wax finish over a subtly charred surface for a truly unique aesthetic.
For instance, you could char a piece of wood using Shou Sugi Ban for its protective qualities and dramatic texture, then lightly sand some areas and apply a clear or tinted liming wax to highlight the uncharred grain or introduce a subtle color. This creates layers of depth and interest that a single stain could never achieve. Similarly, milk paint can be layered over almost anything. A distressed milk paint finish over a stained or even partially limed surface can provide an incredible antique look.
Experimentation is key. Testing different combinations on scrap wood before applying them to your main project is highly recommended. Each wood type will react differently to charring, and the porosity of the wood will affect how milk paint adheres or how liming wax settles. For inspiration on projects that can showcase such hybrid finishes, consider building something from our High-Demand Woodworking Projects for 2026: Coffee Tables, Wi list.
Essential Tools and Materials for Creative Finishing
To embark on these creative finishing journeys, having the right tools and materials is crucial.
For Milk Paint:
- Milk Paint Powder: Choose your desired colors.
- Water: For mixing.
- Mixing Containers and Stir Sticks.
- Brushes: Natural bristle brushes for application.
- Sandpaper/Sanding Sponges: Various grits (150-320) for prep and distressing.
- Bonding Agent (Optional): For better adhesion on smooth surfaces.
- Clear Wax/Topcoat: For sealing and protection.
For Liming Wax:
- Liming Wax: White or tinted.
- Clean Cloths/Lint-Free Rags.
- Steel Wool (0000 grade) or Stiff Brush: For application and working into grain.
- Wire Brush (Optional): To open grain on tighter woods.
- Sandpaper: For wood preparation.
- Clear Wax/Shellac (Optional): For pre-sealing.
For Shou Sugi Ban:

- Propane Torch/Weed Burner: With sufficient fuel.
- Fire Extinguisher/Water: For safety.
- Wire Brush (Steel or Brass): For cleaning char.
- Gloves, Eye Protection, Respirator.
- Clean Cloths.
- Penetrating Oil: For sealing (e.g., tung oil, linseed oil).
- Work Area: Well-ventilated, outdoor, clear of flammables.
Remember that proper preparation is the bedrock of any successful finishing project. Whether you’re building a simple bookshelf or a complex furniture piece, attention to detail in sanding and cleaning will significantly impact the final look. For guidance on foundational woodworking, our Beginner’s Guide to Building a Simple Wooden Bookshelf: Tools can be an excellent resource.
Conclusion
Stepping “Beyond Basic Stains: Creative Wood Finishing Techniques with Milk Paint, Liming Wax, and Shou Sugi Ban” opens up a world of artistic possibilities for woodworkers in 2026. These techniques offer more than just color; they provide texture, character, and a narrative that deeply connects the finished piece to its origins and the craftsman’s vision.
From the charming, distressed beauty of milk paint to the sophisticated, grain-enhancing effect of liming wax, and the dramatic, protective qualities of Shou Sugi Ban, each method brings its unique appeal. By understanding their individual characteristics and mastering their application, you can elevate your woodworking projects from merely functional to truly extraordinary.
Actionable Next Steps:
- Start Small: Begin with a small project or scrap wood to practice each technique before committing to a larger piece.
- Gather Supplies: Invest in the necessary tools and materials for the technique you’re most excited to try.
- Experiment: Don’t be afraid to combine techniques or vary the intensity of application to discover your own signature style.
- Prioritize Safety: Especially with Shou Sugi Ban, always put safety first.
Embrace the creative freedom these finishes offer, and let your woodworking projects become a testament to unique artistry and craftsmanship.
Meta Title: Creative Wood Finishing: Milk Paint, Liming Wax & Shou Sugi Ban Meta Description: Explore creative wood finishing techniques in 2026: milk paint’s rustic charm, liming wax’s elegance, and Shou Sugi Ban’s dramatic effect.
