
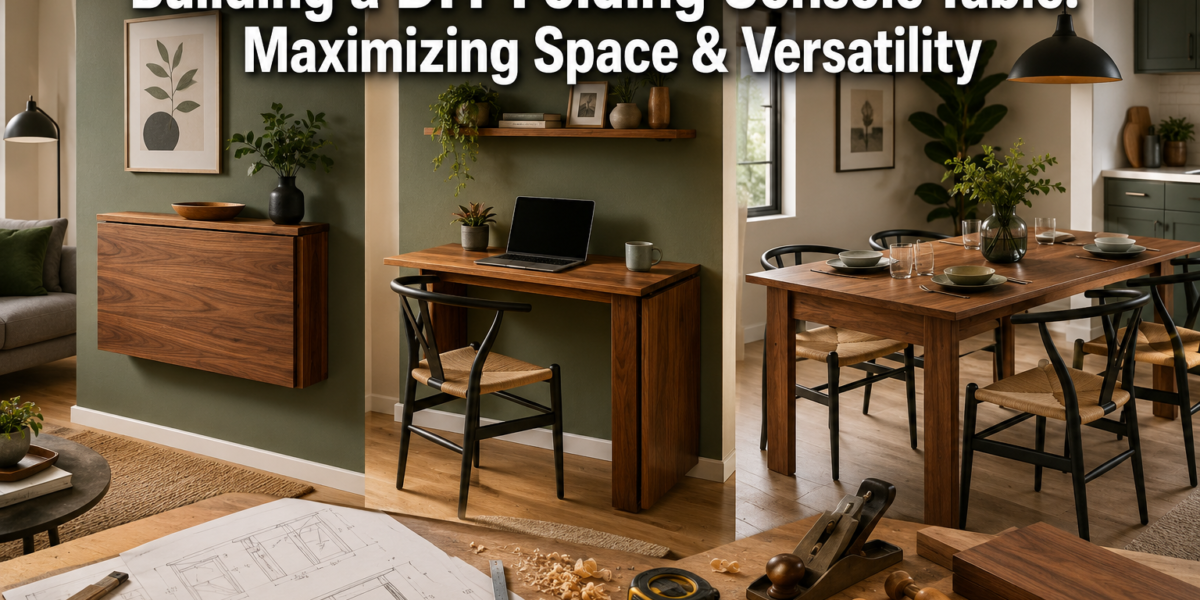

The average American home in 2026 is approximately 1,900 square feet, a significant reduction from previous decades, highlighting a growing need for innovative space-saving solutions. For those navigating compact living environments, every piece of furniture must earn its place. This demand has spurred a resurgence in smart, multi-functional designs, none more practical or rewarding than the DIY folding console table. This article will guide you through Building a DIY Folding Console Table: Maximizing Space and Versatility in Small Homes, transforming how you perceive and utilize your living area.
Key Takeaways
- A DIY folding console table offers unmatched versatility, functioning as an entryway piece, desk, or dining surface.
- Careful planning, including material selection and design choices, is crucial for a successful and durable build.
- Essential woodworking tools, from power saws to finishing sanders, are required for precision and quality.
- Step-by-step assembly, focusing on secure joinery and reliable folding mechanisms, ensures stability and longevity.
- Finishing touches and regular maintenance are vital for both aesthetic appeal and the table’s functional lifespan.
Planning Your Folding Console Table: Design and Materials
Building a DIY Folding Console Table: Maximizing Space and Versatility in Small Homes begins long before the first cut. Careful planning is paramount, encompassing everything from conceptual design to the selection of appropriate materials and hardware. A well-thought-out plan ensures efficiency, reduces waste, and ultimately leads to a table that perfectly fits your needs and aesthetic preferences.

Conceptualizing Your Design
Consider the primary functions your folding console table will serve. Will it predominantly be an entryway accent, an occasional dining surface, or a compact workstation?
- Dimensions: Measure the available space where the table will reside both in its folded and extended states.
- Folded: Typically, this will be the depth of a traditional console table (12-18 inches).
- Extended: A comfortable dining or workspace usually requires a depth of 24-36 inches.
- Height: Standard console height is 30-34 inches. If it’s for dining, ensure it pairs well with your existing chairs.
- Aesthetics: Align the table’s style with your home’s existing decor. Modern, rustic, minimalist, or traditional, each requires specific wood types and finishes.
- Folding Mechanism: The most critical design element. Common types include:
- Drop-leaf hinges: Simple and effective for extending one or both sides of the tabletop.
- Gate-leg mechanism: Provides robust support for larger extended surfaces, with legs that swing out.
- Accordion-style supports: Offer a more complex but compact folding action.
- Pivot-and-slide: Allows a tabletop to pivot and slide over another section, doubling the surface area.
Material Selection
Choosing the right materials impacts durability, weight, and appearance.
- Wood Type:
- Plywood: Economical, stable, and widely available. Birch or maple plywood offers a smooth surface suitable for painting or staining.
- Solid Hardwood: Oak, maple, cherry, or walnut provide superior durability and a rich, natural grain. These are heavier and more expensive but offer exceptional longevity and aesthetic appeal.
- Pine/Poplar: Lighter, more affordable softwoods, ideal for painted finishes or projects where weight is a concern.
- Hardware:
- Hinges: Heavy-duty, robust hinges are essential for the folding mechanism. Piano hinges provide continuous support along the entire edge, while butt hinges are strong for smaller sections.
- Latches/Locks: To secure the table in its folded or extended positions, consider barrel bolts, magnetic catches, or specialized table locks.
- Leg Supports: If your design involves folding legs, choose sturdy, reliable folding leg brackets that can bear the anticipated weight.
- Finishes:
- Stain and Polyurethane: Ideal for showcasing natural wood grain while offering protection.
- Paint: Provides a clean, modern look and can match any color scheme.
- Oil Finish: Penetrates the wood, enhancing its natural beauty and offering a more tactile feel.
Before purchasing, sketch out your design and create a detailed cut list. This minimizes errors and ensures you acquire all necessary components. For ideas on other versatile furniture pieces, consider exploring “Console Tables That Wow: Build Sleek Entryway and TV Stand A” for further inspiration. https://woodcraftwiz.com/console-tables-that-wow-build-sleek-entryway-and-tv-stand-alternatives/
Essential Tools and Step-by-Step Construction Guide
With your design finalized and materials gathered, the next phase in Building a DIY Folding Console Table: Maximizing Space and Versatility in Small Homes is the actual construction. This requires a methodical approach, precise cuts, and careful assembly to ensure a stable and functional piece of furniture.
Required Tools
A well-equipped workshop is crucial for achieving professional results.
- Measuring and Marking Tools: Tape measure, ruler, combination square, pencil.
- Cutting Tools:
- Circular Saw or Table Saw: For accurate, straight cuts on larger panels. A table saw offers superior precision.
- Miter Saw: For precise crosscuts and angled cuts on legs and support pieces.
- Jigsaw: For any curved cuts, though not typically needed for most console table designs.
- Drilling Tools: Cordless drill/driver, various drill bits (pilot holes, countersink bits).
- Assembly Tools: Wood clamps (essential for securing pieces during glue-up), screwdrivers, mallet.
- Sanding Tools: Orbital sander with various grit sandpaper (80, 120, 180, 220), sanding blocks.
- Safety Equipment: Safety glasses, hearing protection, dust mask.
Step-by-Step Construction Process
This guide outlines a common design featuring a main fixed tabletop section and two drop-leaf extensions. Adjustments will be necessary for different folding mechanisms.
1. Cut List and Material Preparation
Based on your design, create a precise cut list for all components:
- Main Top: 1 piece
- Drop Leaves: 2 pieces (or 1, depending on design)
- Legs: 4 pieces (if using traditional legs, or fewer if using a gate-leg design)
- Apron/Support Rails: 4-6 pieces
- Folding Supports (if applicable): Pieces for the gate-leg or similar mechanism.
Cut all wood pieces to the exact dimensions specified in your plan. Ensure all edges are smooth and free of splinters.
2. Constructing the Main Table Base
If your design includes a fixed frame or apron, assemble this first.
- Attach the apron pieces to the main legs using wood glue and screws (countersink pilot holes for a clean finish) or joinery methods like pocket holes.
- Ensure the frame is square and stable. Use clamps to hold joints securely while the glue dries. For strong, lasting joints, consider exploring different methods in “Hand Tool Joinery for Visible Wood Joints: Dovetails, Mortis” to enhance durability. https://woodcraftwiz.com/hand-tool-joinery-for-visible-wood-joints-dovetails-mortise-and-tenon-and-box-joints-as-design-features-in-furniture-and-small-projects/
3. Attaching the Main Tabletop
- Center the main tabletop piece over the assembled base.
- Attach the tabletop to the apron or frame from underneath using screws, ensuring they are not too long to penetrate the tabletop surface.
- Alternatively, use figure-8 fasteners or z-clips to allow for wood movement.
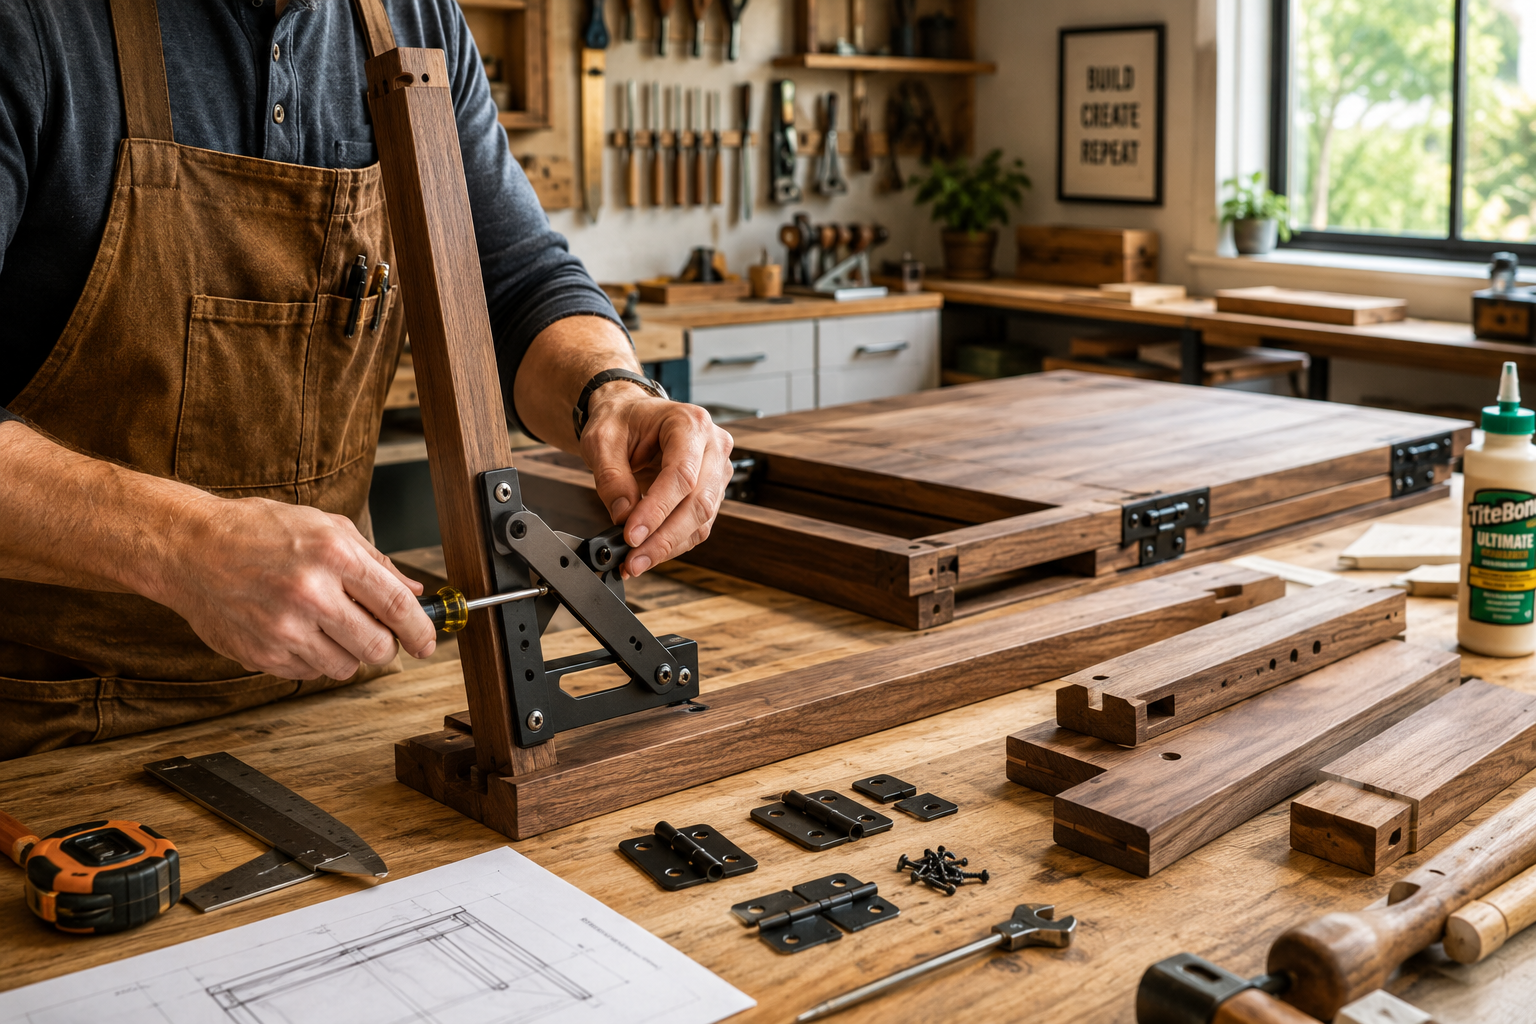
4. Installing the Folding Mechanism
This is the most critical step for the table’s functionality.
- Drop-Leaf Hinges:
- Position the main tabletop on your workbench, underside up.
- Place a drop leaf flush with the edge of the main top.
- Align the drop-leaf hinges equidistant along the joint.
- Mark and pre-drill holes for the hinge screws.
- Attach the hinges to both the main top and the drop leaf, ensuring they operate smoothly.
- Gate-Leg Mechanism:
- Attach the stationary side of the gate leg frame to the underside of the main tabletop.
- Mount the swinging gate leg to this frame using robust hinges.
- Ensure the gate leg swings freely and provides adequate support when extended. The extended drop leaf will rest directly on this swinging support.
5. Building and Installing Folding Legs (If Applicable)
For tables where the legs themselves fold, such as a traditional gate-leg design or an expanding table with integrated legs:
- Assemble the folding leg units according to your design. These often involve a pivot point and a locking mechanism.
- Attach these leg units securely to the underside of the tabletop, ensuring they are perfectly aligned and offer stable support when extended.
6. Sanding and Finishing
- Once assembled, thoroughly sand the entire table. Start with a coarser grit (80-120) to remove any imperfections, then progressively move to finer grits (180-220) for a smooth finish.
- Clean off all dust before applying your chosen finish.
- Apply stain, paint, or oil according to the product instructions. Several thin coats are generally better than one thick coat, with light sanding between coats for paint/polyurethane. For more finishing tips, refer to “Profitable Woodworking for Beginners: Building and Selling H” and its guidance on presentation. https://woodcraftwiz.com/profitable-woodworking-for-beginners-building-and-selling-high-demand-small-projects-under-50-in-materials/
Table: Common Folding Mechanism Pros and Cons
| Mechanism Type | Pros | Cons | Best For |
|---|---|---|---|
| Drop-Leaf Hinges | Simple, low profile, easy to install | Requires separate support for extended leaf | Small, occasional extensions |
| Gate-Leg | Very stable when extended, integrated support | More complex to build, visible legs when folded | Larger, more frequent extensions, dining tables |
| Accordion-Style | Compact, smooth operation | Complex hardware, specific design constraints | Modern, minimalist designs, limited space |
| Pivot-and-Slide | Doubles surface area efficiently, clean lines | Requires precise routing and custom runners | Desks, craft tables, seamless expansion |
Investing time in each step, especially in joinery and sanding, will result in a professional-quality, durable folding console table that you can be proud of in 2026. For further workshop organization to support such projects, consider “Smart Workshop Storage Solutions: Maximizing Small Spaces with” for efficient setup. https://woodcraftwiz.com/smart-workshop-storage-solutions-maximizing-small-spaces-with-modular-systems-and-diy-organizers/
Maximizing Space and Versatility: Placement and Usage Tips
The true value of Building a DIY Folding Console Table: Maximizing Space and Versatility in Small Homes lies in its ability to adapt. A thoughtfully designed and strategically placed folding console table can dramatically enhance the functionality and aesthetic of compact living areas.

Strategic Placement
The location of your folding console table is key to unlocking its full potential.
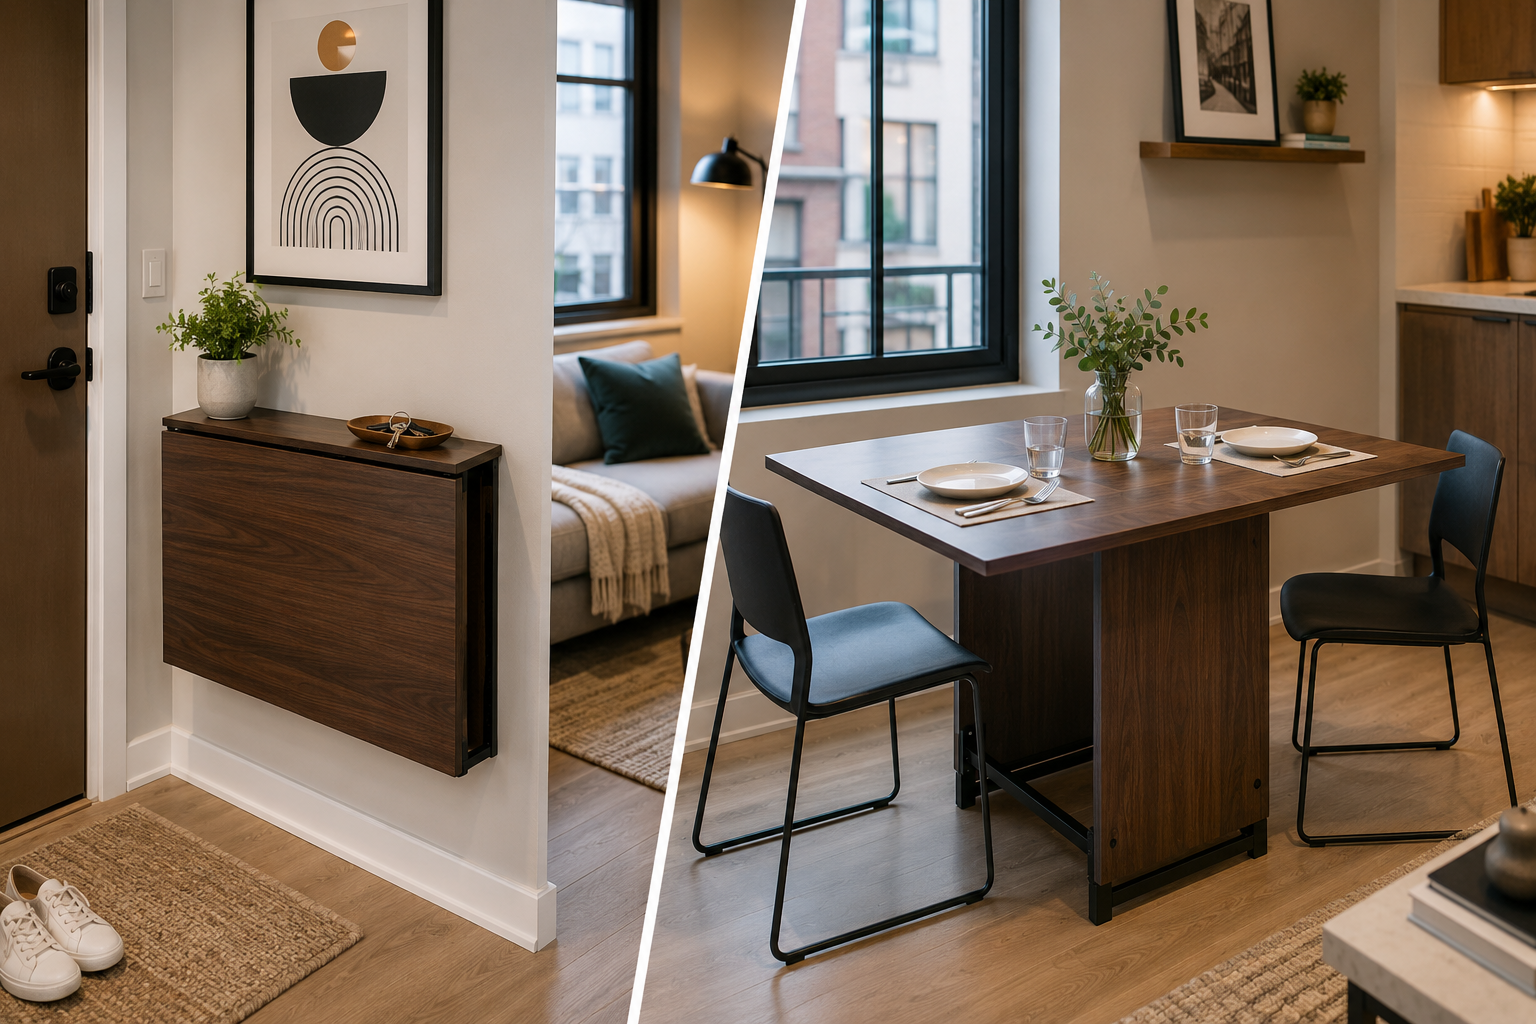
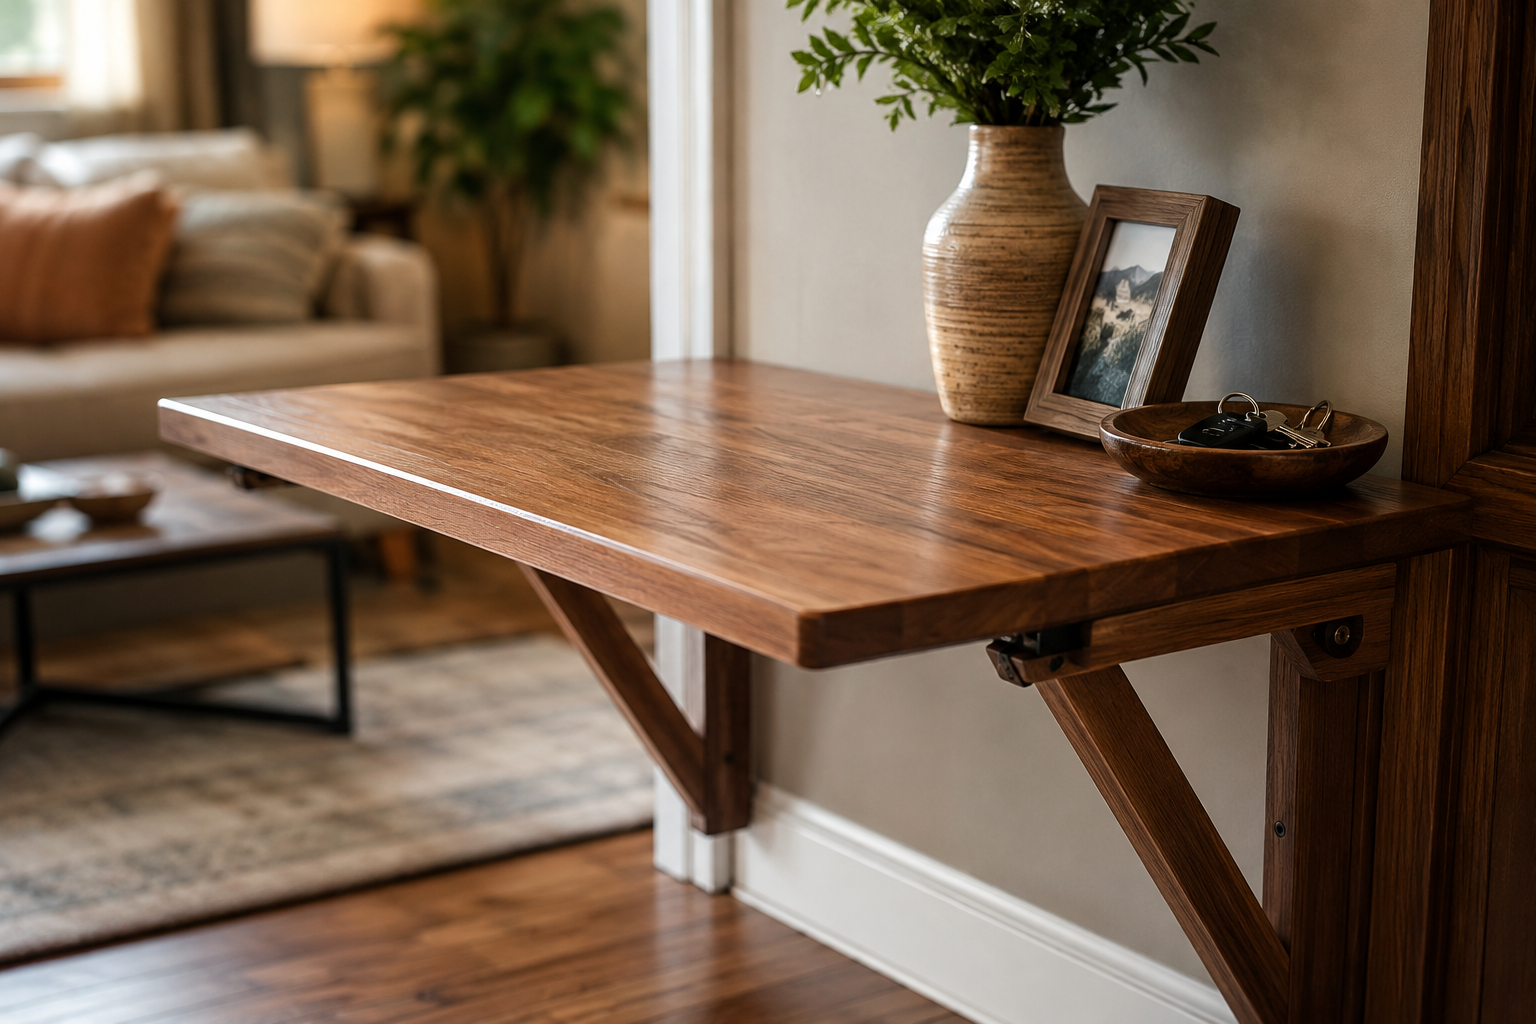
- Entryway: In its folded state, it serves as a stylish landing strip for keys, mail, and decorative items. When needed, it can expand to hold extra platters during a gathering or provide a temporary workspace. Consider pairing it with a wall-mounted organizer for maximum efficiency, like those discussed in “DIY Compact Entryway Organizers: Building Wall-Mounted Solutions for”. https://woodcraftwiz.com/diy-compact-entryway-organizers-building-wall-mounted-solutions-for-keys-mail-and-small-accessories/
- Living Room: Against a wall, it functions as a media console or display surface. Extended, it can become a spontaneous dining table for intimate dinners or a board game hub.
- Kitchen/Dining Nook: For small kitchens, it offers additional prep space when extended and neatly tucks away when not in use. In an apartment, it can transform a small dining area into a functional and inviting space.
- Home Office: When space is at a premium, a folding console table can serve as a part-time desk, offering a dedicated work surface that can be collapsed to reclaim living space.
- Guest Room: A perfect solution for a multi-purpose guest room, providing a surface for luggage, a temporary desk, or even an extra dining spot for guests.
Versatile Usage Scenarios
Beyond its primary function, a DIY folding console table can be adapted for numerous tasks throughout your home.
- Dining Table Extension: When entertaining, simply extend the leaves to accommodate more guests, then fold it back to its compact form.
- Craft or Hobby Table: The expanded surface provides ample room for sewing, crafting, or other hobbies. Its compact nature means your supplies can be stored neatly when not in use.
- Temporary Workstation: Perfect for remote work or homework, offering a dedicated space that minimizes clutter in your main living areas.
- Buffet Server: During parties or holidays, it can serve as a convenient buffet station for food and drinks.
- Display Surface: In its folded state, it acts as an elegant display for plants, art, photographs, or collectibles.
Enhancing Functionality and Aesthetics
- Storage Integration: Consider adding a small shelf or drawer underneath the main tabletop for discreet storage of small items.
- Casters: For ultimate portability, install locking casters. This allows you to easily move the table between rooms or reconfigure your space.
- Seating Solutions: Pair your folding console table with stackable chairs or benches that can be tucked away when not in use, further optimizing space. Our guide on “Crafting Profitable Wooden Benches: From Entryway Seats to G” offers excellent ideas for complementary seating. https://woodcraftwiz.com/crafting-profitable-wooden-benches-from-entryway-seats-to-garden-perches/
- Lighting: Position a stylish table lamp on the console to create ambient lighting, enhancing its role as a decorative piece.
- Decor: Use minimalist decor elements to avoid overwhelming the space when the table is folded. A single vase, a small stack of books, or a curated art piece can add charm without clutter.
By intentionally designing, building, and integrating your DIY folding console table into your small home, you create a piece of furniture that is not just practical but also transformative. It allows for flexibility, adapts to changing needs, and makes every square foot count. This piece of furniture epitomizes smart living in 2026.
Conclusion
Building a DIY Folding Console Table: Maximizing Space and Versatility in Small Homes is more than just a woodworking project; it’s an investment in flexible living. As homes continue to shrink and urban living spaces become the norm in 2026, the demand for furniture that offers multiple functions without sacrificing style or footprint will only grow. This project empowers you to create a bespoke solution that perfectly fits your specific needs, transforming an often-underutilized wall into a dynamic hub for dining, work, or display.
By following the detailed planning, construction, and usage guidelines outlined in this article, you can successfully build a durable, attractive, and highly functional folding console table. The satisfaction of crafting a piece that directly addresses your spatial challenges, while reflecting your personal aesthetic, is immensely rewarding. This table won’t just save space; it will enhance your ability to adapt your environment to suit life’s everyday demands and special occasions.
Actionable Next Steps
- Refine Your Design: Revisit your initial sketches and measurements. Consider the specific folding mechanism that best suits your intended use and available space.
- Gather Materials: Create a comprehensive list of wood, hardware, and finishes based on your final design. Source quality materials to ensure longevity.
- Organize Your Workshop: Ensure you have all the necessary tools and a safe, clean workspace before beginning construction. Refer to articles like “DIY Smart Workshop Storage Solutions: Maximizing Space and” for setup tips. https://woodcraftwiz.com/diy-smart-workshop-storage-solutions-maximizing-space-and-organization-for-every-tool/
- Execute with Precision: Take your time with each cut and assembly step. Accuracy in woodworking prevents issues down the line.
- Personalize and Enjoy: Finish your table to match your home’s decor, then integrate it into your living space, embracing its newfound versatility.
