
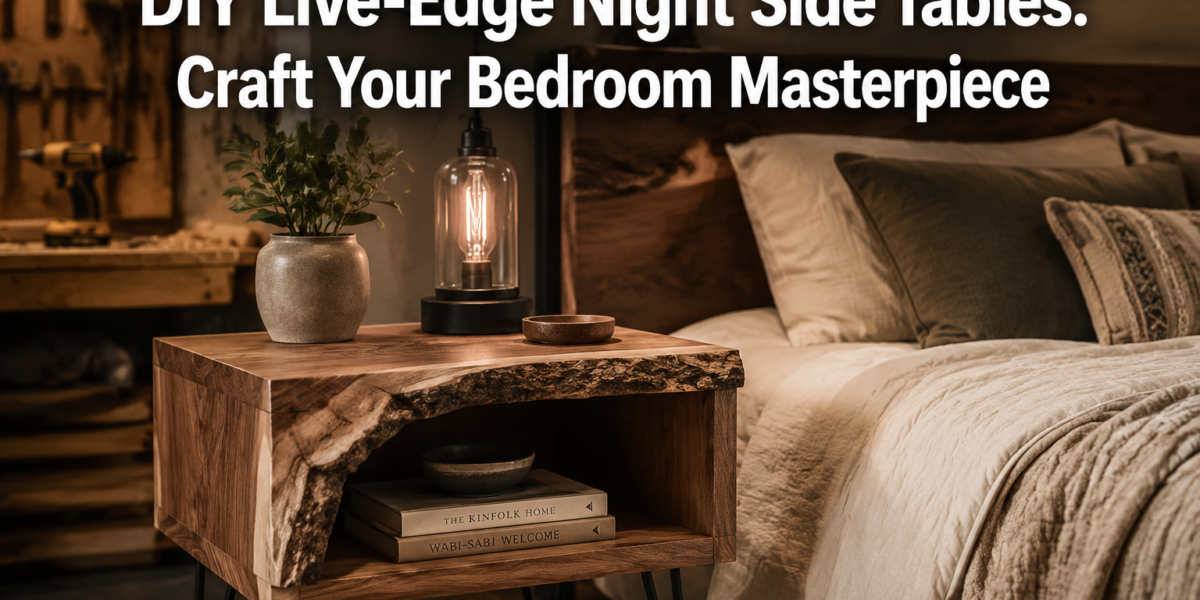
The average homeowner in 2026 spends over $2,000 on bedroom furniture, yet often compromises on character and uniqueness. Imagine instead crafting a piece that perfectly marries rustic charm with modern functionality, a conversation starter born from your own hands. This article will guide you through the transformative process of creating DIY Live-Edge Night Side Tables: From Raw Slab to Finished Bedroom Piece, focusing on choosing the ideal raw material, precision flattening and stabilization, integrating sturdy yet minimal leg designs, and applying a warm, matte finish that accentuates the wood’s inherent beauty.
Key Takeaways
- Slab Selection is Crucial: Prioritize stability, character, and appropriate dimensions when choosing a live-edge slab.
- Flattening Ensures Longevity: Proper flattening with a router sled or planer is vital for a stable, professional-grade surface.
- Leg Design Impacts Aesthetics: Minimalist leg designs, such as hairpin or simple metal frames, best complement the natural live edge.
- Finishing Protects and Enhances: A warm, matte finish like oil or satin polyurethane will protect the wood while highlighting its natural grain.
- Embrace Imperfections: The beauty of live-edge lies in its organic irregularities; integrate them into your design.
Selecting Your Raw Slab and Initial Preparation for DIY Live-Edge Night Side Tables
The foundation of truly distinctive DIY Live-Edge Night Side Tables: From Raw Slab to Finished Bedroom Piece lies in the selection of your raw wood slab. This isn’t merely picking a piece of wood; it’s about finding a unique organic canvas that resonates with your vision for the finished bedroom piece. Factors like wood species, moisture content, and natural features all play a critical role.
Choosing the Right Wood Species
Different wood species offer distinct characteristics that will define the aesthetic of your nightstand.
- Walnut: Known for its rich, dark browns and beautiful grain patterns. It’s relatively stable and finishes wonderfully.
- Maple: Offers a lighter, creamy tone, often with interesting figure such as curl or bird’s eye. It’s dense and durable.
- Oak: Available in red or white varieties, oak is strong and features prominent, open grain. It takes stains well but also looks excellent with a natural finish.
- Cherry: Starts as a lighter, pinkish-brown and darkens beautifully over time with exposure to light, developing a rich reddish hue.
- Sycamore: Often displays unique “lace” figure when quarter-sawn, offering a striking appearance.
Consider the existing décor of your bedroom. A darker wood like walnut might suit a more luxurious or traditional space, while maple or oak could complement a lighter, modern, or Scandinavian aesthetic.
Assessing Slab Quality and Dimensions
Once you’ve narrowed down species, meticulously inspect individual slabs.
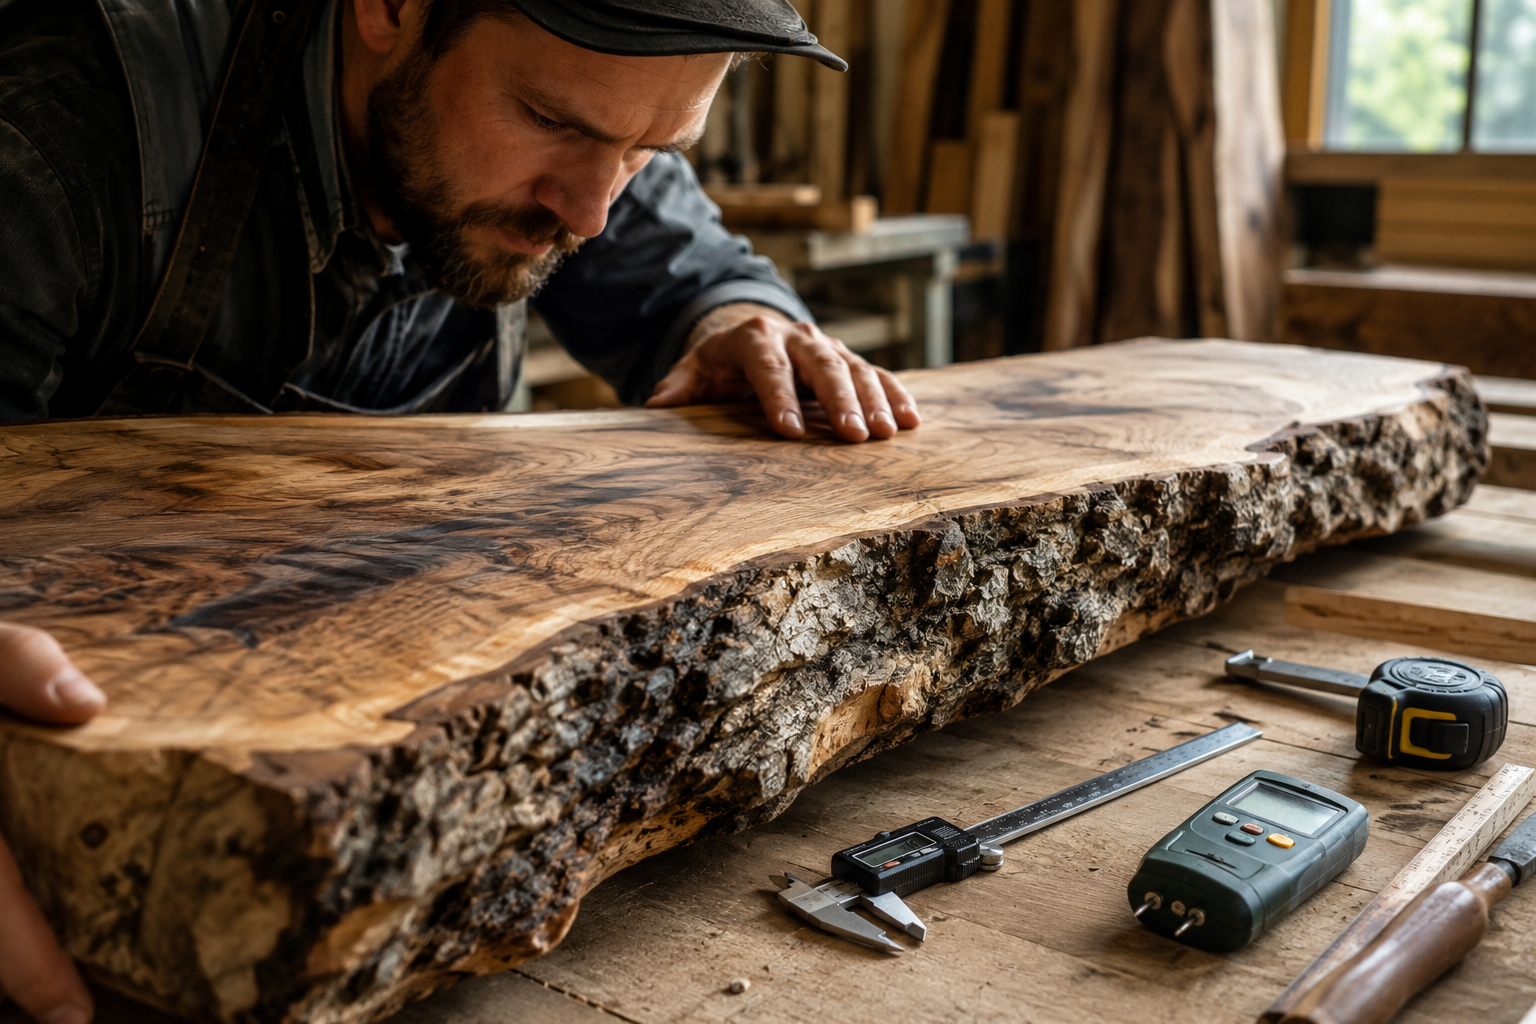
- Moisture Content: This is paramount. A slab that isn’t properly dried will continue to move, check (crack), and warp, potentially ruining your project. Use a reliable moisture meter to ensure the wood’s moisture content is between 6-8% for indoor furniture. If it’s higher, you’ll need to air-dry or kiln-dry it further.
- Stability: Look for slabs with minimal large cracks or checks, especially at the ends. Small, stable hairline cracks can often be filled with epoxy or left as character, but extensive damage indicates instability.
- Live Edge Integrity: The “live edge” is the natural, uncut edge of the tree. Assess its character. Do you want a subtle curve or a dramatic, undulating form? Ensure the bark is mostly intact if you plan to keep it, or easily removable if you prefer a debarked, natural edge.
- Dimensions: For a nightstand, aim for a slab roughly 18-24 inches in width and 18-30 inches in length. Thickness should ideally be 1.5-2 inches after flattening to provide a substantial feel and prevent warping.
Consider local sawmills or specialty wood suppliers for the best selection of live-edge slabs. They often have knowledge about the wood’s history and drying process.
Flattening, Sanding, and Stabilizing Your Live-Edge Top
Transforming a raw, uneven slab into a stable, usable surface is a critical step in creating DIY Live-Edge Night Side Tables: From Raw Slab to Finished Bedroom Piece. This process involves flattening, meticulous sanding, and potentially stabilizing any natural imperfections.
Flattening the Slab: Achieving a Level Surface
Raw slabs are rarely perfectly flat. They often have twists, cups, or bows from the drying process. Flattening is essential for a stable nightstand.
Methods for Flattening:
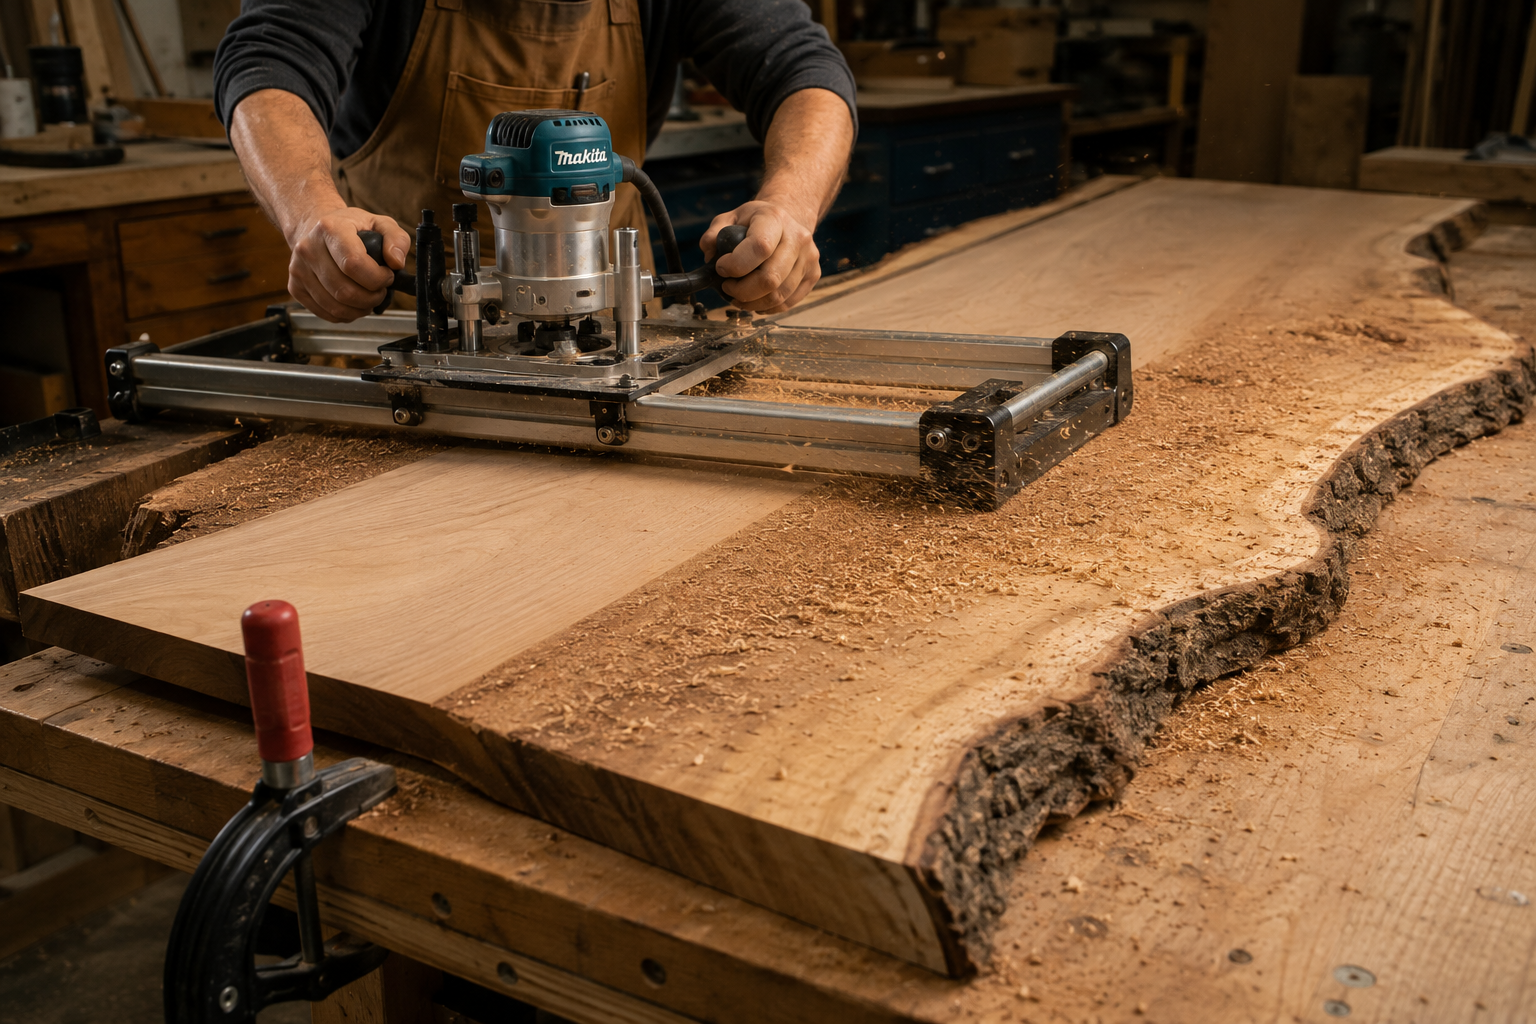
Router Sled: This is the most accessible and effective method for most DIYers.
- Build a Sled: Construct a sturdy sled that holds your router and slides along two parallel rails mounted above the slab. The rails must be perfectly flat and level.
- Secure the Slab: Use wedges or hot glue to shim the slab securely to a workbench, ensuring it doesn’t rock. This prevents the slab from moving during routing, which would lead to an uneven surface.
- Routing Passes: Use a large-diameter flattening bit (often 1-2 inches) and make shallow passes across the slab. Work systematically, taking off only what’s necessary to achieve a flat plane. Flip the slab and repeat the process for the second side, ensuring both faces are parallel. For more on precision routing, see our guide on Choosing and Using Router Tables: Maximizing Precision and Safety for.
Large Planer (Professional Shops): If you have access to a commercial-sized planer, this is quicker but requires initial flattening of one face (e.g., with a jointer or router sled) before running it through the planer.
Addressing Natural Imperfections
Live-edge slabs often feature cracks, voids, or knots that add character. Decide whether to embrace them or stabilize them.
Epoxy Filling: For significant cracks or voids, clear or tinted epoxy resin can be used to fill and stabilize.
- Clean: Ensure the area is free of dust and debris.
- Seal: Tape off the underside of any through-cracks to prevent epoxy from leaking.
- Pour: Carefully mix and pour the epoxy, allowing it to cure completely according to manufacturer instructions.
- Level: Once cured, level the epoxy flush with the wood surface using a scraper, plane, or sander.
Bowties/Butterfly Keys: For structural cracks that might expand, traditional wooden bowties (or butterfly keys) can be inlaid. These not only add stability but also a decorative element. This is a more advanced technique often covered in resources about Mastering Modern Hand-Cut Joinery: Adapting Classics for Live-Edge and Modular Furniture.
Sanding for a Smooth Finish
Sanding is crucial for preparing the wood for finish and bringing out its natural beauty.
- Progressive Grits: Start with a coarser grit (e.g., 80 or 100) to remove milling marks or epoxy overflow. Progress through finer grits (120, 150, 180, 220). Avoid jumping grits, as this can leave deeper scratches that will show through the finish.
- Orbital Sander: An random orbital sander is ideal for flat surfaces.
- Hand Sanding: For the live edge itself, hand sanding is usually necessary to preserve its organic shape. Use sanding sponges or wrap sandpaper around flexible forms.
- Dust Removal: Thoroughly remove all dust between grits using a shop vacuum and a tack cloth. Remaining dust can get embedded in the wood and affect the final finish.
Attaching Legs and Applying the Perfect Finish for Your Bedroom Piece
With your live-edge slab flattened and sanded, the next steps involve selecting and attaching the legs, then applying a finish that will protect the wood and enhance its natural character, culminating in stunning DIY Live-Edge Night Side Tables: From Raw Slab to Finished Bedroom Piece.
Choosing and Attaching Legs
The legs you choose profoundly impact the overall aesthetic of your live-edge nightstand. Minimalist designs tend to complement the organic top best.
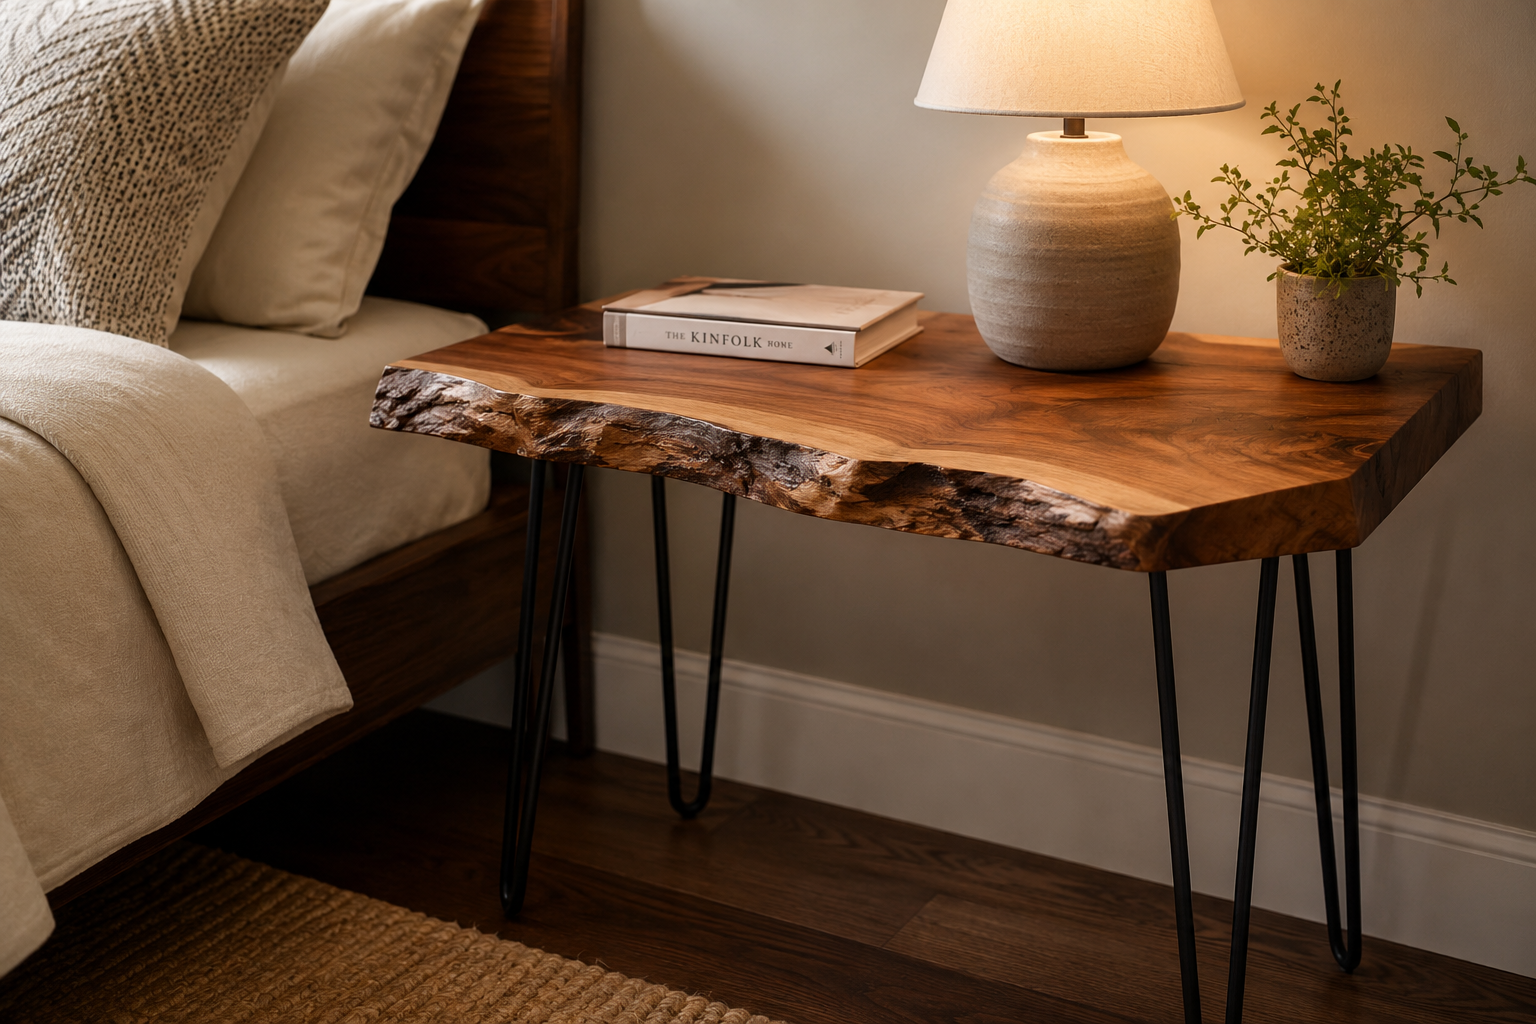
- Hairpin Legs: These are a popular choice for live-edge furniture, offering a sleek, mid-century modern look. They are typically made from steel and come in various heights and finishes (raw, powder-coated black, brass).
- Attachment: Position the legs 1-2 inches in from the edge of the slab on the underside. Mark and pre-drill pilot holes to prevent splitting, then secure with appropriate wood screws.
- Box/Square Metal Legs: For a more industrial or contemporary feel, square metal tube legs or a full metal frame can be used. These offer excellent stability.
- Attachment: Similar to hairpin legs, pre-drill and secure with screws. Ensure the legs are square to the slab using a combination square.
- Trestle or Slab Legs: If you prefer a full wood aesthetic, consider crafting matching wooden trestle bases or even smaller slab sections from the same wood for a cohesive look.
- Attachment: This often involves more complex joinery, such as mortise and tenon or dovetail joints for stability. For robust joinery techniques, explore guides like Mastering Dovetail Joints with Hand Tools: A Step-by-Step Guide for.
Important Considerations for Leg Placement:
- Stability: Ensure the legs are spaced adequately to prevent the table from wobbling.
- Balance: Consider the visual weight of the slab and choose legs that provide a balanced appearance.
- Height: Standard nightstand height is typically 24-28 inches, aligning with the top of most mattresses.
Applying a Warm Matte Finish
The right finish will protect your wood from moisture and wear while accentuating its grain and the unique live edge. For a bedroom piece, a warm, matte or satin finish is often preferred as it avoids a overly glossy, artificial look.
Popular Finish Options:
Oil Finishes (e.g., Danish Oil, Tung Oil, Linseed Oil):
- Pros: Penetrate the wood, creating a natural, warm, and inviting matte finish that highlights the grain. They are easy to apply and repair. For more insights into these, refer to our Danish Oil vs. Linseed: The Ultimate Wood Finishing Guide.
- Application: Apply generously with a rag, let it penetrate, then wipe off excess. Repeat multiple thin coats until the desired depth and protection are achieved. Allow ample drying time between coats.
- Maintenance: Requires occasional reapplication to maintain protection.
Water-Based Polyurethane (Matte or Satin):
- Pros: Offers durable protection, is low odor, and dries quickly. Modern water-based polyurethanes can achieve a very clear, low-sheen finish.
- Application: Apply thin coats with a foam brush or sprayer. Lightly sand with 320-400 grit sandpaper between coats for optimal adhesion and smoothness.
- Maintenance: Highly durable; less frequent maintenance than oil finishes.
Oil-Modified Polyurethane (Satin):
- Pros: A more durable option than pure oil, offering good protection with a slightly ambering effect that can warm up lighter woods.
- Application: Similar to water-based poly, but often requires longer drying times. Apply thin coats, sanding lightly between.
Finishing Steps:
- Dust Thoroughly: After final sanding, use compressed air, a vacuum, and a tack cloth to ensure absolutely no dust remains.
- Apply Finish: Follow the specific instructions for your chosen finish. Always test on a scrap piece of the same wood first.
- Cure Time: Allow the finish to fully cure before placing items on your new nightstand. This can take several days or even weeks for some oil finishes.
By thoughtfully executing these steps, your DIY Live-Edge Night Side Tables: From Raw Slab to Finished Bedroom Piece will become a focal point of your bedroom, a testament to your craftsmanship and an embodiment of natural beauty. Consider pairing your new nightstands with a DIY Wooden Headboard for a cohesive bedroom aesthetic.
Conclusion
Creating DIY Live-Edge Night Side Tables: From Raw Slab to Finished Bedroom Piece is a deeply rewarding woodworking journey, transforming a raw piece of nature into a functional work of art. From the careful selection of a stable, character-rich slab to the precise flattening, thoughtful leg integration, and the application of a protective, warm finish, each step contributes to a piece that is uniquely yours. These nightstands not only serve a practical purpose but also infuse your bedroom with organic beauty and a story of craftsmanship.
Embrace the imperfections inherent in live-edge wood; they are what give these pieces their soul. The skills gained and the satisfaction derived from crafting furniture from a raw slab are invaluable. By following these guidelines, you can confidently build a pair of heirloom-quality nightstands that will enhance your bedroom for years to come.
Actionable Next Steps:
- Source Your Slab: Begin by researching local sawmills or specialty wood suppliers to find the perfect live-edge slab. Prioritize stability and moisture content.
- Gather Tools: Ensure you have the necessary tools for flattening (e.g., router, router sled components), sanding, and finishing.
- Practice on Scraps: If new to any technique, practice on scrap wood before working on your primary slab.
- Plan Your Design: Visualize your final nightstand, including leg style and finish, to ensure all components complement each other.
- Start Building: Take your time, enjoy the process, and watch your raw slab transform into a magnificent bedroom piece.
Meta Title: DIY Live-Edge Night Side Tables: Raw Slab to Bedroom Piece Meta Description: Learn to craft DIY live-edge night side tables in 2026. This guide covers slab selection, flattening, leg attachment, and finishing for unique bedroom furniture.