
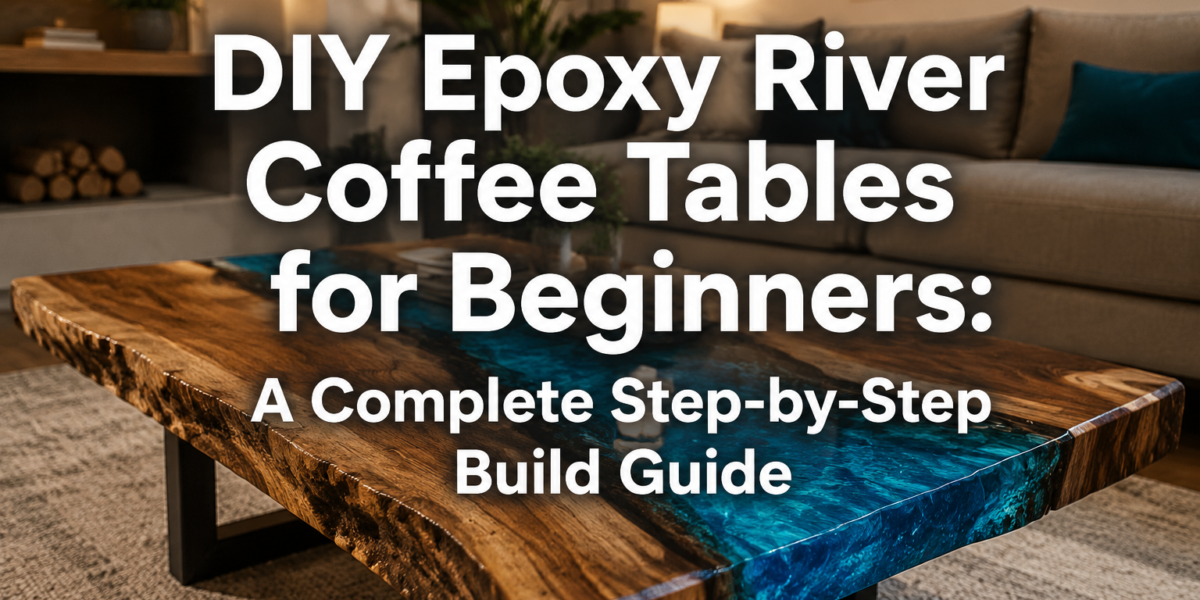
The allure of a unique, handcrafted piece of furniture often outweighs the appeal of mass-produced items, especially when it comes to statement pieces like coffee tables. While the thought of working with epoxy resin and raw wood might seem daunting, creating a stunning epoxy river coffee table is surprisingly accessible for beginners in 2026. This comprehensive guide provides a beginner-safe, tool-light build plan, covering everything from selecting the right wood slab to achieving a professional matte finish, ensuring first-time makers can tackle this viral project with confidence, even without extensive prior epoxy experience.
Key Takeaways
- Wood Selection is Crucial: Choose kiln-dried, stable live-edge slabs with interesting natural voids for the river.
- Build a Watertight Mold: Construct a perfectly sealed formwork to prevent resin leaks.
- Careful Resin Mixing and Pouring: Follow precise ratios and pour in layers to avoid overheating and excessive bubbles.
- Sanding and Finishing are Key: Gradually sand through grits and apply a durable matte finish for a professional look.
- Safety First: Always wear appropriate personal protective equipment (PPE) throughout the process.
Essential Preparations for Your DIY Epoxy River Coffee Table
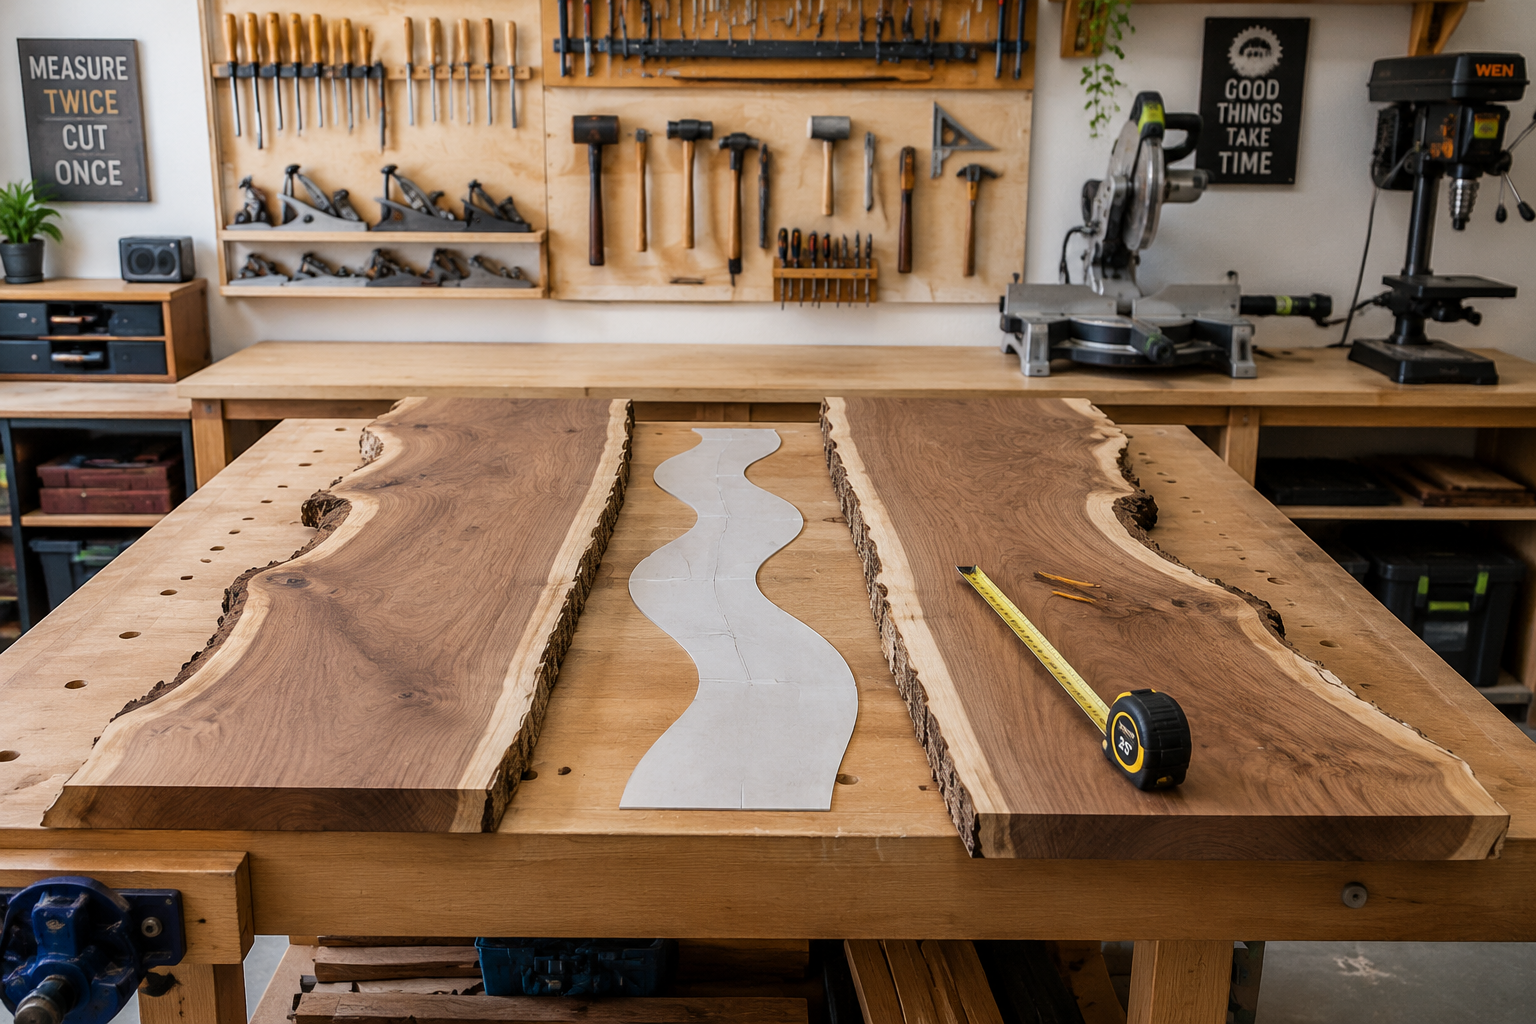
Embarking on a DIY Epoxy River Coffee Table for Beginners: A Complete Step-by-Step Build Guide requires careful planning and material selection. The foundation of a successful project lies in choosing the right wood slabs and preparing your workspace.
Selecting Your Wood Slabs
The heart of your river coffee table is the wood. For beginners, it’s advisable to start with live-edge slabs that are relatively flat and stable. Look for pieces with natural voids, cracks, or interesting grain patterns that will form the “banks” of your epoxy river. Common choices include walnut, maple, oak, and sycamore.
Considerations for Wood Selection:
- Moisture Content: Ensure the wood is kiln-dried to a moisture content of 6-8%. High moisture can lead to warping, cracking, and issues with epoxy adhesion down the line. Using a moisture meter is highly recommended.
- Dimensions: Plan your desired table dimensions. For a typical coffee table, slabs are usually 1.5-2 inches thick, 10-15 inches wide each, and 3-4 feet long.
- Character: Embrace the natural imperfections. These are what make river tables unique. However, avoid excessively rotten or weak spots that might compromise the structural integrity.
- Sourcing: Local sawmills, specialty lumber yards, or even online suppliers are good places to find live-edge slabs.
Once you have your slabs, it’s crucial to flatten and square one edge of each slab that will face the river. This can be done with a jointer, a router sled, or even a hand plane for a more tool-light approach. The goal is to create a relatively straight and clean edge for the epoxy to adhere to. Any remaining bark or loose debris on the live edge should be carefully removed with a wire brush or chisel.
Setting Up Your Workspace and Gathering Materials
A clean, well-ventilated, and level workspace is non-negotiable for epoxy projects. Epoxy resin is sensitive to dust, temperature, and humidity.
Workspace Requirements:
- Temperature Control: Aim for a consistent room temperature between 70-75°F (21-24°C). Extreme temperatures can affect epoxy cure time and quality.
- Ventilation: Good airflow is essential, as epoxy fumes can be strong. Open windows and use fans, or consider a respirator.
- Dust-Free: Dust particles will settle into wet epoxy. Clean your workspace thoroughly before mixing and pouring.
- Level Surface: Your formwork must be perfectly level to ensure an even epoxy pour. Use a spirit level to check your workbench.
Materials and Tools List:
| Category | Item | Purpose |
|---|---|---|
| Wood | Kiln-dried live-edge slabs | The primary material for the table top |
| Epoxy Resin | Deep pour epoxy resin (2-part system) | For the “river” section |
| Clear casting epoxy (optional for topcoat) | For a final protective layer | |
| Colorants | Epoxy pigments or dyes | To color the river (blue, green, black are popular) |
| Mold Building | Melamine or HDPE boards | For constructing the formwork (non-stick surface) |
| Silicone caulk | To seal the formwork and prevent leaks | |
| Tuck tape or packing tape | To create a non-stick surface on wood edges if needed | |
| Hot glue gun | For temporary sealing and securing wood in the mold | |
| Mixing & Safety | Mixing buckets/cups, stirring sticks | For accurately measuring and mixing epoxy |
| Nitrile gloves, safety glasses, respirator | Essential personal protective equipment (PPE) | |
| Heat gun or torch | To remove air bubbles from poured epoxy | |
| Finishing | Orbital sander, sanding blocks | For smoothing wood and epoxy |
| Sandpaper (various grits, 80-3000) | For progressive sanding steps | |
| Denatured alcohol or acetone | For cleaning surfaces | |
| Rubbing alcohol in a spray bottle | For de-bubbling shallow pours | |
| Wood finishing oil (e.g., tung oil, hardwax oil) | For a matte finish | |
| Basic Tools | Clamps (F-clamps, C-clamps) | To secure formwork and wood |
| Measuring tape, ruler, pencil | For accurate measurements | |
| Square, straightedge | For ensuring precise cuts and alignments | |
| Drill, screws | For assembling the formwork |
For securing your formwork and wood, quality clamps are indispensable. Consider reviewing options for building a custom wood workbench to ensure you have a stable base for your project.
Constructing the Formwork and Pouring the River
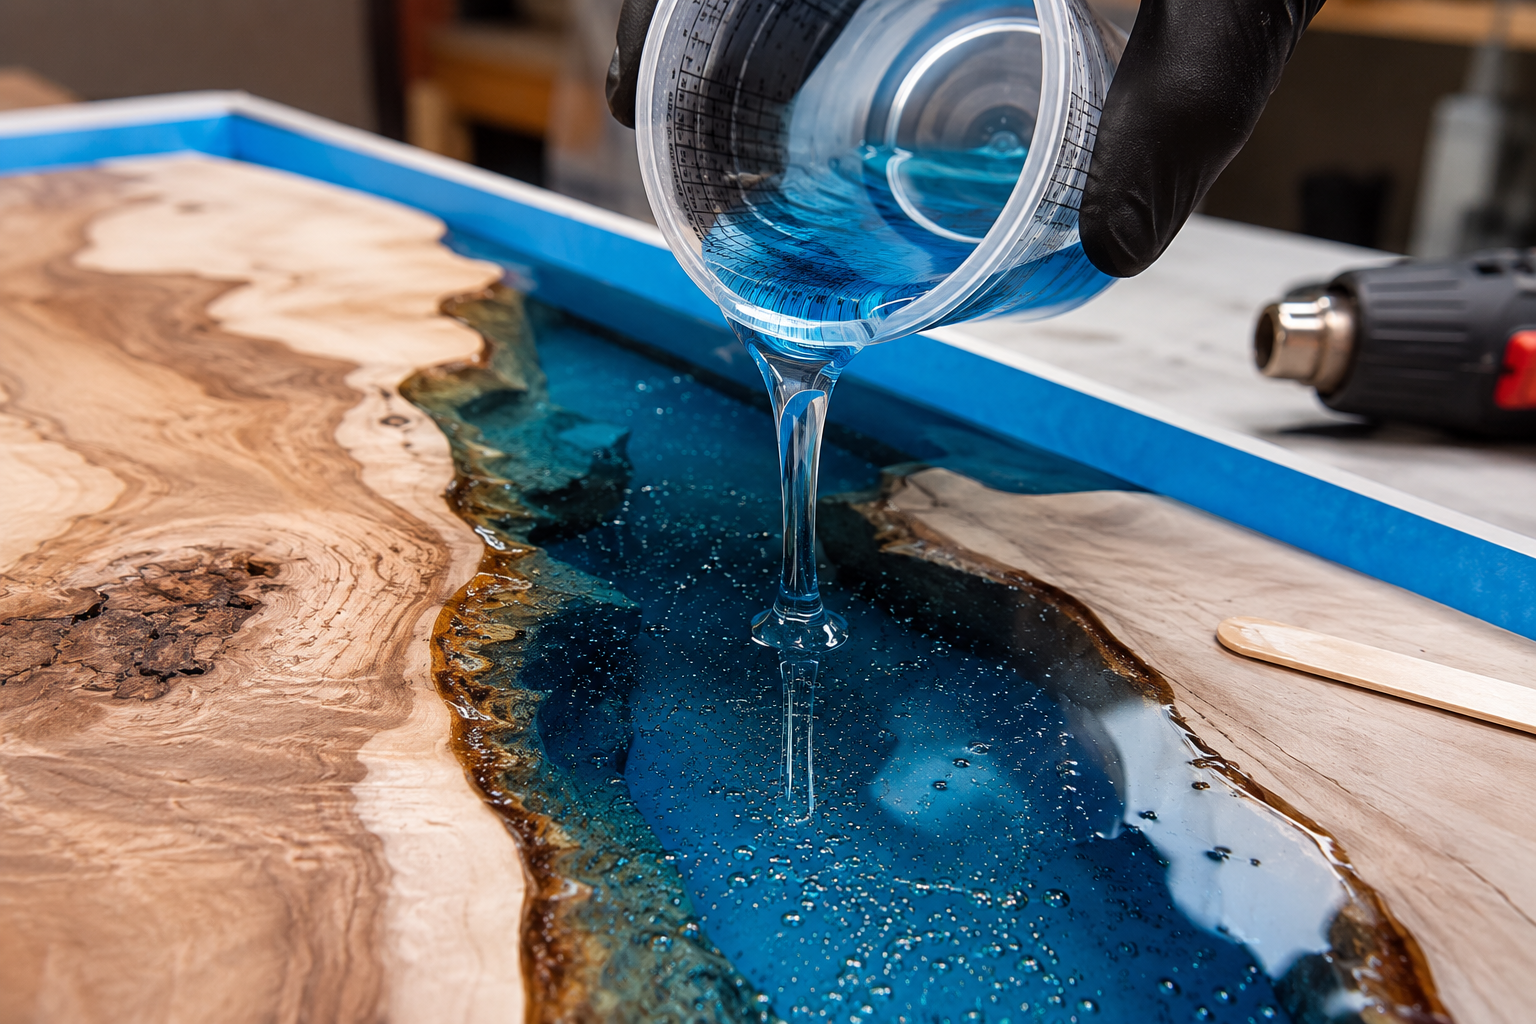
This phase is where your DIY Epoxy River Coffee Tables for Beginners: A Complete Step-by-Step Build Guide truly takes shape. Precision in mold construction and careful resin pouring are paramount for a stunning outcome.
Building a Watertight Formwork
The formwork (or mold) is critical. It must be perfectly sealed to contain the liquid epoxy. Melamine or HDPE boards are ideal because epoxy resin will not stick to them, allowing for easy demolding.
Steps for Formwork Construction:
- Cut the Base and Sides: Cut a melamine base slightly larger than your intended table top. Cut four melamine side pieces to match the length and width of your base, ensuring they are at least 1 inch taller than your thickest wood slab.
- Assemble the Box: Screw the side pieces to the edges of the base, creating an open-top box. Ensure all joints are flush and tight.
- Seal the Seams: Apply a generous bead of silicone caulk along all interior seams of the formwork. Smooth the caulk with your finger or a tool to create a watertight seal. Allow the caulk to cure completely, typically 24 hours.
- Position the Wood: Place your prepared wood slabs into the formwork, ensuring the live edges facing the river are positioned as desired. Use shims if necessary to achieve the correct spacing and height.
- Secure the Wood: Use hot glue to temporarily secure the bottom of the wood slabs to the melamine base. This prevents them from floating when the epoxy is poured. Apply hot glue along the outer edges of the slabs where they meet the melamine sides to create a secondary seal, preventing epoxy from seeping underneath or outside the river channel.
- Check Level: Double-check that your entire formwork and wood assembly is perfectly level using a spirit level. This prevents an uneven river depth.
Mixing and Pouring Epoxy Resin
This is the most exciting, yet critical, step. Accuracy is key.
Tips for Success:
- Read Instructions: Always follow the specific mixing ratios and instructions provided by your epoxy resin manufacturer. Deep pour epoxies are designed for thicker pours (typically 1-2 inches per layer) and have longer cure times.
- Measure Precisely: Use a digital scale for the most accurate measurement of Part A (resin) and Part B (hardener) by weight. Even a slight deviation can result in improper curing.
- Mix Thoroughly: Scrape the sides and bottom of your mixing container repeatedly with a stirring stick. Mix slowly and consistently for at least 3-5 minutes to ensure both parts are fully incorporated. Inadequate mixing is a common cause of soft spots or uncured epoxy.
- Add Colorant: If desired, add your chosen epoxy pigment or dye after initial mixing. Start with a small amount and gradually add more until you achieve the desired color saturation.
- Pour in Layers: For beginners, pouring in multiple layers (e.g., 1 inch at a time) is recommended, especially for thicker rivers. This helps manage heat generation (exotherm) and reduces the chance of excessive bubbles. Allow each layer to partially cure (usually 4-12 hours, check manufacturer guidelines) before pouring the next.
- De-bubbling: After each pour, use a heat gun or small torch (kept moving, never dwelling in one spot) to gently pass over the surface of the epoxy. This brings trapped air bubbles to the surface, where they pop. Alternatively, a fine mist of rubbing alcohol can help. Repeat this process every 10-15 minutes for the first hour or so after pouring.
- Cure Time: Allow the epoxy to fully cure according to the manufacturer’s instructions, typically 3-7 days, before attempting to demold or work further on the table. Rushing this step can lead to dents or scratches.
For projects involving detailed wood assembly, understanding the ultimate guide to wood glue can enhance your general woodworking skills.
Finishing Your Epoxy River Coffee Table with a Matte Look
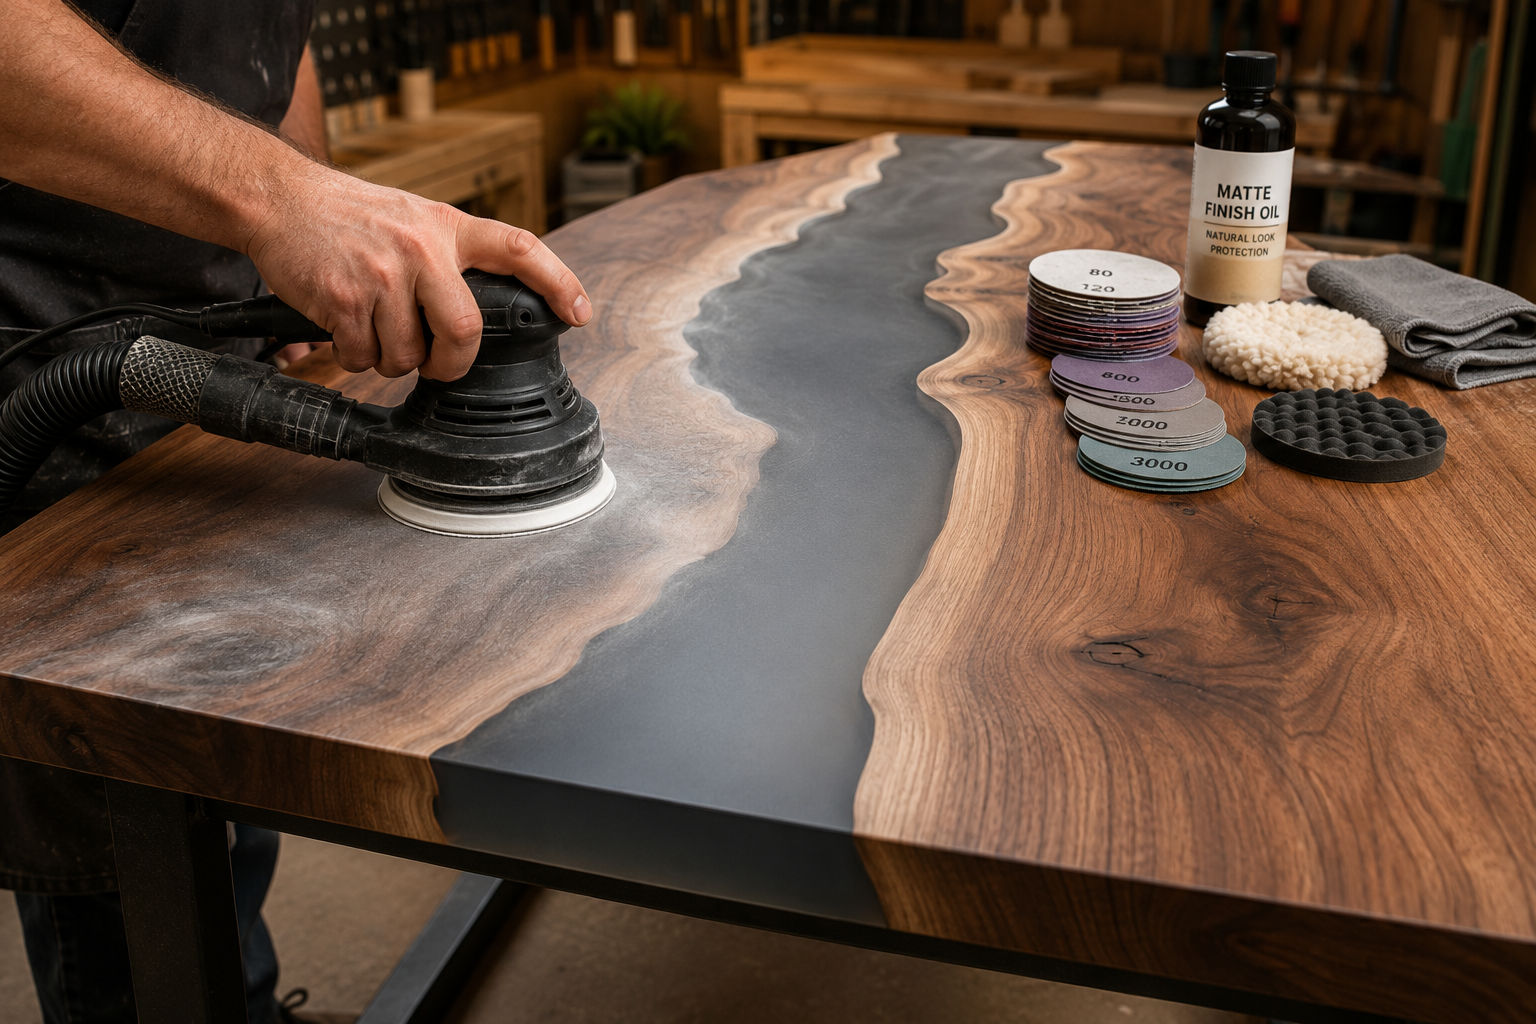
Once the epoxy has fully cured, the final stages involve demolding, flattening, sanding, and applying a beautiful matte finish to complete your DIY Epoxy River Coffee Tables for Beginners: A Complete Step-by-Step Build Guide.
Demolding and Initial Flattening
Carefully remove the screws holding the formwork sides. Gently pry the melamine sides away from the cured epoxy and wood. The hot glue securing the slabs to the base can be scraped off.
Flattening the Surface:
The top surface of your table will likely have slight imperfections from the pour. Flattening is essential for a smooth, professional finish.
- Router Sled: The most common and effective method for beginners is a router sled. This involves building a simple jig that allows a router to pass evenly over the entire surface, taking off small amounts of material until the table is perfectly flat.
- Belt Sander (with caution): While possible, using a belt sander requires a very steady hand and can easily create dips or uneven spots if not used correctly. It’s generally not recommended for initial flattening by beginners unless you have experience.
- Hand Planing: For smaller tables and experienced users, a sharp hand plane can achieve flatness, but it’s a labor-intensive process.
After flattening, both the wood and epoxy surfaces should be flush and ready for sanding.
Progressive Sanding and Matte Finishing
Sanding is where the true beauty of the epoxy and wood emerges. It’s a patient process of gradually removing scratches until the surface is impeccably smooth.
Sanding Schedule (using an orbital sander):
- Rough Sanding (80-120 grit): Start with 80 or 120 grit to remove router marks, glue residue, and any significant imperfections. Ensure all scratches from the previous grit are removed before moving on.
- Medium Sanding (180-220 grit): Progress to 180 and then 220 grit. This smooths the surface further and prepares the wood for finishing.
- Fine Sanding for Wood (320-400 grit): For the wood sections, 320 or 400 grit is usually sufficient before applying oil.
- Fine Sanding for Epoxy (up to 3000 grit, wet sanding optional): For the epoxy, continue sanding through finer grits:
- 320 grit
- 400 grit
- 600 grit
- 800 grit
- 1000 grit
- (Optional, for higher sheen before matte finish) 1500 grit, 2000 grit, 3000 grit. Wet sanding (using water with your sandpaper) can help achieve an even finer finish on epoxy and reduce dust.
- Important: The higher you sand the epoxy, the clearer and shinier it will become. For a matte finish, you’ll need to use a specific technique or product.
Achieving a Matte Finish:
There are two primary ways to achieve a matte look:
- Sanding to a Matte Sheen: Stop your sanding progression at 400-600 grit on the epoxy. This will leave a slightly hazy, matte appearance. Then apply a matte-sheen oil or polyurethane finish over the entire table. For more on finishes, check out our guide on sprayable water-based polyurethane or general information on polyurethane not drying.
- Matte Topcoat Product: Sand the epoxy up to a higher grit (e.g., 800-1000) to achieve clarity, then apply a dedicated matte-finish epoxy topcoat or a matte-sheen wood finish designed for tables. Products like hardwax oils often provide a beautiful, durable matte finish that enhances the natural look of the wood.
Steps for Applying a Matte Finish:
- Clean Thoroughly: After final sanding, thoroughly clean the entire table surface to remove all dust. Use denatured alcohol or a tack cloth.
- Apply Finish: Follow the manufacturer’s instructions for your chosen matte finish. For oils, apply a thin, even coat with a lint-free cloth, allow it to penetrate, and wipe off any excess. Multiple thin coats are usually better than one thick coat.
- Cure Time: Allow the finish to cure completely before handling or placing objects on the table.
Once your finish is cured, all that’s left is to attach the legs of your choice, and your handmade DIY Epoxy River Coffee Table for Beginners: A Complete Step-by-Step Build Guide is complete! This project is an excellent entry point into building statement furniture pieces and high-demand woodworking projects.
Conclusion
Creating a DIY Epoxy River Coffee Table is a deeply rewarding project that combines woodworking with the artistic possibilities of resin. By following this comprehensive, step-by-step guide tailored for beginners, you can confidently navigate the process from selecting your wood slabs and building a robust formwork to mastering epoxy pouring and achieving a professional matte finish. The key lies in patience, precision, and adherence to safety guidelines. This endeavor not only furnishes your home with a unique, custom-made piece but also equips you with valuable skills in woodworking and resin artistry.
Actionable Next Steps:
- Plan Your Design: Sketch your ideal coffee table, including dimensions and river layout.
- Source Materials: Begin searching for high-quality, kiln-dried live-edge wood slabs and research epoxy resin brands suitable for deep pours.
- Prepare Your Workspace: Dedicate a clean, level, and well-ventilated area for the build.
- Invest in Safety Gear: Purchase nitrile gloves, safety glasses, and a respirator.
- Practice Small: If completely new to epoxy, consider a small practice pour before committing to your main project.
Meta Title: DIY Epoxy River Coffee Tables for Beginners: Step-by-Step Build Meta Description: Learn to build stunning DIY epoxy river coffee tables for beginners in 2026. Complete step-by-step guide for a matte finish table.