
Homeowners and interior designers are increasingly rejecting generic, mass-produced decor in favor of pieces with character and a story. This shift has propelled live-edge slabs and narrative interiors into the spotlight, delivering organic, custom furniture that feels deeply personal and distinctly unique. The allure lies in the wood’s untouched beauty, each slab carrying the history of the tree it came from, offering a tangible connection to nature. Embarking on DIY live-edge ‘narrative’ furniture builds like coffee tables and shelves allows individuals to craft not just functional items, but genuine works of art that echo their personal aesthetic and tell a story within their living spaces. These projects offer a fulfilling creative outlet and result in pieces that are focal points, sparking conversation and admiration.
Key Takeaways
- Embrace Natural Beauty: Live-edge furniture celebrates the organic form of wood, integrating natural imperfections and unique grain patterns into the design.
- Tell a Story: ‘Narrative’ furniture means each piece has a unique origin and history, often preserved through the wood’s natural characteristics and the builder’s design choices.
- Accessible for DIYers: With the right tools and techniques, even intermediate woodworkers can successfully tackle live-edge projects like coffee tables and shelves.
- Essential Skills: Proper slab selection, flattening, finishing, and joinery are crucial steps for achieving durable and aesthetically pleasing results.
- Customization is Key: DIY allows for complete control over design, dimensions, and materials, ensuring the final piece perfectly fits your space and vision.
Understanding Live-Edge and Narrative Furniture
Live-edge refers to the natural edge of a piece of wood, typically bark-on or with the natural contour of the tree left intact. This raw, untouched edge provides a stunning contrast to the finished surfaces of the furniture, highlighting the organic beauty of the material. When applied to furniture, it transforms a simple slab into a statement piece.
Narrative furniture takes this concept a step further. It’s about designing and building pieces that convey a story, the story of the tree, the journey of its transformation, or the personal touch of the maker. This approach emphasizes the unique characteristics of each wood slab, such as its growth rings, knots, and natural imperfections, treating them not as flaws but as integral parts of its history.
Consider a coffee table crafted from a slab of oak that grew near a historic landmark. Its rings might tell centuries of weather patterns, while a distinctive knot could mark where a branch once grew. By preserving these elements in a DIY live-edge ‘narrative’ furniture build like a coffee table or a shelf, the finished piece becomes more than just a surface; it’s a conversation starter, a piece of natural history, and a reflection of the maker’s connection to the material.
The appeal of live-edge and narrative furniture stems from its inherent uniqueness. Unlike mass-produced items, no two live-edge pieces are ever exactly alike. This exclusivity resonates strongly in 2026, as consumers increasingly seek authenticity and personalization in their homes. These creations bring warmth, character, and a touch of the wild indoors, creating spaces that feel grounded and inviting. For enthusiasts, the process of bringing such a piece to life is as rewarding as the finished product itself.
Planning Your DIY Live-Edge ‘Narrative’ Furniture Builds
Successful DIY live-edge ‘narrative’ furniture builds like coffee tables and shelves begin long before the first cut. Meticulous planning is the bedrock of a beautiful and durable piece. This stage involves everything from concept development to material acquisition and tool preparation.
Concept and Design
Before selecting wood, visualize the final piece. What story do you want it to tell? Will it be a rustic focal point, or a modern blend of natural and industrial elements? Consider the size, shape, and intended use of your coffee table or shelf.
For a coffee table:
- Size: How will it fit in your living space? Consider length, width, and height.
- Shape: Will it be a single large slab, or multiple smaller pieces joined together?
- Legs: Will you opt for metal hairpin legs, a sturdy wooden base, or perhaps a custom-welded frame? The choice of legs significantly impacts the narrative and style. Console Tables That Wow: Build Sleek Entryway and TV Stand A provides inspiration for robust leg designs.
For shelves:
- Length and Depth: How much wall space is available, and what will you display on them?
- Mounting: Hidden brackets, visible metal supports, or rope suspensions all contribute to the narrative.
- Quantity: A single dramatic shelf or a series of staggered pieces?
Sketching your ideas helps solidify the vision. Don’t be afraid to experiment with different concepts. The beauty of narrative furniture is its flexibility to adapt to unique elements you discover in the wood.
Sourcing Your Live-Edge Slab
The slab is the heart of your project. Its character will largely define the narrative.
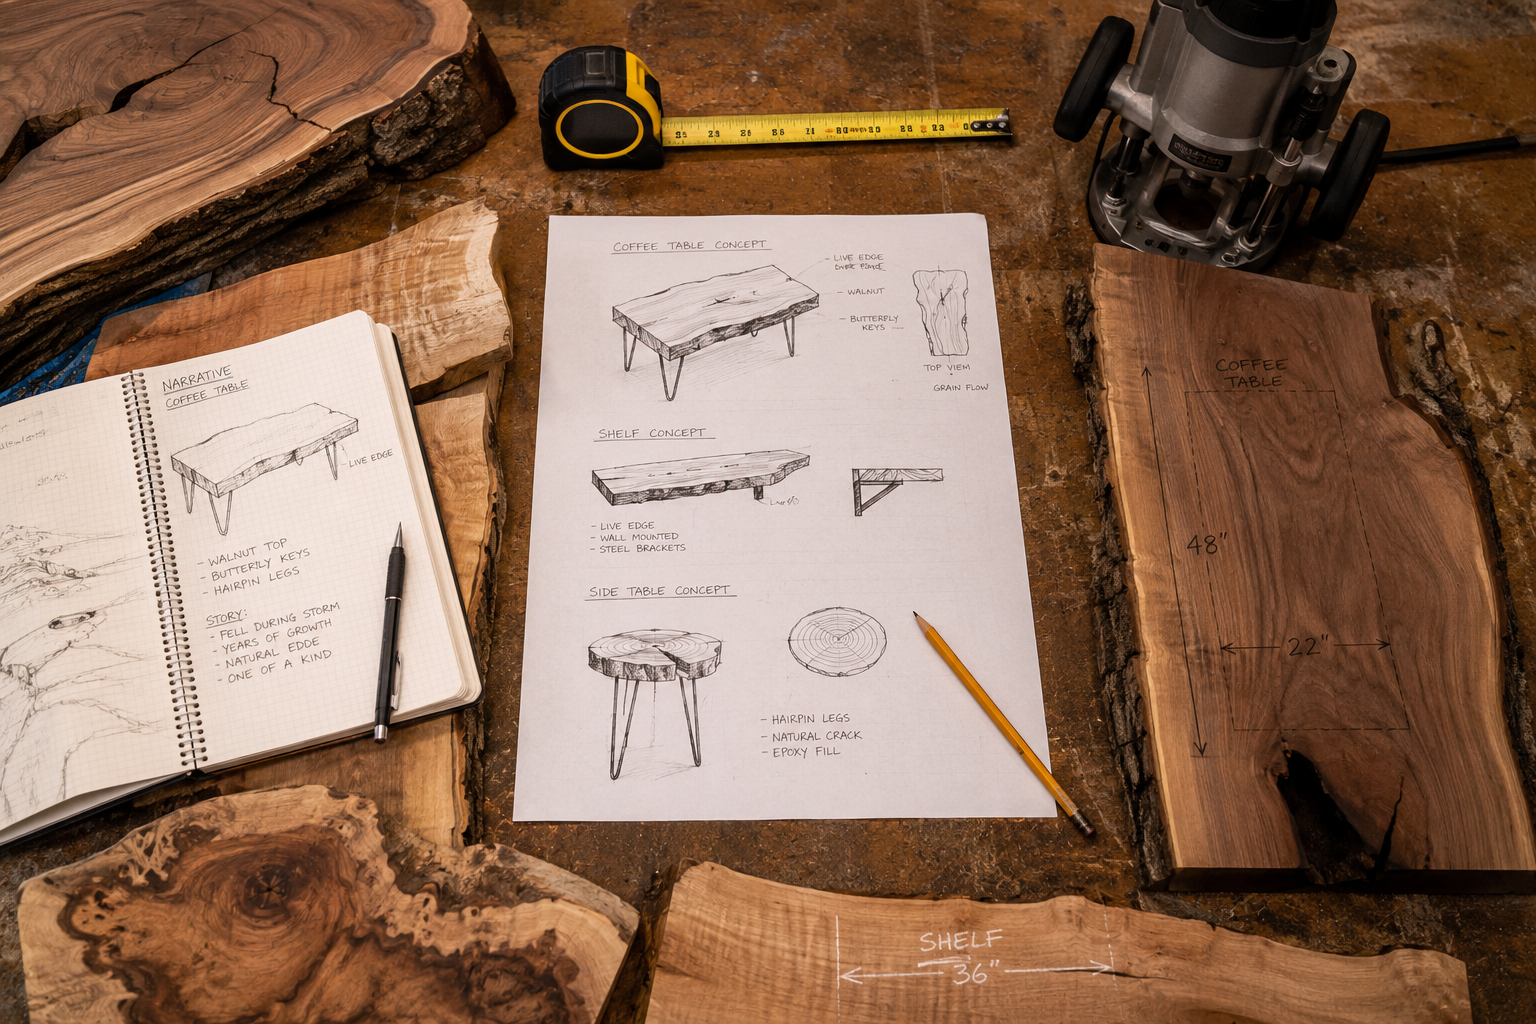
What to look for:
- Species: Different woods offer distinct grain patterns, colors, and densities.
- Walnut: Rich, dark tones, often with stunning figure.
- Oak: Durable, pronounced grain, classic appeal.
- Maple: Lighter, subtle grain, can be highly figured.
- Cherry: Ages to a beautiful reddish-brown, fine grain.
- Moisture Content: Crucial for stability. Ideally, wood should be air-dried or kiln-dried to 6-8% moisture content to prevent warping and cracking after construction. Green wood is unsuitable for furniture.
- Character: Look for interesting knots, inclusions, bark pockets, and unique live edges that contribute to your desired narrative. Remember, imperfections are often assets in live-edge design.
- Dimensions: Ensure the slab is large enough for your project, allowing for trimming and flattening.
Where to source:
- Local Sawmills: Often the best source for unique, locally harvested slabs. They may also offer custom milling services.
- Specialty Wood Retailers: These stores often carry a wide variety of live-edge slabs, sometimes pre-flattened.
- Online Suppliers: Can offer a broader selection but require careful review of images and descriptions.
- Arborists or Tree Removal Services: Sometimes offer salvaged urban wood, adding a layer of local narrative. You can learn more about this in Sourcing and Selecting Reclaimed Urban Lumber: Finding Character-Rich Materials for High-End Woodworking Projects.
When choosing, prioritize a slab that “speaks” to you. That intrinsic connection will fuel your dedication throughout the build. For more detailed guidance on selecting the perfect slab, refer to Live Edge Slab Selection and Milling: From Raw Wood to Finis.
Essential Tools and Materials
A well-equipped workshop is key. Here’s a basic list:
- Safety Gear: Eye protection, hearing protection, dust mask/respirator.
- Flattening:
- Router sled system (router, large bit, straight edge/rails) or a jointer/planer (for smaller slabs).
- Hand planes for fine-tuning. Hand Tool Mastery for Detail Work: Chisels, Hand Planes, and offers expert guidance.
- Cutting:
- Circular saw with a straight edge guide or track saw.
- Jigsaw or band saw for shaping curves or irregular edges.
- Sanding: Orbital sander, sanding blocks, various grit sandpaper (80-320 grit).
- Finishing: Brushes, rags, chosen finish (oil, polyurethane, epoxy).
- Joinery/Assembly: Clamps, drills, screws/fasteners, wood glue. Mastering Modern Hand-Cut Joinery: Adapting Classics for Live Edge and Modular Furniture explores advanced techniques.
- Measuring & Marking: Tape measure, straight edge, combination square, pencils.
Investing in quality tools will make the process smoother and the results more professional.
Step-by-Step Construction for Live-Edge Coffee Tables and Shelves
The journey from a raw slab to a finished piece of furniture involves several critical stages. Each step requires patience and precision, ensuring the integrity and beauty of your DIY live-edge ‘narrative’ furniture build.
Preparing the Slab: Flattening and Stabilizing
Before any finishing, the slab must be perfectly flat and stable. This is arguably the most crucial step for a durable piece.
- Remove Bark (Optional but Recommended): While some prefer to keep the bark for a truly rustic look, it often loosens and flakes over time. Use a chisel or a sturdy putty knife to carefully remove loose bark. For stubborn sections, a wire brush or even a pressure washer can help, but allow the wood to dry thoroughly afterward.
- Flattening: Live-edge slabs are rarely perfectly flat.
- Router Sled Method: This is the most common and accessible method for large slabs. Build or purchase a router sled system. Secure the slab to a workbench, shimming any high spots to prevent rocking. Use a large-diameter router bit (e.g., a planing bit) and systematically pass the router over the slab, removing material until both faces are parallel and flat. Flip the slab and repeat for the other side.
- Jointer and Planer: For smaller, thinner slabs, a jointer can flatten one face, and a planer can then bring the opposite face parallel. This requires careful handling of the live edge.
- Stabilizing Cracks and Voids: Natural cracks and voids are part of the narrative.
- Epoxy Fill: Mix clear or tinted epoxy resin and pour it into cracks and voids. This stabilizes the wood and can highlight interesting features. Sand smooth once cured.
- Bow Ties/Butterfly Keys: For larger cracks, strategically inlaid bow ties (also called butterfly keys) made from contrasting wood can prevent further splitting and add a beautiful design element. These require precise cutting and fitting.
Shaping and Sanding
Once flattened and stable, the slab is ready for refinement.
- Squaring Ends: If desired, use a circular saw with a straight edge guide or a track saw to square up the ends of the slab. This can create a clean contrast with the natural live edges.
- Refining Live Edges: Hand tools like rasps, files, and spokeshaves can be used to smooth any rough spots on the live edge while preserving its natural contour. The goal is to remove splinters and sharp points without losing the organic feel.
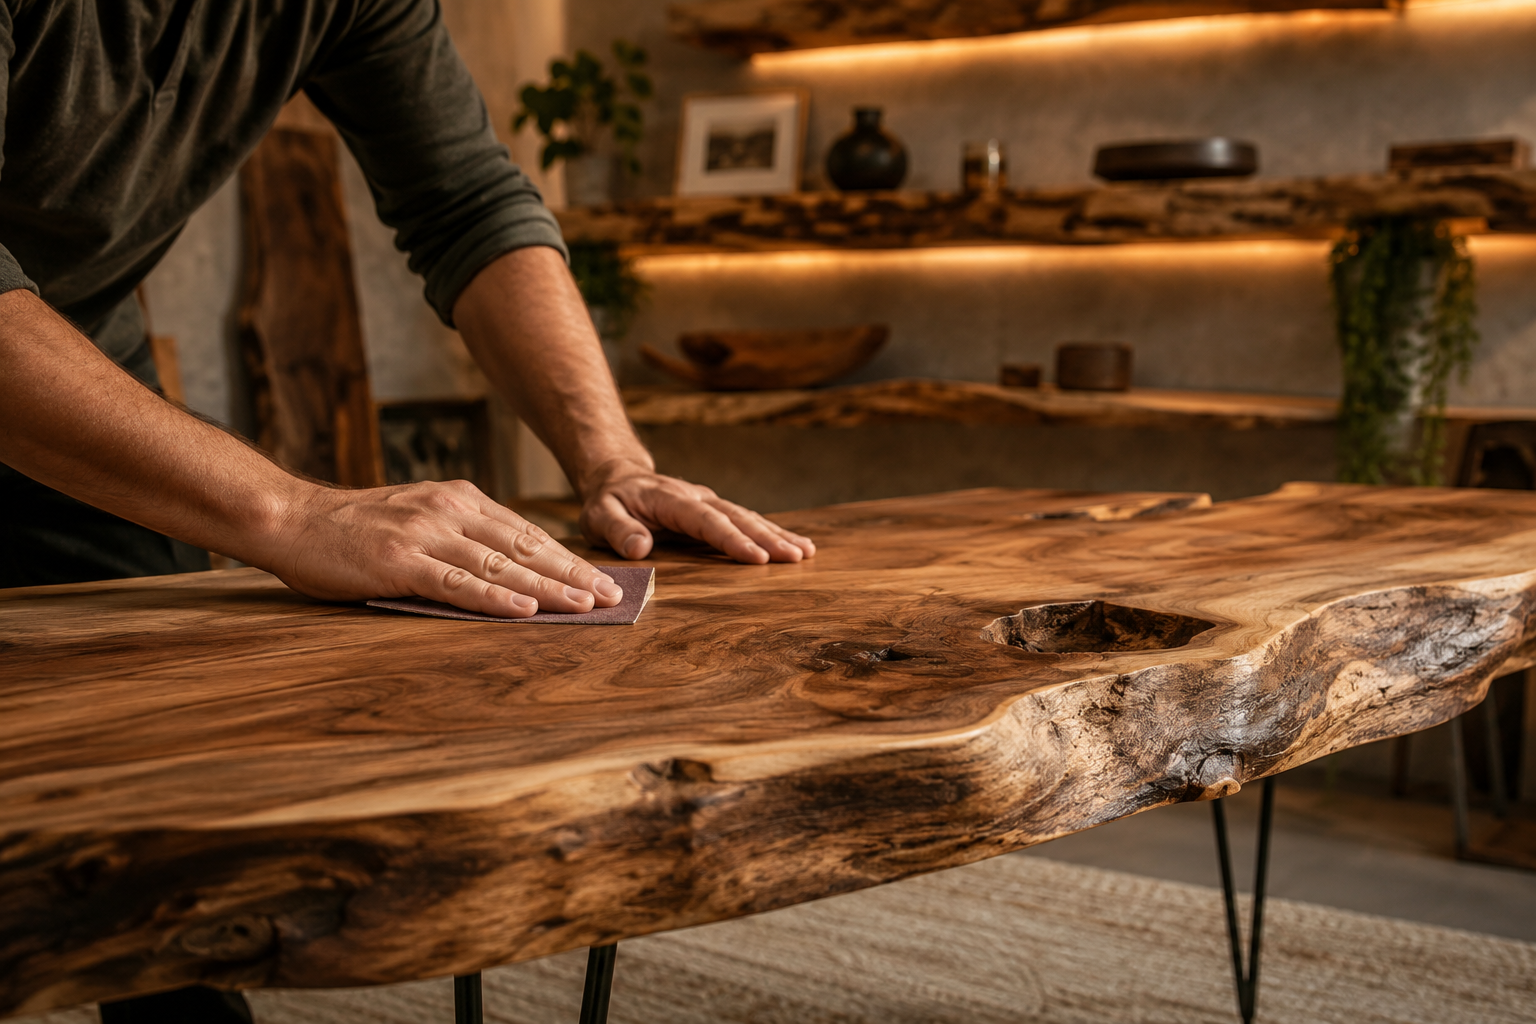
- Sanding, Sanding, Sanding: This step is crucial for a smooth, professional finish.
- Start with a coarse grit sandpaper (e.g., 80-100 grit) to remove router marks and major imperfections.
- Progress through successively finer grits (120, 150, 180, 220, 320). Each grit removes the scratches from the previous one.
- Ensure even sanding across the entire surface, including the live edges. Dust thoroughly between grits. The ultimate goal is a surface that is silky smooth to the touch.
Finishing and Assembly
The finish protects the wood and enhances its natural beauty, while proper assembly ensures structural integrity.
- Choosing a Finish: The finish brings out the grain and protects the wood from moisture and wear.
- Oil Finishes (e.g., Tung Oil, Linseed Oil, Rubio Monocoat): Penetrate the wood, offering a natural, matte look and feel. Easy to repair but less durable against scratches than film finishes. Can you stain over linseed oil? provides more information.
- Polyurethane (Oil-Based or Water-Based): Creates a durable film on the surface, offering excellent protection. Available in various sheens (matte, satin, gloss). Applying Polyurethane in High Humidity: Tips and Techniques can help with application challenges.
- Epoxy Flood Coat: For a highly durable, glass-like finish, a flood coat of pour-on epoxy can be applied, especially good for surfaces that will see heavy use.
- Applying the Finish: Follow the manufacturer’s instructions for your chosen finish. Typically involves multiple thin coats, with light sanding (e.g., 320-400 grit) between coats for polyurethane to ensure adhesion and smoothness.
- Attaching Legs/Mounting Shelves:
- Coffee Tables: Securely attach chosen legs. For wooden bases, use appropriate joinery (e.g., mortise and tenon, or dowels reinforced with screws). For metal legs, use lag screws or threaded inserts and machine screws. Allow for wood movement by using slotted holes or Z-clips for fastening the top to a rigid base.
- Shelves: For floating shelves, use heavy-duty floating shelf brackets designed to support significant weight. For visible brackets, ensure they are securely fastened to wall studs. Use a level for precise installation.
Showcasing Your Narrative Furniture in 2026
Once your DIY live-edge ‘narrative’ furniture build like a coffee table or shelf is complete, the final step is to integrate it into your home, letting its story become part of your living space. In 2026, homeowners prioritize unique, sustainable, and story-rich pieces that reflect individuality.
Integrating Live-Edge Pieces into Your Home Decor
Live-edge furniture, by its very nature, demands attention. It acts as a natural focal point, bringing organic texture and warmth into any room.
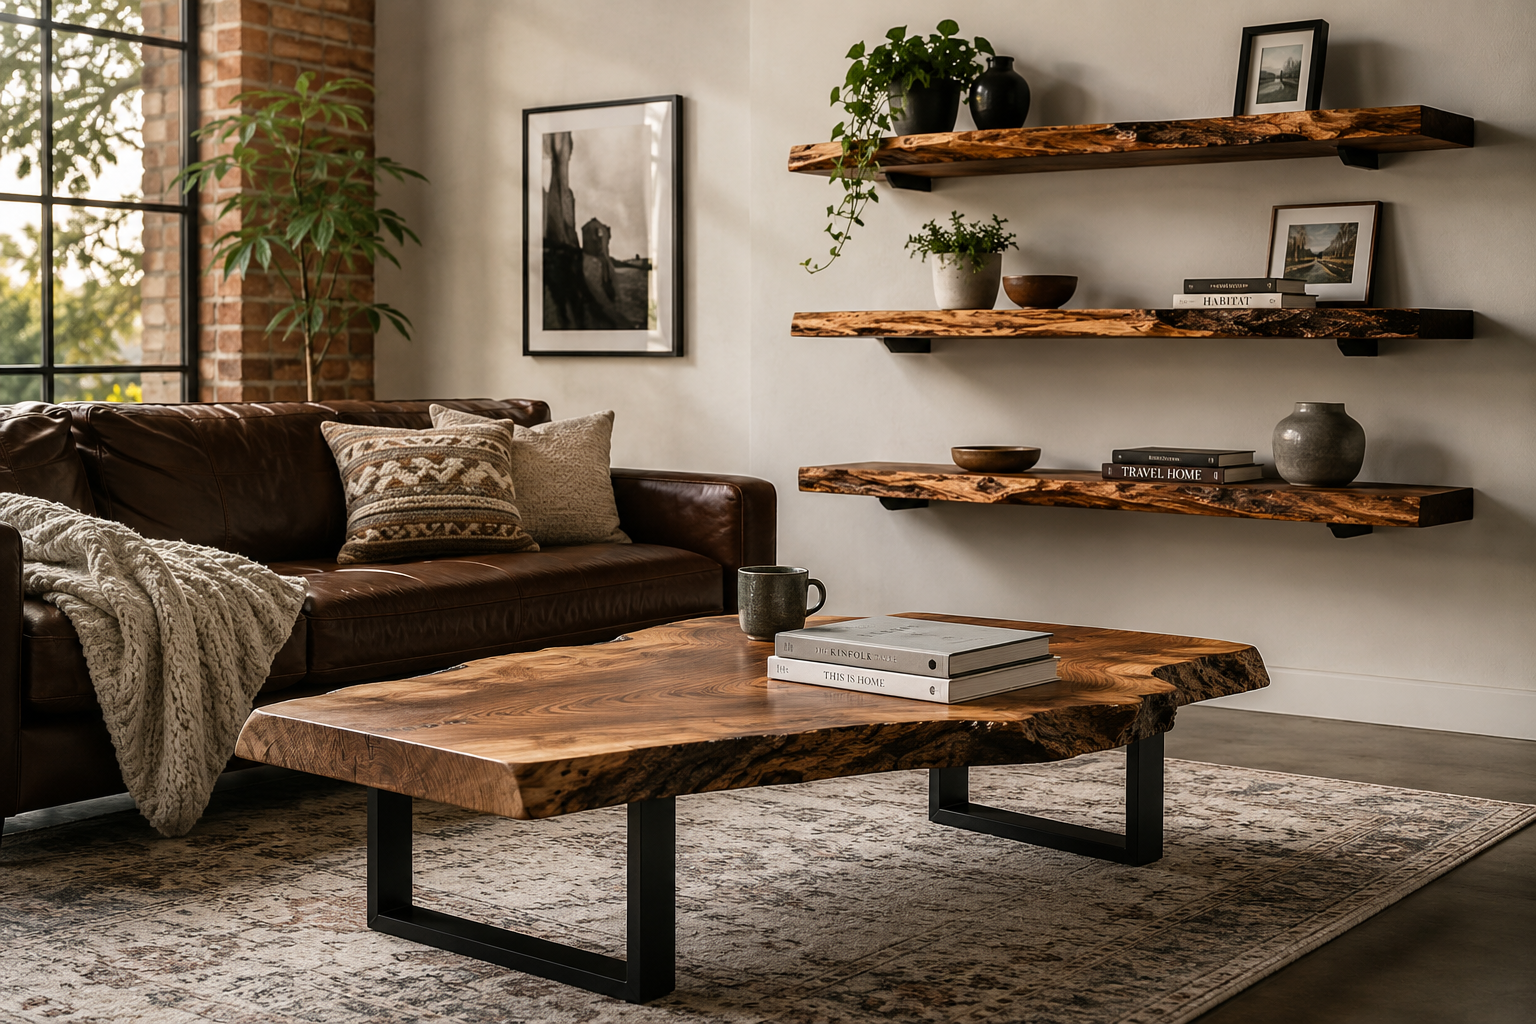
- Coffee Tables: A live-edge coffee table often becomes the anchor of a living room. Pair it with upholstered sofas and chairs to balance the raw wood with soft textures. Consider the height and scale to ensure it complements existing seating. The distinctive edge can soften modern, minimalist interiors or enhance rustic and industrial aesthetics.
- Shelves: Live-edge shelves are perfect for showcasing curated collections of books, plants, or decorative objects. Their organic form prevents them from feeling too rigid, even in a structured space.
- In a modern kitchen, a single live-edge shelf can add a touch of warmth above a clean-lined backsplash.
- In a study or bedroom, multiple shelves can create a dynamic display, each holding a different chapter of your personal story.
- Balancing Act: When integrating live-edge, avoid overcrowding the space with too many competing textures or patterns. Let the wood’s natural beauty shine. Minimalist surroundings often best highlight the organic drama of live-edge.
Photography and Sharing Your Story
Sharing your creation can be incredibly rewarding, inspiring others and allowing your piece’s narrative to reach a wider audience.
- Capturing the Beauty:
- Good Lighting: Natural light is always best. Position your furniture near a window, avoiding harsh direct sunlight that can create unflattering shadows.
- Clean Backgrounds: A cluttered background detracts from your furniture. Use a plain wall or a simple, uncluttered setting.
- Focus on Detail: Take close-up shots of the live edge, the grain patterns, any epoxy fills, and the joinery. These details truly showcase the narrative and your craftsmanship.
- Lifestyle Shots: Show the furniture in use, a book resting on the coffee table, a plant on a shelf. This helps others visualize how it would look in their own homes.
- Telling the Narrative:
- Source Story: Where did the wood come from? Was it salvaged? What kind of tree was it? Share any interesting facts about its origin.
- Process Story: Document your building journey. Share photos of the raw slab, key construction steps, and any challenges or discoveries you made. This builds appreciation for the effort involved.
- Personal Connection: Explain why you chose this particular slab or design. What does it mean to you? How does it reflect your style or a memory?
- Social Media and Blogs: Platforms like Instagram, Pinterest, and personal woodworking blogs are excellent for sharing your work. Use relevant hashtags (e.g., #liveedgefurniture, #DIYwoodworking, #narrativefurniture, #woodcraft).
By thoughtfully planning, executing, and showcasing your DIY live-edge ‘narrative’ furniture builds like coffee tables and shelves, you not only create functional art but also contribute to a growing movement that values craftsmanship, sustainability, and personal storytelling in home decor. Your finished piece isn’t just furniture; it’s a legacy.
Conclusion
Embarking on DIY live-edge ‘narrative’ furniture builds like coffee tables and shelves offers a uniquely rewarding experience, culminating in pieces that are rich with character and personal meaning. In an era where individuality and sustainability are highly valued, these custom creations stand as powerful statements against mass production, bringing the raw beauty of nature and a tangible story into the heart of your home. From carefully selecting a slab that speaks to you, to the meticulous process of flattening, shaping, and finishing, each step is an opportunity to imbue your furniture with a distinctive narrative. The satisfaction of crafting something truly unique, something that reflects your skill and vision, is unparalleled.
As you consider your next woodworking project, remember that the imperfections in a live-edge slab are not flaws but features, each knot and curve contributing to its singular story. This approach to furniture making transforms a simple object into a cherished heirloom. Embrace the journey, and the result will be a piece of furniture that is not only functional but also a profound expression of art and connection to the natural world.
Actionable Next Steps:
- Research Wood Species: Explore different types of wood suitable for live-edge furniture and decide which species best fits your aesthetic and functional needs.
- Source a Slab: Begin looking for a local sawmill or specialty wood supplier that carries live-edge slabs, paying attention to moisture content and character.
- Gather Tools: Ensure you have the necessary safety gear and woodworking tools for flattening, shaping, and finishing your slab.
- Sketch Your Design: Create a detailed sketch of your desired coffee table or shelf, considering dimensions, leg styles, or mounting options.
- Plan Your Narrative: Think about the story you want your furniture to tell, whether it’s about the wood’s origin, a specific design element, or the craftsmanship itself.