
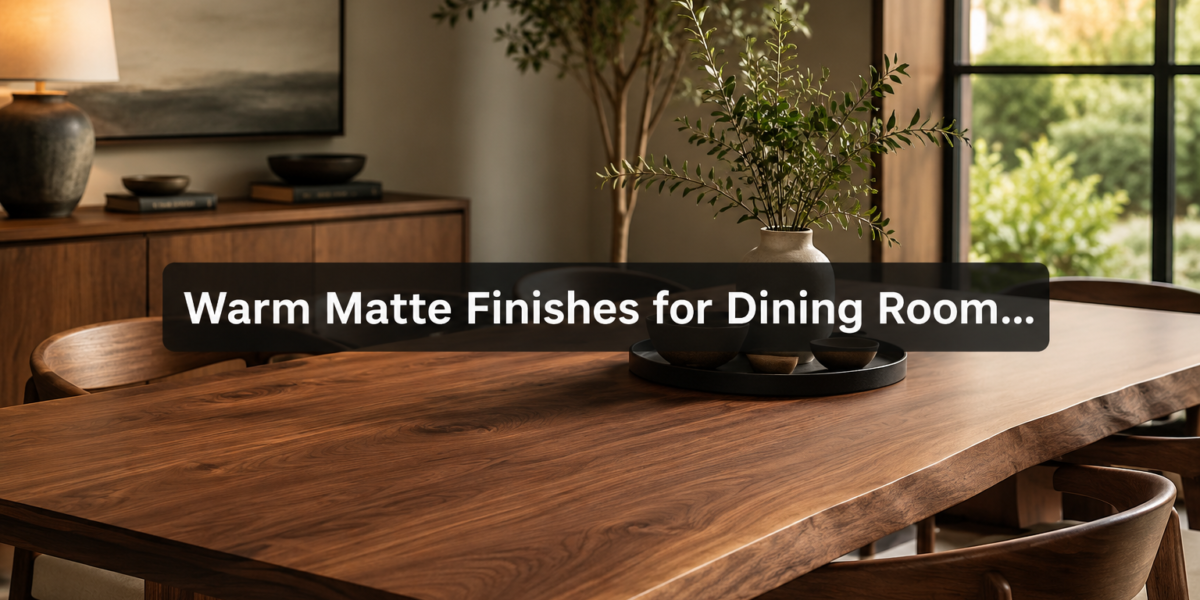
The prevailing trend in high-end dining room design for 2026 isn’t about gleaming, reflective surfaces but rather about the subtle elegance of matte finishes that invite touch and convey warmth. Specifically, warm matte finishes for dining room tables, often emulating the rich tones of walnut or aged oak, are sought after for their ability to create inviting, sophisticated spaces. Achieving this look, however, is a precise craft, extending far beyond simply choosing a can of “matte” finish. It involves a meticulous system, from the initial preparation of the wood to the final protective coat, ensuring both beauty and durability.
Key Takeaways
- Warm matte finishes prioritize tactile beauty and understated elegance over high-gloss sheen for dining tables.
- Proper wood preparation, including thorough sanding and grain raising, is crucial for a flawless matte finish.
- Staining techniques, particularly layering, can achieve complex, rich, walnut or oak-like tones.
- Choosing between oil and varnish depends on desired durability, repairability, and specific aesthetic goals.
- Maintaining a warm matte finish requires regular care and understanding of simple repair techniques.
Preparing the Wood for Warm Matte Finishes for Dining Room Tables
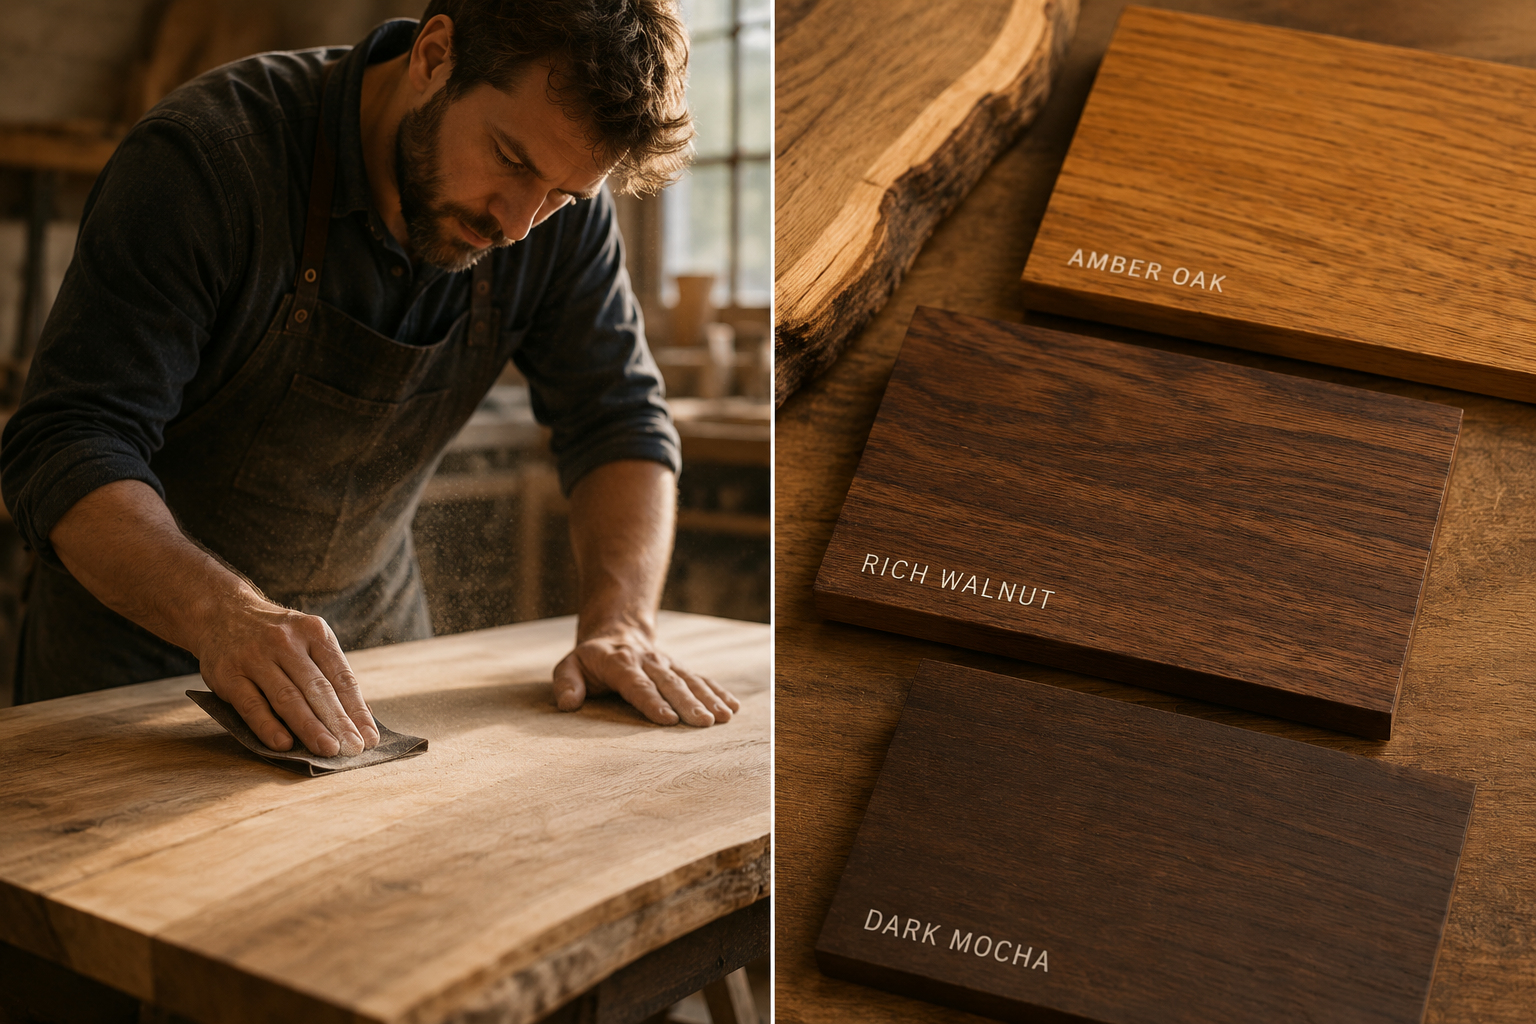
The foundation of any exceptional finish lies in the preparation of the wood itself. For warm matte finishes for dining room tables, this step is paramount, as any imperfections will be magnified by the lack of sheen.
Initial Surface Preparation and Repair
Begin by ensuring the dining table surface is clean, dry, and free from any old finishes. If refinishing, this means stripping away old lacquer, varnish, or paint. Chemical strippers, heat guns, or careful scraping can be employed, always following safety guidelines. For new builds or raw wood, inspect the surface for any dents, scratches, or glue residue. Minor dents can often be raised with a damp cloth and a hot iron, while scratches might require wood filler matched to the wood’s natural tone if staining isn’t planned, or careful sanding if a uniform surface is critical.
The Art of Sanding for a Flawless Matte Finish
Sanding is perhaps the most critical step for a beautiful matte finish. Unlike glossy finishes that can sometimes hide minor sanding marks, a matte finish will expose every imperfection. The goal is to achieve a perfectly smooth, uniform surface.
Begin with a coarser grit sandpaper (e.g., 80 or 100-grit) to flatten the surface and remove any milling marks. Progress incrementally through finer grits: 120-grit, 150-grit, 180-grit, and finally 220-grit. For certain hardwoods, you might even go up to 320-grit for an ultra-smooth feel. Always sand with the grain of the wood, never across it, as cross-grain scratches will be highly visible.
Sanding Best Practices:
- Dust Removal: After each grit, thoroughly remove all sanding dust using a vacuum, compressed air, and finally a tack cloth. Remaining dust will scratch the surface during the next sanding stage.
- Grain Raising: Before the final sanding pass, it’s advisable to “raise the grain.” Lightly dampen the wood surface with distilled water. This will cause any compressed wood fibers to swell and stand up. Once dry, lightly sand again with your final grit (e.g., 220-grit) to remove these raised fibers. This prevents them from appearing after the finish is applied, ensuring a smoother result.
- Edge Treatment: Pay close attention to the table edges. Rounding them slightly with sandpaper (a small radius) can make the table feel more inviting and prevent chipping. For live edge slab selection and preparation, special care must be taken to preserve the natural contours while ensuring a smooth, splinter-free finish.
Achieving Warm Tones: Staining and Sealing Strategies
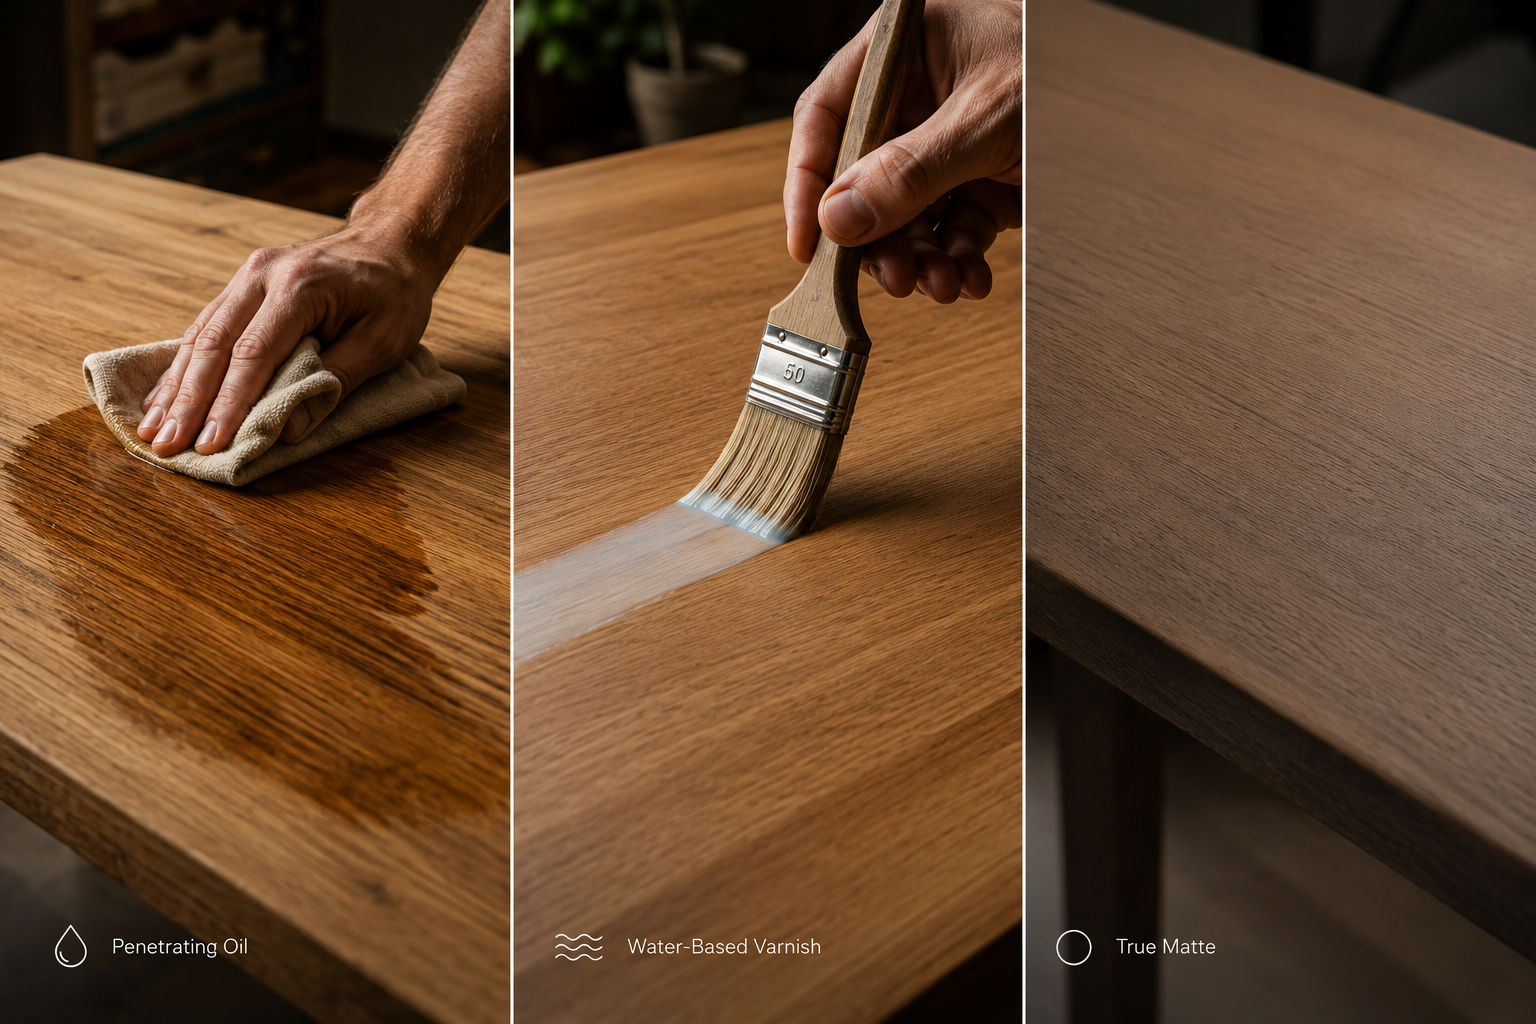
The warmth of a matte finish often comes from the underlying wood color, enhanced or modified by staining. For beautiful walnut and oak-like matte tones, a strategic approach to staining and sealing is essential.
Selecting Your Stain: Walnut, Oak, and Beyond
Choosing the right stain is crucial for achieving the desired warm aesthetic.
- For Walnut Tones: If starting with a lighter wood like maple or birch, a dark walnut stain can mimic the look of genuine walnut. For actual walnut wood, a clear finish often suffices, or a very light stain can deepen its natural hues.
- For Oak Tones: White oak naturally has a beautiful, varied grain. An “amber” or “golden oak” stain can enhance its warmth. For red oak, which has a pinkish undertone, a brown-toned stain can neutralize the red and create a richer, more subdued oak appearance.
- Layering Stains for Depth: To create complex, rich colors akin to aged wood, consider layering stains. For example, a light brown dye stain applied first, allowed to dry, then followed by a darker pigment stain, can create incredible depth. Always test stain combinations on scrap pieces of the same wood used for your table.
- Wood Conditioners: For woods prone to blotching (like pine or maple), a pre-stain wood conditioner is indispensable. This helps the stain absorb more evenly, preventing an inconsistent finish.
Sealing the Deal: Options for Warm Matte Finishes
After staining and ensuring the stain is completely dry, a sealer coat is necessary. This prevents the topcoat from soaking into the stain unevenly and locking in the color. Shellac (dewaxed, 1-2lb cut) is an excellent choice for a sealer as it dries quickly and adheres well to most stains and subsequent topcoats. A single, thin coat is usually sufficient.
Oil vs. Varnish: The Final Coat for Durability and Aesthetics
The choice of topcoat significantly influences both the durability and the final look of your warm matte finish. Both oil and varnish finishes offer distinct advantages.
Penetrating Oil Finishes
These finishes, such as Danish oil, tung oil, or polymerized linseed oil, soak into the wood rather than forming a film on top.
Pros:
- Natural Feel: Provides an incredibly natural, “in-the-wood” feel, enhancing the tactile warmth.
- Repairable: Highly repairable. Scratches, rings, or worn spots can often be spot-repaired by reapplying oil to the affected area, then buffing. This makes them ideal for everyday dining tables.
- Matte Aesthetic: Naturally results in a very low-sheen or matte finish.
- Easy Application: Generally easy to apply with a cloth.
Cons:
- Less Protection: Offers less surface protection against moisture and abrasion compared to film-building varnishes.
- Curing Time: Can take longer to fully cure, requiring multiple thin coats over several days or weeks.
For those interested in the nuances of oil finishes, understanding Danish oil vs. linseed oil can provide deeper insights.
Matte Varnish Finishes (Polyurethane, Water-based, Lacquer)
Varnishes create a durable film on the surface of the wood. Modern varnishes are available in various sheens, including “satin,” “matte,” or “flat.”
Pros:
- High Durability: Offers superior protection against scratches, spills, and heat compared to oils. This is often preferred for high-traffic dining tables.
- Water Resistance: Excellent resistance to water and household chemicals.
Cons:
- Difficult to Repair: Spot repairs are challenging, often requiring sanding down and re-coating the entire surface for a seamless look.
- Less Natural Feel: Can feel more like a plastic coating on the wood, especially if applied too thickly.
- Application Learning Curve: Requires more careful application to avoid brush marks, drips, or bubbles.
Considerations for Matte Varnish:
- Oil-Based Polyurethane: Known for its durability and slight ambering effect, which can enhance warm tones. However, it can yellow over time and has a strong odor.
- Water-Based Polyurethane: Dries clear, faster, and has low odor. Less durable than oil-based, but excellent for maintaining natural wood color or lighter stains. Many brands offer truly matte formulations.
- Matte Lacquer: Dries very fast and can be sprayed for a smooth, consistent finish. Offers good protection but is less durable than polyurethane.
When working with these finishes, always ensure good ventilation. For those who enjoy building their furniture, finding resources like “Craft your Dream Farmhouse Dining Table: The Ultimate 2025 DIY Guide” can provide excellent foundational knowledge before applying a finish. Similarly, if working with a custom piece like a live edge table, consider learning more about building 2026’s hottest trend: DIY Live Edge Dining Tables for Modern Homes.
Application Techniques and Long-Term Care for Warm Matte Finishes
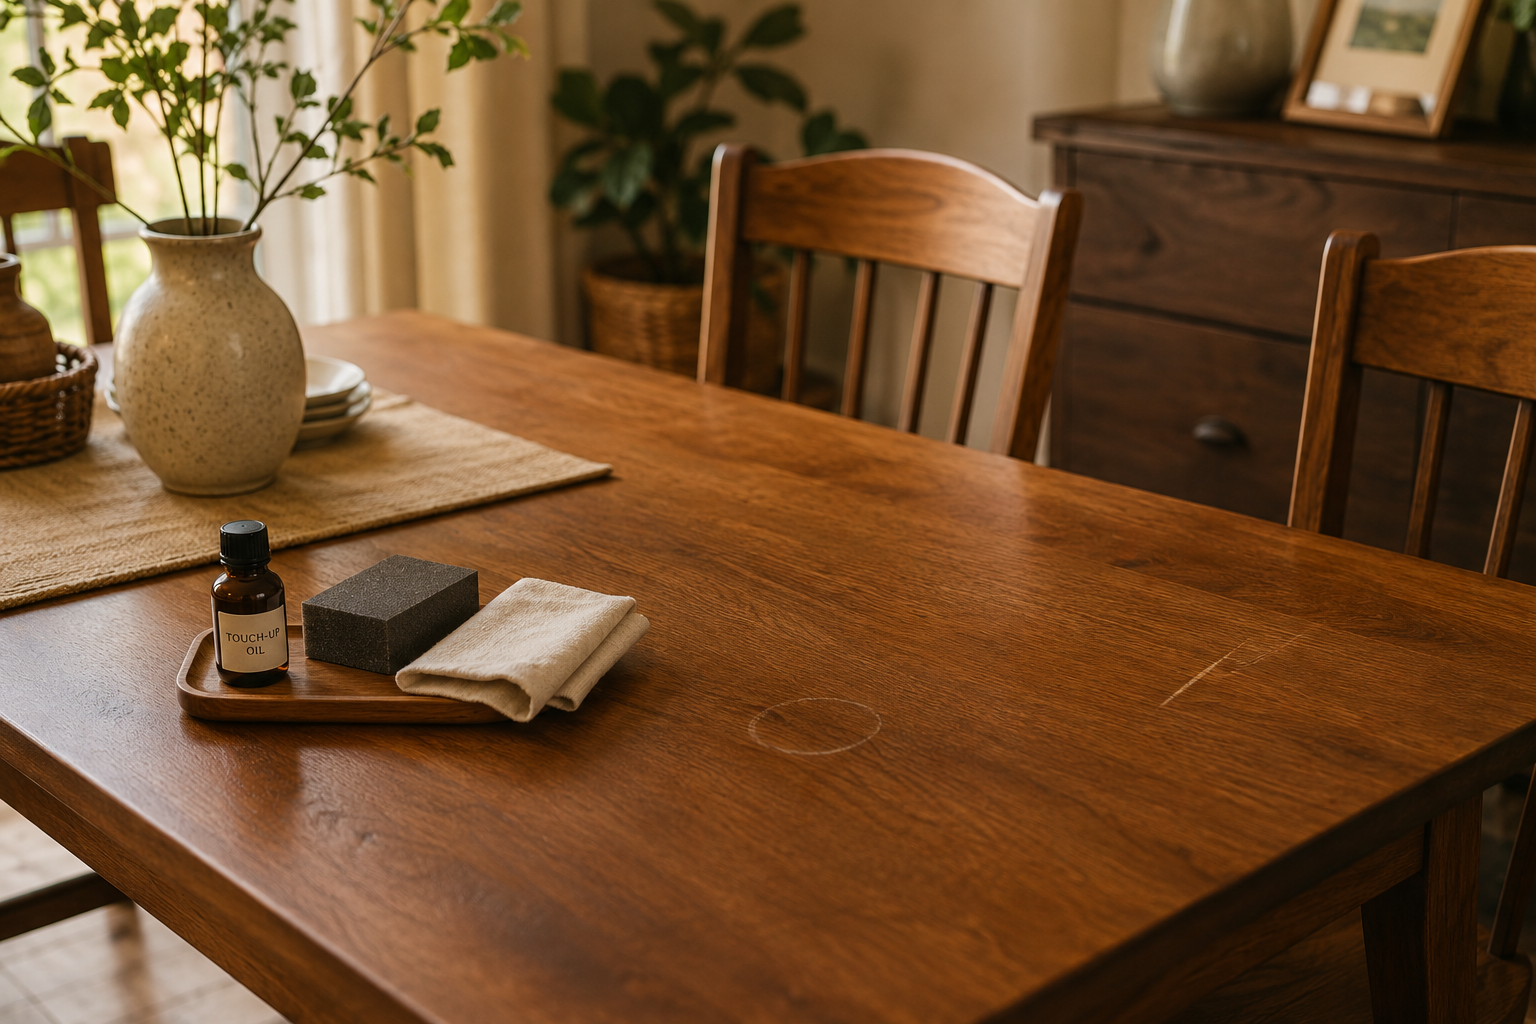
Proper application and ongoing maintenance are crucial for ensuring your warm matte dining table retains its beauty and functionality for years to come.
Applying Your Chosen Finish
Regardless of whether you choose an oil or varnish, meticulous application is key to achieving a professional, even matte finish.
For Oil Finishes (e.g., Danish Oil, Tung Oil Blend):
- Preparation: Ensure the surface is impeccably clean and dust-free.
- First Coat: Apply a generous amount of oil with a clean, lint-free cloth, wiping with the grain. Allow it to penetrate for 15-30 minutes.
- Wipe Off Excess: Crucially, wipe off all excess oil thoroughly with a clean cloth. Any unabsorbed oil left on the surface will cure sticky or gummy.
- Drying: Allow ample drying time (usually 12-24 hours) between coats.
- Subsequent Coats: Apply 2-3 more thin coats, allowing full drying and light buffing with a soft cloth between each. For the final coat, you can gently abrade the surface with 0000 steel wool or a fine abrasive pad (like a Scotch-Brite equivalent) and then buff for an incredibly smooth, low-sheen result.
For Matte Varnish Finishes (e.g., Polyurethane, Water-based):
- Preparation: Sand lightly with 220-grit sandpaper after the sealer coat, then clean thoroughly with a tack cloth.
- First Coat: Apply a thin, even coat using a high-quality natural bristle brush (for oil-based) or a synthetic brush (for water-based). Avoid overworking the finish.
- Leveling: Allow the finish to self-level.
- Drying: Allow recommended drying time (check product label).
- Intermediate Sanding: Lightly sand with 220-320 grit sandpaper between coats (after the first coat has dried). This ensures good adhesion for subsequent layers and removes any dust nibs. Clean meticulously.
- Final Coat: Apply 2-3 thin coats in total. For the final coat, aim for a consistent, even application without sanding, to preserve the matte sheen. Some professionals recommend a very light buff with fine abrasive pads after the final coat has fully cured to achieve an ultra-smooth feel without adding gloss.
Ensuring Even Sheen and Avoiding Imperfections
Achieving a consistent matte sheen can be challenging.
- Stir, Don’t Shake: Always stir matte finishes thoroughly before and during use. Shaking can introduce bubbles. The flattening agents that create the matte effect settle to the bottom.
- Thin Coats: Apply multiple thin coats rather than one thick coat to prevent drips, uneven drying, and an overly thick film.
- Dust Control: A dust-free environment is critical. Dust can settle on the wet finish, creating bumps.
- Lighting: Work under good lighting to spot missed spots or imperfections.
Repair and Maintenance for Everyday Dining Tables
A well-used dining table will inevitably acquire minor blemishes. The beauty of warm matte finishes, especially oil-based ones, is their forgiving nature for repairs.
- Routine Cleaning: Wipe down the table with a damp cloth and mild soap (if necessary). Avoid harsh chemical cleaners, as they can damage the finish.
- Protecting the Surface: Use placemats, coasters, and trivets to protect against heat, spills, and scratches.
- Oil Finish Spot Repair: For minor scratches or watermarks, simply clean the area, lightly scuff with 0000 steel wool (if needed), and reapply a small amount of the original penetrating oil. Allow it to soak, then wipe off all excess. Buff gently. This rejuvenates the finish.
- Varnish Finish Repair: Small surface scratches on a matte varnish can sometimes be blended with a very fine abrasive pad or a commercial matte finish restorer. Deeper scratches or significant damage often require sanding down the affected area (or the entire top) and reapplying the varnish for an invisible repair. This is where oil finishes shine in terms of ease of repair.
Understanding how to maintain polyurethane surfaces can also be beneficial, even for matte varnishes, though waxing a matte finish might add a slight sheen. For those interested in finishing techniques for different wood types, exploring oak wood finishing techniques or rustic wood finishing techniques can provide further context and ideas.
Conclusion
Creating warm matte finishes for dining room tables, especially those mimicking rich walnut and oak tones, is a rewarding project that combines careful preparation, thoughtful staining, and precise application. By meticulously sanding, strategically layering stains, and choosing between the natural feel of penetrating oils or the robust protection of matte varnishes, you can craft a dining table that is not only visually stunning but also inviting to touch. The inherent repairability of many matte finishes ensures that your table can gracefully endure the rigors of everyday use, remaining a cherished centerpiece in your home for years to come. With the right techniques and a commitment to quality, your dining room table will become a testament to enduring craftsmanship and timeless style.
For those eager to deepen their woodworking knowledge and embark on more ambitious projects, exploring resources like “Building Statement Furniture Pieces: Designing and Constructing Coffee Tables, Benches, and Console Tables That Sell for $500 in 2026” can inspire your next creation.