
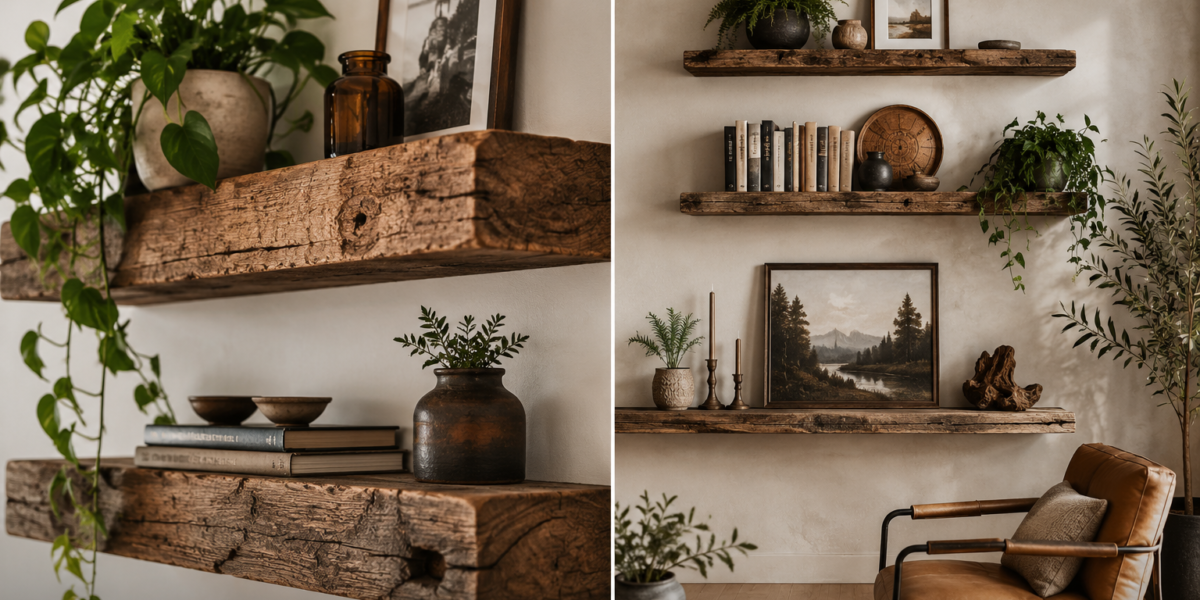
The average household in 2026 seeks not just functionality, but a deeper connection to their living spaces, turning away from mass-produced items towards pieces with character and history. This desire fuels the surging popularity of projects like DIY Reclaimed Wood Floating Shelves and Accent Ledges for Narrative Interiors. These elements do more than hold objects; they tell a story, reflecting an appreciation for sustainable materials and bespoke craftsmanship. Transforming old barn wood, discarded pallets, or salvaged beams into functional art adds unparalleled warmth, texture, and a unique narrative to any room.
Key Takeaways
- Reclaimed wood brings unique character and history to floating shelves and accent ledges.
- Proper material selection and preparation are crucial for durability and aesthetic appeal.
- Hidden bracket systems provide a seamless, sturdy installation for both heavy-duty shelves and slim ledges.
- Thoughtful finishing techniques enhance the wood’s natural beauty and protect it for longevity.
- Integrating these DIY elements creates personalized, narrative-driven interior spaces.
Sourcing and Preparing Your Reclaimed Wood for Narrative Interiors
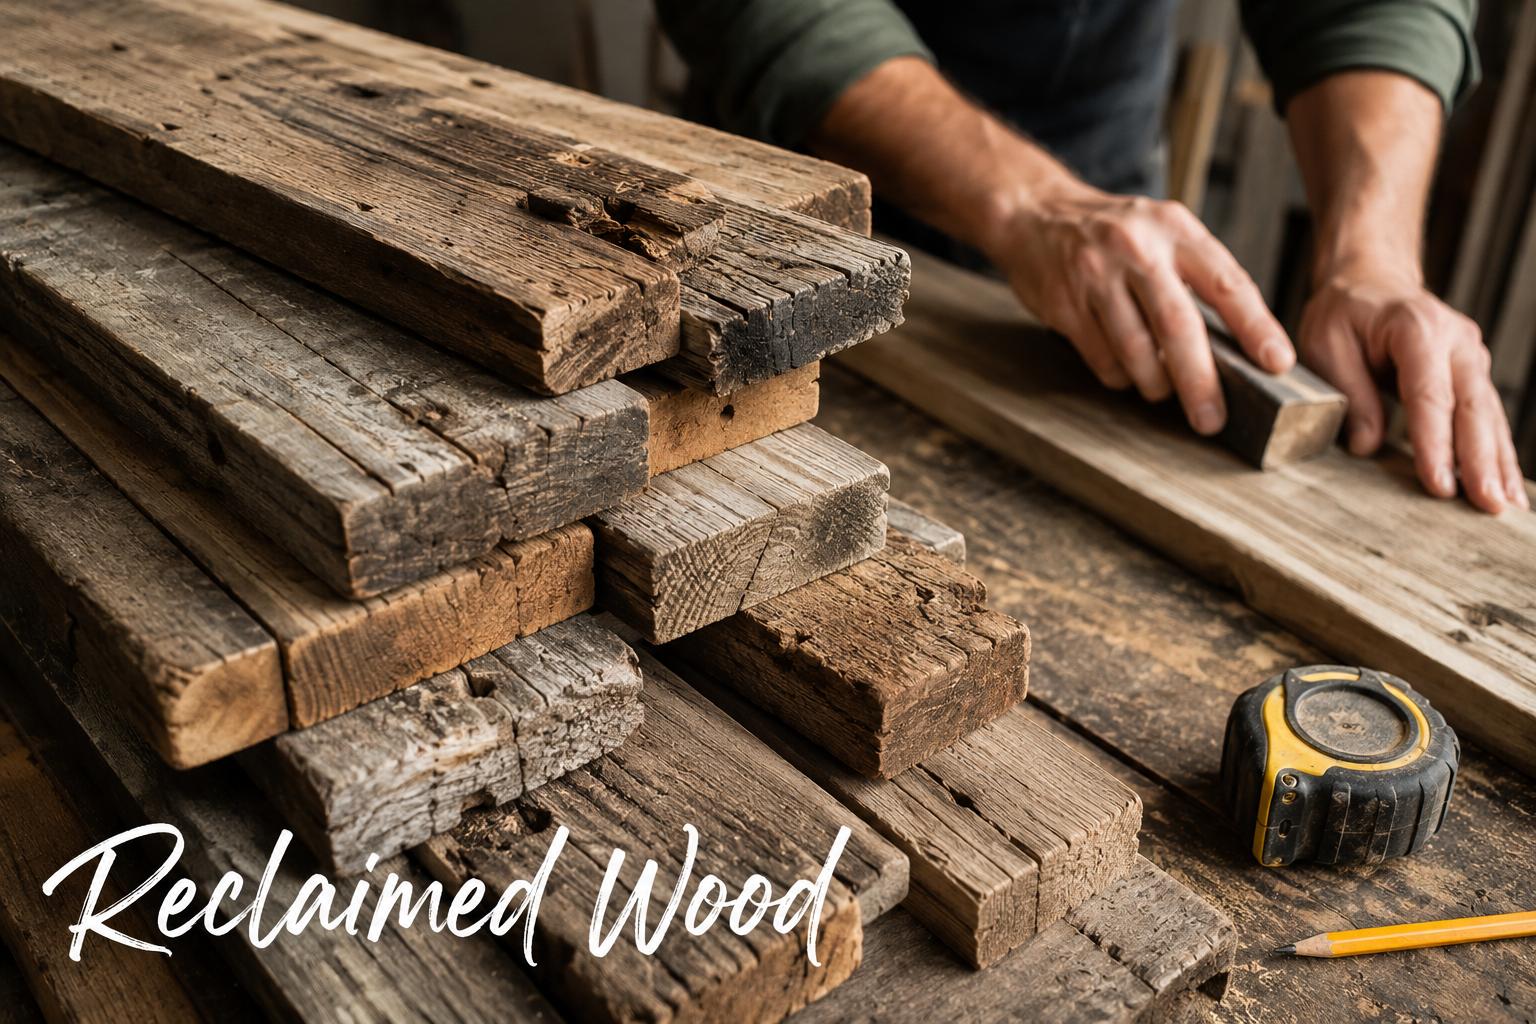
The foundation of exceptional DIY Reclaimed Wood Floating Shelves and Accent Ledges for Narrative Interiors lies in the quality and character of the wood itself. Each plank, beam, or slab carries a history, whether it’s from an old barn, a demolished factory, or even discarded shipping pallets. This inherent story is what makes reclaimed wood so compelling for crafting narrative interiors.
Finding Your Character Wood
Sourcing reclaimed wood requires a keen eye and a bit of patience. Reputable lumberyards specializing in reclaimed materials are an excellent starting point, often offering cleaned, de-nailed, and sometimes milled pieces. Local demolition sites, architectural salvage yards, and even online marketplaces can yield hidden treasures. When selecting wood, look for pieces with interesting grain patterns, natural distressing, or remnants of old paint that can be preserved. Remember, the goal is not perfection, but character.
Consider various types of wood that offer different aesthetic qualities:
- Barn wood: Often oak, pine, or hemlock, barn wood is known for its deep patina, weathered texture, and sometimes a rustic grey hue. It’s excellent for creating a farmhouse or industrial aesthetic.
- Factory beams: Typically dense hardwoods like maple or oak, these can have rich dark tones from years of exposure to oil and grime. Their substantial size makes them ideal for heavy-duty floating shelves.
- Pallet wood: While requiring more processing to clean and de-nail, pallet wood (often pine or oak) is highly accessible and can offer a lighter, more varied look, especially when combined with other elements.
Essential Preparation Steps
Once you’ve acquired your reclaimed wood, proper preparation is key to ensuring its stability, longevity, and safety for interior use.
- Cleaning: Begin by removing any loose dirt, debris, or insects. A stiff brush, scraper, and sometimes a pressure washer (for heavily soiled outdoor wood) can be effective. Allow the wood to dry thoroughly if wet.
- De-nailing and Metal Removal: This is a crucial step. Use a metal detector to locate all embedded nails, screws, and other metallic objects. Carefully remove them with pliers, pry bars, or nail removers. Missing a nail can severely damage your woodworking tools.
- Pest Inspection and Treatment: Reclaimed wood can sometimes harbor pests. Inspect for signs of insect activity (e.g., small holes, sawdust trails). If pests are suspected, consider a professional fumigation or a DIY heat treatment (e.g., placing the wood in a heat tent or kiln at 130-140°F for several hours) to eliminate any living organisms.
- Milling and Dimensioning (Optional but Recommended): For true floating shelves, especially those that need to be perfectly level and straight, milling can be beneficial. This involves running the wood through a jointer and planer to achieve flat faces and square edges. However, for a more rustic look, you might opt to simply sand down rough edges and keep the original, uneven surfaces. For more on preparing raw wood, explore Live Edge Slab Selection and Milling: From Raw Wood to Finis.
- Sanding: Light to moderate sanding is usually sufficient to smooth rough spots and prevent splinters, while still preserving the wood’s inherent character and patina. Start with a coarse grit (80-100) if needed, then move to a finer grit (150-220) for the final finish.
Designing and Installing DIY Reclaimed Wood Floating Shelves and Accent Ledges for Narrative Interiors
The magic of floating shelves and accent ledges lies in their seamless appearance, giving the illusion that the wood is emerging directly from the wall. Achieving this requires careful design and precise installation, particularly with the weight and inherent irregularities of reclaimed wood.
Choosing the Right Mounting Hardware
The choice of mounting hardware is critical for both aesthetic appeal and structural integrity. For DIY Reclaimed Wood Floating Shelves and Accent Ledges for Narrative Interiors, especially those intended to hold substantial weight, hidden bracket systems are the preferred method.
Heavy-Duty Floating Shelf Brackets:
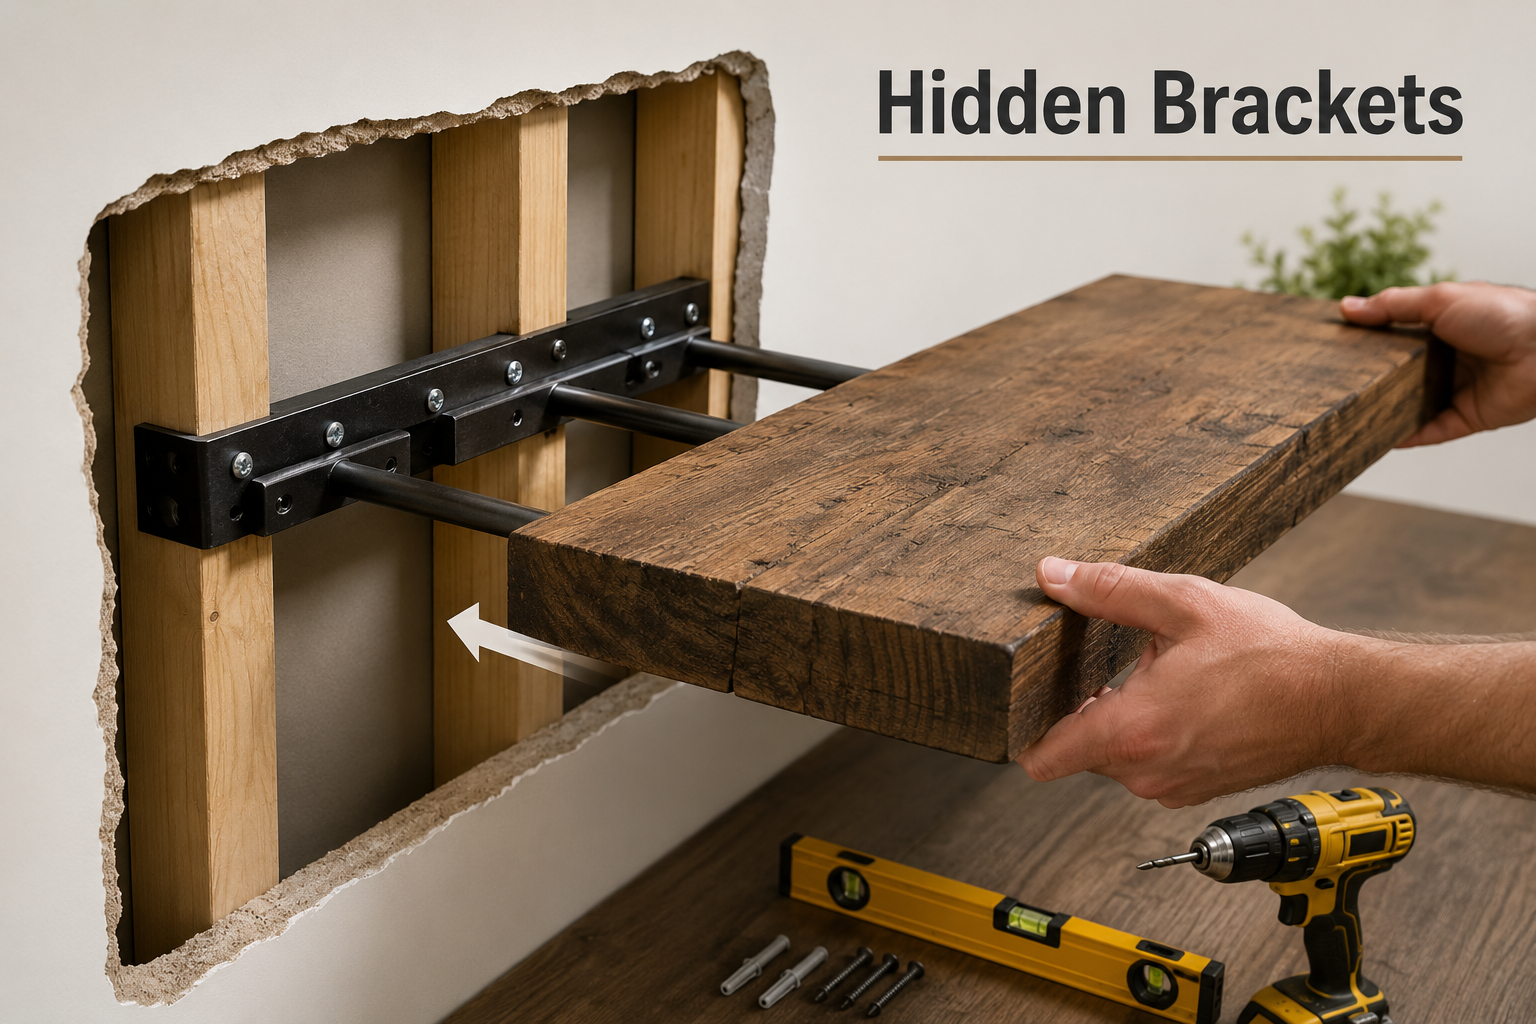
These systems typically consist of robust steel rods or plates that are securely anchored into wall studs. The shelf itself is then drilled to slide over these rods, creating a strong, invisible connection.
- Key Features:
- Material: Heavy-gauge steel for maximum strength.
- Length: Rods should extend at least 6-8 inches into the shelf for stability.
- Weight Capacity: Check manufacturer specifications carefully, as reclaimed wood can be heavy.
- Adjustability: Some brackets offer minor adjustments for leveling after installation.
Installation Considerations for Heavy-Duty Shelves:
- Locate Studs: Use a reliable stud finder to locate and mark the center of each wall stud where the shelf will be mounted. Floating shelves must be anchored into studs for stability.
- Level and Mark: Use a long level to draw a straight line on the wall at your desired shelf height. Mark the bracket mounting points along this line, ensuring they align with your studs.
- Drill Pilot Holes: Drill pilot holes for the bracket screws, then secure the brackets firmly to the studs. Ensure the brackets are perfectly level and spaced according to your shelf’s dimensions.
- Drill Shelf Holes: Transfer the bracket rod positions precisely to the back edge of your reclaimed wood shelf. Use a drill press or a hand drill with a suitable bit (e.g., a Forstner bit) to drill straight, level holes into the shelf. These holes must be slightly larger than the bracket rods for easy sliding, but not so large that the shelf wiggles excessively.
- Test Fit and Secure: Slide the shelf onto the brackets. If the fit is snug and level, apply a strong construction adhesive inside the shelf holes before permanently mounting the shelf. This creates a more secure, permanent bond.
Accent Ledges with Hidden Support:
For thinner accent ledges, simpler hidden supports can be used. These might include smaller, less intrusive steel pins or specialized low-profile floating shelf hardware. The principle remains the same: secure the bracket to the wall, then slide the drilled ledge onto the supports.
Design Considerations for Narrative Interiors
When designing these elements for a narrative interior, think about how they will interact with other pieces and the story you want to tell.
- Varying Thickness and Lengths: Instead of uniform shelves, consider staggering lengths or varying the thickness of individual shelves to create visual interest. A robust floating shelf might anchor a space, while a slimmer accent ledge above it adds a delicate touch.
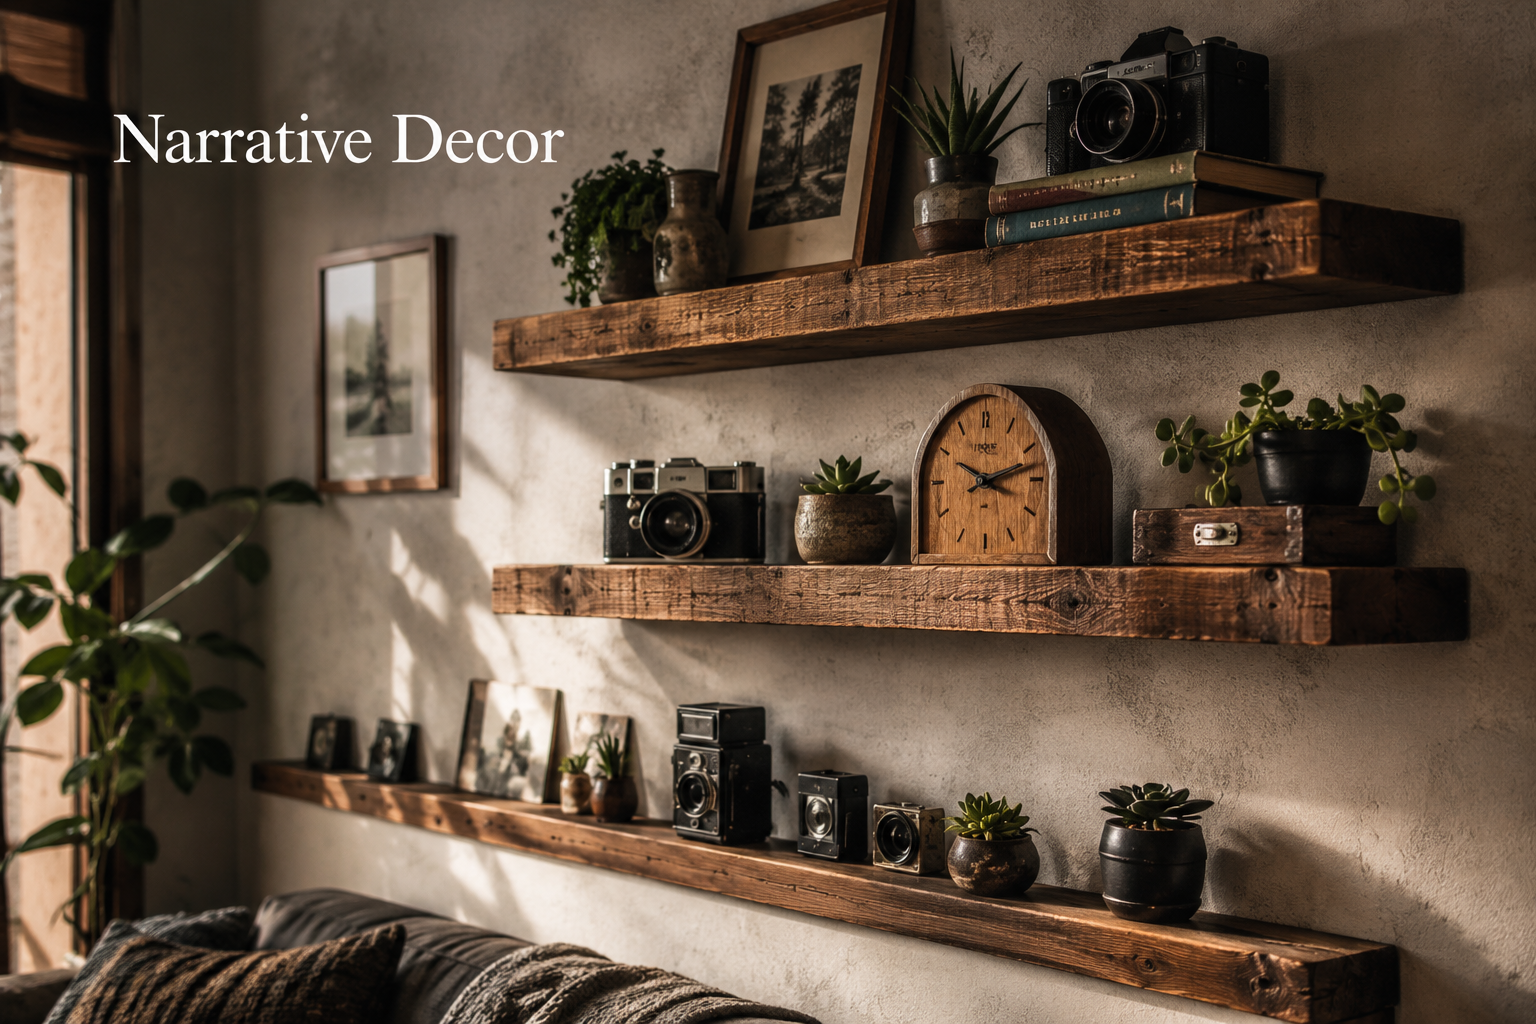
- Strategic Placement: Place shelves near natural light, above a reading nook, or as a display for a curated collection of objects like a handcrafted wooden wall clock or cherished family heirlooms. This creates focal points.
- Integrating with Existing Decor: Reclaimed wood often pairs beautifully with other natural materials, industrial elements, or even modern minimalist aesthetics. The contrast can be striking. For inspiration on incorporating wood into other parts of your home, check out DIY Wooden Plant Stands: Elevate Your Indoor Garden with Cus.
“Reclaimed wood isn’t just a material; it’s a character in your home’s story. Every knot, every imperfection, contributes to the narrative.”
Finishing Techniques and Curating Your Narrative Display
The final touches on your DIY Reclaimed Wood Floating Shelves and Accent Ledges for Narrative Interiors are where their true personality emerges. Finishing protects the wood and enhances its natural beauty, while the careful curation of displayed items completes the narrative.
Enhancing and Protecting Reclaimed Wood
The goal of finishing reclaimed wood is generally to preserve its character while providing durability. Avoid heavy, opaque finishes that obscure the wood’s natural patinas.
Common Finishing Options:
- Clear Sealers/Polyurethane: These provide excellent protection against moisture and wear, ideal for kitchens or bathrooms. They come in various sheens (matte, satin, gloss) and can slightly deepen the wood’s color. Apply several thin coats, sanding lightly between each for a smooth finish.
- Oil Finishes (e.g., Tung Oil, Linseed Oil): Oils penetrate the wood, enhancing its grain and bringing out a rich, natural luster. They offer good protection and are easy to reapply as needed. They also provide a more “natural” feel to the wood.
- Wax Finishes: For a softer, hand-rubbed look, wax can be applied over raw wood or an oil finish. It provides a degree of protection and a beautiful, low-sheen finish.
- Stains (Use with Caution): If the reclaimed wood’s existing color is not to your liking, a very light, transparent stain can be applied. However, be cautious not to overwhelm the natural variations and history of the wood. Test on a scrap piece first. For more detailed finishing advice, consult our guide on Reclaimed Wood Finishing Techniques.
Important Finishing Tips:
- Cleanliness: Ensure the wood is thoroughly clean and dust-free before applying any finish.
- Even Application: Apply finishes evenly, following the grain of the wood.
- Curing Time: Allow adequate curing time between coats and before placing items on the finished shelves.
Curating Your Narrative Display
The items you place on your reclaimed wood shelves and ledges are the heart of your narrative interior. Think of them as props in a story, each contributing to the overall theme and personal history of your home.
Tips for Effective Display:
- Tell a Story: Group items that share a common theme, color palette, or personal significance. For example, a travel-themed shelf might include vintage postcards, a small souvenir from a favorite trip, and a book on global adventures.
- Vary Heights and Textures: Use objects of different heights, shapes, and textures to create visual interest. Stack a few books, then place a small sculpture next to them, perhaps with a trailing plant.
- Embrace Negative Space: Don’t overcrowd your shelves. Leaving some empty space allows individual items to breathe and be appreciated.
- Incorporate Personal Touches: Photographs, handwritten notes, or small handmade items instantly personalize a display and deepen its narrative.
- Balance and Symmetry (or Intentional Asymmetry): Consider the visual weight of items. Balance heavier items with lighter ones, or intentionally create asymmetry for a more dynamic look.
- Layering: Place taller items at the back and shorter items or small frames in front to create depth.
- Functional Aesthetics: Don’t forget that shelves can also hold practical items, like spices in the kitchen or small containers in a home office, making them both beautiful and useful. For ergonomic solutions in a home office, consider our article on DIY Home Office Ergonomics: Building Custom Wooden Monitor Stands and.
Reclaimed wood shelves naturally draw the eye, and the items you choose to display on them become extensions of your personality and experiences. Whether it’s a collection of vintage cameras, artisanal pottery, or a cherished book collection, these elements transform mere storage into a heartfelt exposition of your life.
Conclusion
Creating DIY Reclaimed Wood Floating Shelves and Accent Ledges for Narrative Interiors is a deeply rewarding project that goes beyond mere home improvement. It’s an opportunity to infuse your living space with character, history, and a personal story, all while practicing sustainable craftsmanship. From selecting unique, aged timber and preparing it with care, to precisely installing hidden brackets for that coveted floating effect, every step contributes to a bespoke piece of furniture. The final finishing touches, chosen to highlight the wood’s inherent beauty, and the thoughtful curation of displayed items, culminate in an interior that truly speaks to who you are. These handmade elements become focal points, sparking conversation and reflecting a commitment to individuality and environmental consciousness in 2026.
Actionable Next Steps
- Source Your Wood: Begin by exploring local reclaimed lumberyards or salvage shops to find wood pieces that resonate with your aesthetic vision.
- Plan Your Design: Sketch out where your shelves will go, considering lengths, thicknesses, and how they will complement existing decor.
- Gather Your Tools & Hardware: Invest in quality hidden floating shelf brackets appropriate for the weight of your chosen wood, and ensure you have essential tools like a stud finder, level, drill, and sanding equipment. For a detailed guide on necessary tools, see Essential Hand Tools for Every Woodworker: A Comprehensive Guide to.
- Prepare and Finish: Take the time to properly clean, de-nail, and sand your wood. Apply a protective finish that enhances its natural beauty.
- Install with Precision: Follow the installation steps carefully, ensuring brackets are securely anchored into wall studs and shelves are perfectly level.
- Curate Your Story: Once installed, thoughtfully arrange items that tell a story, layering pieces of varying heights and textures to create a truly unique narrative display.
SEO Meta Title: DIY Reclaimed Wood Floating Shelves & Ledges for Narrative Interiors SEO Meta Description: Craft DIY reclaimed wood floating shelves & accent ledges for narrative interiors. Learn sourcing, hidden bracket installation, and finishing tips for 2026.
DIY woodworking, reclaimed wood, floating shelves, accent ledges, narrative interiors, sustainable decor, hidden brackets, wood finishing, home decor, custom shelving, rustic modern, interior design