
The Centers for Disease Control and Prevention reports that table saws account for over 30,000 emergency room visits annually, highlighting the critical importance of proper setup and safety practices, especially in compact spaces. For aspiring woodworkers or those with limited square footage, configuring a small workshop setup for table saw projects requires careful planning. This article will guide you through establishing an efficient and safe workspace, focusing on the indispensable role of saw bench tables, basic dust collection, and crucial safety habits, enabling you to tackle common furniture projects with confidence and precision.
Key Takeaways
- Optimize Your Space: Even small workshops can be highly functional with strategic layout planning, focusing on the table saw as the central element.
- Saw Bench Tables are Essential: Utilize saw bench tables for critical outfeed support, assembly, and additional workspace, enhancing both safety and efficiency for table saw operations.
- Prioritize Dust Collection: Implement basic dust collection systems to maintain a cleaner, healthier, and safer working environment.
- Master Safety Protocols: Develop rigorous safety habits, including wearing personal protective equipment (PPE) and using push sticks, to prevent accidents and ensure injury-free woodworking.
- Ergonomics and Flow: Design your workshop for logical workflow and comfortable operation to maximize productivity and reduce fatigue.
Designing Your Small Workshop Setup for Table Saw Projects
Creating an effective woodworking space in a small area means making every inch count. The table saw is often the heart of many woodworking operations, so its placement and surrounding supports are paramount. A well-thought-out small workshop setup for table saw projects can transform a cramped corner into a highly productive hub.
Strategic Layout and Tool Placement
When designing your small workshop, visualize the flow of materials, especially long lumber. The table saw needs adequate space not just around its immediate perimeter, but also for infeed and outfeed.
- Central Placement: If possible, position your table saw in the center of your workspace. This allows for maximum flexibility with infeed and outfeed for various cut lengths. In a truly tiny space, placing it against a wall might be necessary, but this will limit your capacity for long rips unless you have a dedicated outfeed solution.
- Mobile Bases: Equipping your table saw and other large tools with mobile bases is a game-changer for small workshops. This allows you to reconfigure your space quickly for different tasks, moving tools out of the way when not in use.
- Vertical Storage: Utilize wall space extensively. Shelving, pegboards, and wall cabinets can store hand tools, jigs, and smaller materials, keeping your workbench clear and accessible.
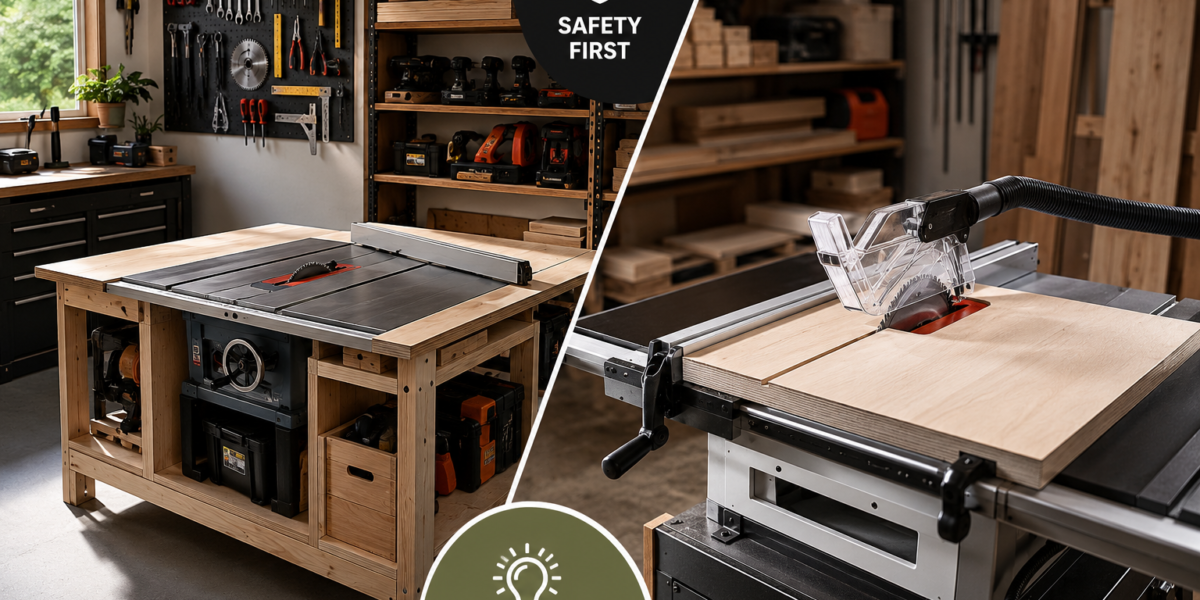
- Multi-functional Surfaces: Every surface should ideally serve multiple purposes. A saw bench table, for instance, can act as outfeed support, an assembly table, or even additional storage underneath.
Consider what types of projects you’ll primarily be working on. For instance, if you plan on building end tables or decorative items, you might need less outfeed space than for larger furniture pieces.
<code class="language-html"><div style="background-color: #f8f8f8; border-left: 5px solid #3498db; padding: 15px; margin: 20px 0;">
    <h3 style="color: #2c3e50; margin-top: 0;">Tip for Maximizing Space:</h3>
    <p style="color: #34495e;">Consider building a custom mobile workbench that incorporates storage and can be wheeled to serve as outfeed for your table saw. This dual-purpose design is highly efficient for small spaces.</p>
</div>
</code>
Essential Tool List for Small Workshop Table Saw Projects
While a table saw is central, other tools are crucial for a well-rounded small workshop.
- Table Saw: Your primary cutting tool. Ensure it has a reliable fence and a robust motor. For a deeper dive into specific models, you can check out resources on Pro-Tech table saws.
- Miter Saw: Excellent for cross-cutting long boards and precise angles. A sliding compound miter saw is versatile but requires careful placement in a small shop.
- Jigs and Sleds: Essential for safety and accuracy on the table saw. A crosscut sled, a tapering jig, and a tenoning jig will significantly expand your saw’s capabilities. A beginner’s guide to essential woodworking jigs can provide more detail.
- Hand Tools: Don’t underestimate the power of hand tools for detail work. Chisels, planes, and rasps are indispensable for refining joints and finishes. For mastering hand tools, see our guide on Hand Tool Mastery for Detail Work.
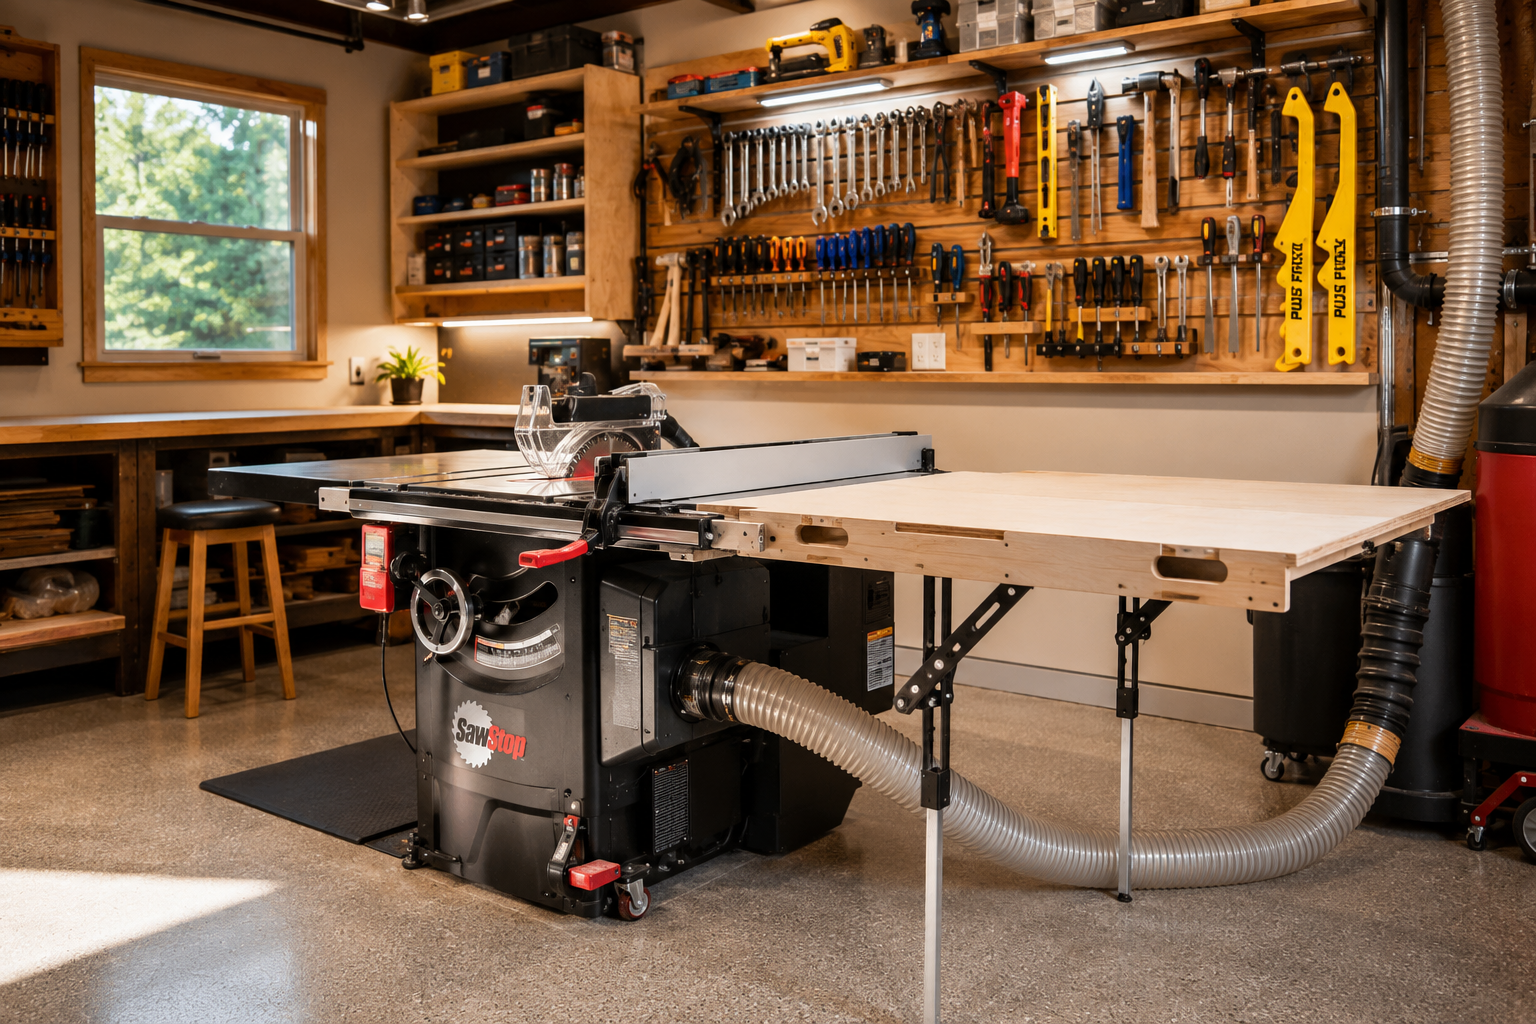
- Dust Collection: Even a small shop needs a basic dust collection system. This could range from a shop vacuum with a dust separator to a compact dust collector.
- Measuring and Marking Tools: High-quality tape measures, squares, and marking gauges are foundational for accurate work.
Remember, the goal is not to fill your workshop with every tool imaginable, but rather to acquire the right tools for the projects you intend to build, such as small decorative projects or even wooden candle holders.
Using Saw Bench Tables Safely and Efficiently
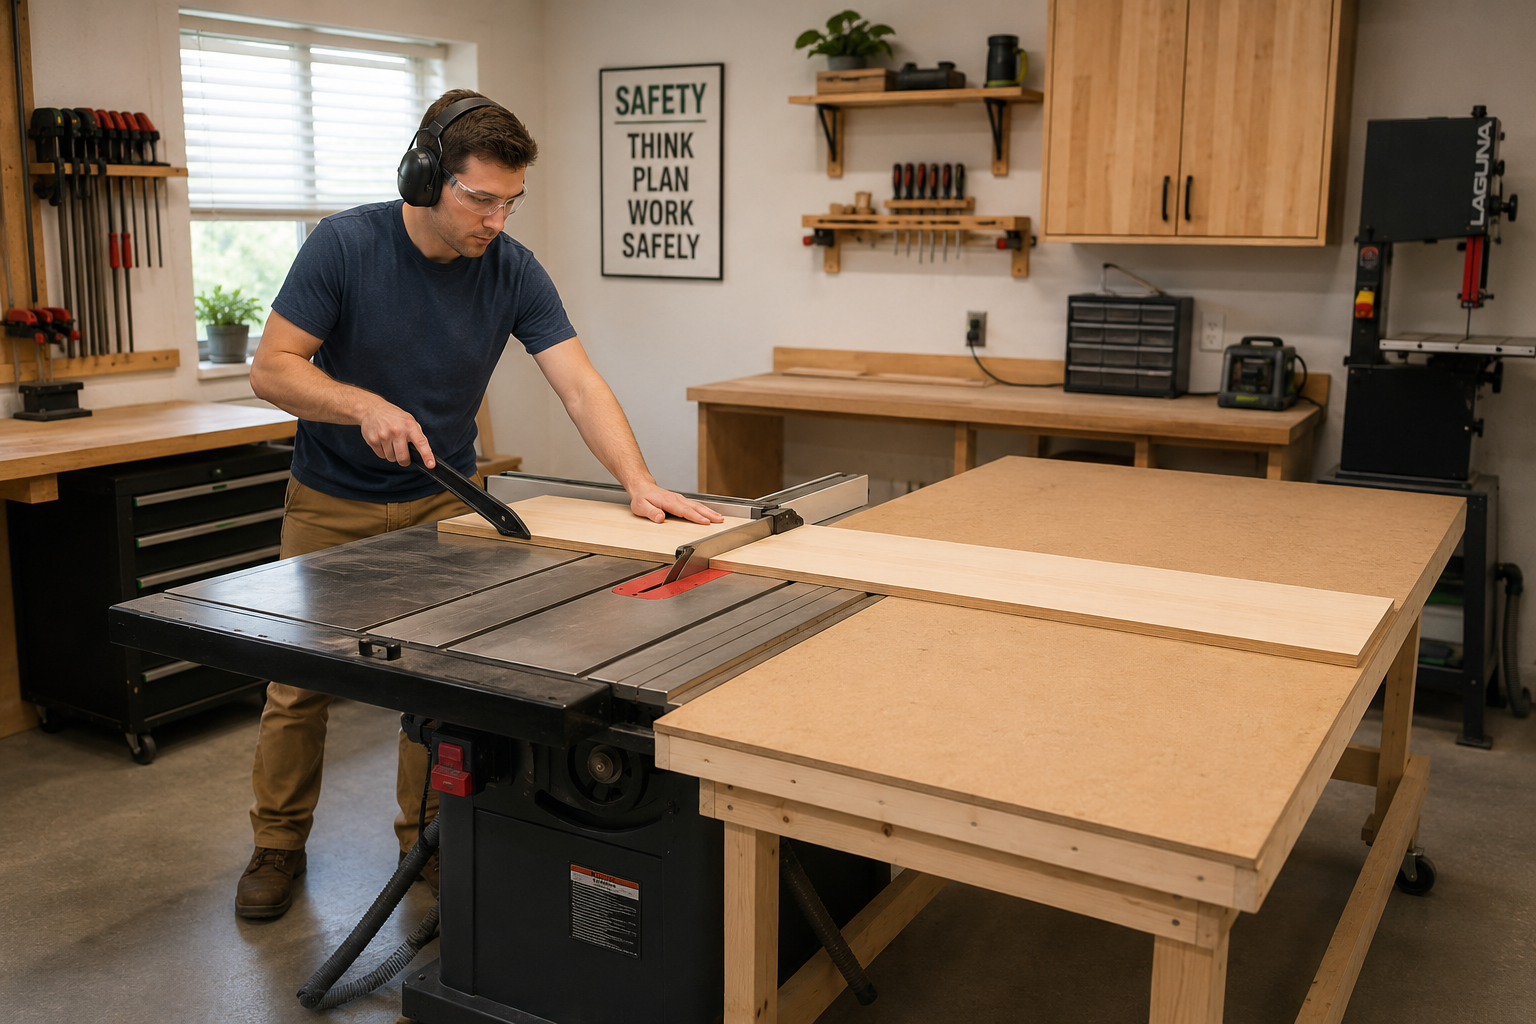
Saw bench tables are incredibly versatile tools that enhance the safety and efficiency of any small workshop setup for table saw projects. They provide crucial support for material handling, prevent kickback, and serve multiple functions beyond just cutting.
The Importance of Outfeed Support
When making cuts on a table saw, especially long rip cuts, the workpiece needs continuous support as it exits the blade. Without adequate outfeed support, the unsupported end can drop, binding the blade, leading to dangerous kickback, or causing inaccurate cuts.
- Preventing Kickback: Kickback occurs when the workpiece gets pinched between the blade and the fence, or when the rear of the blade lifts the workpiece. A saw bench table provides stable support, ensuring the material remains level and controlled throughout the cut, significantly reducing kickback risk.
- Accurate Cuts: Consistent outfeed support allows the wood to move smoothly past the blade, maintaining the desired cut line and preventing tear-out or inconsistent dimensions.
- Reduced Fatigue: Supporting heavy or long workpieces manually is tiring and can lead to mistakes. A dedicated outfeed table handles the weight, allowing you to focus on guiding the material safely.
Types of Saw Bench Tables for Small Workshops
The best saw bench table for your small workshop will depend on your space, budget, and project needs.
| Type of Saw Bench Table | Description | Pros | Cons |
|---|---|---|---|
| Folding/Collapsible | Designed for portability and easy storage. Can be quickly set up as outfeed or broken down when not in use. | Excellent for extremely small spaces; highly portable; often lightweight. | May lack the rigidity and stability of a permanent solution; maximum weight capacity can be limited; setup time required. |
| Mobile Workbench/Cart | A heavy-duty bench on casters that can be rolled into position behind the table saw. Often includes storage drawers or shelves. | Very stable and robust; multi-functional (outfeed, assembly, storage); easy to move around the shop. | Takes up more floor space; can be heavy to move if not designed well; may require custom building. |
| Integrated Outfeed | A permanent extension of the table saw, either built-in or custom-made to match the saw’s height. | Most stable and seamless transition from saw table; always ready for use; can be incorporated into larger workbench systems. | Permanent solution, consumes dedicated space; not suitable for highly flexible layouts; can be challenging to build or costly to purchase. |
| Roller Stands | Simple, height-adjustable stands with rollers that support long material. | Very compact when stored; relatively inexpensive; easy to adjust height. | Offers only linear support (material can sometimes shift sideways); less stable than a full table; not ideal for very wide panels; requires careful positioning to match saw table height precisely to avoid catching. |
For a small workshop, a mobile workbench or a robust folding saw bench offers the best balance of stability and flexibility. Ensure your chosen saw bench table matches the height of your table saw’s surface accurately. Any misalignment, even slight, can cause binding or an uneven cut.
Safety and Efficiency for Table Saw Projects in 2026
Safety should always be the number one priority in any woodworking shop, regardless of its size. In 2026, advances in safety features and increased awareness continue to make workshops safer, but human error remains a significant factor in accidents. Combining proper safety habits with efficient workflow will allow you to complete projects ranging from crafting wooden benches to intricate kitchen islands with confidence.
Essential Safety Habits for Table Saw Use
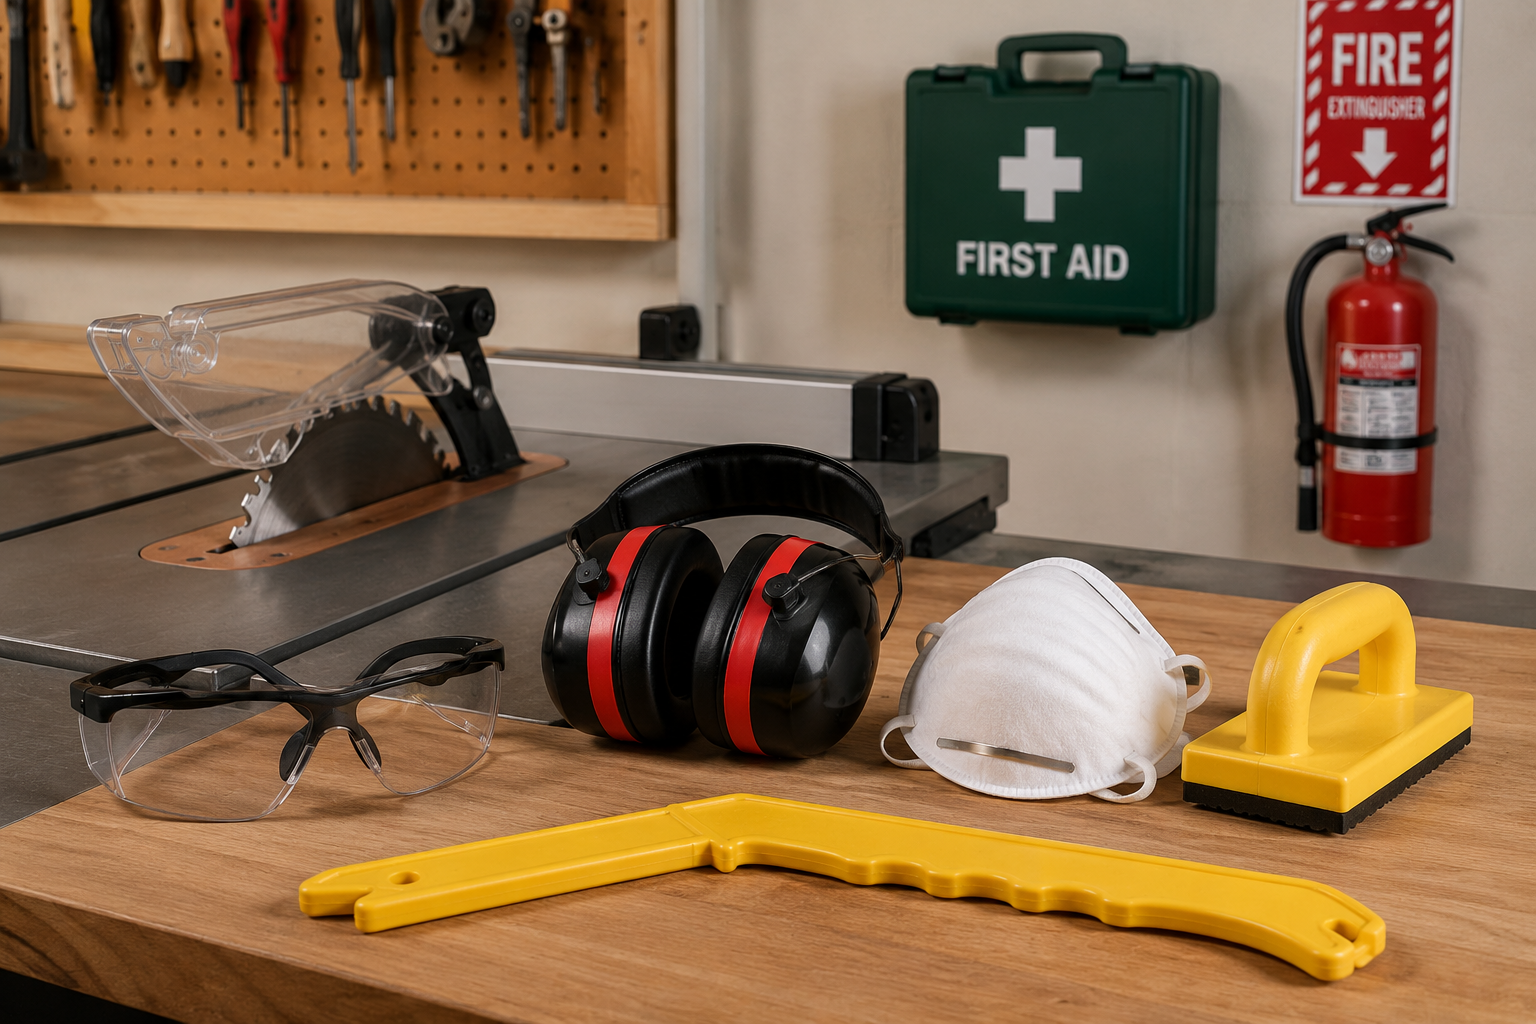
- Always Use Push Sticks/Blocks: Never use your bare hands to push small pieces of wood through the blade or to complete a cut close to the blade. Use a push stick for narrow rips and a push block for wider pieces to keep your hands clear.
- Wear Personal Protective Equipment (PPE):
- Eye Protection: Safety glasses or a face shield are non-negotiable. Wood chips, sawdust, and even small pieces of wood can be ejected at high speeds.
- Hearing Protection: Table saws are loud. Prolonged exposure can lead to permanent hearing damage. Earmuffs or earplugs are essential.
- Dust Mask/Respirator: Fine wood dust is a carcinogen and irritant. Wear an N95 mask or a respirator, especially when cutting fine-dust-producing materials.
- Never Reach Over or Behind the Blade: Wait until the blade has completely stopped and the power is off before reaching for cut-offs.
- Maintain a Clear Workspace: Keep the area around your table saw free of clutter, tripping hazards, and loose cords. Good lighting is also crucial.
- Proper Blade Selection and Maintenance: Use the correct blade for the type of cut (rip vs. crosscut) and material. Keep blades sharp and clean. Dull blades increase the risk of kickback and produce poor cuts.
- Utilize the Riving Knife/Splitter: A riving knife or splitter helps prevent the wood from pinching the blade, reducing kickback. Ensure it’s properly aligned and positioned. For more on specific safety features, you can look into resources like Bork Riving Knife.
Optimizing Efficiency with Basic Dust Collection
Even in a small workshop, dust collection is critical for both health and efficiency. Fine dust can accumulate on tools, making them less efficient, obscuring cut lines, and posing a slip hazard.
- Shop Vacuum with Cyclone Separator: For a small table saw, a good quality shop vacuum (like a 14-gallon Ridgid shop vac) combined with a cyclone dust separator is often sufficient. The separator captures most of the large chips before they reach the vacuum filter, maintaining suction and reducing filter cleaning.
- Dust Ports: Ensure your table saw has an effective dust port. Many saws have a port on the blade guard and below the table. Connect your dust collection to both if possible for maximum efficiency.
- Ambient Air Filtration: For fine dust that escapes the direct collection, an ambient air filter can help keep the air in your workshop cleaner. These units recirculate and filter the air, reducing airborne particulates.
- Regular Cleanup: Even with a dust collector, sweep or vacuum your workshop regularly. A clean shop is a safe and efficient shop.
By integrating these safety practices and dust management techniques into your small workshop setup for table saw projects, you create an environment conducive to high-quality work and enjoyable, accident-free woodworking.
Conclusion
Establishing an effective and safe small workshop setup for table saw projects doesn’t require a sprawling industrial space. With thoughtful planning, strategic tool placement, and a commitment to safety, even the most compact workshops can become highly productive environments. By prioritizing outfeed support using versatile saw bench tables, implementing basic dust collection, and rigorously adhering to safety protocols, you not only enhance the quality of your work but, more importantly, protect yourself from potential hazards. Embrace the challenge of optimizing your space, and you’ll find that precise, enjoyable, and safe woodworking is well within reach in your small workshop in 2026 and beyond.
Actionable Next Steps:
- Assess Your Space: Measure your workshop area and sketch out potential layouts for your table saw, considering infeed and outfeed requirements.
- Invest in a Saw Bench Table: Choose a saw bench table that best fits your needs, prioritizing stability and height adjustability to match your table saw.
- Upgrade Dust Collection: Start with a shop vacuum and a cyclone separator if you don’t have one, or improve your existing system for better air quality.
- Acquire Proper PPE: Ensure you have safety glasses, hearing protection, and a dust mask readily available and make their use a non-negotiable habit.
- Build or Buy Jigs: Invest in or build essential table saw jigs like a crosscut sled to enhance safety and accuracy for common cuts.
SEO Meta Title: Small Workshop Table Saw Setup: Safe & Efficient Use SEO Meta Description: Master your small workshop table saw setup. Learn safe operation, efficient use of saw bench tables, and essential dust collection for all your woodworking projects in 2026.