
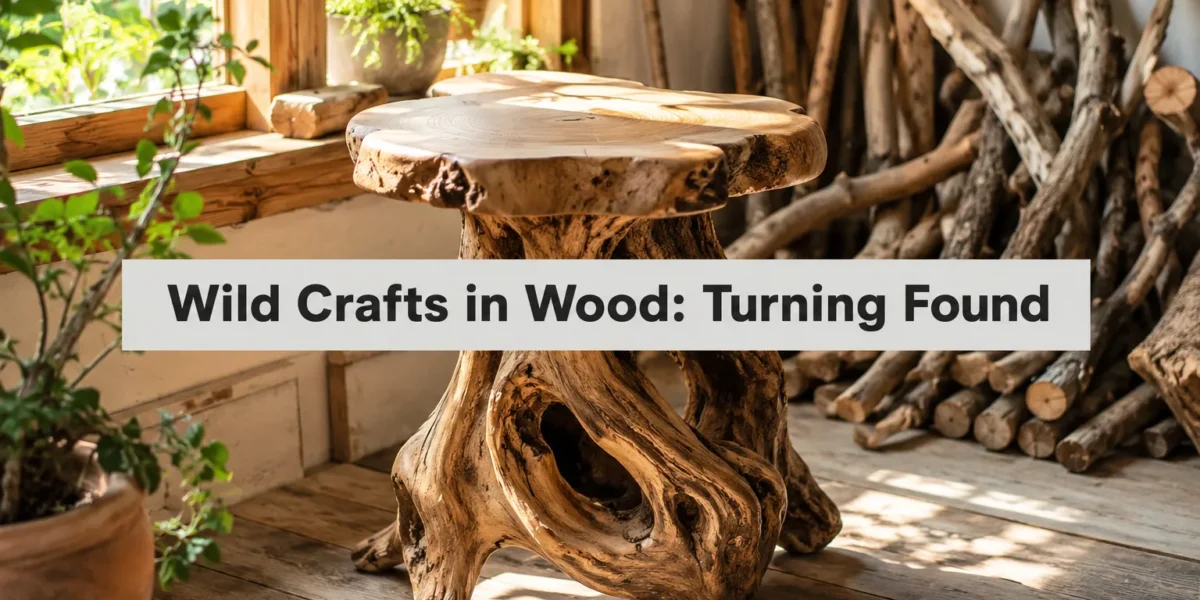
The average household in the United States discards approximately 70 pounds of wood waste each year, much of it in forms like fallen branches, roots, and driftwood that possess incredible untapped potential for artisans. Far from being mere refuse, these natural elements offer unique textures, shapes, and stories waiting to be uncovered and transformed. This article delves into “Wild Crafts in Wood: Turning Found Branches, Roots, and Driftwood into Rustic Furniture and Decor,” guiding enthusiasts and experienced woodworkers alike through the process of seeing, gathering, and crafting with nature’s discards to create truly one-of-a-kind pieces.
Key Takeaways
- Mindful Sourcing: Understand ethical and legal guidelines for collecting natural wood, focusing on fallen, non-living materials to support ecological balance.
- Proper Preparation: Learn critical steps like cleaning, drying, and stabilizing found wood to prevent decay, warping, and insect infestation, ensuring longevity for your creations.
- Essential Tools & Techniques: Discover the fundamental hand and power tools necessary for working with irregular wood forms, and the joinery methods best suited for rustic aesthetics.
- Creative Project Ideas: Explore diverse applications for branches, roots, and driftwood, from functional furniture like stools and tables to decorative lamps and sculptural wall art.
- Safety & Sustainability: Prioritize safety protocols in your workshop and adopt sustainable practices for both material acquisition and finishing to honor the natural world.
Sourcing and Preparing Your Wild Wood
The journey into “Wild Crafts in Wood: Turning Found Branches, Roots, and Driftwood into Rustic Furniture and Decor” begins with responsibly acquiring your raw materials. Unlike lumberyard purchases, found wood comes with a story, often weathered and sculpted by natural forces. However, this natural beauty also requires careful handling and preparation to ensure it becomes a durable, long-lasting part of your home.
Responsible Sourcing: Where to Look and What to Collect
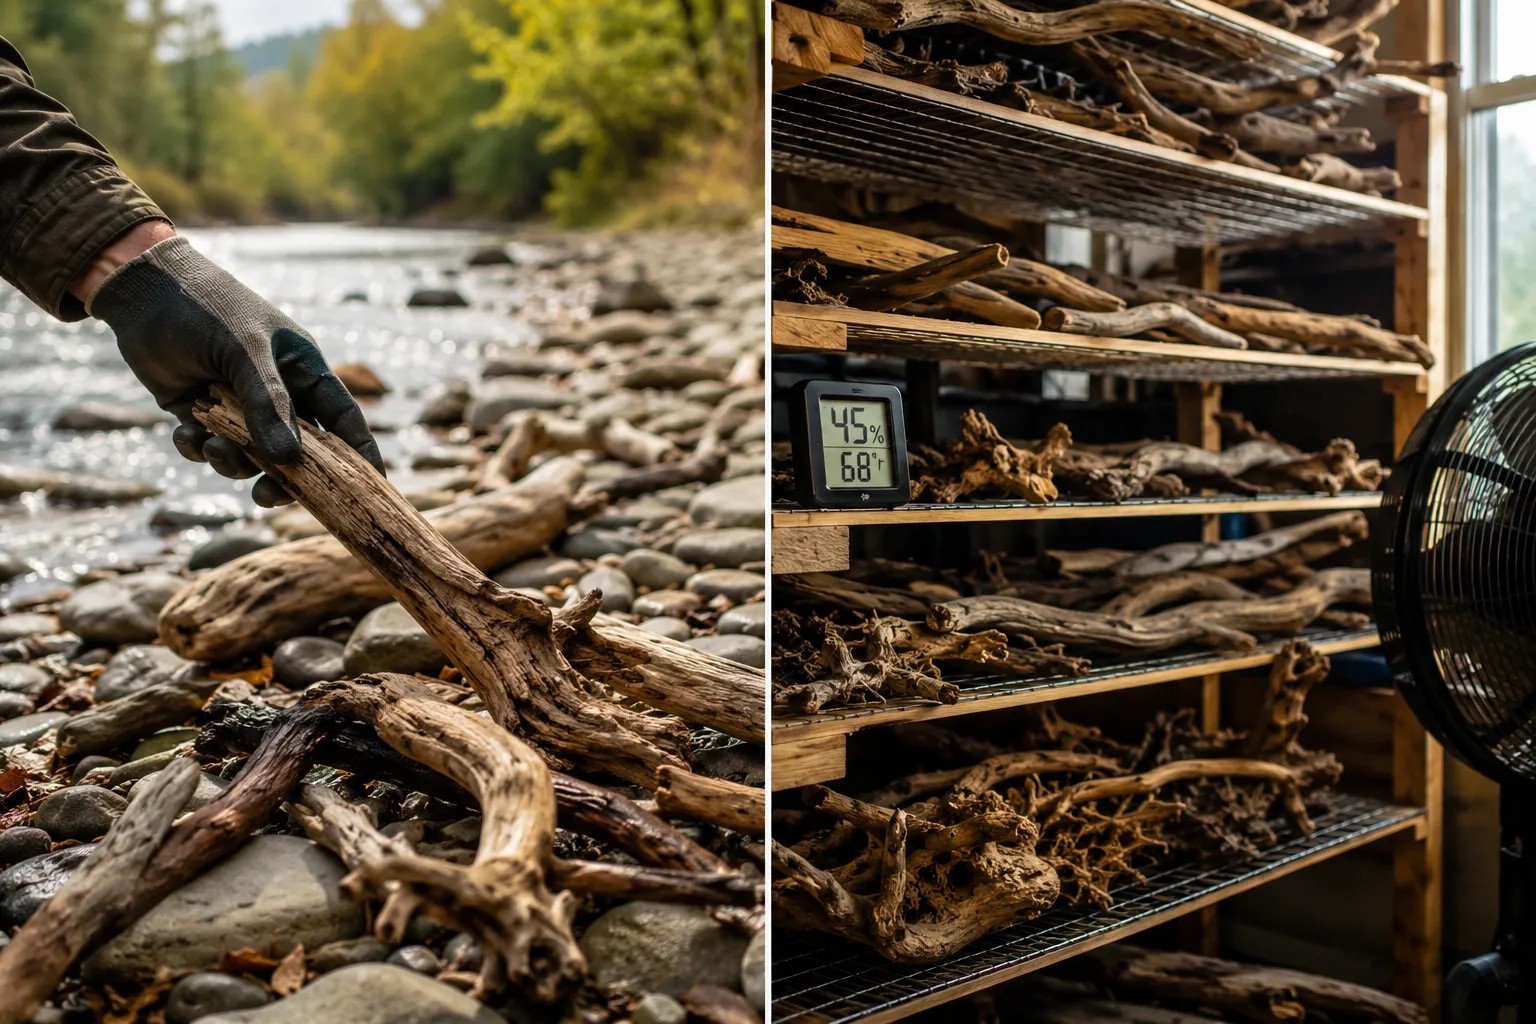
Before you even pick up a piece of wood, understanding ethical and legal sourcing is paramount. Always prioritize collecting materials that are already fallen, dead, and detached from living trees. This respects the ecosystem and ensures you’re not harming local flora.
- Fallen Branches: Look in forests, woodlands, and even your own backyard after storms or natural pruning. Seek out branches that are naturally seasoned (dry) and free of extensive rot.
- Roots: Riverbanks and areas where trees have fallen or been uprooted by erosion can expose fascinating root structures. Ensure the roots are completely dead and detached.
- Driftwood: Beaches, riverbeds, and lakeshores are prime locations for driftwood. The water naturally cleans and smooths the wood, often creating unique shapes and a bleached, aged aesthetic.
“Working with found wood isn’t just about crafting an object; it’s about connecting with the environment, understanding the journey of a tree, and giving new life to forgotten forms.”
Always verify local regulations regarding collecting wood from public lands, parks, or private property. Many areas require permits or restrict collection entirely. When in doubt, ask for permission.
Cleaning and Initial Processing
Once you’ve responsibly gathered your treasures, they’ll likely be covered in dirt, debris, and possibly insects. Proper cleaning is the first critical step.
- Brush Off Loose Debris: Use a stiff brush or wire brush to remove soil, loose bark, and any superficial grime.
- Wash Thoroughly: For heavily soiled pieces, a hose with a strong spray can be effective. For driftwood, a good rinse removes salt and sand. Some crafters use a mild bleach solution (1 part bleach to 10 parts water) for heavily stained or moldy pieces, but rinse very thoroughly afterwards.
- Remove Bark (Optional but Recommended): For most indoor projects, removing bark is advisable to prevent pests and further decay. A drawknife, chisel, or even a sturdy scraper can be used. For a more rustic look, you might leave some intact, but be sure it’s firmly attached and clean.
- Rough Shaping: At this stage, you might make initial cuts to remove obvious unwanted sections or to reduce the piece to a manageable size. Consider the final design even at this early stage.
Drying and Stabilizing Found Wood
Perhaps the most crucial step for the longevity of your wild wood creations is proper drying. Green or wet wood will warp, crack, and potentially rot or harbor insects if used prematurely.
- Air Drying: This is the most common and accessible method.
- Location: Find a dry, well-ventilated area away from direct sunlight and extreme temperature changes, such as a garage, shed, or basement.
- Stacking: Stack pieces with spacers (stickers) between them to allow for even airflow. Elevate them off the ground to prevent moisture absorption.
- Timeframe: Drying time varies significantly based on wood type, size, and ambient humidity. A general rule of thumb is one year per inch of thickness for hardwoods, though smaller branches may dry faster. Moisture meters can provide precise readings; aim for 6-8% moisture content for indoor projects.
- Kiln Drying (Commercial): For faster results, commercial kilns are an option, though less practical for hobbyists.
- Chemical Stabilization: For particularly punky or soft pieces, wood hardeners or stabilizers (like cactus juice or polyethylene glycol, PEG) can be used. These soak into the wood, replacing moisture and hardening the fibers. This process can be complex and requires specific equipment.
Crafting Rustic Furniture and Decor from Found Wood
The beauty of “Wild Crafts in Wood: Turning Found Branches, Roots, and Driftwood into Rustic Furniture and Decor” lies in embracing the wood’s natural form. This approach diverges from traditional woodworking, often requiring creative problem-solving and a keen eye for how each unique piece can contribute to a design.
Essential Tools for Working with Irregular Wood
While a full woodworking shop isn’t always necessary, some fundamental tools will make your projects much easier and safer.
Hand Tools:
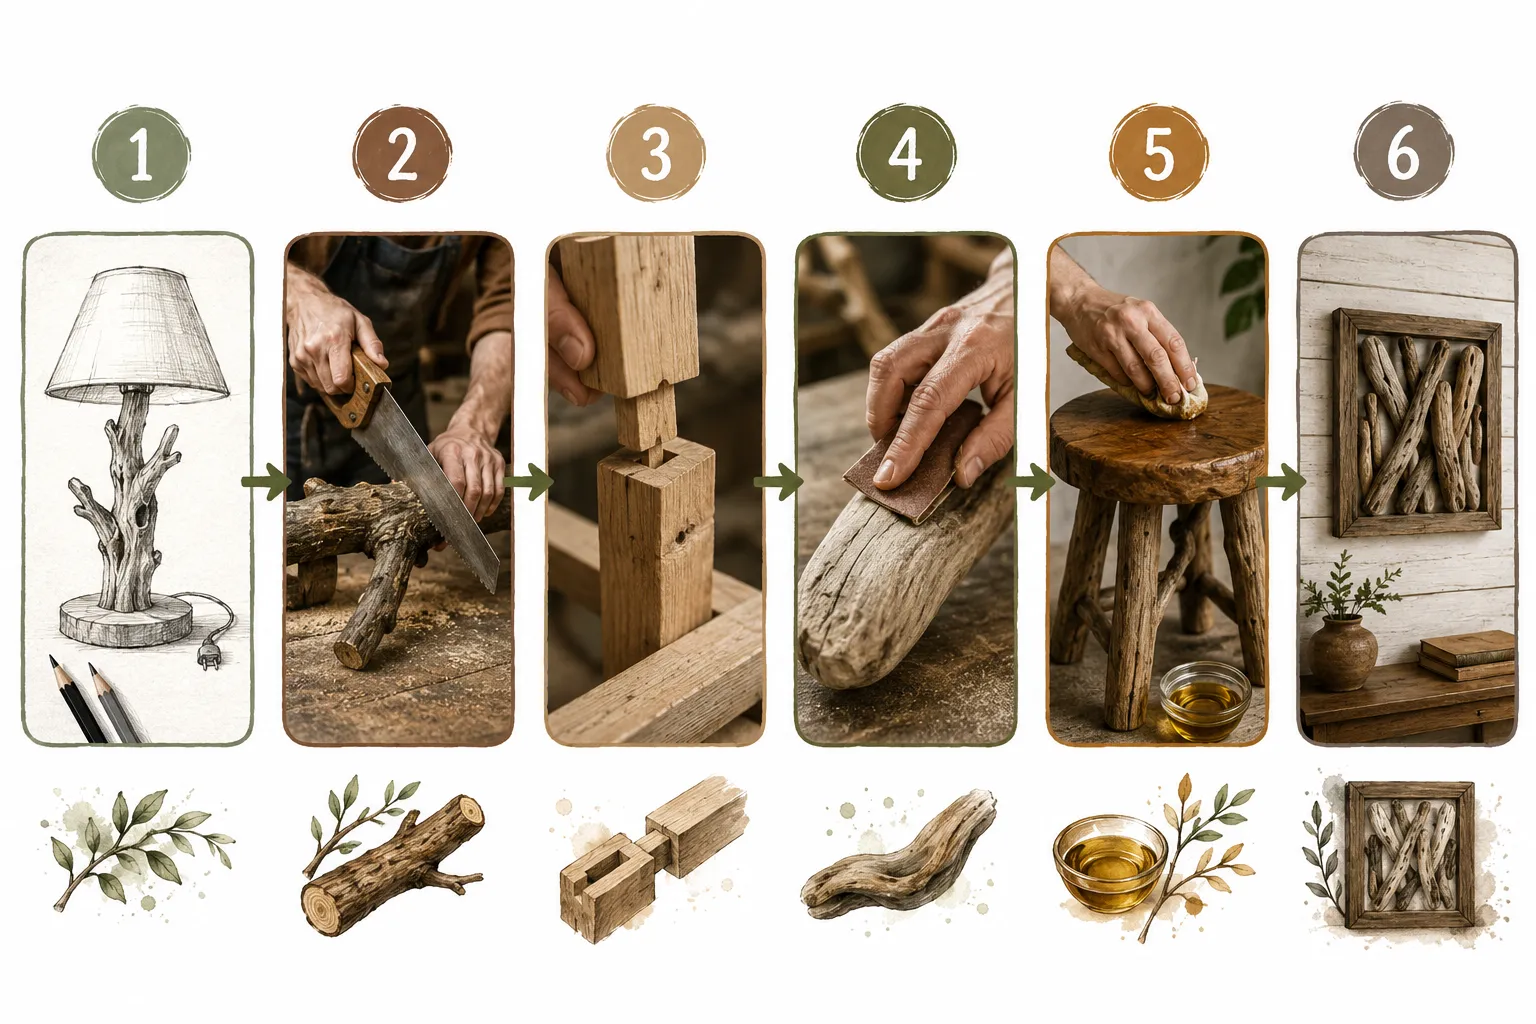
- Saws: Hand saws, bow saws, and pruning saws for initial cuts.
- Carving Tools: Chisels, gouges, and a drawknife are excellent for shaping and debarking, allowing you to follow the wood’s contours.
- Rasps and Files: For refining shapes and smoothing curves where sandpaper is difficult to use.
- Clamps: Essential for holding irregular pieces securely during gluing and assembly.
Power Tools:
- Angle Grinder: With various attachments (sanding, carving discs), this can quickly remove material and shape difficult areas.
- Orbital Sander/Detail Sander: For smoothing surfaces, especially after initial shaping.
- Drill/Driver: For pilot holes and fastening components.
- Router (Optional): Can be used for specific jointing tasks or decorative edges, though often less critical for rustic work.
- Wood Lathe (Optional): If you wish to turn smaller branches into components like lamp bases or candle holders, a wood lathe is invaluable.
Joinery and Assembly Techniques for Wild Wood
Traditional joinery often relies on precise, milled lumber. With found wood, the approach shifts to accommodating irregular shapes while maintaining structural integrity.
- Mortise and Tenon (Adapted): While classic mortise and tenon joints are ideal for strength, with wild wood, you’ll adapt them. Instead of square tenons, you might carve a round or irregular tenon to fit a corresponding mortise drilled or carved into another piece. This creates strong, visually appealing connections. Learn more about hand tool joinery for visible wood joints.
- Dowel Joints: Simple and effective for connecting smaller branches or attaching components. Drill matching holes and insert a wooden dowel with glue.
- Lap Joints: Where two pieces overlap, a partial removal of material from each can create a stronger, more integrated connection, often secured with glue and fasteners.
- Hardware and Fasteners: Screws, bolts, and specialized connectors can be integrated, especially for larger furniture pieces, often hidden or made part of the aesthetic with decorative caps.
- Epoxy and Fillers: For gaps or to reinforce weak points, clear or tinted epoxy can be used. Wood fillers, sometimes mixed with sawdust from your project, can blend seamlessly.
Project Ideas for Branches, Roots, and Driftwood
The possibilities for “Wild Crafts in Wood: Turning Found Branches, Roots, and Driftwood into Rustic Furniture and Decor” are limited only by your imagination and the unique forms of your materials.
- Rustic Stools and Tables: Sturdy branches or root bases can form legs, topped with live edge wood slabs or even flattened cross-sections of larger logs.
- Lamps and Lighting Fixtures: A gnarled branch can become a captivating lamp stand, with wires routed internally or artfully wrapped. Driftwood pieces can be arranged into unique chandeliers or wall sconces.
- Wall Art and Sculptures: Smaller, interestingly shaped pieces of driftwood or roots can be mounted on backer boards or combined into freestanding sculptures.
- Decorative Shelves: Use a strong, flat piece of driftwood as a shelf, supported by hidden brackets or decorative branches.
- Coat Racks and Hooks: Branches with natural protrusions make ideal hooks for coats, hats, or keys.
- Planters and Holders: Hollowed-out sections of logs or carefully joined branches can become custom wooden planters.
Remember, the goal is often to enhance, not overpower, the wood’s inherent character. Let the natural twists, knots, and textures guide your design.
Safety, Sustainability, and Finishing Touches in 2026
As we embrace “Wild Crafts in Wood: Turning Found Branches, Roots, and Driftwood into Rustic Furniture and Decor” in 2026, a strong focus on safety and sustainable practices remains crucial. Crafting with natural, often irregularly shaped wood presents unique challenges and opportunities that demand careful consideration from collection to the final finish.
Prioritizing Workshop Safety
Working with wild wood often means encountering unpredictable grain patterns, knots, and uneven surfaces, which can increase the risk of kickback, splinters, or tool mishaps.
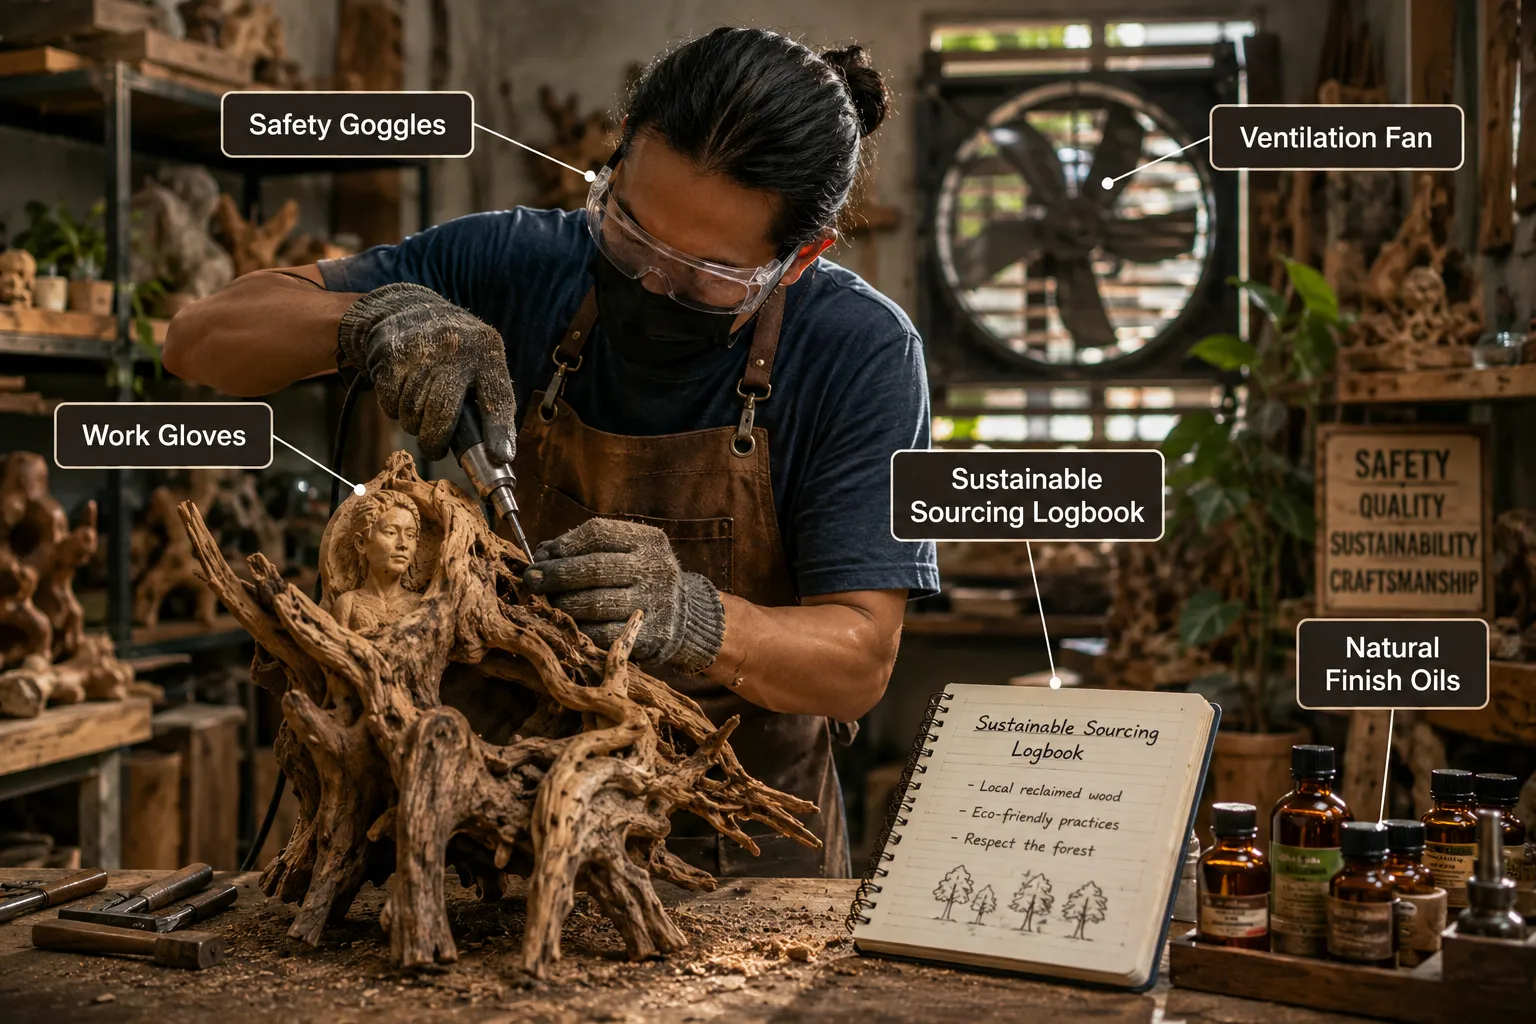
- Personal Protective Equipment (PPE): Always wear safety glasses or goggles, hearing protection, and sturdy gloves. A dust mask or respirator is essential when sanding or using power tools, as fine wood dust can be a respiratory irritant.
- Secure Workpiece: Because found wood is rarely perfectly straight or flat, clamping pieces securely is paramount. Use multiple clamps, vises, or jigs to prevent movement during cutting, drilling, or shaping. Never try to hold an irregular piece freehand against a power tool.
- Appropriate Tool Use: Understand your tools and their limitations. Use sharp blades and bits. For branches and roots, sometimes hand tools offer greater control than power tools, especially for intricate shaping or where the grain is highly unpredictable.
- Clear Workspace: Maintain a clean and uncluttered workshop floor and work surfaces to prevent trips and falls. Proper ventilation is also key, particularly when applying finishes.
Sustainable Practices in Wild Wood Crafting
The very nature of wild crafting is inherently sustainable, as it reclaims materials that would otherwise decompose or be discarded. However, we can further enhance its environmental friendliness.
- Ethical Sourcing: Reiterate the importance of collecting only fallen or dead wood, ensuring no living trees are harmed. Be aware of protected species and habitats.
- Zero-Waste Approach: Embrace the unique qualities of each piece, minimizing waste. Small offcuts or sawdust can be repurposed, perhaps for smaller decorative elements or composting. Consider the principles of turning shop scraps into design features.
- Eco-Friendly Finishes: Opt for natural and low-VOC (volatile organic compound) finishes.
- Oils and Waxes: Tung oil, linseed oil, mineral oil, and various waxes (beeswax, carnauba wax) penetrate the wood, enhancing its natural beauty and providing protection without a heavy chemical footprint. These are excellent budget-friendly wood finishing options.
- Shellac: A natural resin, shellac provides a beautiful, natural finish.
- Water-Based Varnishes: Modern water-based polyurethanes offer good durability with lower VOCs compared to traditional oil-based options.
Finishing and Preservation Techniques
The final finish brings out the character of your wild wood piece and protects it for years to come.
- Sanding: Start with a coarser grit sandpaper (e.g., 80-100 grit) to remove tool marks and smooth rough areas, then progressively move to finer grits (e.g., 180-220 grit) for a silky-smooth surface. For rustic pieces, you might intentionally leave some texture.
- Sealing: A good sealer is crucial. This can be the first coat of your chosen oil, a sanding sealer, or a diluted shellac. Sealing helps to even out absorption of the topcoat.
- Topcoat Application: Apply your chosen finish according to manufacturer instructions. Multiple thin coats are usually better than one thick coat. For highly durable surfaces like tabletops, consider a polyurethane. For a more natural look, repeated applications of an oil or oil-wax blend are ideal.
- Buffing: After the final coat has cured, a light buffing, sometimes with a very fine abrasive pad or steel wool (0000 grade), followed by a clean cloth, can enhance the sheen and feel.
Conclusion
Engaging in “Wild Crafts in Wood: Turning Found Branches, Roots, and Driftwood into Rustic Furniture and Decor” offers a unique and rewarding path for creative expression. It’s an art form that marries the beauty of nature with the ingenuity of craftsmanship, transforming discarded elements into cherished pieces of furniture and decor. From the mindful selection of a gnarled root to the careful sanding of a river-worn branch, each step is an act of appreciation for the earth’s natural artistry. By prioritizing responsible sourcing, meticulous preparation, and safe, sustainable practices, you not only create stunning, one-of-a-kind items but also contribute to a more environmentally conscious approach to woodworking. The journey into wild crafting invites you to see potential where others see refuse, fostering a deeper connection to both your materials and the creative process itself.
Actionable Next Steps:
- Start Small: Begin with a simple project like a decorative branch, a small lamp base, or a wall hook to familiarize yourself with the material and techniques.
- Explore Your Local Area: Go for a walk in permitted areas and observe the fallen wood. Pay attention to shapes, textures, and the story each piece tells.
- Invest in Essential Tools: Acquire basic hand tools like a good saw, chisels, and clamps. Add power tools as your skills and projects grow.
- Educate Yourself on Finishes: Research different natural wood finishes and experiment with small samples to find what best suits your aesthetic and project needs.
- Join a Community: Connect with other wild crafters or woodworkers online or locally to share tips, ideas, and inspiration.
SEO Meta Title: Wild Wood Crafts: Transform Branches & Driftwood into Rustic Decor (2026) SEO Meta Description: Unlock the art of wild crafts in wood. Learn to turn found branches, roots, and driftwood into unique rustic furniture and decor in 2026.