
The average woodworker utilizes less than 20% of their router table’s full potential, often limiting its application to simple edge profiles. However, with the right knowledge and techniques, this versatile tool transforms into a powerhouse for precision joinery, custom molding, and intricate inlay work. Mastering Advanced Router Table Techniques: Beyond Basic Edge Shaping for Joinery and Inlays unlocks a new dimension of craftsmanship, allowing for stronger, more beautiful, and truly unique woodworking projects in 2026 and beyond. This article delves into the methodologies that elevate your router table from a basic shaping station to a sophisticated joinery and decorative work center.
Key Takeaways
- The router table is a highly versatile tool capable of far more than simple edge profiles.
- Precision jigs and specialized bits are crucial for executing advanced joinery on a router table.
- Template routing is fundamental for creating accurate and repeatable shapes, ideal for intricate inlays and custom components.
- Mastering advanced techniques like mortise and tenon, dovetail, and custom molding expands design possibilities.
- Safety and proper setup are paramount for successful and accurate advanced router table operations.
Advanced Joinery Techniques on the Router Table: Precision and Strength
Achieving strong, professional-grade joinery is a cornerstone of fine woodworking. While traditional methods often rely on hand tools or dedicated machines, the router table, when employed with advanced techniques, can produce exceptionally accurate and robust joints. Moving beyond simple dadoes and rabbets, we explore how to tackle more complex joinery with this versatile machine.
Mortise and Tenon Joints
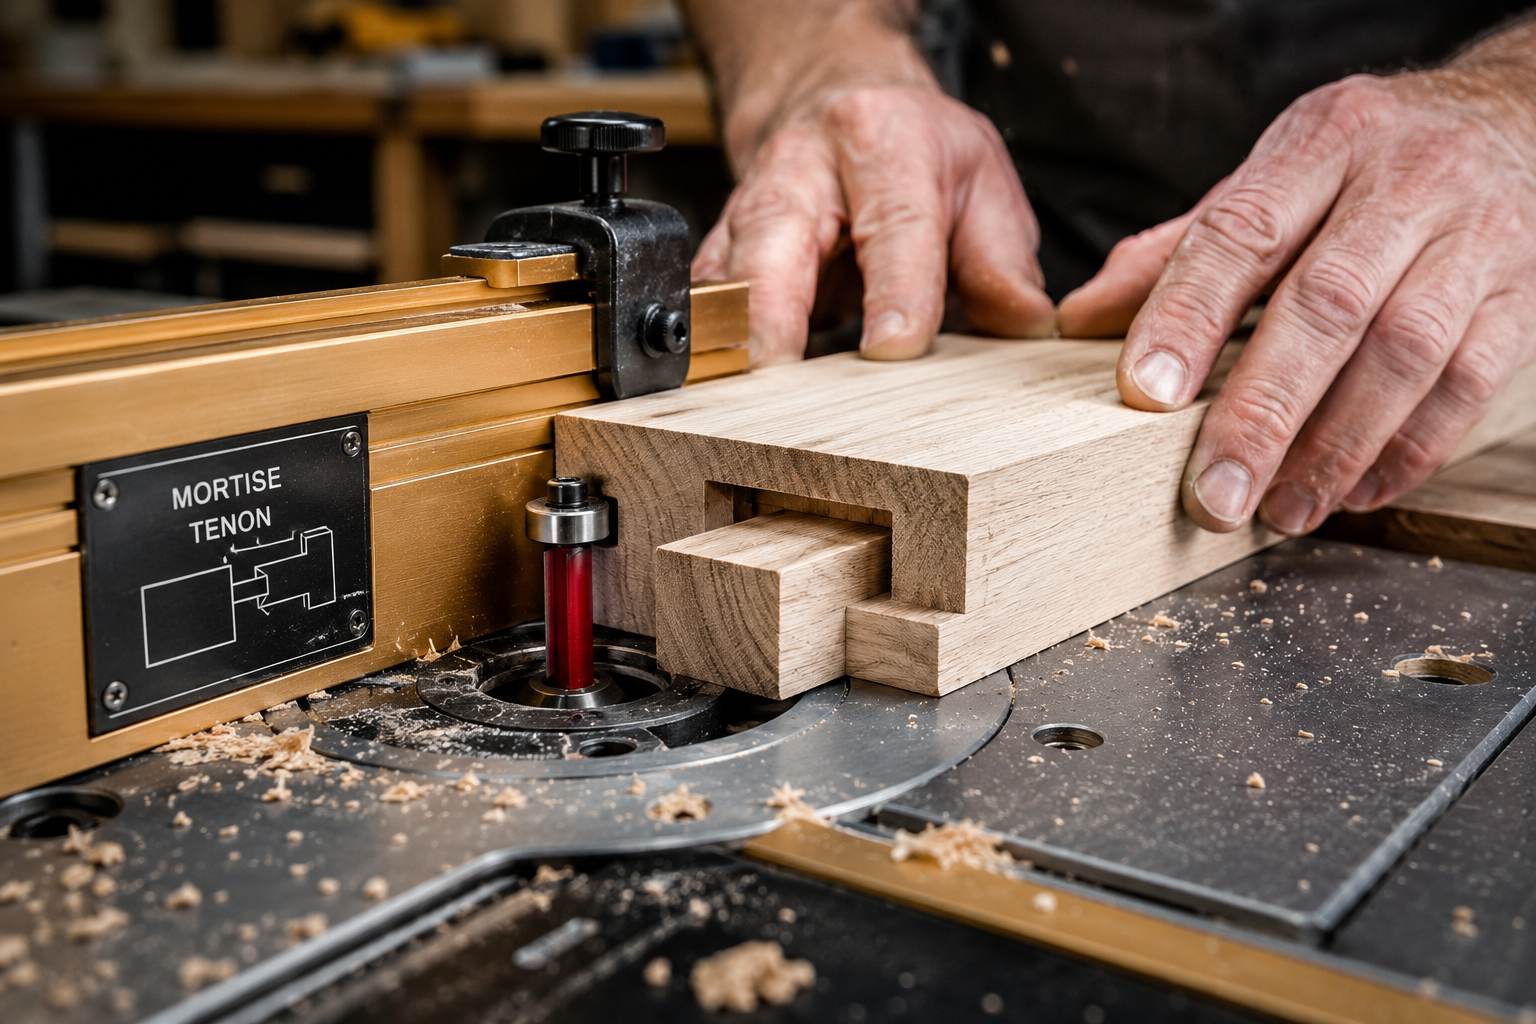
The mortise and tenon joint is a classic for its strength and elegant simplicity, widely used in furniture construction. Creating these on a router table offers consistency and speed.
Routing the Mortise
To rout a clean, precise mortise, a mortising jig is essential. This jig typically holds the workpiece vertically and allows it to slide horizontally across the router bit.
- Jig Setup: Securely clamp your workpiece to the jig. The jig must be square to the router table fence and the bit.
- Bit Selection: Use a straight bit that matches the desired width of your mortise. For deeper mortises, make multiple shallow passes to prevent burning and tear-out. For specific guidance on choosing the right bit, explore “The Essential Guide to Router Bits: Choosing the Right Profile, Material, and Technique for Every Woodworking Task”.
- Routing Process: Gradually plunge the workpiece into the bit, moving it along the fence to create the mortise length. Precision is key; measure twice, rout once.
Shaping the Tenon
Tenons can be shaped precisely and quickly using a tenoning jig or by setting up the router table fence and bit height meticulously.
- Tenoning Jig: A dedicated tenoning jig holds the workpiece vertically against the fence, allowing you to cut the cheeks and shoulders of the tenon.
- Fence and Bit Height: For smaller tenons, set your fence to control the tenon’s thickness and the bit height for its length. Make multiple passes, flipping the workpiece between passes to ensure even cuts.
Dovetail Joints: Half-Blind and Through
While often associated with hand-cut craftsmanship, dovetail joints can be efficiently produced on a router table with the right setup and jig. These joints are renowned for their mechanical strength and aesthetic appeal, particularly in drawer construction and fine cabinetry.
Dovetail Jig Usage
Dedicated dovetail jigs are invaluable for creating uniform and precise dovetails. These jigs typically come with specialized templates and router bits.
- Types of Jigs:
- Half-Blind Dovetail Jigs: Ideal for drawer fronts, where the dovetail is only visible from one side. They usually require a specific dovetail bit and a guide bushing.
- Through Dovetail Jigs: Used for joints visible from both sides, often for carcass construction. These can be more complex but yield beautiful results.
- Setup and Operation: Follow the jig’s instructions meticulously. Proper bit depth, guide bushing size, and workpiece alignment are critical for a perfect fit. Practice on scrap wood is highly recommended. For advanced joinery beyond this, consider exploring “Beyond the Basic Box: Advanced Joinery for Unique Wooden Gift Boxes” for additional inspiration.
Router Table for Inlays and Custom Molding: Adding Detail and Character
Beyond structural joinery, the router table excels at adding intricate decorative elements and custom profiles, transforming ordinary pieces into extraordinary works of art. These Advanced Router Table Techniques: Beyond Basic Edge Shaping for Joinery and Inlays are what truly distinguish a master woodworker.
Creating Intricate Inlays
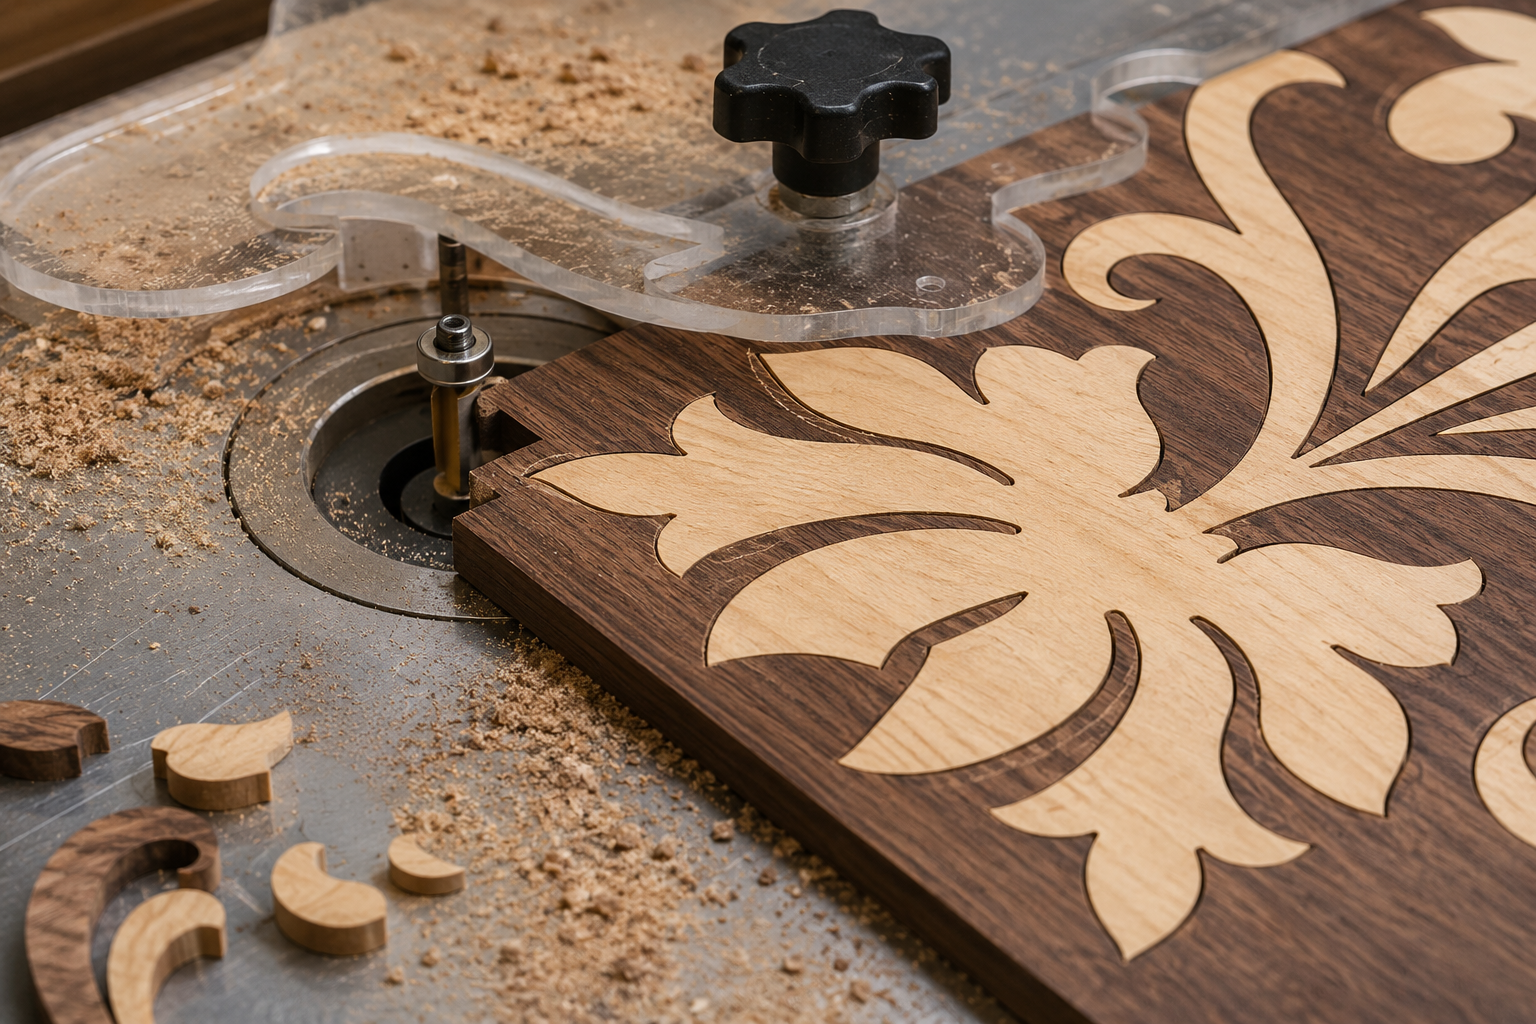
Inlays involve embedding a piece of contrasting material (often wood or shell) into a routed recess, creating stunning patterns and designs. The router table, combined with precision templates, makes this process accessible and repeatable.
Template Routing for Inlays
Template routing is fundamental to inlay work. It ensures precise matching of the inlay piece and its recess.
- Template Design: Design your inlay pattern. Templates can be made from MDF, plywood, or even acrylic. One template guides the cut for the recess, and another (slightly offset) guides the cut for the inlay piece itself.
- Bit and Bushing: A straight bit with a guide bushing is typically used. The offset between the two templates accounts for the diameter of the guide bushing relative to the router bit.
- Routing the Recess: Secure your workpiece and the recess template. Rout out the cavity to the desired depth.
- Routing the Inlay Piece: Secure the inlay material and its corresponding template. Rout the inlay piece, ensuring it fits snugly into the routed recess. Precision is paramount for a seamless fit.
Beyond Simple Shapes
The techniques can extend to complex designs, including lettering, geometric patterns, and even pictorial inlays. With careful template creation and patient routing, the possibilities are vast.
Custom Molding and Architectural Profiles
The router table is an indispensable tool for creating custom molding, allowing woodworkers to replicate antique profiles, design unique trims, or produce specific architectural elements that are otherwise unavailable.
Specialized Molding Bits
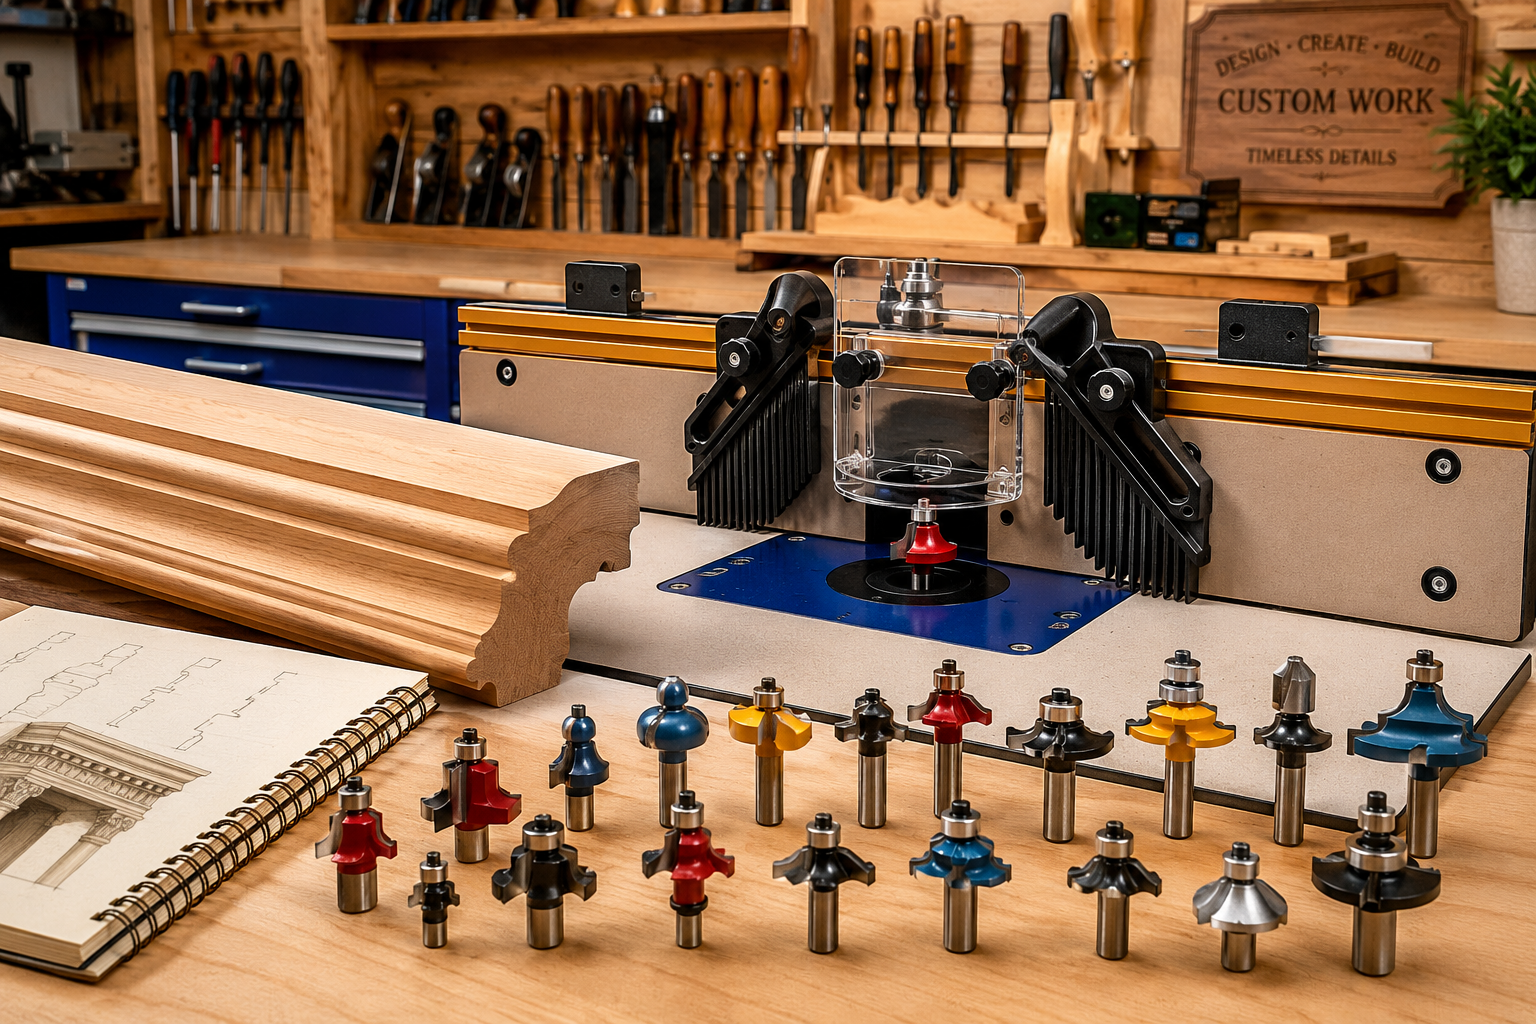
A vast array of router bits exists specifically for molding, from crown molding profiles to baseboard and chair rail designs. Investing in a quality set of these bits significantly expands your design capabilities.
- Selecting Bits: Choose bits that match your desired profile. Sometimes, combining passes with different bits can create truly unique and complex moldings.
- Multi-Pass Routing: For deep or complex profiles, always make multiple shallow passes. This reduces strain on the router, prevents burning, and ensures a cleaner cut.
- Featherboards and Hold-Downs: Essential for safety and accuracy when routing long pieces of molding. They keep the workpiece firmly against the fence and table, preventing kickback and ensuring consistent depth of cut.
Creating Matched Profiles
For projects requiring matching moldings (e.g., custom window casings or built-in cabinetry), the router table ensures perfect repeatability.
- Setup Consistency: Document your router bit height, fence position, and featherboard settings for future reference.
- Test Pieces: Always run test pieces on scrap wood to fine-tune your setup before routing your final project material.
Advanced Setup and Safety for Router Table Techniques
To successfully execute Advanced Router Table Techniques: Beyond Basic Edge Shaping for Joinery and Inlays, a well-configured and safe setup is non-negotiable. Precision and safety go hand-in-hand.
Essential Jigs and Accessories
For advanced work, your router table setup needs to go beyond the basic fence.
- Precision Fences: Look for fences with micro-adjustment capabilities and replaceable sacrificial faces.
- Featherboards: Crucial for keeping workpieces tight against the fence and table, especially with narrow stock or complex cuts.
- Hold-Down Clamps: Secure workpieces for safer, more consistent routing.
- Coping Sleds: Indispensable for safely routing end grain, particularly for rail and stile joinery or coping cabinet door frames.
- Router Lifts: While not strictly essential, a good router lift greatly improves the ease and precision of bit height adjustments.
- Dust Collection: Advanced routing generates a significant amount of dust. An effective dust collection system is vital for safety, visibility, and workshop cleanliness. For insights on setting up an efficient system, consider “Building a DIY Smart Workshop Dust Collection System: Integrating IoT Sensors for Automated Air Quality and Tool Activation”.
Safety Protocols for Advanced Operations
Working with powerful routers and intricate setups demands a rigorous approach to safety.
- Always Wear PPE: Safety glasses or a face shield are non-negotiable. Hearing protection is also strongly recommended due to the high noise levels.
- Unplug When Changing Bits: Always unplug the router before making any adjustments to the bit or collet.
- Secure the Workpiece: Use featherboards, push blocks, and hold-downs to keep your hands away from the spinning bit and ensure the workpiece is stable.
- Correct Feed Direction: Always feed the workpiece against the rotation of the router bit (climb cutting is a specialized technique that should only be done with extreme caution and specific setups, often automated).
- Start with Shallow Passes: Especially for deep cuts or hard woods, take multiple shallow passes instead of one deep pass. This reduces strain, heat, and tear-out.
- Inspect Bits: Regularly check router bits for sharpness and damage. Dull bits are inefficient and dangerous.
- Mind Your Hands: Always be aware of the exact location of your hands relative to the router bit. Use push sticks and blocks whenever possible.
By prioritizing these advanced setup and safety considerations, woodworkers can confidently explore the full spectrum of their router table’s capabilities, pushing the boundaries of traditional woodworking in 2026.
Conclusion
The router table is undeniably a cornerstone of any serious woodworking shop, and by exploring Advanced Router Table Techniques: Beyond Basic Edge Shaping for Joinery and Inlays, its utility expands exponentially. From crafting robust mortise and tenon joints to intricate dovetails, and from producing custom architectural moldings to delicate wood inlays, the precision and versatility offered by a well-equipped and properly utilized router table are unmatched. The journey to mastering these techniques requires patience, practice, and a commitment to safety, but the rewards are profound: projects that boast superior strength, intricate beauty, and a level of craftsmanship that truly stands out. As you continue to refine your skills in 2026, remember that the router table is not just a tool for edges, but a gateway to limitless creative possibilities in joinery and decorative woodworking.
Actionable Next Steps
- Invest in Quality Jigs: Research and acquire specialized jigs for mortising, tenoning, or dovetail routing that align with your project goals.
- Expand Your Bit Collection: Explore specialized router bits for joinery, inlay, and molding. Remember to refer to resources like “The Essential Guide to Router Bits: Choosing the Right Profile, Material, and Technique for Every Woodworking Task” to make informed choices.
- Practice on Scrap: Before tackling a final project, always practice advanced cuts on scrap wood to dial in your settings and build confidence.
- Prioritize Safety: Revisit and reinforce your router table safety protocols. Always wear appropriate PPE and use push blocks/featherboards.
- Explore Internal Resources: Delve deeper into related topics like “Mastering the Band Saw: Essential Techniques for Resawing, Curve” or “Beginner’s Guide to Essential Woodworking Jigs: Improve Accuracy and Safety for Common Cuts” to enhance your overall woodworking knowledge.
References
Bird, J. (2018). The Complete Guide to Router Tables. Fox Chapel Publishing.
Pellegrino, P. (2020). Router Table Joinery: A Complete Guide. Taunton Press.
Tolpin, J. (2019). The New Traditional Woodworker: From Hand Tools to Smart Machines. Lost Art Press.
SEO Meta Title: Advanced Router Table Techniques: Joinery & Inlays SEO Meta Description: Elevate woodworking skills in 2026 with advanced router table techniques for precision joinery, custom molding, and intricate inlays for stunning projects.