
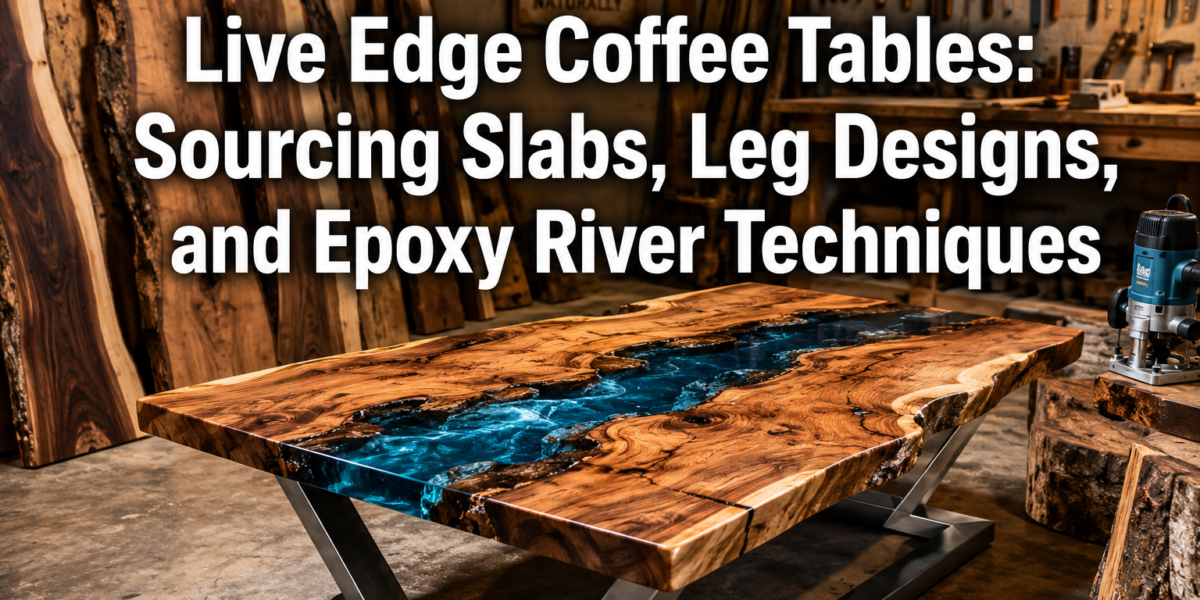
A stunning live edge coffee table, often a focal point in any room, represents a harmonious blend of nature’s raw beauty and human craftsmanship, a trend that continues to dominate interior design in 2026. These unique pieces, characterized by their organic, unfinished edges, offer unparalleled character and warmth. Crafting one, however, involves specific considerations, from the initial selection and stabilization of the wood slab to the fabrication of a suitable metal base and, for many, the intricate application of epoxy resin to create a captivating “river” effect. This guide delves into the essential techniques and considerations for creating exceptional Live Edge Coffee Tables: Sourcing Slabs, Leg Designs, and Epoxy River Techniques, ensuring a durable and aesthetically pleasing piece of organic modern furniture.
Key Takeaways
- Slab Selection is Crucial: Prioritize properly dried, stable wood slabs free from extensive rot or insect damage for long-term durability.
- Stabilization is Non-Negotiable: Addressing cracks, voids, and bark inclusion is vital for the longevity and structural integrity of a live edge slab.
- Leg Design Dictates Style: Metal bases (hairpin, trapezoid, box) offer modern aesthetics and stability, while careful consideration of height and proportion is essential.
- Epoxy River Techniques Add Drama: Clear, colored, or glow-in-the-dark epoxy rivers transform tables into artistic statements, requiring precise mixing and pouring.
- Finishing Enhances Beauty and Protection: Proper sanding, sealing, and top-coating protect the wood and epoxy, ensuring the table’s enduring appeal.
Sourcing and Stabilizing Live Edge Slabs for Live Edge Coffee Tables: Sourcing Slabs, Leg Designs, and Epoxy River Techniques
The foundation of any exceptional live edge coffee table lies in the quality of its wood slab. Sourcing the right slab is a critical first step, followed by essential stabilization processes that prepare the wood for a lifetime of use.
Choosing the Right Wood Species and Quality
The character of your coffee table is heavily influenced by the wood species you select. Each wood offers a distinct grain pattern, color, and hardness, contributing to the final aesthetic.
- Walnut: Highly prized for its rich, dark brown color and striking grain patterns. It’s relatively hard and stable, making it a popular choice for high-end furniture.
- Maple: Offers a lighter, creamy color, often with beautiful figuring like “curly” or “bird’s eye” maple. It’s very durable and takes finishes well.
- Oak: Known for its prominent open grain and durability. Red oak is typically reddish-brown, while white oak is lighter and more resistant to moisture.
- Cherry: Features a fine, straight grain and starts with a pale pinkish-brown hue that deepens to a rich reddish-brown over time with exposure to light.
- Spalted Maple/Beech: These slabs showcase unique dark lines and patterns caused by fungal growth during the wood’s initial stages of decomposition, creating incredibly artistic pieces.
When sourcing, inspect slabs thoroughly for:
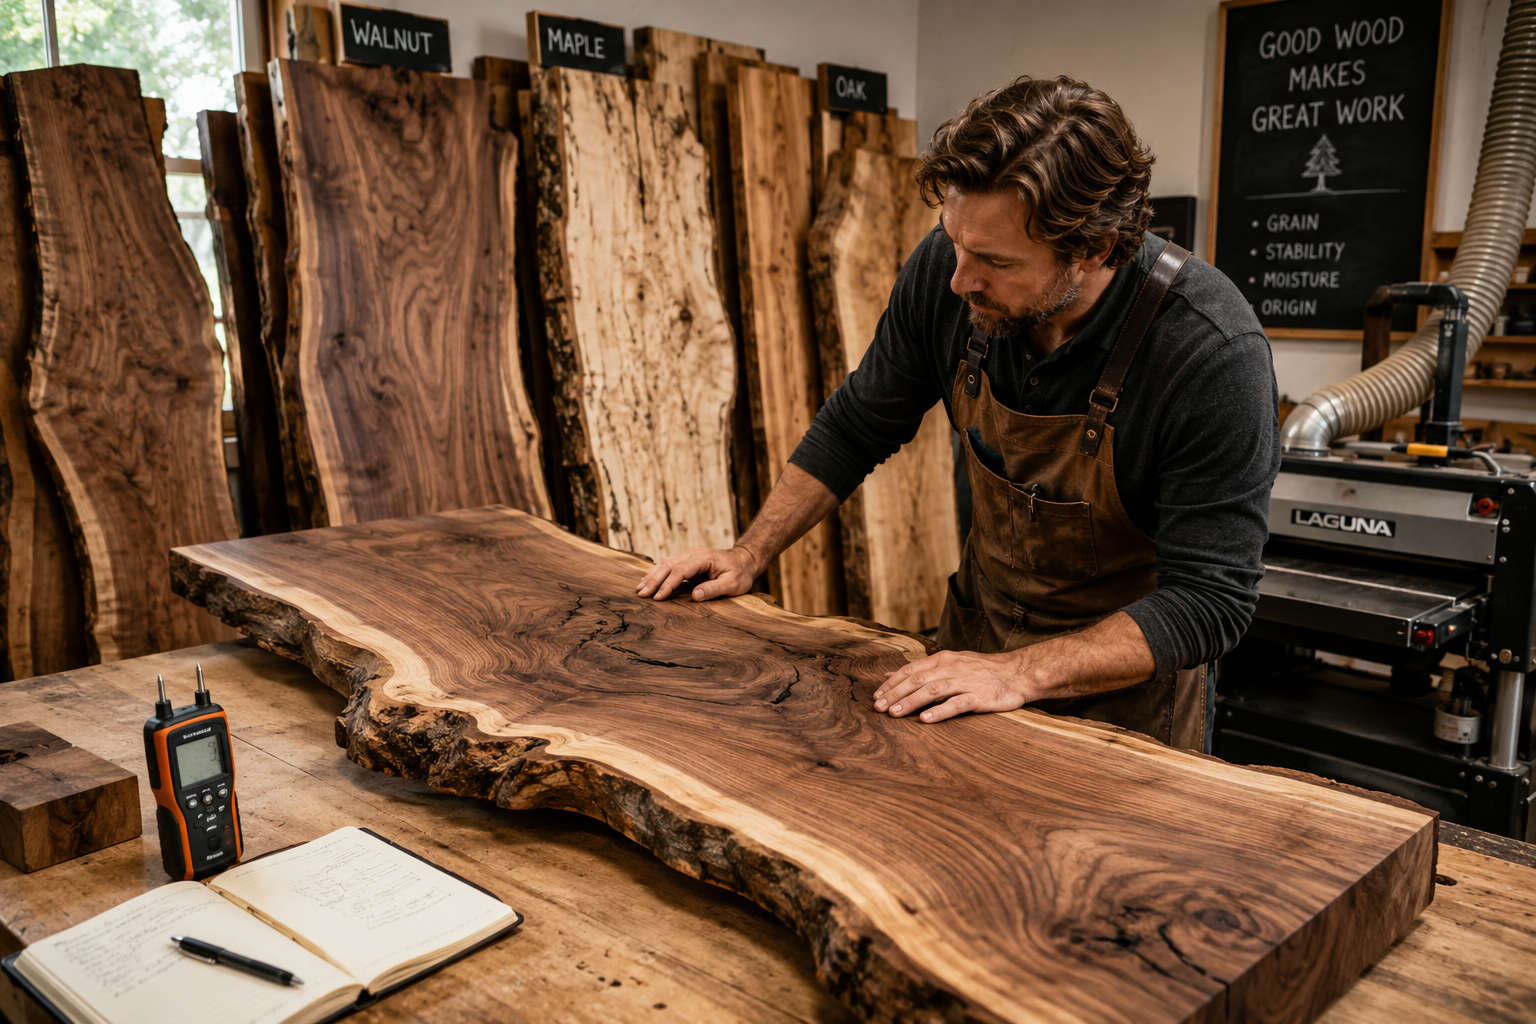
- Moisture Content: Ideally, wood should be kiln-dried to 6-8% moisture content to prevent excessive movement, warping, and cracking after the table is built. A moisture meter is an invaluable tool here.
- Stability and Flatness: Look for slabs that are as flat as possible, with minimal cupping or twisting. While some minor irregularities can be corrected, severe issues can be challenging and costly to fix.
- Defects: Assess for extensive rot, insect damage (unless intentionally desired for a specific aesthetic), or deep checks and cracks that might compromise structural integrity if not properly addressed. Small checks and voids, however, can add character and are often filled during the stabilization process.
- Dimensions: Ensure the slab is large enough for your desired coffee table size, accounting for any necessary trimming or flattening.
You can typically source slabs from local sawmills, specialty lumberyards, or online retailers specializing in live edge wood. Visiting in person allows for better inspection.

Essential Stabilization Techniques
Raw live edge slabs often contain natural imperfections like cracks, voids, and loose bark, which need to be stabilized for the table to be durable and safe.
- Flattening: Even kiln-dried slabs may have some surface irregularities. Flattening can be achieved using a large planer (like a Hitachi P13F Planer or Ryobi AP1300 Planer), a router sled, or by hand with a hand plane. The goal is to create two parallel, flat surfaces.
- Crack and Void Filling:
- Epoxy Resin: For larger cracks and voids, clear or tinted epoxy resin is the go-to solution. It penetrates deeply, solidifying the wood and preventing further cracking. Small pieces of wood, bark, or even metal can be embedded for artistic effect.
- Bow Ties (Butterfly Keys): These are decorative and functional inlays, typically made from a contrasting wood, used to prevent existing cracks from spreading further. They are cut across the crack and glued into place.
- Bark Management: The natural bark edge is a defining feature of live edge slabs. However, loose or decaying bark must be removed to prevent it from falling off later.
- Remove loose bark: Use a chisel, wire brush, or even a pressure washer to remove any bark that isn’t firmly attached.
- Stabilize remaining bark: For bark that you want to keep, use a penetrating resin or epoxy sealer to harden and secure it to the wood. This also helps prevent future flaking.
- Sanding: Once stabilized, the slab requires thorough sanding, typically starting with 80-120 grit sandpaper and progressing through finer grits (up to 220 or 320) to achieve a smooth, ready-to-finish surface.
Designing and Fabricating Leg Designs for Live Edge Coffee Tables: Sourcing Slabs, Leg Designs, and Epoxy River Techniques
The legs of your live edge coffee table are not just functional supports; they are a crucial design element that can dramatically influence the table’s overall style. Metal bases are particularly popular for their ability to provide a modern contrast to the organic wood.
Popular Metal Leg Designs and Fabrication Considerations
Metal legs offer strength, stability, and a sleek aesthetic that complements the rustic charm of a live edge slab.
| Leg Design Type | Aesthetic | Stability | Fabrication Notes |
|---|---|---|---|
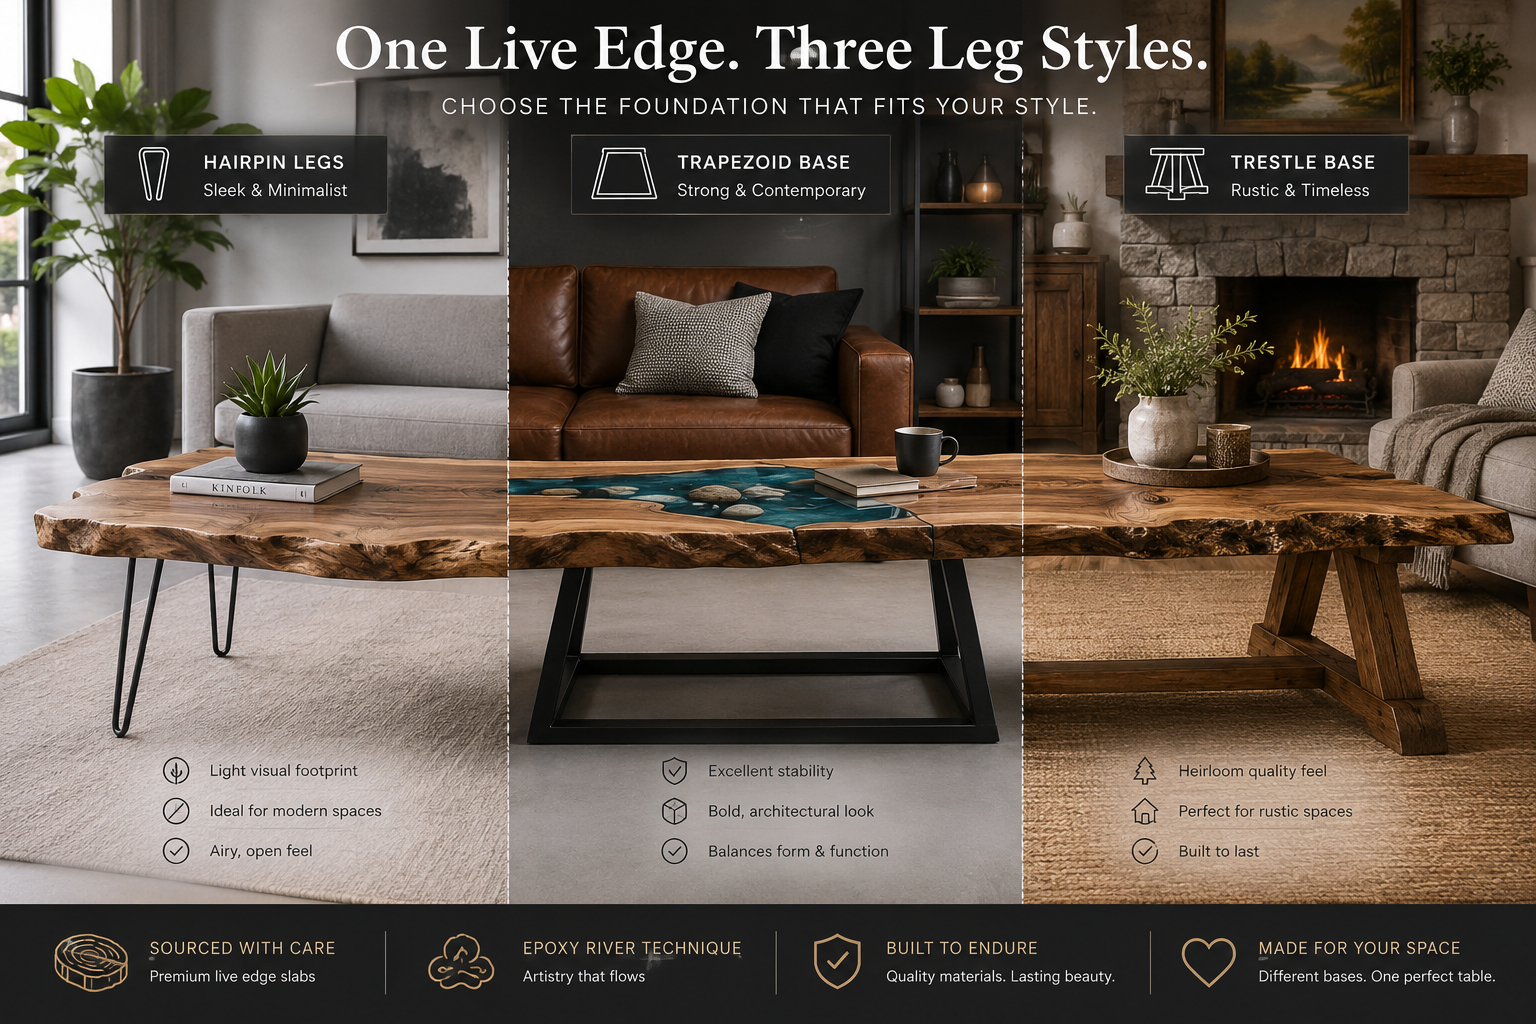
| Hairpin Legs | Mid-century modern, minimalist | Good for smaller/lighter tables | Made from bent steel rod. Easy to attach with screws. |
| Trapezoid Base | Modern industrial, robust | Excellent, very stable | Welded square or rectangular tubing. Wider footprint for larger slabs. |
| Box/Rectangle Base | Contemporary, architectural | Excellent, very stable | Welded square or rectangular tubing. Offers a solid, grounded look. |
| Spider Base | Elegant, sculptural | Good, visually lighter | More intricate welding, often from thinner tubing or flat bar. |
| Pedestal Base | Unique, central support | Good for specific designs | Single central column or cluster of columns, offers seating flexibility. |
Fabrication: While hairpin legs can be purchased off-the-shelf and simply screwed into place, more complex designs like trapezoid or box bases often require welding. If you don’t have welding skills or equipment, consider:
- Buying Pre-fabricated Bases: Many online retailers and specialty shops sell pre-made metal bases in various styles and finishes (raw steel, powder-coated, brushed).
- Commissioning a Local Fabricator: A local metal shop can create custom bases to your exact specifications, offering options for material (steel, stainless steel, aluminum), dimensions, and finish.
Attachment: Most metal legs or bases attach to the underside of the slab using screws. It’s crucial to pre-drill pilot holes to prevent splitting the wood. For heavier slabs, consider using threaded inserts and machine screws for a more secure, durable attachment that allows for disassembly if needed. Always consider wood movement when attaching legs, designing the connection to allow for slight expansion and contraction of the wood without stressing the joints.

Wood Leg Alternatives and Design Principles
While metal legs are popular, wooden legs can also create stunning live edge coffee tables, offering a softer, more integrated look.
- Trestle Bases: Provide a classic, rustic feel. They consist of two end supports connected by a stretcher bar, often incorporating hand tool joinery for added visual appeal.
- Slab Legs: Utilizing smaller, matching live edge slabs for legs creates a cohesive, natural aesthetic. These often require robust joinery, such as mortise and tenon or heavy-duty brackets.
- Turned Legs: For a more traditional or elegant look, lathe-turned legs can be crafted.
- Integrated Legs: Sometimes, a portion of the original slab can be used to create an integrated leg design, further emphasizing the organic nature of the piece.
Design Principles for Legs:
- Proportion: The height and width of the legs should be proportional to the size and thickness of the slab. A thick, wide slab generally benefits from more substantial legs, while a thinner slab might suit more delicate designs.
- Stability: Ensure the leg design provides adequate stability, especially for larger or heavier slabs. The wider the stance of the legs, generally the more stable the table.
- Aesthetics: Choose a leg style that complements the overall aesthetic you’re aiming for – modern, rustic, industrial, or traditional. The legs should enhance, not detract from, the beauty of the live edge slab. For more inspiration on projects that blend functionality with unique design, explore high-demand woodworking projects for 2026.
Mastering Epoxy River Techniques for Live Edge Coffee Tables: Sourcing Slabs, Leg Designs, and Epoxy River Techniques
Epoxy river tables have become synonymous with contemporary live edge furniture, transforming natural voids into captivating, translucent waterways. This technique requires careful planning and execution for a flawless finish.
Choosing and Preparing Epoxy Resin
Selecting the right epoxy and preparing your slab are crucial for success.
- Type of Epoxy:
- Deep Pour/Casting Resin: Essential for river tables. These epoxies have a lower viscosity, allowing bubbles to escape more easily, and a longer cure time, which prevents overheating in thick pours. They can be poured in layers up to 2-3 inches thick (check manufacturer specifications).
- Tabletop/Coating Resin: Higher viscosity and faster cure time. Only suitable for thin flood coats, not for deep pours.
- Colorants: Liquid pigments, metallic powders (mica powder), or glow-in-the-dark powders can be added to clear epoxy to create stunning effects.
- Mixing Ratios: Always follow the manufacturer’s precise mixing ratios (Part A resin to Part B hardener) by volume or weight. Inaccurate ratios will result in improper curing or a sticky finish.
Slab Preparation for Epoxy:
- Damming: For river tables, you need to create a leak-proof form around the slab to contain the liquid epoxy. Use melamine-coated particle board or HDPE plastic sheets for the form, as epoxy won’t stick to them. Seal all seams and edges with silicone caulk or hot glue to prevent leaks.
- Sealing the Wood: Before pouring the river, apply a thin coat of clear epoxy (often the same deep pour epoxy or a compatible sealing epoxy) to all exposed wood surfaces, especially the edges that will contact the river. This “seal coat” prevents air bubbles from migrating out of the wood into your river pour.
- Leveling: Ensure your slab and form are perfectly level before pouring. An unlevel surface will result in an uneven river depth.
Pouring and Finishing the Epoxy River
The pouring process is where the magic happens, but requires patience and attention to detail.
- Mixing the Epoxy:
- Measure Part A and Part B accurately according to the manufacturer’s instructions.
- Mix slowly and thoroughly for the recommended time (typically 3-5 minutes), scraping the sides and bottom of the mixing container. Avoid whipping, which introduces air bubbles.
- If adding color, incorporate it evenly after the initial mixing.
- Pouring the River:
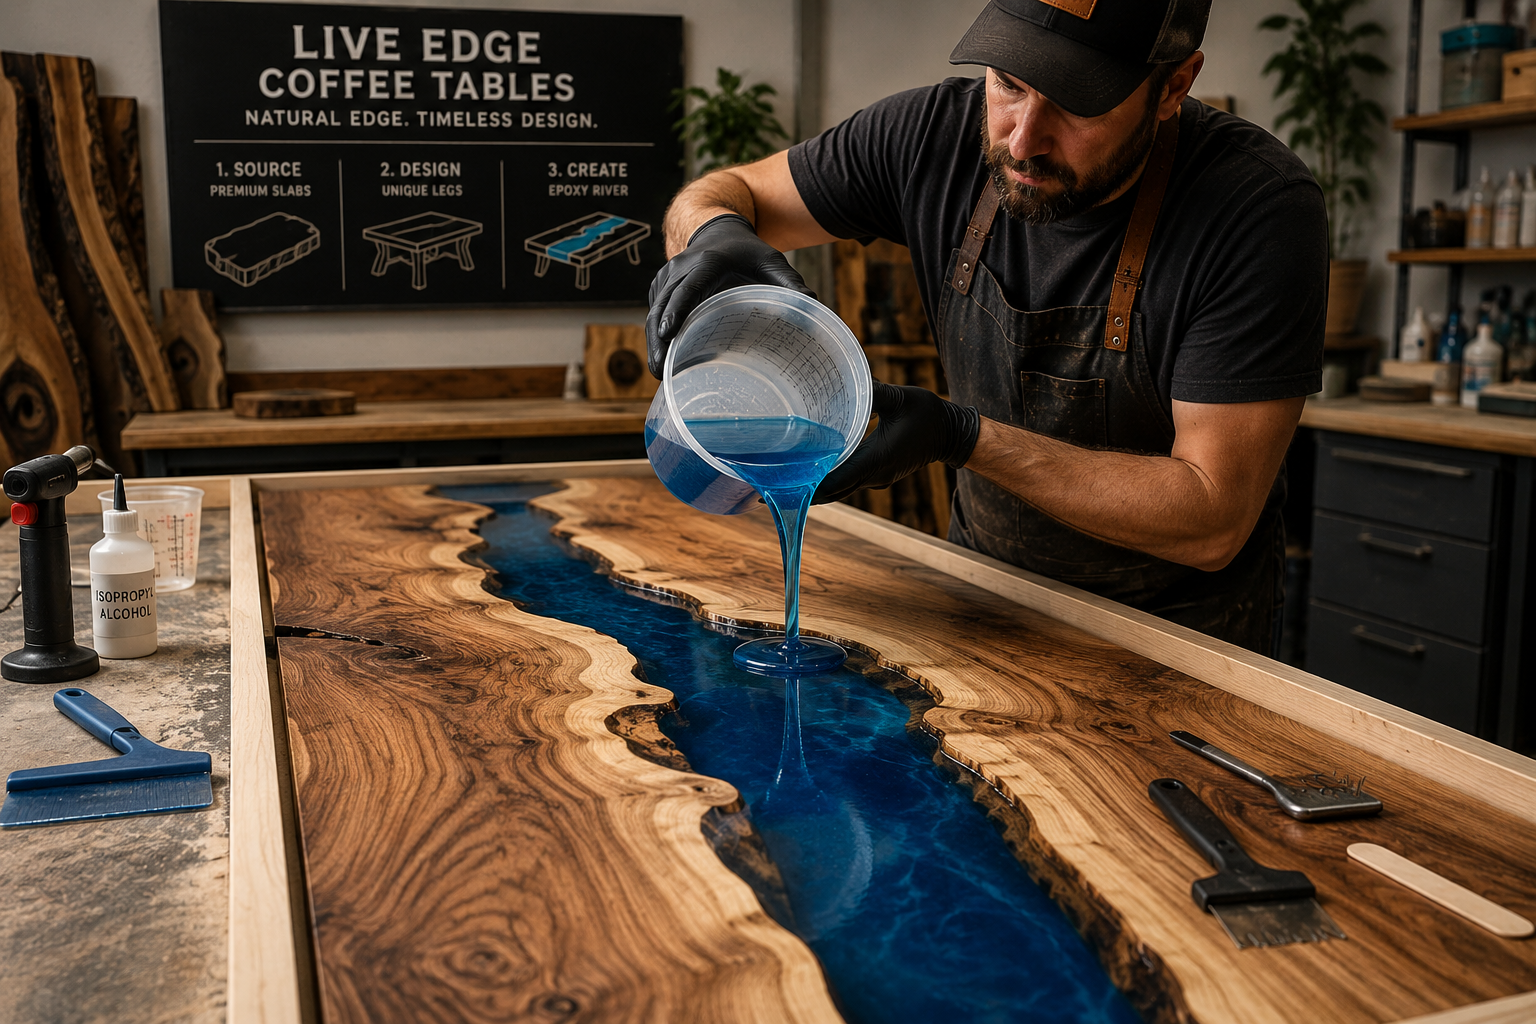
- Pour the mixed epoxy slowly and steadily into the prepared channel.
- For deep rivers, multiple thinner pours (allowing partial cure between layers) might be necessary to prevent excessive heat buildup.
- Bubble Removal:
- Immediately after pouring, use a heat gun or small torch (kept moving constantly, not lingering in one spot) to gently “pop” surface bubbles. The heat reduces the epoxy’s viscosity, allowing trapped air to rise.
- Monitor the pour for about 30-60 minutes after the initial pour and repeat the torching if new bubbles appear.
- Curing: Allow the epoxy to cure fully as per manufacturer instructions, typically 24-72 hours, before removing the form. Keep the area dust-free during this time.
- Finishing the Epoxy:
- Once fully cured, remove the form. You will likely have some overflow or “flashing” to trim. Use a router with a flush trim bit or a table saw.
- Sand the entire table surface, starting with coarse grits (e.g., 80-120) to level the epoxy and wood, then progressing through finer grits (up to 320, 400, or even 600) for a smooth surface. For an even more refined look, especially on the epoxy, you can wet sand up to 1000-3000 grit.
- Apply a final top coat. This could be a clear flood coat of tabletop epoxy, a polyurethane, or an oil-based finish (like tung oil or Rubio Monocoat) that complements both the wood and epoxy. For advanced finishing techniques, refer to guides on how to finish mahogany for outdoor use for insights into durable finishes, or explore natural wood finishing techniques for a more organic approach.

Safety and Best Practices
- Ventilation: Work in a well-ventilated area, as epoxy fumes can be strong.
- PPE: Always wear appropriate personal protective equipment, including gloves, safety glasses, and a respirator, especially during mixing and pouring.
- Temperature: Ensure your workspace is within the recommended temperature range for your epoxy. Extreme temperatures can affect cure time and quality.
- Cleanliness: Keep your workspace meticulously clean to prevent dust and debris from contaminating your epoxy pours.
Conclusion
Creating Live Edge Coffee Tables: Sourcing Slabs, Leg Designs, and Epoxy River Techniques is a rewarding endeavor that combines a deep appreciation for natural materials with skilled craftsmanship. From the careful selection and stabilization of a unique wood slab to the thoughtful design of its supporting legs and the artistic application of an epoxy river, each step contributes to a piece of furniture that is both functional and a work of art. By understanding the nuances of sourcing quality materials, employing effective stabilization techniques, designing robust and aesthetically pleasing bases, and mastering the intricate process of epoxy resin pouring, you can craft a coffee table that serves as a stunning centerpiece in any modern home in 2026.
For those looking to expand their woodworking skills beyond coffee tables, consider exploring projects like DIY live edge dining tables or other DIY coffee table plans to further hone your abilities and create more custom pieces for your space. Embrace the natural beauty of wood and the endless possibilities of custom furniture design.
References
- Dziadura, P. (2018). The Art of the Resin Table. Schiffer Publishing.
- Klaus, M. (2020). Live Edge Slab Furniture. Fox Chapel Publishing.
- Peters, R. (2015). Working with Epoxy: Techniques and Applications. WoodenBoat Publications.
SEO Meta Title: Live Edge Coffee Tables: Slabs, Legs, & Epoxy River Guide SEO Meta Description: Master live edge coffee tables in 2026: expert guide on sourcing slabs, designing metal or wood legs, and flawless epoxy river techniques.