

Woodworking, at its heart, is about bringing disparate pieces of wood together to form a stronger, more beautiful whole. The magic lies in the joints – the clever connections that give furniture its strength, stability, and character. For many beginners, the sheer variety of woodworking joints can seem overwhelming, a complex puzzle waiting to be solved. But fear not, aspiring woodworkers! This Beginner’s Guide to Essential Woodworking Joints: When to Use Which and How to Master Them will demystify the world of wood joinery, providing a practical roadmap to understanding and executing the most common and crucial joints. By the end of this guide, you’ll not only know when to use which joint but also possess the foundational knowledge to master them, turning your woodworking aspirations into tangible, sturdy creations in 2026.
Key Takeaways
- Joints are Fundamental: Woodworking joints are the backbone of any project, determining its strength, durability, and aesthetic appeal.
- Understand Joint Purpose: Different joints serve different functions; choose wisely based on load, appearance, and ease of construction.
- Start Simple, Build Skills: Begin with basic joints like butt and lap joints before moving to more complex ones like mortise and tenon or dovetails.
- Precision is Key: Accurate marking, cutting, and fitting are crucial for strong, attractive joints. Invest in good measuring and marking tools.
- Practice Makes Perfect: Mastering joinery requires patience and consistent practice, whether using hand tools or power tools.
The Foundations: Simple Joints for Every Beginner
Every woodworking journey begins with fundamental techniques, and joinery is no exception. Understanding the simplest connections is the first step in building confidence and competence. These basic joints are often used in less structural applications or as stepping stones to more complex joinery.

Butt Joint: The Easiest Start
The butt joint is arguably the simplest woodworking joint. It involves joining two pieces of wood by placing their end grains or edges together. While easy to create, its primary weakness is its reliance solely on glue for strength, making it one of the weakest structural joints.
- When to Use It: Ideal for non-load-bearing applications like the back panels of cabinets, decorative boxes, or as temporary fixes. It’s often reinforced with screws, nails, or dowels for added strength.
- How to Master It:
- Preparation: Ensure both mating surfaces are perfectly flat and square. Use a sharp saw (hand or power) for clean cuts.
- Glue Application: Apply an even, thin coat of wood glue to both surfaces.
- Clamping: Bring the pieces together and clamp them firmly. Use cauls (scrap wood pieces) to prevent denting and distribute pressure evenly.
- Reinforcement: For improved strength, consider drilling pilot holes and driving screws, or inserting dowels or biscuits across the joint before clamping.
Pro Tip: Even for a butt joint, precise, square cuts are paramount. A slight gap will significantly weaken the glue bond. For projects like picture frames, while often mitered, a reinforced butt joint can be a starting point for the frame’s back.
Lap Joint: A Step Up in Strength
The lap joint is a significant upgrade in strength from the butt joint because it offers more surface area for glue adhesion and creates a mechanical lock. It involves overlapping two pieces of wood, often with a portion of each piece removed so they sit flush.
- When to Use It: Excellent for frame construction, light-duty shelving, drawer bottoms, or any application where moderate strength and a flush surface are desired.
- Types of Lap Joints:
- Half-Lap: Half the thickness is removed from each piece, allowing them to overlap and sit flush.
- End Lap: One piece overlaps the end of another.
- Cross Lap: Two pieces cross each other, with material removed from both to create a flush intersection.
- How to Master It (Half-Lap Example):
- Marking: Carefully mark the width and depth of the lap on both pieces. Use a marking gauge for consistent depth.
- Cutting the Shoulders: Use a handsaw or table saw to cut the “shoulders” (the edges of the lap) accurately to the marked depth.
- Removing Waste: Remove the waste material between the shoulders. This can be done with a chisel, router, or multiple passes on a table saw or bandsaw.
- Fitting & Gluing: Test fit the joint. It should be snug but not require excessive force. Apply glue, clamp, and allow to cure.
Rabbet Joint: The Edge Solution
A rabbet is a groove cut along the edge of a piece of wood, into which another piece fits. It provides a good glue surface and a mechanical stop, making it stronger than a simple butt joint.
- When to Use It: Frequently used for drawer bottoms, cabinet backs, or the corners of boxes and frames. It’s a great choice for wooden storage chests with hinged lids where a strong, yet simple, corner joint is needed.
- How to Master It:
- Tooling: Rabbets are commonly cut with a router (using a rabbeting bit), a table saw (with multiple passes), or a dado stack.
- Setting Depth & Width: Carefully set your tool’s depth and width to match the thickness of the mating piece.
- Cutting: Make smooth, controlled passes. For a table saw, use a fence and push block for safety and accuracy.
- Assembly: Apply glue to the rabbet and the edge of the mating piece, then clamp.
Dado Joint: The Groove for Strength
Similar to a rabbet, a dado is a flat-bottomed groove cut across the grain of a board, into which another board fits. This creates a very strong, self-aligning joint ideal for shelves.
- When to Use It: The go-to joint for shelves in bookcases, cabinet dividers, or drawer sides. It’s excellent for providing structural support against downward loads.
- How to Master It:
- Marking: Precisely mark the location and width of your dado.
- Tooling: Dadoes are best cut with a dado stack on a table saw, a router with a straight bit and a guide, or a router table.
- Test Cuts: Always make test cuts on scrap wood to ensure the dado width perfectly matches the thickness of the mating piece. A snug fit is crucial.
- Assembly: Apply glue, slide the pieces together, and clamp.
Note: Dadoes are cut across the grain. If you cut along the grain, it’s called a groove. Grooves are often used for drawer bottoms that slide into place or for decorative elements.
Elevating Your Craft: Intermediate to Advanced Joinery
Once you’re comfortable with the basics, it’s time to explore joints that offer superior strength, durability, and aesthetic appeal. These joints require more precision and sometimes specialized tools, but the results are incredibly rewarding.
Mortise and Tenon Joint: The King of Carcass Construction
The mortise and tenon joint is a classic and one of the strongest in woodworking. It consists of a “tenon” (a projecting piece) on one board that fits snugly into a “mortise” (a rectangular hole) in another board.
- When to Use It: The gold standard for furniture frames, doors, tables, and any application requiring robust, long-lasting structural integrity. It’s ideal for projects like end tables or chair construction.
- How to Master It:
- Marking: Accurately mark both the mortise and the tenon. The tenon thickness is typically 1/3 the thickness of the rail it’s cut from.
- Cutting the Mortise: This can be done with a chisel (hand-cut), a drill press with a mortising attachment, a hollow chisel mortiser, or a router. Precision is key to a clean, square hole.
- Cutting the Tenon: Use a table saw with a tenoning jig, a bandsaw, or a router to cut the tenon. The tenon should be slightly proud (too large) initially for fine-tuning.
- Fitting: Gradually pare down the tenon with a chisel or plane until it fits perfectly into the mortise with firm hand pressure. It should not be too loose or require hammering.
- Assembly: Apply glue to both the mortise and tenon surfaces, assemble, and clamp until dry.
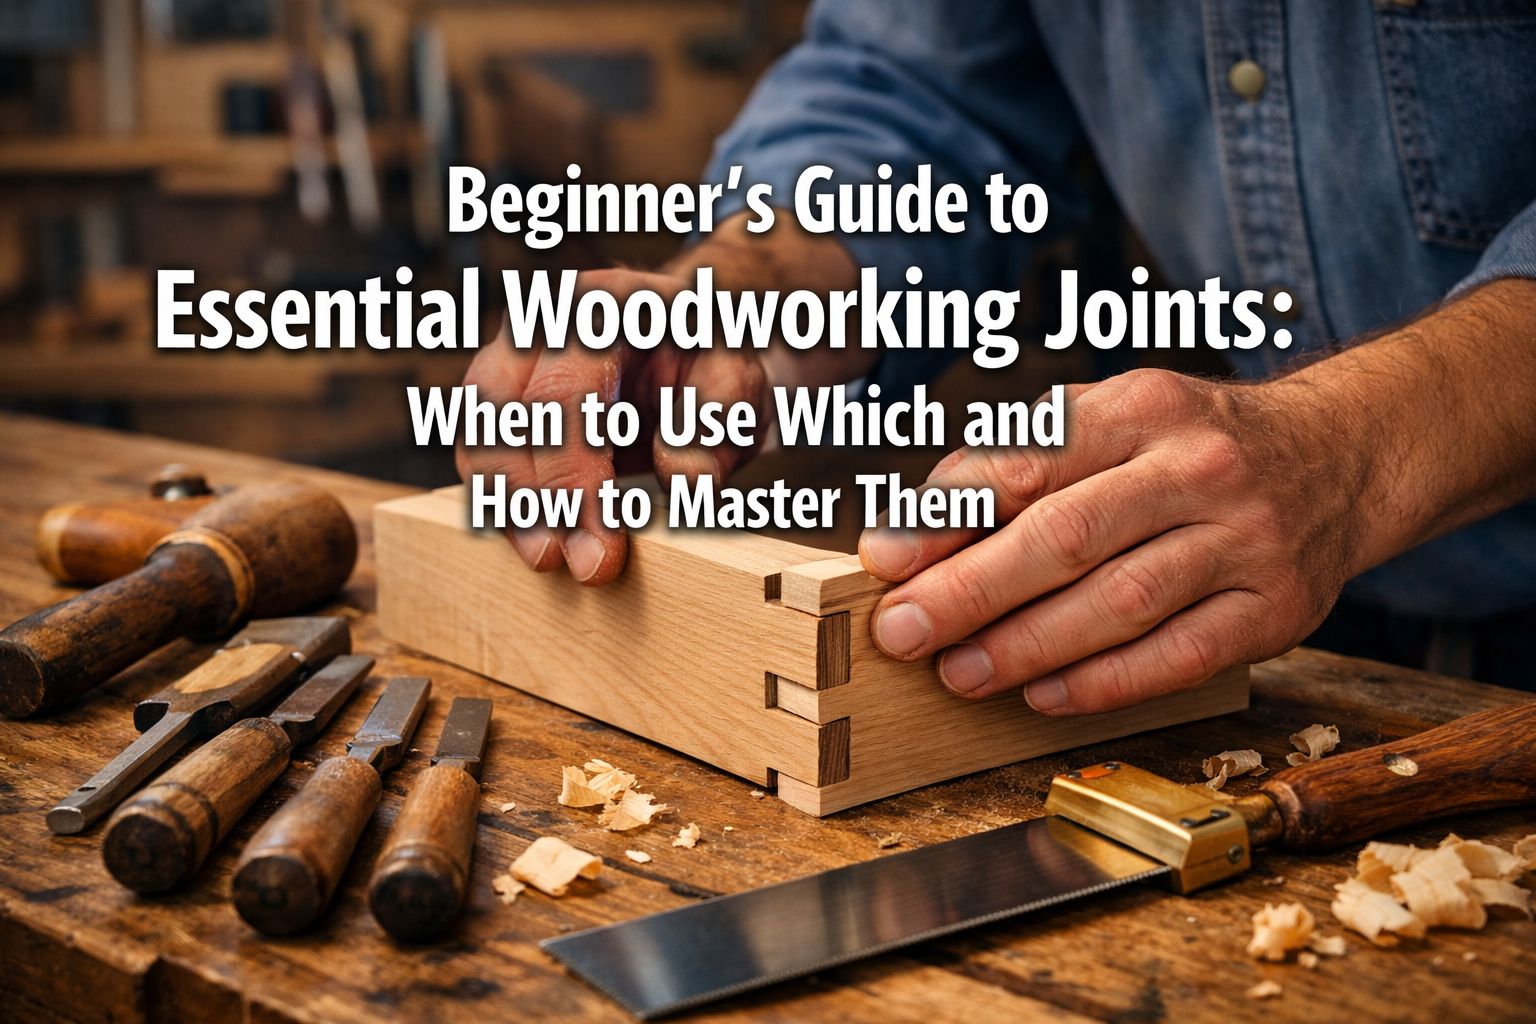
Dovetail Joint: The Icon of Fine Woodworking
The dovetail joint is renowned for both its incredible strength and its beautiful, interlocking aesthetic. The “tails” on one board interlock with the “pins” on another, creating a mechanical lock that resists being pulled apart – perfect for drawers.
- When to Use It: The ultimate joint for drawers, boxes, fine furniture, and any application where both strength against racking forces and visual appeal are paramount. Mastering it is a significant milestone for any woodworker. For a deep dive, explore Mastering Dovetail Joinery for Drawers.
- How to Master It:
- Layout: This is critical. Mark the tails on one piece, then transfer those markings precisely to the pin board.
- Cutting Tails/Pins: This can be done with a coping saw and chisels (hand-cut) or a router with a dovetail jig and specialized bits. Hand-cutting offers immense satisfaction and a unique look.
- Paring & Fitting: Carefully chisel away waste and pare to the lines. The fit should be tight.
- Assembly: Apply a thin layer of glue. The joint should go together with light tapping from a mallet. Clamp gently.
Box Joint (Finger Joint): Strong and Striking
The box joint, also known as a finger joint, is a series of interlocking rectangular fingers that create a strong and visually appealing connection, especially in contrasting woods. It’s simpler to cut than a dovetail but offers excellent mechanical strength.
- When to Use It: Ideal for constructing boxes, drawers, and cabinet carcasses where strong corner joints are needed and the interlocking fingers add to the design aesthetic.
- How to Master It:
- Jig Required: Box joints are almost exclusively cut using a specialized jig on a table saw or router table. This jig ensures consistent spacing and precise cuts.
- Setup: Set the height of your blade/bit and the spacing of the fingers on your jig.
- Cutting: Make repeated passes, alternating between the two pieces, to create the interlocking fingers.
- Test Fit & Glue: Test the fit, make any necessary adjustments, then glue and clamp.
Mastering the Essentials: Techniques and Tools for Strong Joints
No matter the joint, certain principles and tools are universal for achieving professional results. As you delve deeper into this Beginner’s Guide to Essential Woodworking Joints: When to Use Which and How to Master Them, remember that consistency and attention to detail are your best allies.
The Importance of Accurate Marking and Measuring
Precision starts long before the first cut. Investing in high-quality measuring and marking tools is crucial.
- Tools: A reliable tape measure, steel rule, combination square, marking knife, and marking gauge are indispensable.
- Technique: Always “cut to the line,” not on it. A marking knife creates a fine, clean line that helps guide your saw or chisel, preventing tear-out and ensuring accuracy.
Essential Tools for Joinery
While many joints can be cut with hand tools, power tools can significantly speed up the process and enhance precision, especially for beginners.

- Hand Tools:
- Chisels: Essential for paring, cleaning out mortises, and fitting dovetails. Keep them razor-sharp.
- Hand Saws: Crosscut and rip saws for general cutting, and a dovetail saw for fine, precise cuts.
- Mallet: For driving chisels and coaxing joints together.
- Power Tools:
- Table Saw: Indispensable for accurate straight cuts, dadoes, rabbets, and tenons (with jigs).
- Router: Versatile for cutting rabbets, dadoes, grooves, and dovetails (with a jig).
- Drill Press: For accurately drilling mortises (with attachment) and pilot holes for fasteners.
- Bandsaw: Useful for roughing out tenons and cutting curves.
Consider a Course: If you’re serious about mastering these techniques, consider finding a local woodworking class. Learning from an experienced instructor can accelerate your progress and refine your skills, as detailed in Unleash Your Inner Artisan: Your Guide to Finding the Perfect Woodworking Class.
The Role of Glue and Clamping
Glue provides the ultimate bond for most woodworking joints, and proper clamping ensures that bond is strong and lasting.
- Wood Glue: Always use a high-quality wood glue (PVA glue is common). Apply a thin, even coat. Too much glue can starve the joint, while too little won’t provide a strong bond.
- Clamping:
- Even Pressure: Apply even pressure across the joint. Use cauls to protect your wood and distribute pressure.
- Squareness: Always check for squareness before the glue sets. Adjust clamps as needed.
- Drying Time: Allow ample drying time, typically 30 minutes to an hour for initial set, and 24 hours for full cure, before removing clamps and stressing the joint.
- Types of Clamps: Bar clamps, pipe clamps, F-clamps, and C-clamps are all useful for various applications.
Conclusion: Building a Solid Foundation in 2026
Mastering woodworking joints is a journey, not a destination. This Beginner’s Guide to Essential Woodworking Joints: When to Use Which and How to Master Them has laid out the foundational knowledge, from the humble butt joint to the iconic dovetail. Each joint presents a unique challenge and offers specific advantages, and understanding these nuances will empower you to design and build projects that are not only beautiful but also built to last.
As you continue your woodworking adventures in 2026, remember that patience, precision, and practice are your greatest tools. Don’t be afraid to make mistakes; they are invaluable learning opportunities. Start with simpler projects, meticulously follow marking and cutting procedures, and always prioritize safety in your workshop. With dedication, you’ll soon be crafting sturdy, elegant pieces that showcase your growing mastery of essential woodworking joints.
Actionable Next Steps:
- Practice a Butt Joint: Take two pieces of scrap wood, cut them square, glue them together with dowel reinforcement, and experience the process of clamping.
- Attempt a Half-Lap: Use a handsaw and chisel, or a table saw, to create a half-lap joint. Focus on accurate marking and fitting.
- Watch Tutorials: Supplement this guide with video tutorials demonstrating the cutting of various joints, especially for the mortise and tenon or dovetail.
- Invest in Marking Tools: If you haven’t already, acquire a good quality marking knife and marking gauge.
- Start a Small Project: Apply your newfound joint knowledge to a simple project like a small box, a shelf, or a basic frame, perhaps even using some of the ideas from Profitable Beginner Woodworking: Picture Frames, Cutting Boards, and Kitchen Products that Sell Fast.
