
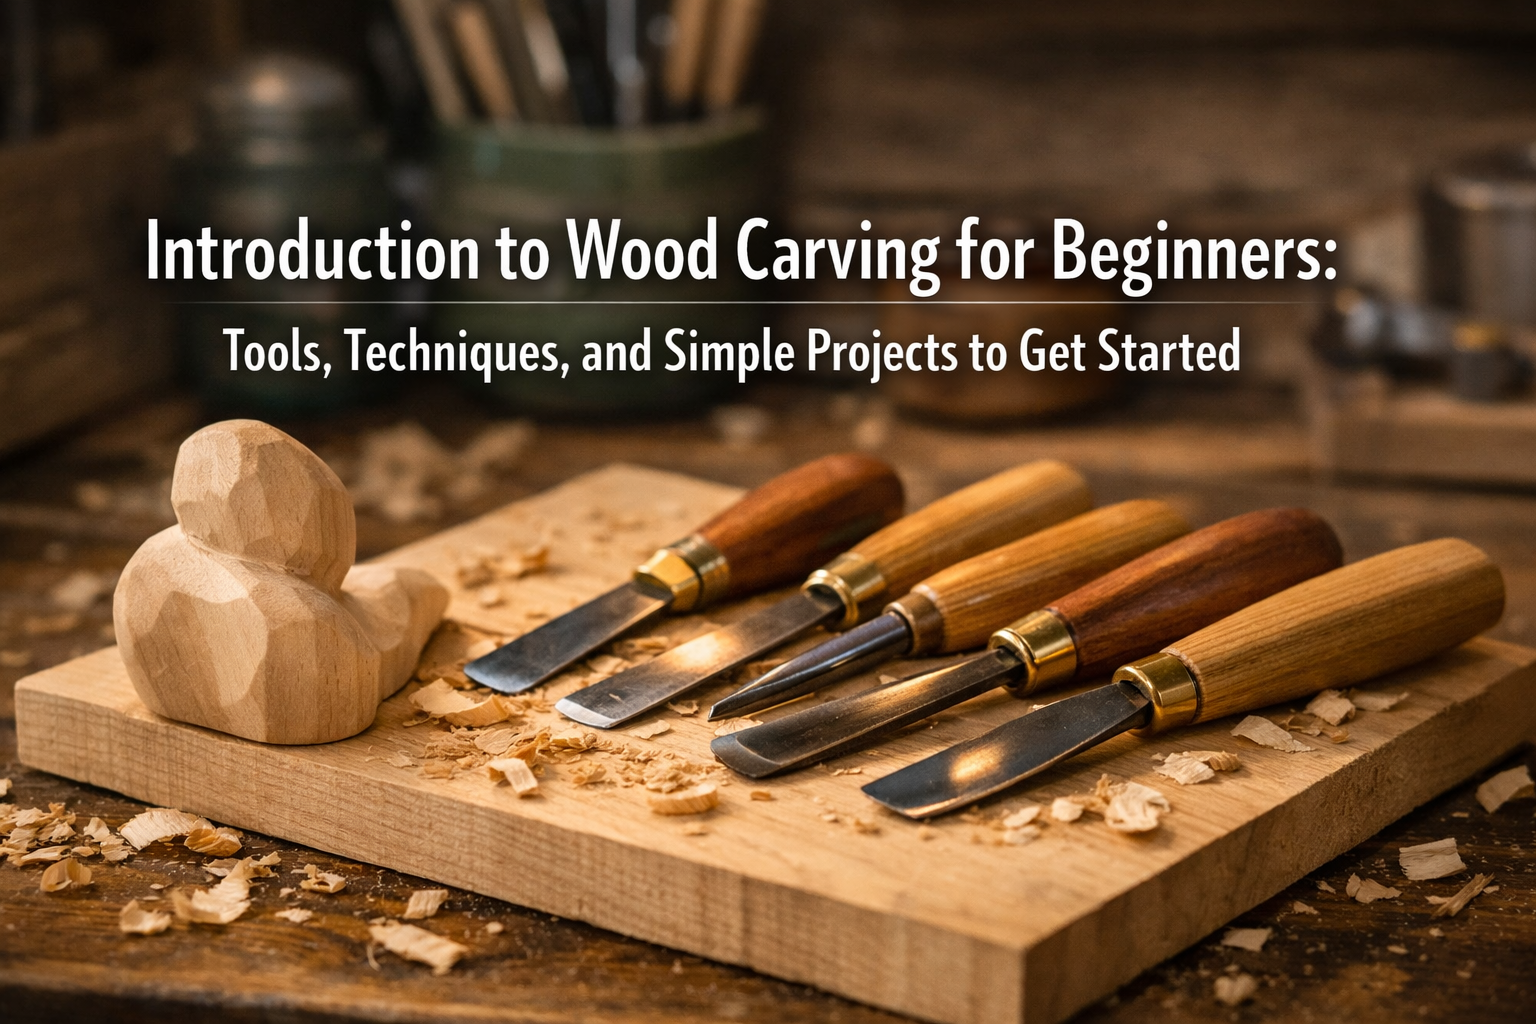

Embarking on a journey into wood carving can be a profoundly meditative and rewarding experience. This ancient craft transforms ordinary pieces of wood into beautiful, tactile works of art, offering a unique blend of creativity and manual skill. If you’ve ever felt the allure of shaping wood with your hands, then this comprehensive guide on the Introduction to Wood Carving for Beginners: Tools, Techniques, and Simple Projects to Get Started is precisely what you need. In 2026, more people than ever are seeking fulfilling hobbies that connect them with traditional craftsmanship, and wood carving stands out as an accessible and deeply satisfying pursuit.
This article will guide you through the essential tools, fundamental techniques, and inspiring first projects to help you confidently begin your wood carving adventure. Prepare to explore the serene art of sculptural woodworking and uncover your potential to create lasting beauty from nature’s bounty.

Key Takeaways
- Wood carving is an accessible and rewarding hobby, even for complete beginners.
- Starting with the right essential tools and understanding their proper use is crucial for safety and success.
- Mastering basic carving techniques like push cuts, stop cuts, and chip carving forms the foundation for more complex projects.
- Selecting appropriate wood species, such as basswood or butternut, significantly impacts the learning experience.
- Simple projects like spoons, relief carvings, or small figures are ideal for practicing skills and building confidence.
Essential Tools for Your Wood Carving Journey
To begin your Introduction to Wood Carving for Beginners: Tools, Techniques, and Simple Projects to Get Started, equipping yourself with the right tools is paramount. While the array of carving tools can seem daunting, a beginner needs only a select few to get started. Focusing on quality over quantity will serve you well, ensuring your tools hold a sharp edge and feel comfortable in hand.
Must-Have Beginner Tools:
- Carving Knife: This is your primary tool for most whittling and general carving tasks. Look for one with a comfortable handle and a fixed, sharp blade. A good all-around blade length is often around 1.5 to 2 inches.
- Gouges: These curved chisels come in various profiles (U-shaped, V-shaped) and sweeps (the curve’s depth).
- V-gouge: Excellent for outlining, detailing, and creating crisp lines. A 60-degree V-gouge is a great starting point.
- U-gouge (or shallow U-gouge): Useful for removing material and creating rounded depressions. A 10mm (3/8 inch) No. 3 or No. 5 sweep is versatile.
- Chisels: Flat chisels are less common for free-form carving but can be useful for flattening surfaces or specific joinery if you expand into other woodworking areas. For detailed work, small bench chisels or chip carving knives are excellent.
- Mallet (Optional, for larger cuts): While many beginner projects are hand-pushed, a small wooden or rubber mallet can be helpful when using larger gouges to remove more material, especially for relief carving.
- Sharpening Supplies: Sharp tools are not just effective; they are safer. Dull tools require more force, increasing the risk of slips.
- Sharpening Stone (Whetstone): A combination grit stone (e.g., 1000/6000 grit) is ideal for maintaining edges.
- Strop and Stropping Compound: Essential for putting a razor-sharp, polished edge on your tools.
- For more on tool maintenance, check out our Ultimate Guide to Wooden Cutting Boards: End-Grain Patterns, Tool Sharpening, and Food-Safe Finishes which also covers sharpening principles.
Safety First!
Before making your first cut, prioritize safety. Always wear cut-resistant gloves on your non-carving hand. A thumb guard on the carving hand can also offer extra protection. Ensure your workpiece is securely held, either in a vice or with a carving clamp, to prevent slips.
“A sharp tool is a safe tool. It requires less force, making your cuts more controlled and reducing the chance of accidents.”
Choosing Your First Wood
For beginners, selecting the right wood is crucial. You want a wood that is soft, has an even grain, and carves easily without splintering.
| Wood Species | Characteristics | Best For |
|---|---|---|
| Basswood | Very soft, fine, even grain, pale color. | Excellent for beginners, detailed work, whittling. |
| Butternut | Soft, straight grain, rich color. | Easy to carve, slightly firmer than basswood, good for larger pieces. |
| Pine | Soft, but can be sappy and have knots, inconsistent grain. | Economical, but less forgiving for fine detail. |
| Balsa | Extremely soft, very light, often used for models. | Too soft for most functional carving, good for practice cuts. |
Basswood is highly recommended for an Introduction to Wood Carving for Beginners: Tools, Techniques, and Simple Projects to Get Started due to its forgiving nature.
Mastering Basic Wood Carving Techniques
Once you have your tools, the next step in your Introduction to Wood Carving for Beginners: Tools, Techniques, and Simple Projects to Get Started is to learn fundamental carving techniques. These basic cuts are the building blocks for almost any project you’ll undertake. Practice these on scrap wood until they become second nature.
Fundamental Carving Cuts:
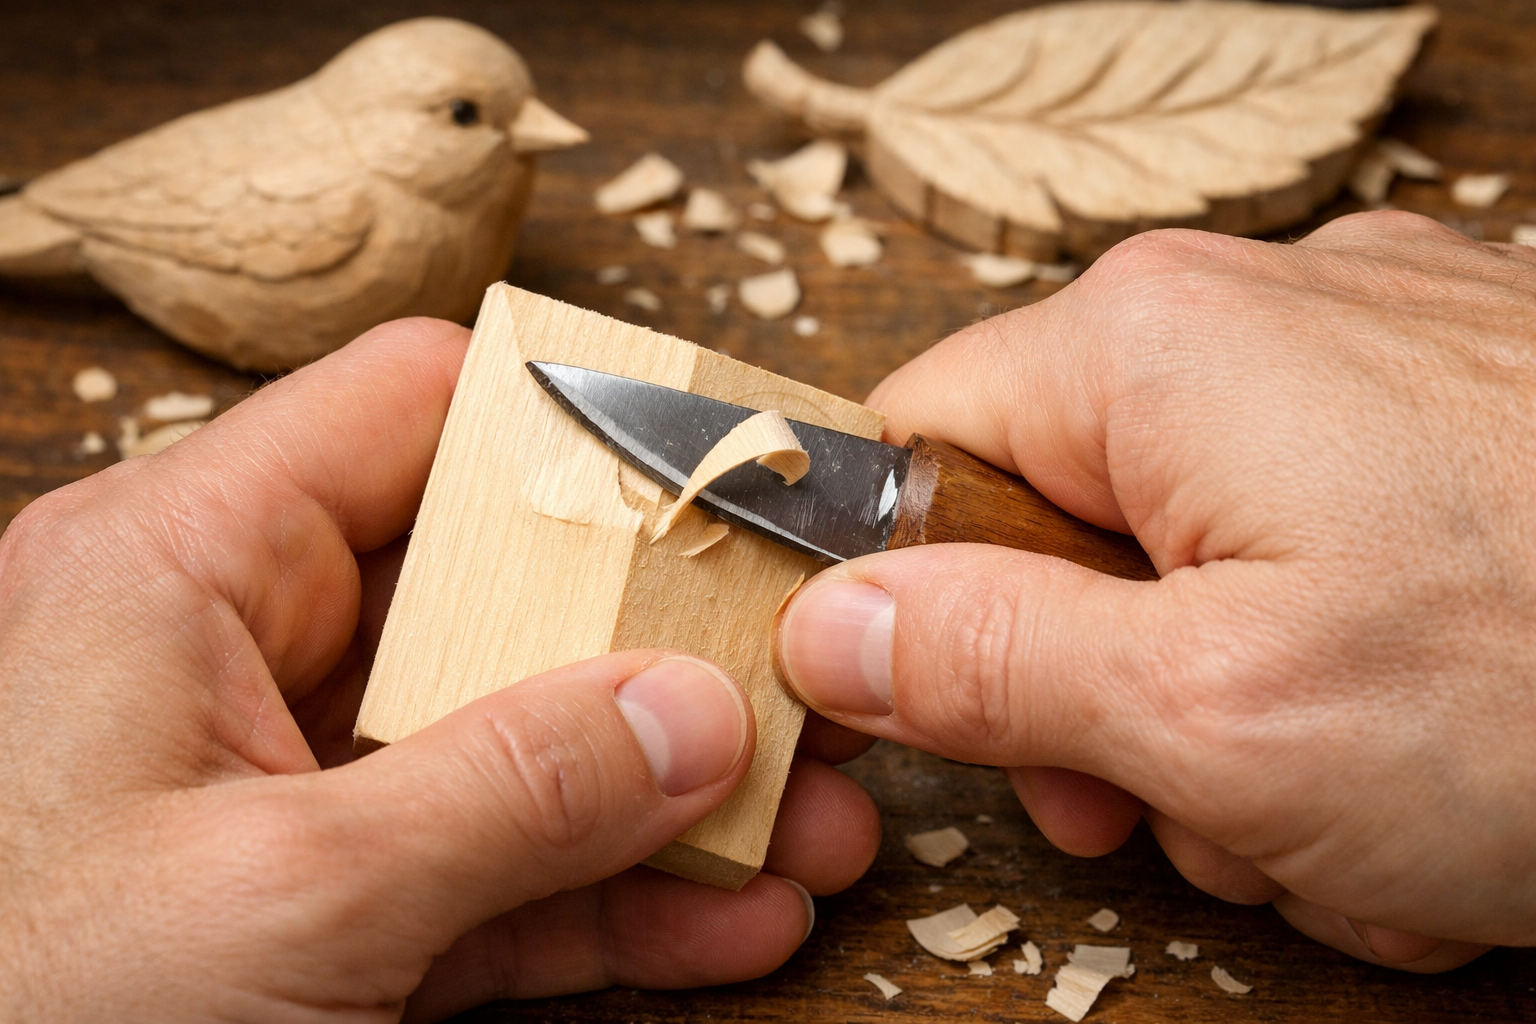
- Push Cut: This is perhaps the most common cut. Hold the knife firmly with your carving hand, and use your non-carving thumb to push the back of the blade. The blade pushes away from your non-carving hand, creating controlled shavings. Always cut away from your body.
- Pull Cut (or Pare Cut): This involves pulling the blade towards you for finer control, often with the non-carving hand guiding or bracing the wood. Extreme caution is needed to avoid cutting yourself.
- Stop Cut: A crucial technique, especially for relief carving. You make a straight, often vertical, cut into the wood, then follow it with an angled “relief cut” that meets the stop cut, allowing the wood to pop out cleanly. This prevents splintering beyond your intended lines.
- Chip Carving: This involves making small, triangular, or geometric cuts using a specialized chip carving knife or small chisel. It’s a decorative technique that relies on precise cuts to remove small “chips” of wood, often used to create patterns.
- Scooping/Hollowing (with Gouges): Using U-shaped gouges, you can remove material to create rounded hollows, such as the bowl of a spoon. Start with shallow cuts, gradually deepening the depression by working from the center outwards or in concentric rings.
Understanding Wood Grain:
Carving with the grain means cutting along the direction of the wood fibers. This is generally easier and produces smoother cuts. Cutting against the grain (up-grain) can cause the wood to tear out or splinter, while cutting across the grain (end grain) requires more force and often results in rougher surfaces. Always pay attention to the grain direction, as it will dictate how easily and cleanly your tools cut.
Holding and Stabilizing Your Work:
For safety and precision, always stabilize your workpiece.
- Bench Vice: A small woodworking vice is invaluable for holding larger pieces securely.
- Carving Clamp/G-Clamp: These can secure smaller pieces to your workbench.
- Leather Pad: A non-slip leather pad can help stabilize smaller projects on your bench while offering some protection.
- For projects requiring more robust support, exploring options for Hand Tool Joinery for Visible Wood Joints can provide insights into securing components.
Simple Projects to Get Started in Wood Carving
With your tools sharpened and basic techniques practiced, it’s time to dive into some simple projects as part of your Introduction to Wood Carving for Beginners: Tools, Techniques, and Simple Projects to Get Started. These projects are designed to be approachable, allowing you to build confidence and refine your skills without feeling overwhelmed.
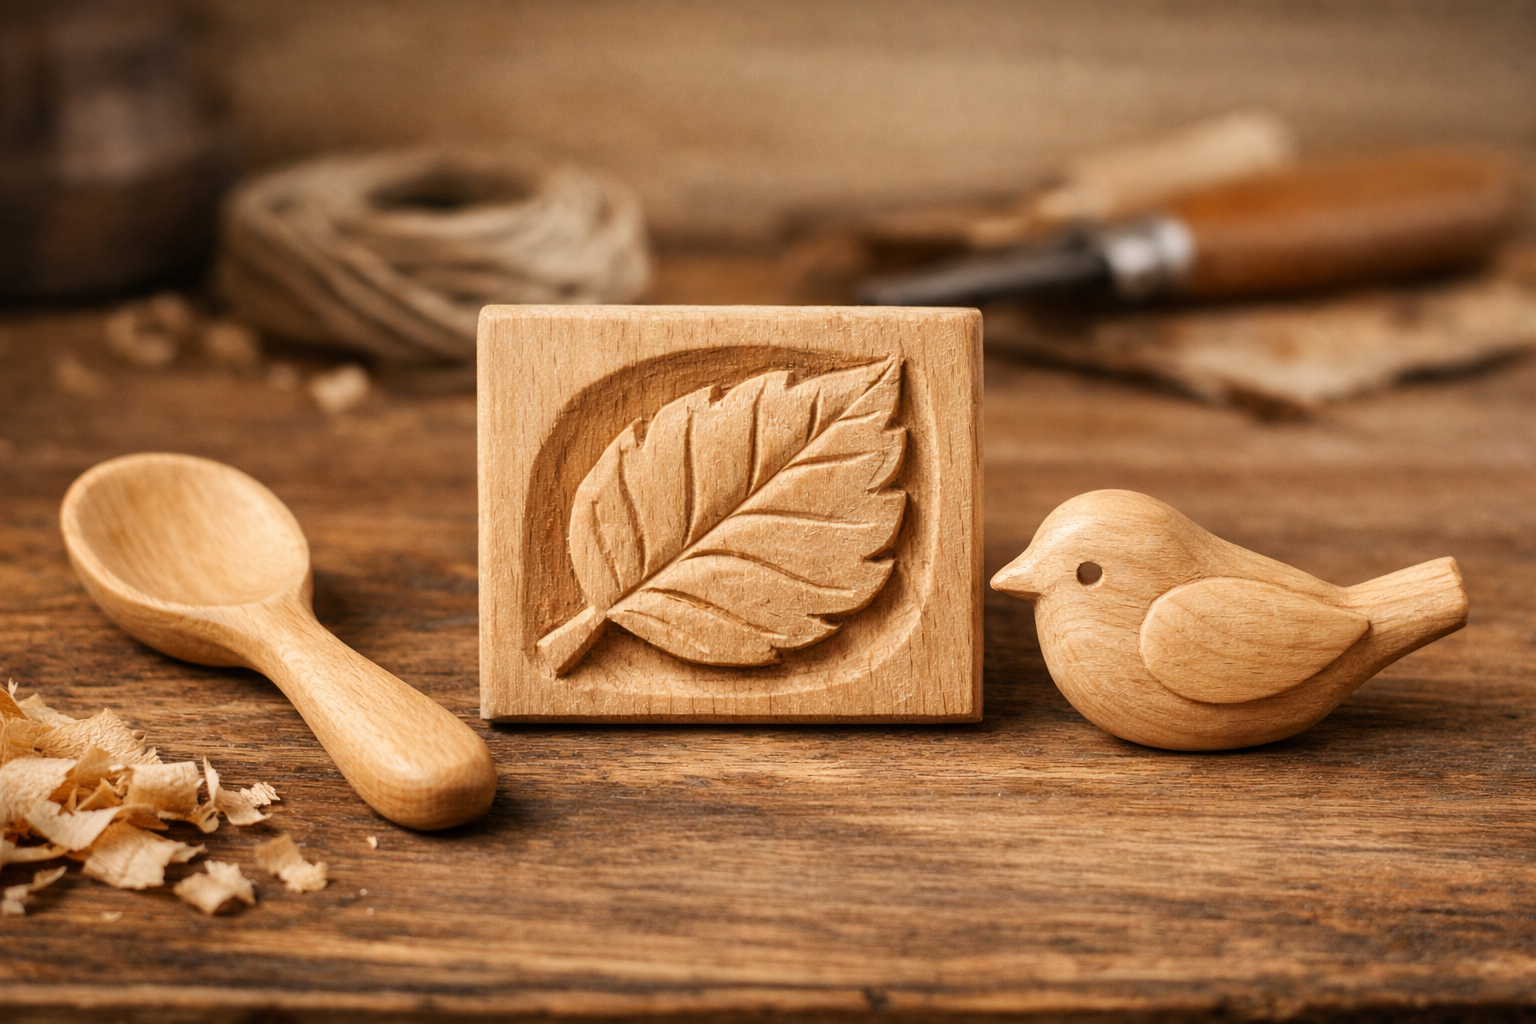
Project 1: The Wooden Spoon
Carving a wooden spoon is a classic beginner project that teaches essential gouge and knife skills, along with an understanding of form and function.
Materials:
- A block of basswood or butternut (e.g., 2″x2″x8″)
- Carving knife
- Small U-gouge (for the bowl)
- Pencil, sandpaper (150, 220, 320 grit)
- Food-safe finish (e.g., mineral oil, walnut oil)
Steps:
- Draw Your Design: Sketch the spoon outline (profile and top-down view) onto your wood block.
- Rough Out Shape: Use your carving knife to remove large sections of wood, bringing the block closer to your spoon’s profile. Remember to make controlled cuts, always cutting away from yourself.
- Carve the Bowl: Use your U-gouge to carefully scoop out the bowl of the spoon. Start shallow and gradually deepen it, working in layers.
- Refine Handle & Bowl: Continue using your knife and gouge to refine the curves and edges of the spoon until you’re happy with its shape.
- Sand Smooth: Start with coarser sandpaper (150 grit) and work your way up to finer grits (220, then 320) until the spoon is smooth to the touch.
- Apply Finish: Apply a generous coat of food-safe finish, let it soak in, then wipe off the excess. Repeat as desired for protection and shine.
Project 2: Relief Carving – A Simple Leaf or Geometric Pattern
Relief carving involves carving an image into a flat surface so that it stands out from the background. This is a great way to practice stop cuts and V-gouge work.
Materials:

- A flat piece of basswood (e.g., 4″x4″x0.75″)
- V-gouge
- Shallow U-gouge
- Carving knife
- Pencil, sandpaper
- Finish (e.g., Danish oil)
Steps:
- Draw Your Design: Sketch a simple leaf outline or a geometric pattern onto the wood.
- Outline with V-Gouge: Use your V-gouge to carefully trace all the lines of your design. Ensure these cuts are clean and of consistent depth.
- Perform Stop Cuts: Along the outside edges of your design, make a series of stop cuts (straight down) to define the boundaries.
- Remove Background: Use your carving knife or shallow U-gouge to make angled relief cuts from the outside towards your stop cuts. This will lift away small pieces of background wood, making your design stand out.
- Refine Details: Use the V-gouge to add veins to the leaf or enhance the geometric lines.
- Smooth and Finish: Gently sand the carved areas and apply your chosen finish.
Project 3: A Small Stylized Animal Figure (e.g., a Bird or Fish)
Whittling a small animal figurine is a fantastic way to develop your knife control and spatial awareness.
Materials:
- A small block of basswood (e.g., 1.5″x1.5″x3″)
- Carving knife
- Pencil, sandpaper
- Finish (e.g., wax, oil)
Steps:
- Draw Outline: Sketch the front and side profiles of a simple bird or fish onto your wood block.
- Rough Out Shape: Carefully use your carving knife to remove corners and excess wood, gradually revealing the basic form of your animal. Always cut small amounts at a time.
- Refine Curves: Work slowly around the figure, refining the curves and edges. For a bird, focus on the body, head, and tail. For a fish, shape the body, fins, and tail.
- Add Details (Optional): Once the main form is complete, you can use the tip of your knife or a small V-gouge to add eyes, feather lines, or scales.
- Sand Smooth: Lightly sand the figure, being careful not to obscure details.
- Apply Finish: Apply a finish to protect the wood and enhance its natural beauty.
These projects will give you a solid foundation. As you progress, you might find inspiration in creating Handcrafted Wooden Wall Art: 3D Layered Panels and Geometric Carvings with Router Techniques or even Profitable Beginner Woodworking: Picture Frames, Cutting Boards, and Kitchen Products That Sell Fast. The possibilities are endless!
Conclusion
The Introduction to Wood Carving for Beginners: Tools, Techniques, and Simple Projects to Get Started offers a gateway into a profoundly satisfying craft. By understanding the essential tools, practicing fundamental cuts, and tackling simple projects, you are well on your way to transforming raw wood into beautiful, handcrafted pieces.
Remember that patience and persistence are your greatest allies. Your first carvings may not be perfect, but each cut is a learning opportunity. Embrace the process, enjoy the meditative rhythm of carving, and watch as your skills and confidence grow. In 2026, the joy of creating something tangible with your own hands remains an incredibly powerful and rewarding experience. So, sharpen your tools, choose your wood, and start carving your own unique story today!
Actionable Next Steps:
- Acquire Your Starter Kit: Invest in a good quality carving knife, a couple of essential gouges, and sharpening supplies. Don’t forget safety gloves!
- Choose Your Wood: Purchase some basswood blocks to begin practicing.
- Practice Basic Cuts: Dedicate time to mastering the push cut, stop cut, and using your gouges on scrap wood. Focus on control and safety.
- Start Your First Project: Begin with a simple wooden spoon or a relief carving. Don’t aim for perfection, aim for completion and learning.
- Join a Community: Look for local carving clubs or online forums. Sharing your work and learning from others can accelerate your progress and provide valuable inspiration.
References
- Kuklok, M. (2018). Whittling for Beginners: 20 Easy & Elegant Projects. Fox Chapel Publishing.
- Tangerman, E. J. (1984). Whittling and Woodcarving. Dover Publications.
