
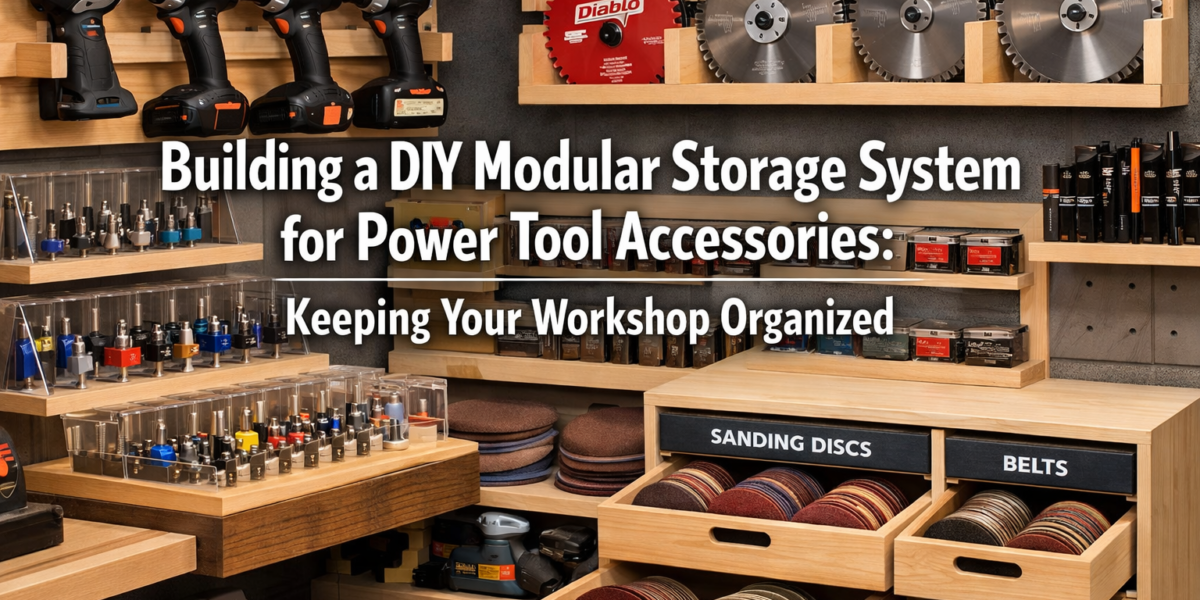

A cluttered workshop can hinder productivity, increase frustration, and even pose safety risks. Finding the right accessory for your power tool amidst a pile of disarray wastes precious time and can damage valuable bits and blades. Imagine a workshop where every router bit, every saw blade, and every sanding disc has its designated, easily accessible place. This vision becomes a reality when embarking on Building a DIY Modular Storage System for Power Tool Accessories: Keeping Your Workshop Organized.
This article will guide you through designing and constructing a customizable, modular storage system specifically for power tool accessories. By implementing such a system in 2026, you can transform your workshop into an efficient, clutter-free haven for creativity and craftsmanship.

Key Takeaways
- Customization is Key: Tailor your modular system to the specific types and quantities of power tool accessories you own, ensuring maximum efficiency.
- Modular Design Benefits: A modular approach allows for easy expansion, rearrangement, and adaptation as your tool collection grows or workshop needs change.
- Material Selection: Plywood and MDF are excellent choices for their stability, workability, and cost-effectiveness, offering a durable foundation for your storage.
- Ergonomics and Accessibility: Design with user comfort in mind, ensuring frequently used items are within easy reach and clearly visible.
- Labeling and Organization: Implement clear labeling, color-coding, and specific inserts to maintain order and quickly locate accessories, keeping your workshop organized.
Planning Your Modular Storage System: The Foundation of Efficiency
The success of Building a DIY Modular Storage System for Power Tool Accessories: Keeping Your Workshop Organized hinges on meticulous planning. Before cutting any wood, it is crucial to assess your current collection, identify your specific needs, and sketch out a comprehensive design. This initial phase ensures that the final system is not only functional but also perfectly tailored to your workshop.
Inventory Your Accessories
Start by gathering all your power tool accessories. This includes, but is not limited to:
- Router bits (individual, sets, various profiles)
- Circular saw blades (different tooth counts, applications)
- Jigsaw blades (wood, metal, scroll)
- Sanding discs/sheets (various grits, types)
- Drill bits (twist, spade, Forstner, brad point)
- Driver bits (Phillips, Torx, square drive)
- Grinder wheels
- Oscillating tool attachments
Categorize these items. Note their quantities, sizes, and frequency of use. Do you have a few go-to router bits, or an extensive collection for specialized projects? This inventory will directly inform the types and sizes of modules you need.
Design Principles for Modularity
A truly modular system offers flexibility. Consider these core design principles:
- Standardized Dimensions: While modules will vary in internal design (e.g., drawers for bits, slots for blades), aim for standardized external dimensions for easy stacking, arrangement, and future expansion. For example, all your modules might be 12 inches deep, but vary in width and height.
- Interchangeability: Can a router bit drawer be easily swapped with a sanding disc tray? This level of interchangeability maximizes adaptability.
- Accessibility: Frequently used items should be stored at eye level or within easy reach. Less common items can be placed higher or lower.
- Visibility: Clear fronts or open shelving can make it easier to identify contents quickly. However, consider dust accumulation for open storage.
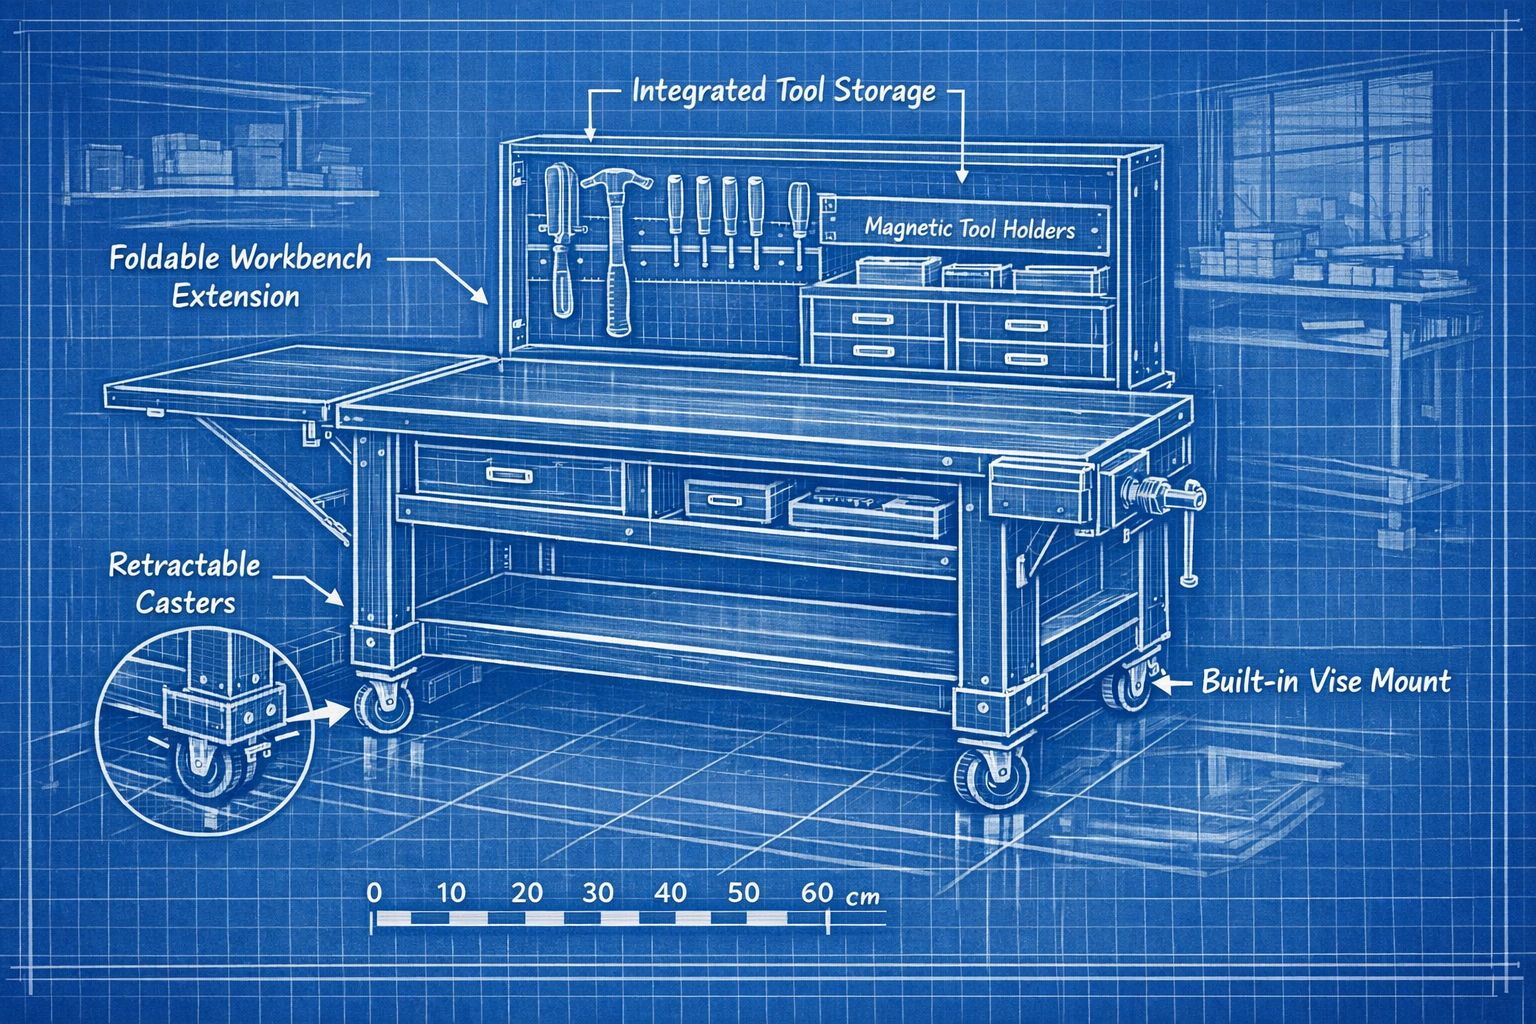
Sketching and Prototyping
Begin by sketching out different module ideas. Think about how each accessory type can be best stored.
- Router bits: Custom-drilled foam inserts or wooden blocks are ideal.
- Saw blades: Vertical slots with protective spacers, or individual pockets.
- Sanding discs: Stacked in shallow trays or hanging on a spindle.
- Drill bits: Tiered holders or custom-fit boxes.
Consider a wall-mounted system to free up valuable workbench space. Explore concepts like French cleats or rail systems for flexible mounting. For insights on maximizing space in small workshops, you might find our guide on Building Modular Wood Storage Systems for Small Workshops: Maximizing particularly helpful.
A simple cardboard prototype can help you visualize the scale and arrangement before committing to wood. This step is invaluable for refining dimensions and ensuring practicality.
Material Selection
For Building a DIY Modular Storage System for Power Tool Accessories: Keeping Your Workshop Organized, common woodworking sheet goods are excellent choices:
| Material | Pros | Cons | Best For |
|---|---|---|---|
| Plywood | Strong, stable, holds fasteners well | Can be heavy, edges need finishing | Main structural components, drawer boxes |
| MDF | Smooth finish, inexpensive, dense | Heavy, susceptible to moisture, weak edges | Drawer fronts, dividers, internal inserts |
| Melamine | Durable, easy to clean, pre-finished | Heavy, difficult to edge band, chips easily | Shelving, cabinet interiors where cleanliness is key |
| Solid Wood | Aesthetic, strong, durable, customizable | Expensive, prone to wood movement | Accent pieces, drawer pulls, specialized inserts |
For most DIY modular storage systems, high-grade plywood (e.g., Baltic birch or cabinet-grade plywood) for the main structure combined with MDF for internal components offers a good balance of durability, workability, and cost. When working with wood, understanding Understanding Wood Movement: How to Design and Build Furniture That can also inform your material choices and joinery.
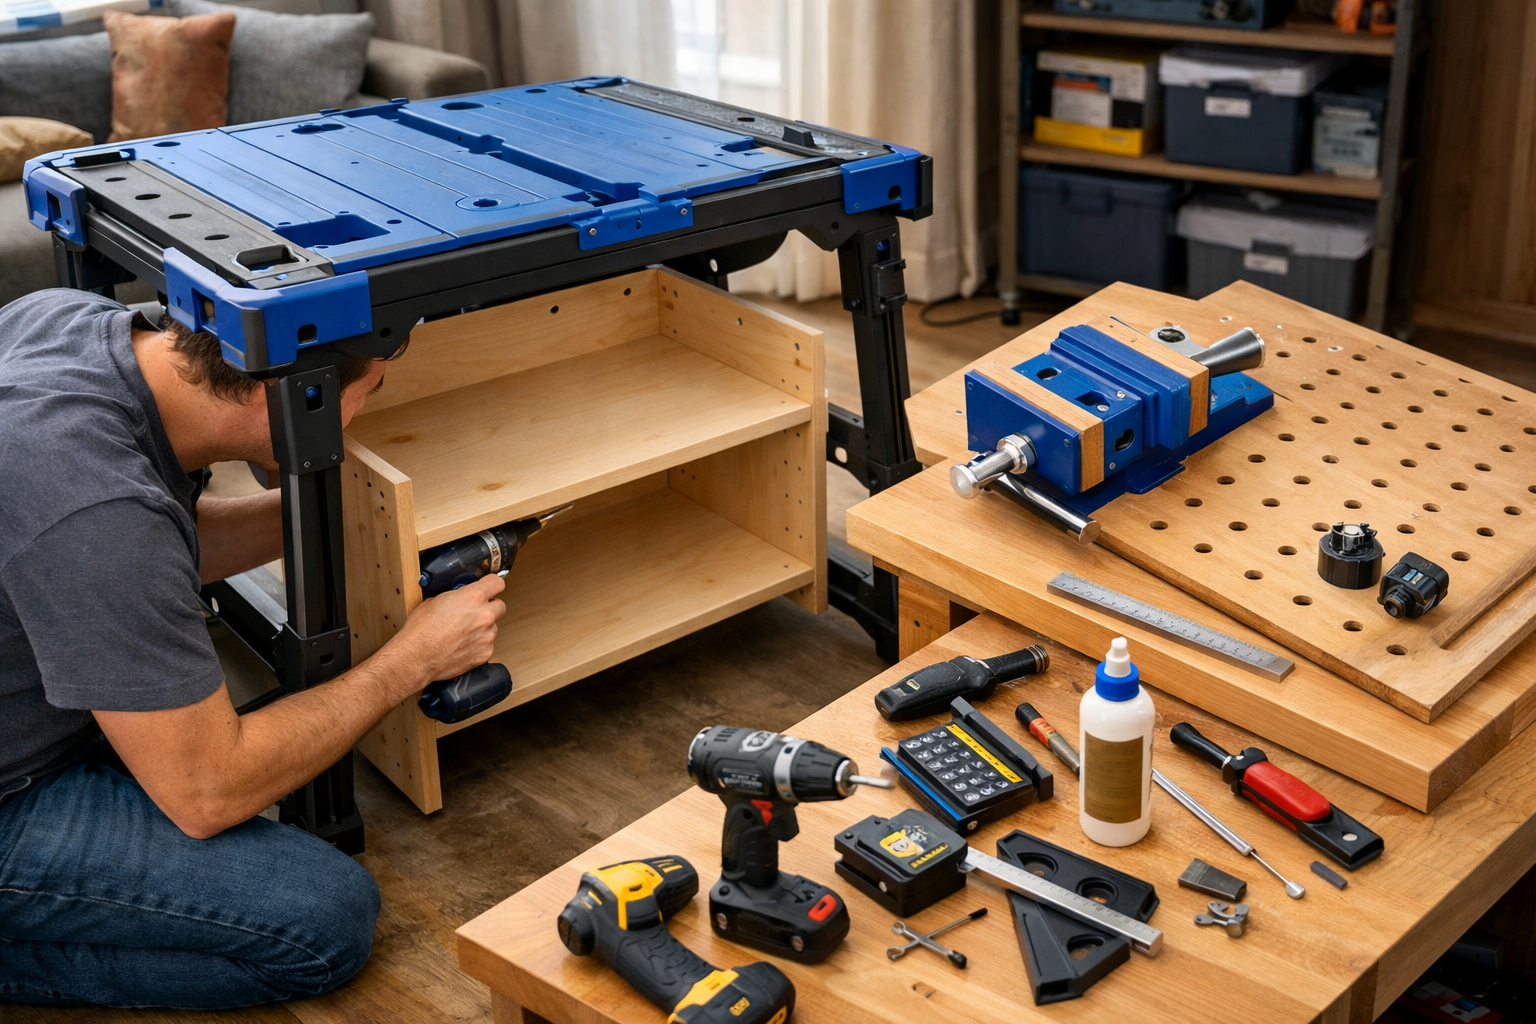
Constructing the Modules: Bringing Your Design to Life
Once your design is finalized, the next phase in Building a DIY Modular Storage System for Power Tool Accessories: Keeping Your Workshop Organized involves cutting and assembling your modules. Precision in this stage is paramount for a system that fits together well and functions smoothly.
Essential Tools and Safety
Before beginning, ensure you have the necessary tools and prioritize safety:
Essential Tools:
- Table Saw or Circular Saw: For accurate sheet good cuts.
- Miter Saw: For precise crosscuts on smaller pieces.
- Drill/Driver: For pilot holes and fastening.
- Pocket Hole Jig: For strong and fast joinery (e.g., Kreg Jig).
- Router (optional): For dados, rabbets, or decorative edges.
- Clamps: Essential for holding pieces during assembly.
- Measuring Tape, Square, Pencil: For accurate marking.
Safety First:

- Always wear safety glasses and hearing protection.
- Use push sticks/blocks when operating saws.
- Keep your workspace clean and free of obstructions.
- Disconnect power tools when changing blades or bits.
Cutting and Assembling the Carcasses
Start by cutting the main components for your module carcasses. This typically involves side panels, top and bottom panels, and possibly back panels.
- Accuracy is crucial. Measure twice, cut once.
- Use a table saw with a good quality blade for straight, clean cuts.
- Consider using jigs or stop blocks for repetitive cuts to ensure consistency across multiple modules.
For joinery, pocket holes offer a robust and efficient method for constructing cabinet boxes. Alternatively, dadoes and rabbets can create strong, professional-looking joints, though they require a router or a specialized table saw setup. For foundational woodworking skills that apply to projects like this, explore our guide on Mastering Dovetail Joints with Hand Tools: A Step-by-Step Guide for for advanced joinery techniques.
<code>Example Cut List for a Basic 12"x12"x6" Module (adjust to your design):

| Component       | Material      | Quantity | Dimensions (Width x Depth x Height) |
| :-------------- | :------------ | :------- | :---------------------------------- |
| Side Panels     | 3/4" Plywood  | 2        | 6" x 12"                            |
| Top/Bottom Panels | 3/4" Plywood  | 2        | 10.5" x 12" (allows for 3/4" sides) |
| Back Panel      | 1/4" Plywood  | 1        | 10.5" x 5.25"                       |
</code>
Assemble the boxes using wood glue and appropriate fasteners (screws for pocket holes, brad nails for dadoes/rabbets). Use clamps to hold pieces securely while the glue dries. Ensure all corners are square.
Building Internal Organizers
This is where the customization truly shines. For each accessory type, create specific inserts:
- Router Bit Holders: Drill appropriately sized holes into a block of wood or a section of MDF. Consider a slightly larger hole for the shank and a smaller one for the bearing or cutter head if desired.
- Saw Blade Slots: Cut shallow dadoes into vertical dividers to create slots for blades. Ensure enough clearance for easy removal and protection of the teeth.
- Sanding Disc Trays: Construct shallow drawers or trays with dividers to separate different grits.
- Drill Bit Organizers: A tiered design or a block with graduated holes can keep bits organized by size.
When designing drawer slides, simple wooden runners can be effective, or you can opt for metal drawer slides for smoother operation. For more ideas on creating custom storage, consider reading about Building Modular Wood Storage Systems for Small Workshops: Maximizing for inspiration.
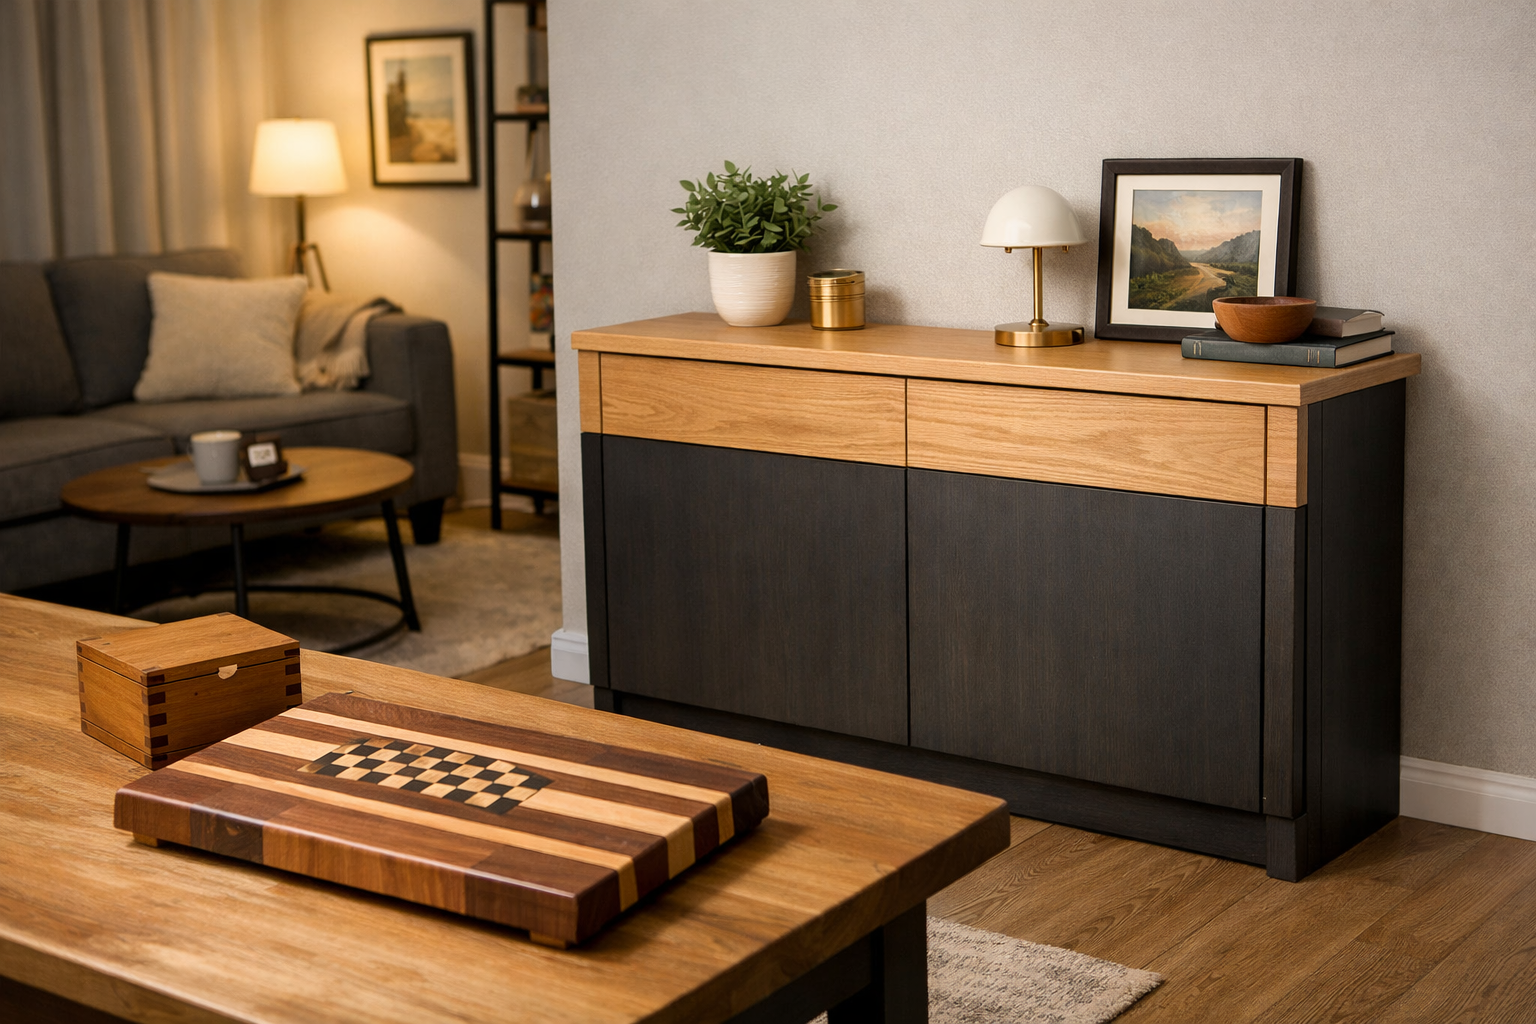
Finishing and Implementation: Organizing Your Workshop in 2026
The final stage of Building a DIY Modular Storage System for Power Tool Accessories: Keeping Your Workshop Organized involves applying a protective finish and strategically implementing the system in your workshop. This not only enhances durability but also contributes to a professional and inviting workspace.
Sanding and Finishing
Proper finishing protects your wood from moisture, dust, and wear, ensuring your modular system lasts for years.
- Sanding: Start with a coarser grit sandpaper (e.g., 100-120 grit) to remove any rough spots or glue squeeze-out. Progress to finer grits (180-220 grit) for a smooth finish.
- Dust Removal: Thoroughly clean all surfaces to remove sanding dust. A vacuum and a tack cloth work well.
- Applying Finish:
- Polyurethane: A durable and protective finish, often applied in multiple thin coats. It provides good resistance to abrasion and moisture. For tips on applying polyurethane, check out our insights on Spray vs. Brush Polyurethane: Pros, Cons, and Guidance.
- Oil Finish: Penetrates the wood, enhancing its natural beauty. Less protective than polyurethane but easier to repair.
- Paint: Offers color customization and can brighten a workshop. Use a good quality primer first.
Ensure the finish is completely cured before loading the modules with accessories.
Mounting and Arrangement
How you mount and arrange your modules is critical for accessibility and workflow.
- French Cleat System: This is an excellent method for modular wall storage. A cleat attached to the back of each module mates with a corresponding cleat on the wall, allowing for easy rearrangement and removal of modules.
- Fixed Shelving: Modules can also be placed on sturdy fixed shelves or inside existing cabinets.
- Under Workbench Storage: Consider building rolling base units for your modules that fit neatly under your workbench, such as those discussed in Building a Compact and Ergonomic Workbench for Small Workshops: Maximizing Space and Efficiency.
When arranging, place frequently used accessories closest to your primary workspace. Group similar items together (e.g., all drill bits in one area, all router bits in another).
Labeling and Maintenance
The final, and perhaps most critical, step in maintaining an organized workshop is consistent labeling.
- Clear Labels: Use a label maker, stencils, or even handwritten labels to clearly identify the contents of each module, drawer, or compartment. Include important details like drill bit size, router bit profile, or saw blade tooth count.
- Color-Coding: For items like sanding discs, consider color-coding by grit for quick identification.
- Shadow Boards: For frequently used hand tools or specific accessories, a shadow board within a module can ensure every item returns to its exact spot.
Regularly review and maintain your system. Dust and debris can accumulate, so periodic cleaning is necessary. As your tool collection evolves, you may need to adjust existing modules or build new ones, showcasing the true benefit of a modular design. For a deeper dive into creating an ergonomic and efficient workshop, our article on Creating Ergonomic Workshop Furniture: Building Custom Workbenches, provides valuable insights.

Conclusion
Building a DIY Modular Storage System for Power Tool Accessories: Keeping Your Workshop Organized is a rewarding project that pays dividends in increased efficiency, reduced frustration, and a more enjoyable woodworking experience. By carefully planning, meticulously constructing, and thoughtfully implementing your system, you create a workshop environment where every accessory has its place and is readily available.
Start today by taking inventory of your power tool accessories and sketching out your ideal modular system. With a little time and effort, your workshop in 2026 can be a beacon of organization, allowing you to focus more on crafting and less on searching.
