
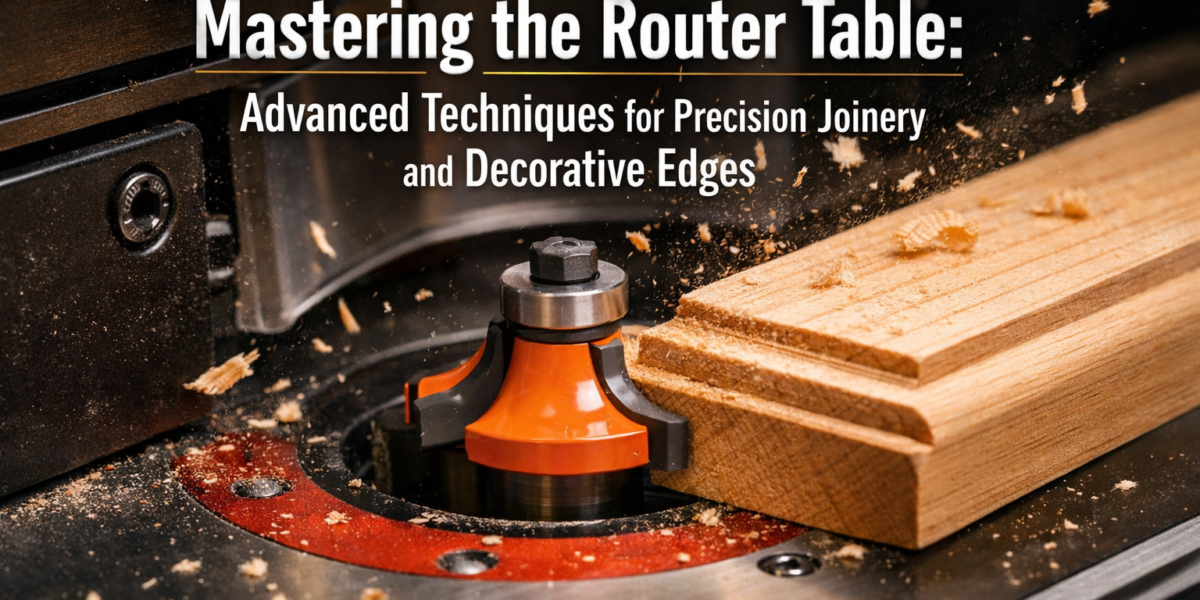

The precision required for crafting a perfectly fitting joint or an intricately detailed edge in woodworking can often feel like chasing an elusive ghost. A staggering 60% of professional woodworkers report that inconsistencies in tool setup and material handling are the primary causes of project delays and wasted materials, particularly when it comes to the router table (Woodworking Industry Report, 2024). This article delves beyond the basics, offering a comprehensive guide to Mastering the Router Table: Advanced Techniques for Precision Joinery and Decorative Edges in 2026. Prepare to elevate your craftsmanship by understanding the nuances of advanced setups, specialized bit usage, and ingenious jig applications that transform your router table from a simple edge-shaping tool into a powerhouse for intricate, professional-grade woodworking.
Key Takeaways
- Master advanced router table calibration for unmatched precision in joinery.
- Explore specialized router bits and their applications for complex profiles and joints.
- Learn to create essential jigs for repeatable, accurate operations like coping, sticking, and raised panels.
- Understand the nuances of feed rates, climb cuts, and bit selection for superior results and safety.
- Transform raw lumber into finely crafted pieces with decorative edges and robust joinery.
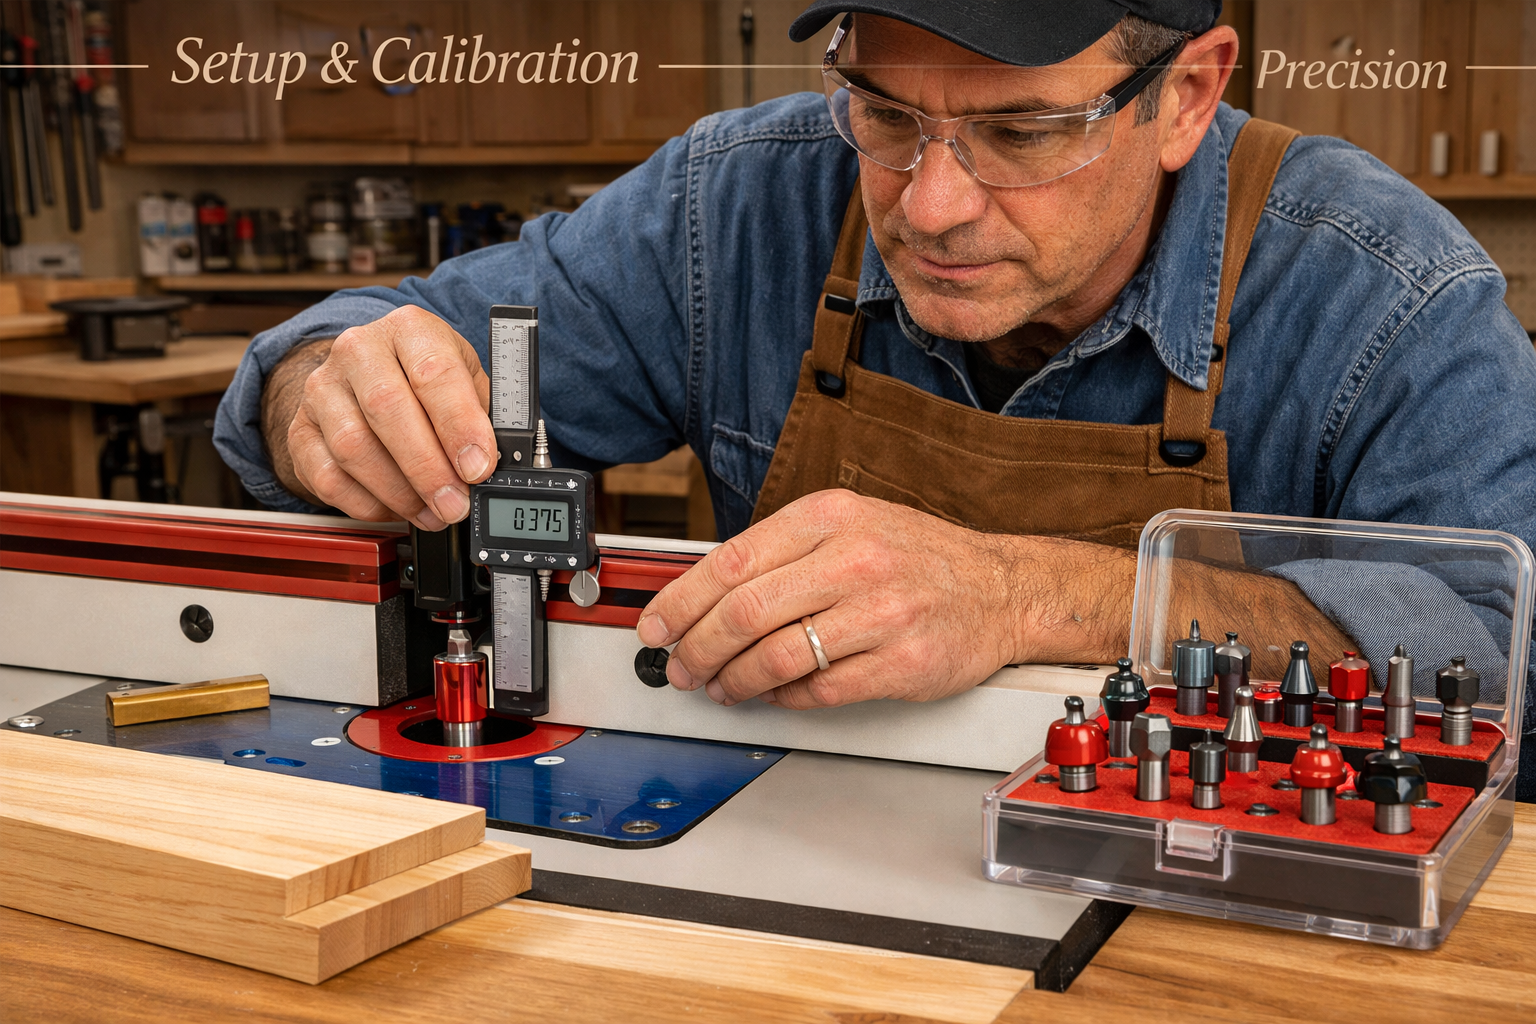
Setting the Stage for Perfection: Advanced Router Table Setup and Calibration
Achieving unparalleled accuracy on the router table begins long before the bit touches the wood. Mastering the Router Table: Advanced Techniques for Precision Joinery and Decorative Edges demands meticulous setup and calibration, turning your workstation into a precision instrument. Forget eyeballing; precision in 2026 relies on systematic adjustments.

Critical Elements for Pinpoint Accuracy
The foundation of precision routing lies in the stability and alignment of your router table.
- Table Flatness: Even a slight warp in your router table surface can lead to inconsistent cuts. Use a straightedge and feeler gauges to check for flatness. Shims can correct minor deviations, or consider upgrading to a cast-iron or phenolic resin top for superior stability.
- Fence Alignment: The fence must be perfectly parallel to the miter slot or perpendicular to the bit’s axis (depending on the operation). Use a reliable straightedge and calipers to ensure zero run-out. Many advanced fences include micro-adjustment capabilities, allowing for incredibly fine-tuned positioning.
- Bit Centering: For optimal results, especially with larger bits, ensure the bit is perfectly centered in the fence opening. Adjustable fence plates or sacrificial fences with customized openings are crucial here.
- Dust Collection: A robust dust collection system isn’t just for health; it improves visibility and prevents sawdust from interfering with workpiece movement, ensuring smoother, more consistent cuts.
Router Bit Selection and Care
The router bit is the cutting edge of your operation, and its condition directly impacts the quality of your work.
- Carbide vs. HSS: While High-Speed Steel (HSS) bits are inexpensive, carbide-tipped bits offer superior durability, sharpness retention, and cleaner cuts, especially in hardwoods. For advanced techniques, carbide is almost always the preferred choice.
- Shear Angle: Bits with a higher shear angle produce a slicing action, leading to cleaner cuts and less tear-out, particularly on cross-grain routing.
- Bearing Quality: Bits with high-quality bearings ensure smooth, consistent guiding along edges or jigs. Inspect bearings regularly for wear and tear.
- Sharpness: A dull bit is a dangerous bit. It causes burn marks, tear-out, and requires excessive force, increasing the risk of kickback. Sharpen or replace dull bits promptly. Store bits in protective cases to prevent damage to the cutting edges.

A properly calibrated router table, equipped with sharp, high-quality bits, lays the groundwork for tackling complex woodworking challenges. For those looking to dive deeper into general router table best practices, the guide on “Mastering the Router Table: Essential Jigs, Safety, and Advanced” provides an excellent foundation.
Advanced Joinery Techniques: Beyond the Basic Dado
The router table truly shines when it comes to crafting robust and aesthetically pleasing joinery. Moving beyond simple dadoes and rabbets, Mastering the Router Table: Advanced Techniques for Precision Joinery and Decorative Edges involves tackling joinery that traditionally required hand tools or more specialized machinery.
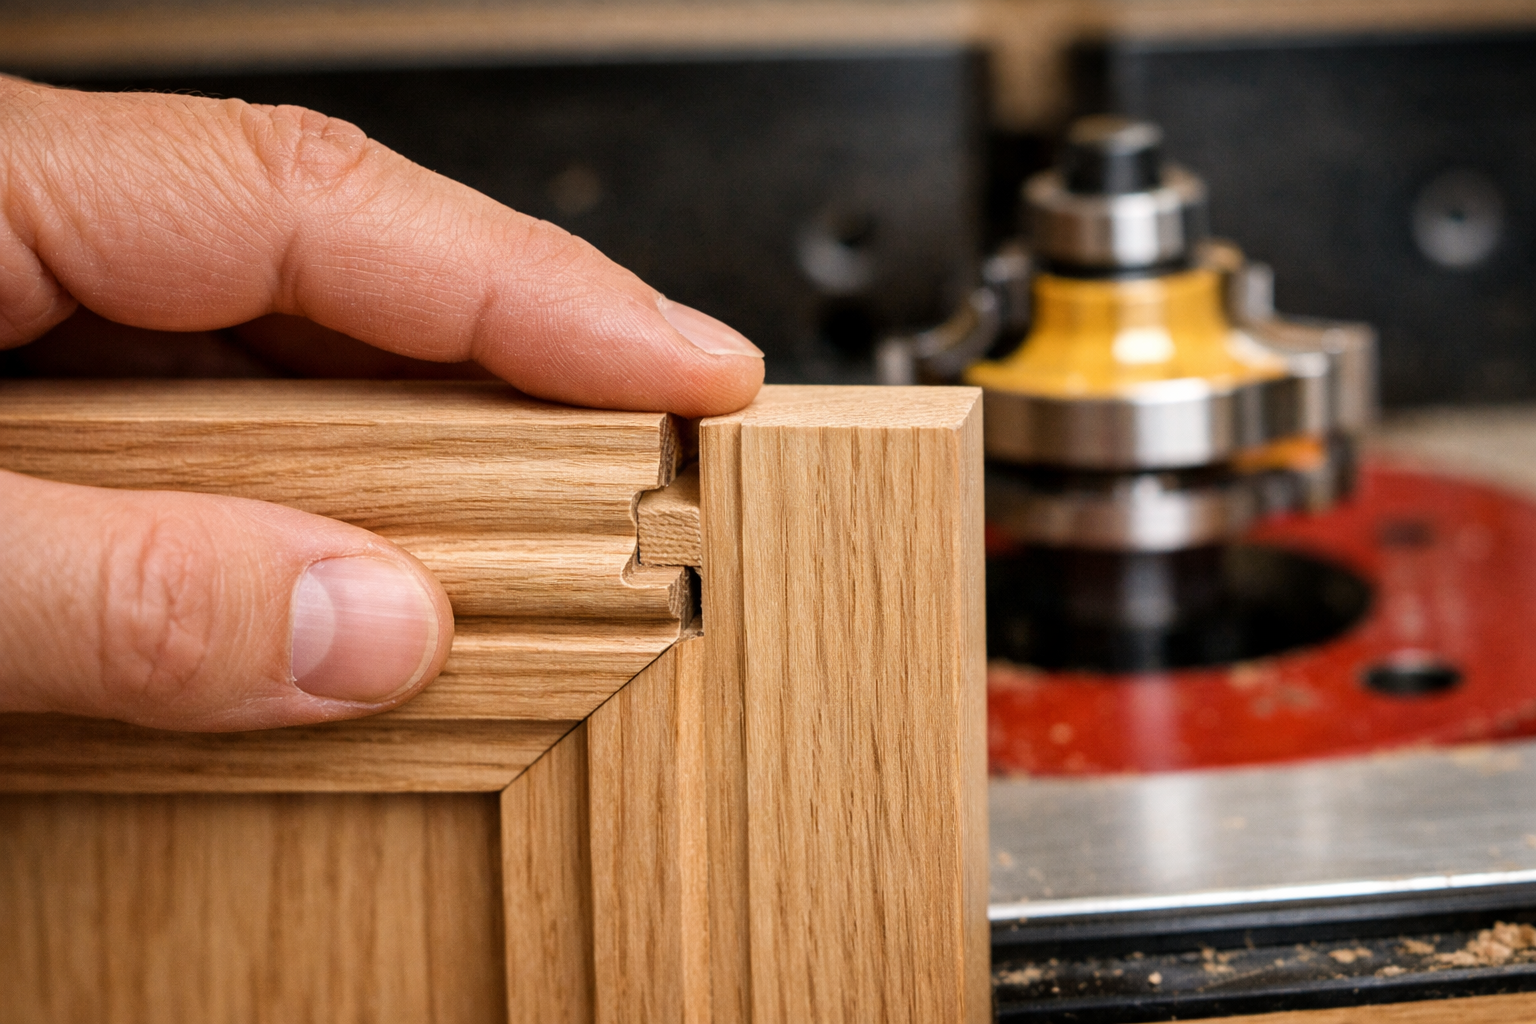
Cope and Stick Joints for Cabinet Doors
Cope and stick joinery is the cornerstone of professional-looking frame-and-panel cabinet doors. This technique involves two specialized router bits: a “sticking” bit that cuts the decorative profile and a small tongue on the long rail, and a “coping” bit that matches this profile on the end grain of the stile.
| Step | Description | Key Considerations |
|---|---|---|
| 1. Sticking Cut | Route the decorative profile and tongue on the inside edge of the rails and stiles. | Use featherboards to keep stock tight against the fence and table. Perform in multiple passes for deep profiles. |
| 2. Coping Cut | Route the end grain of the stiles with the coping bit. | Use a dedicated coping sled for safety and precision. The sled keeps the workpiece perpendicular to the fence and prevents tear-out. Ensure consistent pressure. |
| 3. Assembly | Glue the cope and stick joints together, typically without clamps on the joint itself, but rather on the overall panel. | Use appropriate wood glue. Allow for panel float to accommodate wood movement. |
For detailed insights into other robust joint types, consider exploring articles on hand tool joinery for visible wood joints or mastering dovetail joinery for drawers.
Raised Panel Techniques
Raised panels add depth and elegance to cabinet doors, wainscoting, and furniture. This involves removing a significant amount of material to create a profiled edge and a thinner center panel.
- Vertical Raised Panel Bits: These bits are large and cut the entire profile in one or two passes. They require a powerful router and a robust router table. Always use a featherboard and multiple passes, incrementally increasing the depth of cut.
- Horizontal Raised Panel Bits: Smaller and safer, these bits are used horizontally, typically with the panel standing on its edge. They are less prone to kickback but require more passes.
- Safety First: Due to the large diameter of raised panel bits, operate your router at a lower RPM. Always feed the workpiece slowly and consistently. Use push blocks and a sacrificial fence for support.
Router Table Jigs for Repeatability
Jigs are indispensable for advanced router table work, ensuring safety, repeatability, and precision.
- Coping Sled: Essential for safely and accurately routing end grain for cope and stick joints.
- Panel Raising Sled: Provides secure support and guidance when using vertical panel raising bits.
- Box Joint Jig: Allows for rapid and accurate creation of interlocking box joints, perfect for drawers and boxes.
- Dovetail Jig: While more complex, specialized router table jigs can produce consistent dovetails, offering an alternative to hand-cut methods.
- Edge-Joining Jig: For perfectly straight and square edges when joining boards, eliminating the need for a jointer. This is particularly useful for tabletops and panels.
The ability to create flawless joinery quickly and safely with a router table drastically expands your woodworking capabilities. The precision achieved through these methods is critical for projects like DIY wooden birdhouses with precision joinery or robust building robust floating shelves.

Beyond Utility: Crafting Exquisite Decorative Edges
While joinery highlights the structural prowess of the router table, its capacity for intricate decorative edges showcases its artistic versatility. Mastering the Router Table: Advanced Techniques for Precision Joinery and Decorative Edges empowers you to transform ordinary lumber into pieces with compelling visual appeal.
Understanding Edge Profiles
The sheer variety of router bits available means an almost limitless array of decorative edges. Here are a few popular examples and their applications:

- Roundover/Bevel: Simple, classic edge softening for comfort and visual appeal. Used on tabletops, shelves, and frames.
- Ogee/Roman Ogee: Elegant, S-shaped profiles that add a sophisticated, traditional touch to furniture and moldings.
- Cove: A concave profile, often used on molding or to create a pleasing transition between two surfaces.
- Chamfer: A straight, angled cut that breaks a sharp edge, providing a clean, modern look.
- Classical Profile: Combines curves and fillets for a highly decorative, formal edge.
Techniques for Flawless Decorative Edges
Achieving a clean, burn-free decorative edge requires more than just selecting the right bit.
- Feed Direction: Always feed the workpiece against the rotation of the bit (climb cuts are generally for shallow, finishing passes with extreme caution). This ensures control and prevents kickback.
- Feed Rate: A consistent, moderate feed rate is key. Too slow, and you risk burning the wood; too fast, and you can get tear-out or a rough finish. Listen to the router and feel the resistance.
- Multiple Passes: For deep or complex profiles, always take multiple, shallow passes. This reduces strain on the router and bit, minimizes tear-out, and results in a much cleaner cut.
- Backer Board: When routing end grain, use a sacrificial backer board to prevent tear-out at the exit point of the cut.
- Template Routing: For creating curved decorative edges or reproducing shapes, template routing with a bearing-guided bit or a template guide bushing is indispensable. This allows for precise replication of complex forms.
Creative Applications for Decorative Edges
The router table’s ability to shape edges opens up a world of design possibilities:
- Custom Moldings: Create unique moldings for architectural details, picture frames, or furniture trim that perfectly match your project’s aesthetic.
- Raised Panel Door Profiles: Beyond the structural aspect, the profile cut into the edge of a raised panel adds significant decorative flair.
- Tabletop Edges: From a simple roundover to a complex classical profile, the edge treatment of a tabletop can define its style.
- Picture Frames: Craft bespoke picture frames with unique profiles that complement the artwork within.
- Handrails and Stair Components: Shape ergonomically pleasing and visually attractive handrails.


By mastering these advanced techniques, you can add a touch of professional polish and intricate beauty to all your woodworking projects, from crafting custom wooden record player consoles to ultimate DIY end tables.
Conclusion
The router table, when understood and utilized to its full potential, transcends its basic function as an edge-shaping tool. By meticulously calibrating your setup, mastering advanced joinery techniques like cope and stick, raised panels, and employing smart jig solutions, you unlock a realm of precision and creativity. The ability to craft exquisite decorative edges and robust, professional-grade joints means your projects in 2026 will not only stand the test of time but also boast a level of craftsmanship that truly distinguishes them.
Embrace the learning curve, prioritize safety, and continually experiment with new bits and techniques. The journey of Mastering the Router Table: Advanced Techniques for Precision Joinery and Decorative Edges is continuous, filled with opportunities to refine your skills and expand your woodworking repertoire. Start by reviewing your current router table setup, investing in quality bits, and building your first coping sled. The satisfaction of a perfectly fitted joint or a beautifully profiled edge is a rewarding experience that will elevate every future woodworking endeavor.
