
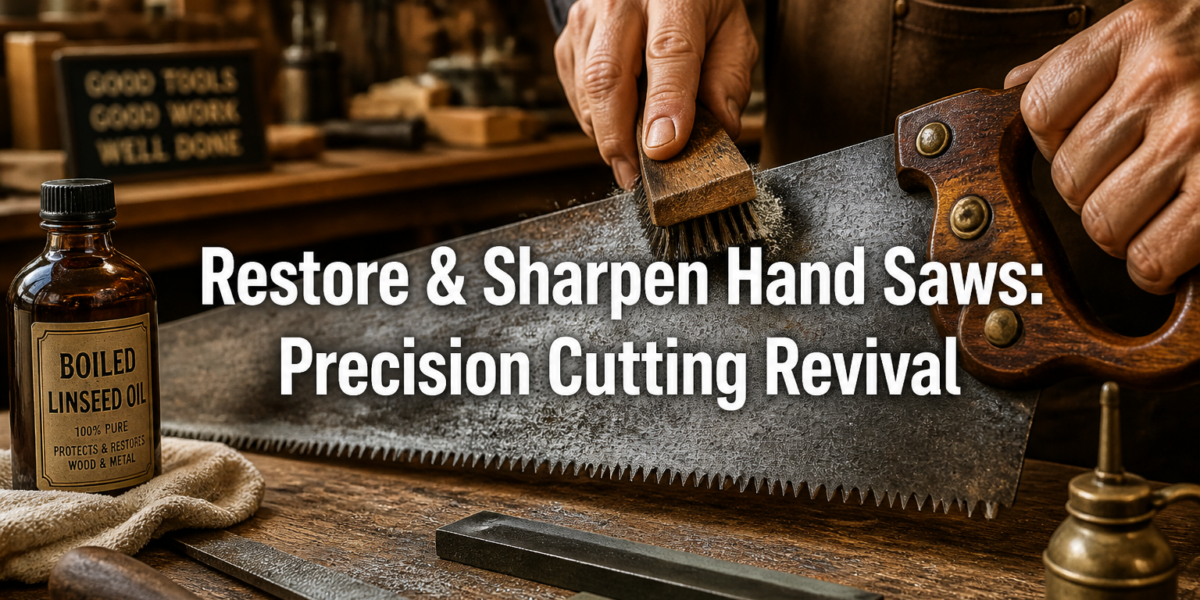

{“cover”:”Professional landscape format (1536×1024) hero image with bold text overlay: ‘Restore & Sharpen Hand Saws: Precision Cutting Revival’, modern sans-serif 70pt white text with subtle shadow, centered over a detailed close-up of a vintage hand saw blade being meticulously cleaned with a wire brush, surrounded by other restoration tools like files and oil, set in a warm, well-lit woodworking shop. The background features blurred wooden workbenches and shelves, emphasizing a blend of old-world craft and revitalized function. High contrast, magazine cover quality, editorial style, with a focused color palette of rich browns, metallics, and warm whites.”,”content”:[“A detailed, well-lit landscape photograph showing the initial stages of hand saw restoration on a sturdy workbench in 2026. The image features a vintage, slightly rusted hand saw laid out with various cleaning tools: wire brushes, sandpaper, rust remover, and a container of penetrating oil. A gloved hand is gently wiping down a section of the blade, illustrating the careful process. In the background, other antique woodworking tools are neatly arranged, suggesting a dedicated craftsman’s space. The composition emphasizes cleanliness and preparation, with warm lighting highlighting the texture of the old wood handle and the metal blade, conveying a sense of respect for vintage craftsmanship.”,”A close-up, dynamic landscape photograph illustrating the sharpening process of a hand saw on a specialized saw vise. The image focuses on the file engaging with the teeth of the saw, showing the precise angle and motion required. A high-magnification view of a section of sharpened teeth contrasts with unsharpened ones, clearly demonstrating the difference. A saw set tool is visible nearby, emphasizing the complete sharpening toolkit. The lighting is bright and focused on the saw teeth, highlighting the metallic gleam of the newly sharpened edge. The hands of a skilled woodworker are visible, guiding the file with concentration, conveying expertise and precision in the task.”,”An inspiring landscape photograph showcasing a beautifully restored and sharpened vintage hand saw hanging proudly on a workshop wall, gleaming under ambient light. Beside it, a stack of perfectly cut wooden planks demonstrates the saw’s renewed precision. The scene includes other impeccably maintained hand tools, emphasizing the reward of tool restoration. A small, neatly organized workspace is visible in the background, with a finished woodworking project suggesting the outcome of using well-maintained tools. The image conveys the satisfaction and practical benefits of bringing vintage tools back to life, highlighting their aesthetic appeal and functional superiority, feeling like an ‘after’ shot.”]}]}
The vast majority of vintage hand saws found at flea markets or antique shops today—even those coated in rust—are often superior in quality to many modern counterparts. Crafted from high-carbon steel and designed for longevity, these tools represent a tangible link to woodworking traditions of the past. Restoring and Sharpening Hand Saws: Bringing Vintage Tools Back to Life for Precision Cutting isn’t just about salvaging old metal; it’s about reclaiming precision, efficiency, and a connection to an era of craftsmanship where tools were built to last generations. This comprehensive guide will walk you through the essential steps to revive these timeless instruments, transforming a rusty relic into a high-performance cutting tool for your workshop in 2026.

Key Takeaways
- Assess and Prepare: Thoroughly inspect vintage saws for damage, rust, and handle integrity before beginning restoration.
- Rust Removal & Cleaning: Employ methods like electrolysis or chemical treatments for effective rust removal, followed by meticulous cleaning of all components.
- Handle Restoration: Repair, sand, and refinish wooden handles to restore comfort, aesthetics, and grip.
- Precision Sharpening: Understand tooth geometry, use appropriate files, and master the saw setting process for optimal cutting performance.
- Maintenance: Regular cleaning, oiling, and proper storage are crucial for preserving restored saws and extending their lifespan.
The Foundation of Revival: Assessing and Restoring the Saw’s Body
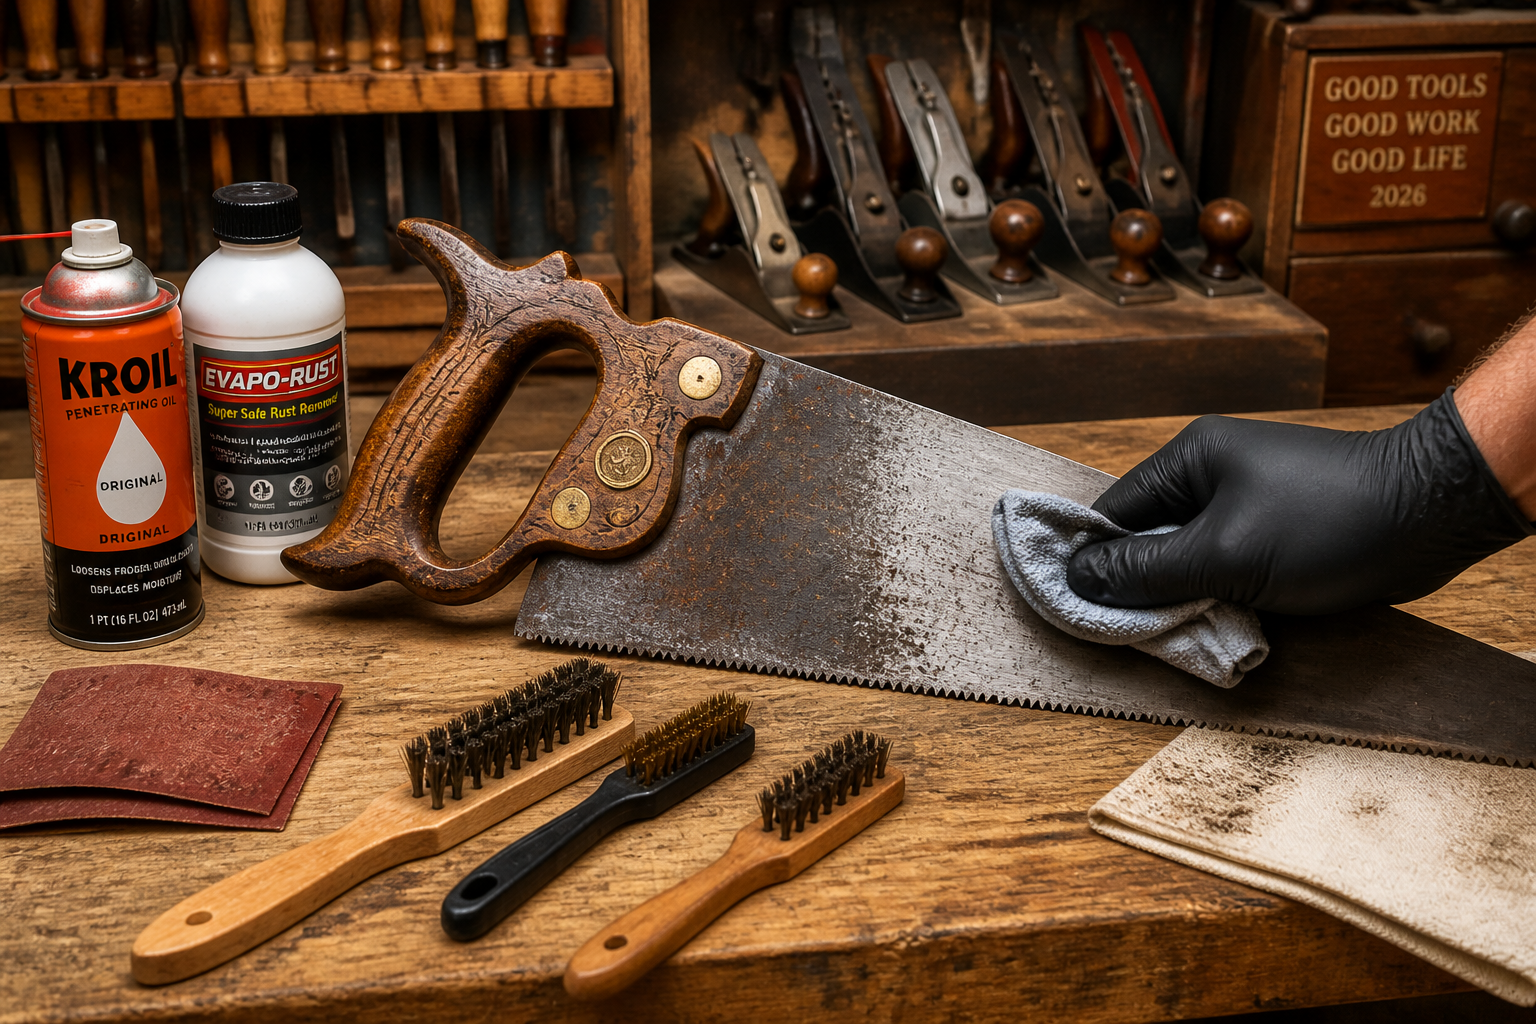
Before any blade can cut with precision, its physical structure must be sound. This initial phase of Restoring and Sharpening Hand Saws: Bringing Vintage Tools Back to Life for Precision Cutting focuses on evaluating the saw’s condition and systematically addressing rust, grime, and handle issues. A good restoration begins with a careful assessment, identifying what can be saved and what needs significant intervention.
Initial Assessment: What to Look For
When you acquire a vintage hand saw, whether it’s a crosscut saw, rip saw, or panel saw, a thorough inspection is paramount. Here’s a checklist:
- Blade Condition:
- Rust: Surface rust is common and usually treatable. Deep pitting can be problematic, potentially weakening the blade or making sharpening difficult.
- Bends/Kinks: A severely bent blade is often beyond economical repair. Minor bends can sometimes be straightened carefully.
- Cracks: Any cracks, especially near the teeth or handle attachment, are red flags.
- Teeth: Are most teeth present? Are they heavily worn or chipped? Missing teeth are fixable but add complexity.
- Handle Integrity:
- Cracks/Breaks: Common in older wooden handles. Minor cracks can be repaired; severe breaks might require replacement or extensive repair.
- Loose Fasteners: The screws (medallions or split nuts) holding the handle to the blade should be tight.
- Finish: Often worn or covered in grime.
Rust Removal Techniques
Rust is the most common adversary of vintage tools. Several effective methods exist for its removal, ranging from simple to more involved.
1. Chemical Rust Removers 🧪
Products like Evapo-Rust or citric acid solutions are excellent for dissolving rust without harming the underlying metal.
- Process:
- Disassemble the saw if possible (remove handle).
- Submerge the blade in the solution according to manufacturer instructions.
- Check periodically. Rust typically flakes off after a few hours or overnight.
- Remove, rinse thoroughly with water, and immediately dry to prevent flash rust.
- Apply a light coat of oil.
2. Mechanical Cleaning (Wire Brushes & Sandpaper)
For lighter surface rust or after chemical treatment, mechanical cleaning can bring out the blade’s shine.
- Tools: Steel wool, brass wire brushes (less abrasive for softer metals or polished surfaces), sandpaper (starting with coarser grits like 180, progressing to finer grits like 400 or 600).
- Technique: Work in long, even strokes, following the grain of the steel. Be cautious around the teeth to avoid dulling them further. A hand sander with a sanding block can help maintain flatness.
3. Electrolysis (Advanced) ⚡
This method is highly effective for severely rusted items and involves using an electrical current to convert rust back into iron. It requires specific equipment (battery charger, sacrificial anode, electrolyte solution) and careful adherence to safety protocols.
- Benefits: Removes rust from intricate areas without scrubbing, doesn’t remove base metal.
- Considerations: Requires more setup and knowledge; ensure proper ventilation.
Warning: Always wear appropriate personal protective equipment (PPE) such as gloves and eye protection when handling chemicals or performing mechanical cleaning.
Handle Restoration: Comfort and Aesthetics
The handle is your primary point of contact with the saw, and its condition greatly impacts usability.
- Disassembly: Carefully unscrew the saw nuts. Keep track of all components.
- Cleaning: Remove old grime, paint, or varnish using a suitable stripper or mineral spirits.
- Repairing Cracks:
- For minor cracks, apply wood glue (like Titebond III) and clamp tightly. Wipe off excess squeeze-out.
- For larger chips or missing pieces, wood filler or epoxy can be used, shaped, and sanded smooth.
- Sanding: Start with 120-grit sandpaper to smooth out imperfections, then progress through 220, and finally 320 or 400-grit for a silky-smooth finish. Ensure all edges are comfortable in hand.
- Refinishing:
- Oil Finish: Linseed oil, Danish oil, or tung oil penetrate the wood, offering protection and a natural feel. Apply several thin coats, wiping off excess between coats. This is often preferred for a classic, tactile feel.
- Shellac/Varnish: Provides a more durable, glossy finish. Apply thin coats, sanding lightly between them.
- Consider adding a touch of elegance by restoring antique wooden furniture in your workshop, as many of the finishing techniques are transferable.

Sharpening the Blade: The Art of Precision Cutting
Once the saw’s body is restored and gleaming, the true test of Restoring and Sharpening Hand Saws: Bringing Vintage Tools Back to Life for Precision Cutting lies in its ability to cut. Sharpening a hand saw is a skill that, once mastered, will unlock a tool’s full potential and provide unparalleled cutting performance.
Understanding Saw Teeth Geometry
Before picking up a file, it’s crucial to understand the different types of saw teeth and their specific purposes:
| Tooth Type | Best For | Characteristics | File Shape |
|---|---|---|---|
| Rip Saw | Cutting along the grain (rip cutting) | Chisel-like teeth, filed straight across, aggressively tears wood fibers. | Triangular (tapered) |
| Crosscut Saw | Cutting across the grain (crosscutting) | Knife-like teeth, filed with a bevel, severs wood fibers cleanly. | Triangular (tapered) |
| Panel Saw | General purpose, finer crosscutting | Often a finer tooth count crosscut pattern. | Triangular (tapered) |
Essential Sharpening Tools
To effectively sharpen a hand saw, you’ll need a few specialized tools:
- Saw Vise: Crucial for holding the saw blade securely and rigidly during filing. This prevents chatter and ensures consistent filing angles.
- Saw Files: High-quality, three-sided triangular files (also called cant files) are essential.
- Choose a file size appropriate for your saw’s teeth per inch (TPI). A general rule: the file face width should be about twice the width of the gullet (the valley between teeth).
- New files cut best; replace them when they start to dull.
- Saw Set Tool: This tool bends alternate teeth slightly left and right, creating a kerf (cut width) wider than the blade thickness. This prevents the blade from binding in the cut.
- Magnifying Glass/Loupe: Helps inspect teeth angles and sharpness.
- Marker/Chalk: To mark teeth that have been filed.
- Safety Glasses: Always protect your eyes.
The Sharpening Process: Step-by-Step
Sharpening is a methodical process requiring patience and a steady hand.
1. Jointing the Teeth
- Place the saw in the vise, teeth up.
- Using a flat file, lightly run it across the tops of the teeth. The goal is to make all tooth tops uniformly flat and at the same height. This creates a small “land” or flat spot on each tooth.
- This step ensures consistent tooth height, leading to smoother cuts.
2. Setting the Teeth
- A saw set tool is used to bend alternate teeth slightly outwards.
- Set half the teeth to one side, then flip the saw and set the other half to the opposite side.
- Important: Only bend the top third of the tooth. Too much set can weaken teeth and create an excessively wide kerf. The amount of set depends on the wood type—more set for soft, wet woods; less for hard, dry woods. A good starting point is about 0.005 to 0.008 inches per side.
3. Filing the Teeth
This is the most critical step for Restoring and Sharpening Hand Saws: Bringing Vintage Tools Back to Life for Precision Cutting.

- Setup: Clamp the saw blade firmly in the saw vise, with the teeth just above the vise jaws.
- Rip Saw Sharpening:
- The file is held horizontally, at a 90-degree angle to the blade.
- File one side of each tooth until half of the flat land created during jointing is removed.
- Work systematically down the blade.
- Flip the saw and file the other side of each tooth until the remaining land is gone, and the tooth comes to a sharp point.
- Crosscut Saw Sharpening:
- This is more complex due to the bevelled teeth.
- The file is held at an angle (typically 15-25 degrees from horizontal, and 15-20 degrees from perpendicular to the blade) that matches the original tooth bevel.
- File the leading edge of each tooth (the edge that cuts first) on one side of the blade. Then flip the saw and file the leading edges of the teeth on the other side.
- The goal is to create sharp, knife-like points that shear wood fibers.
Tip: Use a marker or chalk to color the teeth. The marker will be removed as you file, indicating where you’ve cut and helping ensure even filing.
4. Deburring and Oiling
- After filing, lightly run a sharpening stone or fine sandpaper over the sides of the blade to remove any burrs (small metal edges) created by filing.
- Wipe the blade clean and apply a thin coat of rust-preventative oil.
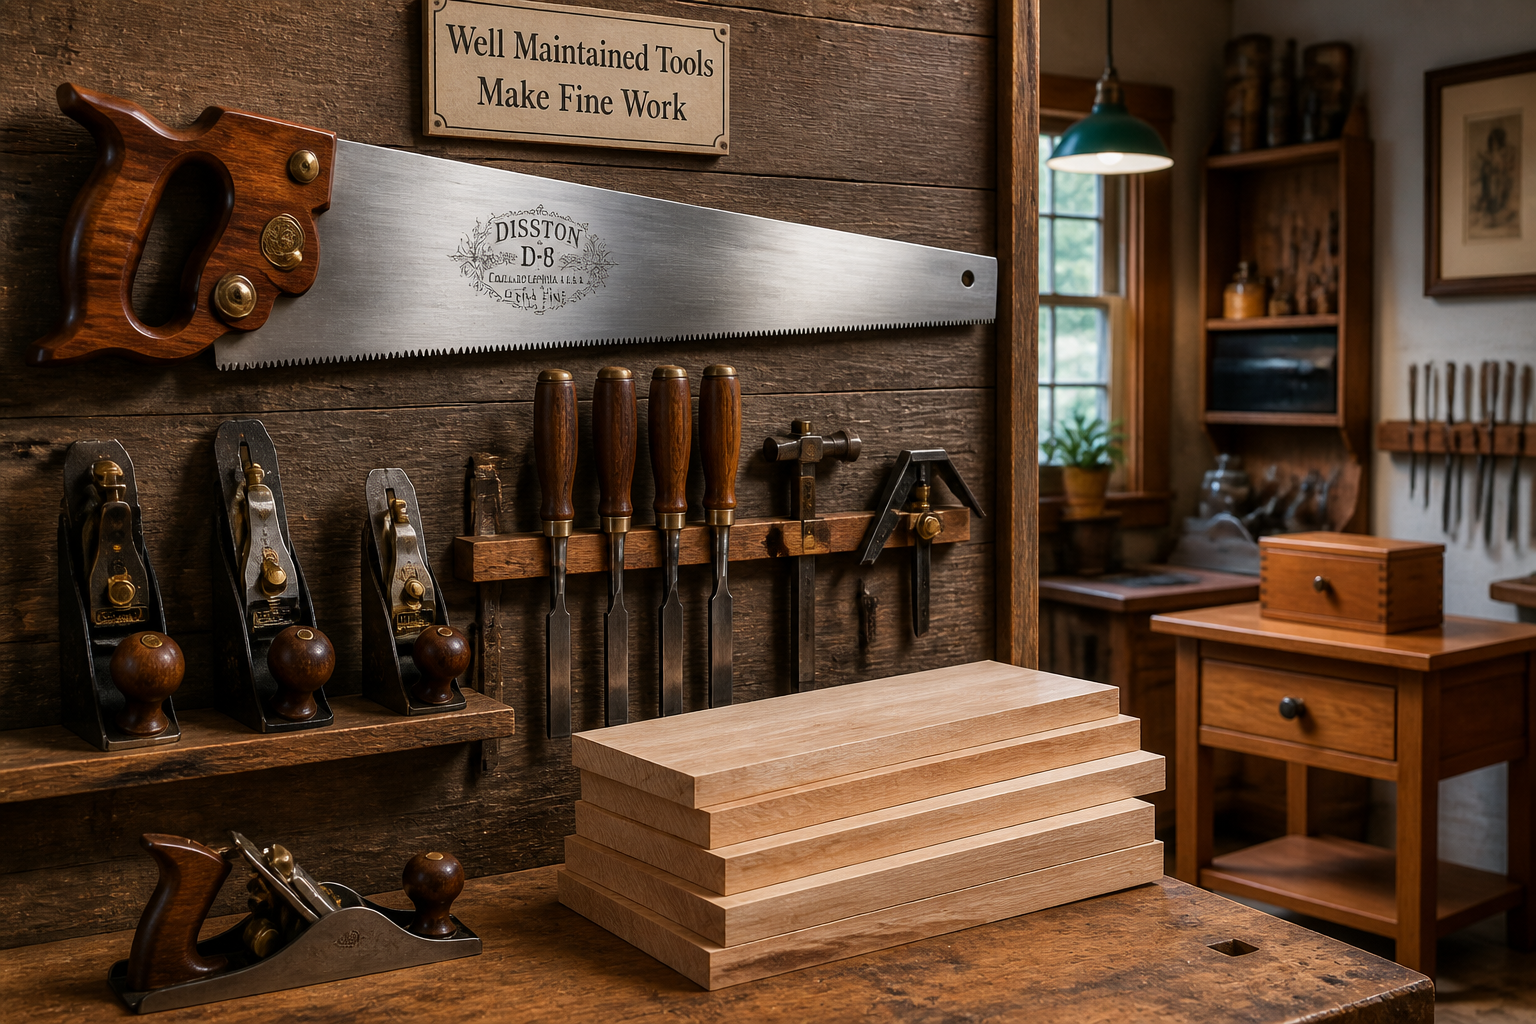
Properly sharpened, your hand saw will glide through wood, leaving a clean, precise cut. This precision is essential for projects like advanced wood carving techniques for decorative furniture accents or constructing custom wooden mantels.

Maintaining Your Revived Hand Saw for Longevity
The journey of Restoring and Sharpening Hand Saws: Bringing Vintage Tools Back to Life for Precision Cutting doesn’t end with a gleaming, sharp tool. Proper ongoing maintenance is crucial to preserve your hard work and ensure the saw remains a high-performance instrument for years to come. Neglecting a restored saw can quickly lead to a return of rust and dullness.
Routine Cleaning After Use
Even minor sawdust can absorb moisture and lead to corrosion over time.
- Wipe Down: After each use, wipe the blade clean with a dry cloth to remove sawdust, sap, and moisture.
- Sap Removal: If sap has built up, use mineral spirits or a specialized saw blade cleaner to remove it.
- Brush the Teeth: A stiff brush can help dislodge stubborn sawdust from the gullets between teeth.
Rust Prevention: Oiling and Waxing
Moisture and oxygen are the enemies of steel. Protecting your saw blade is paramount.
- Oiling: Apply a thin, even coat of light machine oil (such as camellia oil, mineral oil, or WD-40) to the entire blade, front and back, after cleaning. This creates a barrier against moisture.
- Waxing: For long-term storage or in high-humidity environments, a coat of paste wax (like carnauba wax or a specialized tool wax) can offer superior protection. Apply a thin layer, let it haze, and buff lightly.
- Blade Guards: Using a blade guard (often made from wood or plastic) not only protects the sharp teeth from damage but also provides an extra layer of protection against moisture and dust.
Handle Care
While the blade often gets the most attention, the handle also requires care to ensure comfort and longevity.
- Inspect Regularly: Check the handle for any new cracks, splinters, or looseness of the fasteners.
- Re-oil/Re-wax: Periodically reapply an oil finish or wax to the handle, especially if it feels dry or looks dull. This protects the wood and keeps it comfortable to grip.
- Tighten Fasteners: If the saw nuts become loose, gently tighten them with a screwdriver. Do not overtighten, as this can crack the handle.
Proper Storage Solutions
How you store your saw directly impacts its condition.
- Dry Environment: Store saws in a dry, stable environment. Avoid unheated garages or sheds where humidity and temperature fluctuate wildly.
- Vertical or Horizontal: Saws can be hung vertically from pegboards or stored horizontally on shelves. Ensure they are not stacked directly on top of each other, which can dull teeth or trap moisture.
- Blade Protection: Always use a blade guard when storing your saw.
- Dedicated Space: Consider building a dedicated saw till or cabinet. This keeps saws organized, protected, and easily accessible. Creating ergonomic workshop furniture can include custom storage solutions for your hand tools.
When to Resharpen
A saw’s sharpness diminishes with use. Knowing when to resharpen is key to maintaining peak performance.
- Test Cut: The simplest way to tell is by making a test cut. If the saw requires excessive force, binds, or tears rather than cuts cleanly, it’s time for a touch-up.
- Visual Inspection: Examine the teeth with a magnifying glass. If the cutting edges appear rounded, shiny (indicating wear), or there are nicks, it’s time to sharpen.
- Frequency: For a regularly used saw, a light touch-up might be needed every few weeks or months, depending on the material cut. A full sharpening (including jointing and setting) is usually less frequent.
By integrating these maintenance practices into your woodworking routine, your restored vintage hand saw will not only perform beautifully but will also serve as a testament to the enduring quality of well-cared-for tools. This commitment extends beyond saws to all your essential equipment, from your router table to your wood lathe.

Conclusion
The endeavor of Restoring and Sharpening Hand Saws: Bringing Vintage Tools Back to Life for Precision Cutting is a deeply rewarding one. It’s an act of preservation, taking a forgotten relic and transforming it into a high-performance tool that can rival or surpass many modern alternatives. By meticulously cleaning away decades of rust, repairing and refinishing the handle, and then precisely filing and setting the teeth, you not only revive a piece of history but also empower yourself with a superior cutting instrument.
The skills learned in this process — from material assessment and rust removal to the nuanced art of tooth geometry and sharpening — are invaluable for any woodworker. They foster a deeper understanding of tools, encourage self-sufficiency, and ultimately lead to cleaner, more efficient cuts in your projects. In an era where disposability often overshadows durability, choosing to restore a vintage hand saw is a powerful statement about valuing quality, craftsmanship, and sustainability.
Embrace the journey of restoration. Take your time, pay attention to detail, and enjoy the satisfaction of seeing a dull, rusty saw emerge as a keen, precise cutting machine. Your efforts will be repaid with decades of reliable service and the quiet pride of working with a tool you’ve personally brought back to life.

Actionable Next Steps:
- Source a Vintage Saw: Visit local antique stores, flea markets, or online marketplaces to find a promising candidate.
- Gather Your Tools: Invest in a good saw vise, appropriate files, a saw set, and rust removal agents.
- Start with Rust: Begin the restoration process by tackling the rust on the blade and thoroughly cleaning the handle.
- Practice Sharpening: Don’t be afraid to practice sharpening on an old, inexpensive saw first if you’re new to the process.
- Commit to Maintenance: Implement a routine cleaning and oiling schedule to ensure your restored saw stays in pristine condition.
SEO Meta Title: Restore & Sharpen Hand Saws: Precision Cutting Revival SEO Meta Description: Learn the step-by-step process of restoring rusty hand saws and mastering the art of sharpening saw teeth for superior cutting performance in 2026.
