
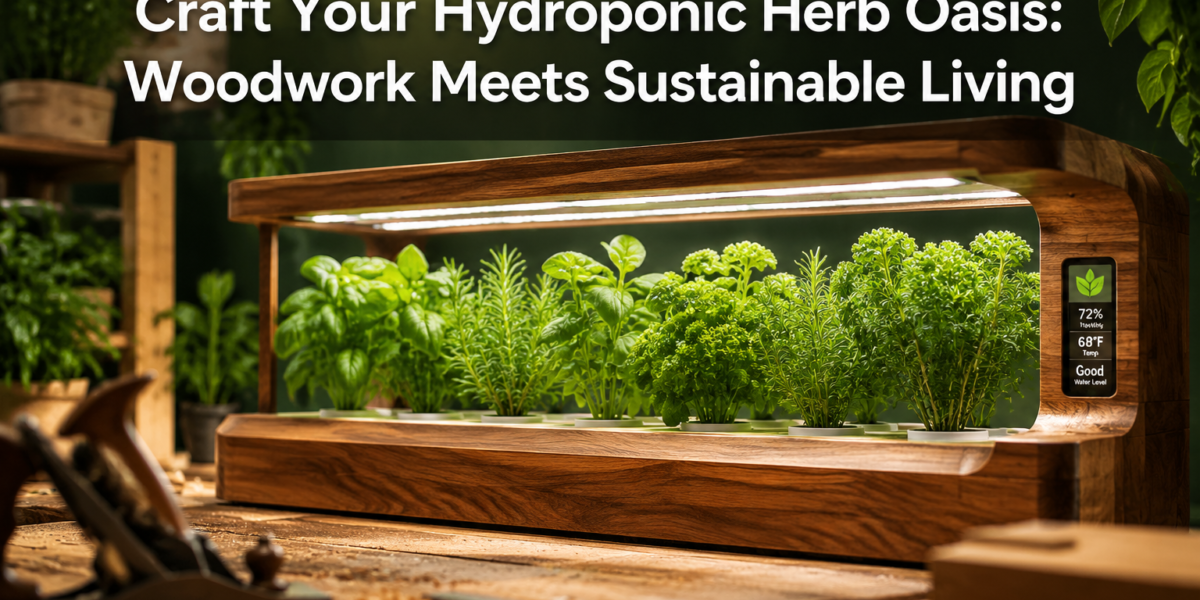

For centuries, the scent of freshly cut wood has mingled with the promise of self-sufficiency. Today, that tradition extends beyond mere construction to nurturing life itself. Imagine stepping into your kitchen, not to a store-bought plastic herb garden, but to a meticulously crafted wooden enclosure, humming gently with the life of a vibrant hydroponic herb collection. This article explores the rewarding journey of Building a DIY Hydroponic Herb Garden with Custom Wooden Enclosures: Combining Woodcraft with Sustainable Living, blending artisanal skill with cutting-edge cultivation to create a functional piece of art for your home in 2026.
Key Takeaways
- Sustainable & Aesthetic: Combine the eco-friendly benefits of hydroponics with the timeless beauty of custom woodworking.
- Customization: Design your enclosure to perfectly fit your space, style, and herb preferences.
- Efficiency: Hydroponics offers faster growth, less water usage, and no soil mess compared to traditional gardening.
- Skill Development: This project enhances both your woodworking and gardening expertise.
- Fresh Herbs Year-Round: Enjoy homegrown herbs regardless of season or outdoor space limitations.
Designing Your Hydroponic System and Wooden Enclosure
The foundation of any successful DIY project lies in meticulous planning. When Building a DIY Hydroponic Herb Garden with Custom Wooden Enclosures: Combining Woodcraft with Sustainable Living, the design phase is where your vision takes shape, marrying the practicalities of hydroponics with the aesthetics of fine woodworking.

Choosing Your Hydroponic Method
Several hydroponic methods are suitable for a home herb garden, each with its own advantages:
- Deep Water Culture (DWC): This method is excellent for beginners. Plant roots are submerged in a nutrient solution, with an air stone providing oxygen. It’s relatively simple to set up and maintain.
- Nutrient Film Technique (NFT): Plants sit in channels where a thin film of nutrient solution flows over their roots. This method is highly efficient but requires precise channel angles.
- Wick System: The simplest passive system, where a wick draws nutrient solution from a reservoir to the growing medium. Best for smaller, less demanding herbs.
- Drip System: Nutrient solution is pumped through small emitters to the base of each plant. Offers flexibility but requires more components.
For most DIY herb gardens, DWC or NFT offer the best balance of simplicity, efficiency, and scalability. Consider the space available and the types of herbs you wish to grow. Leafy greens and herbs like basil, mint, and lettuce thrive in DWC and NFT systems.
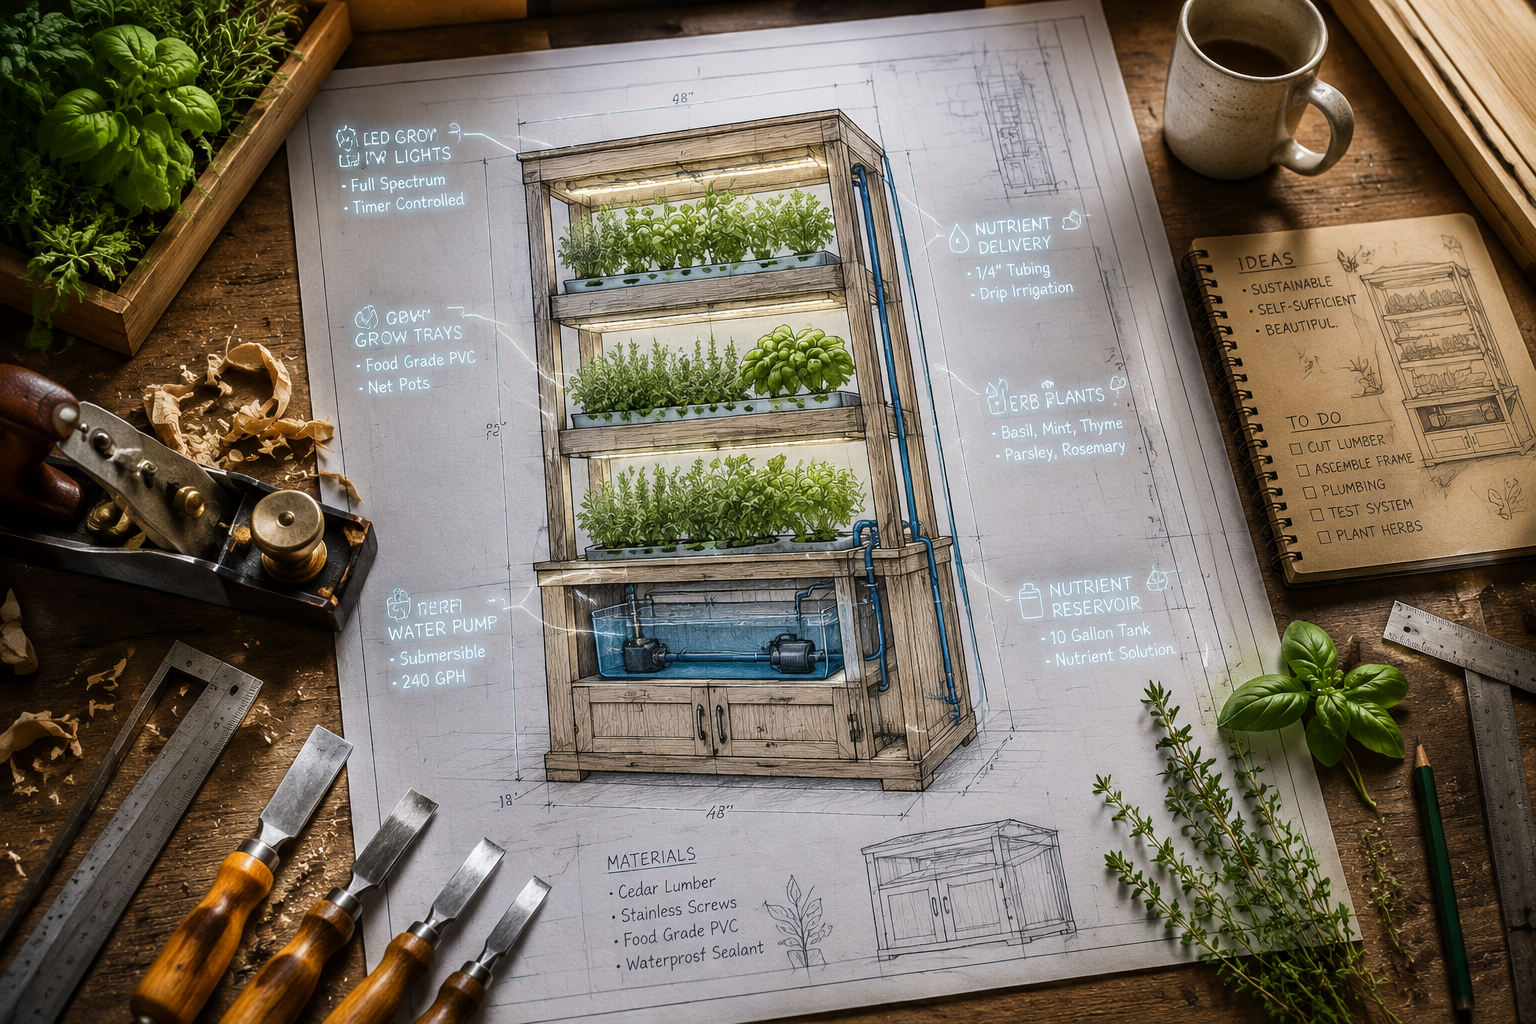
Essential Hydroponic Components
Regardless of the method chosen, certain core components are universal:
- Reservoir: Holds the nutrient solution. Size depends on your system’s scale.
- Grow Tray/Channels: Where the plants are housed, often with net pots.
- Water Pump: (For active systems like NFT, Drip) Circulates the nutrient solution.
- Air Pump & Air Stone: (For DWC) Oxygenates the nutrient solution.
- Grow Lights: Essential for indoor growing. LED grow lights are energy-efficient and offer customizable spectrums.
- Growing Medium: Inert materials like rockwool, coco coir, or hydroton clay pebbles provide support.
- Nutrient Solution: Specialized hydroponic fertilizers contain all necessary macro and micronutrients.
- pH Testing Kit: Crucial for maintaining the optimal pH level of the solution.
Conceptualizing Your Wooden Enclosure
The wooden enclosure serves multiple purposes: aesthetic integration, light containment, and protection for the hydroponic system.
- Aesthetics: Your enclosure should complement your home’s decor. Consider wood types like maple, cherry, or oak for a classic look, or reclaimed wood for a rustic charm. For ideas on working with different wood types, see our guide on stained hemlock wood basics or explore reclaimed wood accent walls.
- Size and Form Factor: Measure your available space. Will it be a countertop unit, a wall-mounted display, or a freestanding cabinet? Sketch out designs that accommodate the grow tray, reservoir, and lighting fixtures, leaving space for easy access for maintenance.
- Light Containment: The enclosure’s primary function (beyond aesthetics) is to contain the grow lights’ output, preventing light spill into your living space and concentrating it on the plants.
- Ventilation: Proper airflow is vital to prevent mold and ensure healthy plant growth. Design in small vents or a quiet fan.
- Access: Plan for easy access to the reservoir for nutrient changes, and to the plants for harvesting and pruning. Hinged doors, removable panels, or slide-out trays are all viable options.
- Waterproofing: While the hydroponic system itself will be watertight, the wooden enclosure should be protected from splashes and humidity. Consider applying a marine-grade sealant to interior wood surfaces or lining critical areas with a waterproof membrane.
“The beauty of a custom wooden enclosure lies in its ability to transform a functional hydroponic system into an integral, beautiful part of your home.”
Materials and Construction: Building a DIY Hydroponic Herb Garden with Custom Wooden Enclosures: Combining Woodcraft with Sustainable Living
With your design finalized, the next step involves gathering materials and executing the woodworking. This stage truly embodies the spirit of Building a DIY Hydroponic Herb Garden with Custom Wooden Enclosures: Combining Woodcraft with Sustainable Living, bringing your vision to life with precision and care.
Selecting Your Wood
The choice of wood impacts both durability and aesthetics.
- Hardwoods (Oak, Maple, Cherry): Offer excellent durability and a premium look, but are generally more expensive and harder to work with.
- Softwoods (Pine, Cedar, Fir): More affordable and easier to cut. Cedar offers natural resistance to moisture and pests, making it a good choice for this application. Pine is a budget-friendly option, but ensure it’s properly sealed.
- Plywood/MDF: Can be used for structural components or larger panels, especially if painted or veneered. Ensure any MDF is moisture-resistant.
For a visually appealing finish, explore various wood finishing techniques. Our guide on danish oil vs linseed offers insights into protecting and enhancing wood grain.
Essential Woodworking Tools
A well-equipped workshop simplifies this project. Depending on your design, you might need:
- Measuring & Marking Tools: Tape measure, ruler, square, pencil.
- Cutting Tools: Miter saw, table saw, jigsaw. A miter saw table height guide can help optimize your setup for precision.
- Drilling Tools: Drill/driver with various bits for pilot holes and assembly.
- Fastening Tools: Clamps, screws, wood glue, perhaps a nail gun.
- Sanding Tools: Orbital sander, sanding blocks, various grit sandpaper.
- Safety Gear: Safety glasses, hearing protection, dust mask.
Step-by-Step Construction Guide
- Cut Components: Based on your design plans, cut all wooden pieces to size. Label each piece to ensure accurate assembly.
- Prepare for Joinery: For strong, clean joints, consider techniques like dado joints, rabbet joints, or even dovetails for a more refined look. Our article on mastering dovetail joinery for drawers can provide advanced techniques applicable here.
- Assemble the Frame: Begin by assembling the main structural frame of the enclosure. Use wood glue and screws/nails for strength. Ensure everything is square and plumb.
- Install Panels: Attach side, back, and top/bottom panels. For the bottom, ensure a robust base that can support the weight of the water-filled reservoir.
- Create Access Points: Install hinges for doors or create channels for sliding panels.
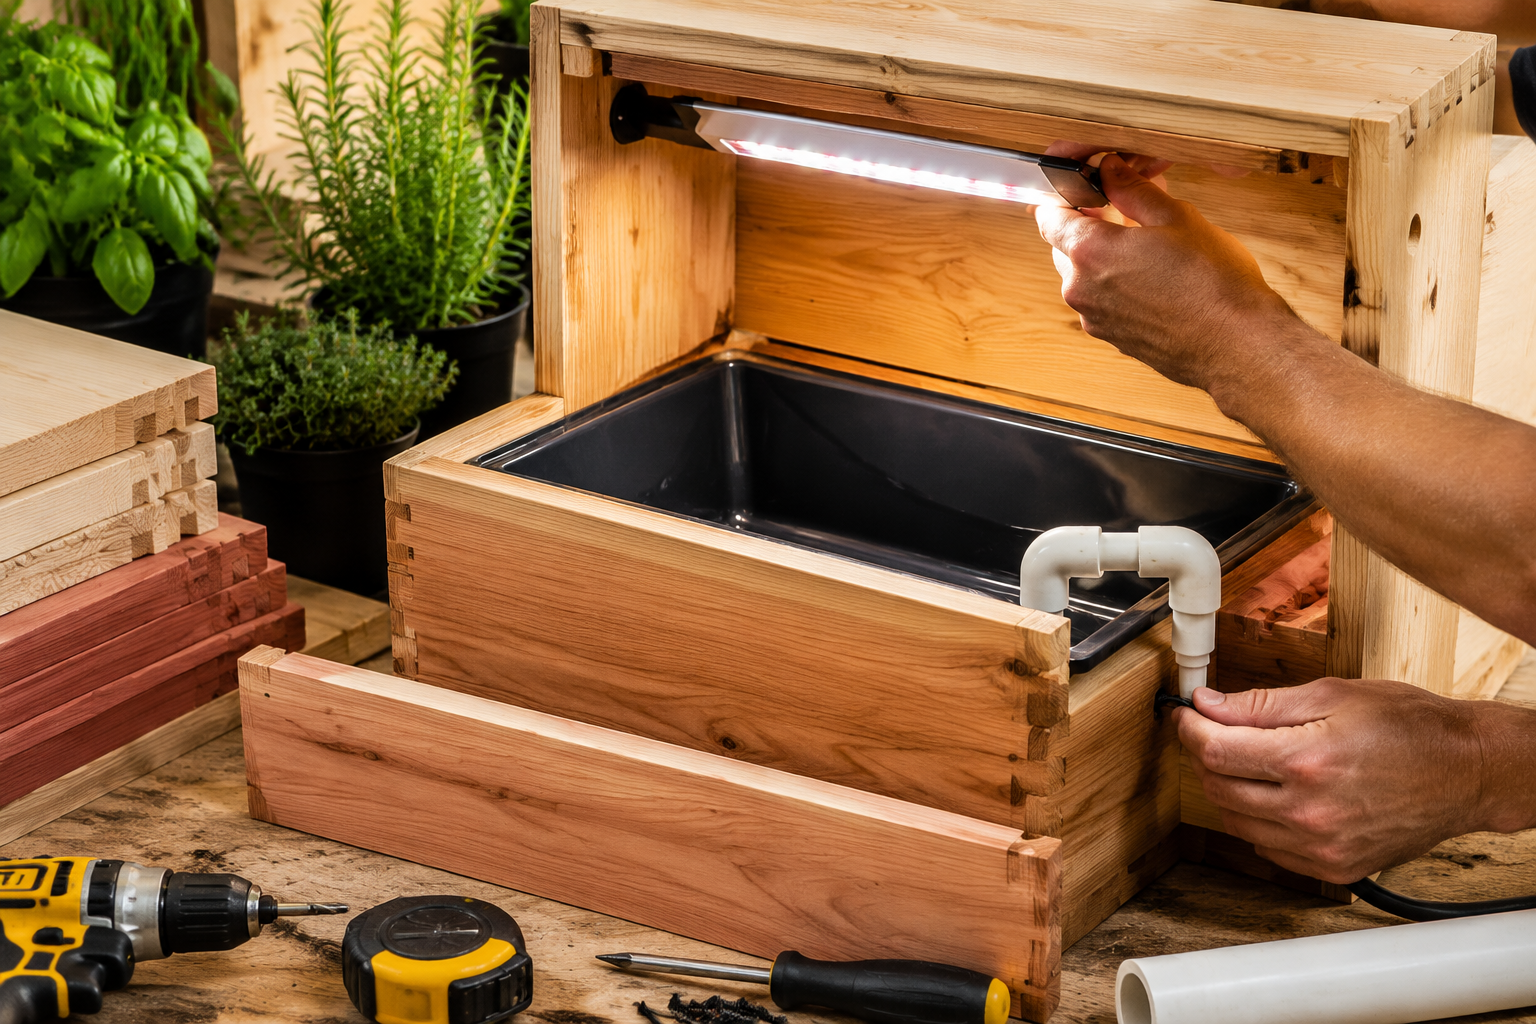
- Prepare for Hydroponics Integration:
- Cut Openings: Precisely cut openings for the grow tray, power cords, and any ventilation fans.
- Waterproofing: Apply a food-safe, waterproof sealant or install a plastic liner within the areas that will house the reservoir and grow tray to protect the wood from moisture damage.
- Light Mounting: Install fixtures for your grow lights. Ensure they are adjustable for different plant growth stages.
- Cable Management: Plan for discreet routing of power cords for lights, pumps, and fans. Consider methods used in DIY smart home integration with custom woodwork for a clean, integrated look.
- Sanding and Finishing: Sand all surfaces smooth, progressively moving to finer grits. Apply your chosen finish – stain, paint, or a clear protective coat – to enhance the wood’s appearance and provide additional moisture resistance.
“A well-built wooden enclosure not only houses your hydroponic garden but elevates it into a statement of sustainable craft.”
Setup, Maintenance, and Maximizing Your Herb Harvest
Once the wooden enclosure is complete, the final, rewarding stage is setting up your hydroponic system, planting your herbs, and enjoying the fruits (or rather, leaves) of your labor. This continuous process of nurturing truly exemplifies the sustainable living aspect of Building a DIY Hydroponic Herb Garden with Custom Wooden Enclosures: Combining Woodcraft with Sustainable Living.
Setting Up Your Hydroponic System
- Place Components: Position the reservoir, grow tray, pump (if applicable), and air stone inside the enclosure. Ensure easy access for maintenance.
- Add Growing Medium: Fill net pots with your chosen growing medium (e.g., rockwool cubes, coco coir).
- Prepare Nutrient Solution: Follow the manufacturer’s instructions to mix your hydroponic nutrients with water in the reservoir. Always use filtered water to prevent mineral buildup.
- Test pH: Use a pH testing kit to adjust the solution to the optimal range for most herbs (typically 5.5-6.5). pH up/down solutions are readily available.
- Install Plants: Carefully transfer your herb seedlings or sprouted seeds into the net pots, ensuring the roots have access to the nutrient solution or wicks.
- Adjust Grow Lights: Position your LED grow lights to the recommended distance above the plants. Most herbs require 12-16 hours of light per day.
- Check for Leaks: Before fully committing, run a test cycle to ensure all connections are secure and there are no leaks.
Ongoing Maintenance for a Thriving Garden
Consistent care is key to a productive hydroponic garden.
- Nutrient Solution Changes: Replace the entire nutrient solution every 1-2 weeks. This prevents nutrient imbalances and pathogen buildup.
- pH Monitoring: Check and adjust the pH daily or every other day. Herbs absorb nutrients differently at varying pH levels.
- Water Level Top-Offs: As plants grow and transpire, the water level in the reservoir will drop. Top off with fresh water and adjust pH as needed between full solution changes.
- Pruning & Harvesting: Regular pruning encourages bushier growth and prevents plants from becoming leggy. Harvest herbs by snipping off outer leaves, allowing the inner leaves to continue growing.
- Algae Prevention: Keep the nutrient solution reservoir covered to block light, which prevents algae growth. Algae compete with plants for nutrients.
- Pest and Disease Management: Inspect plants regularly for signs of pests or diseases. Hydroponic systems are generally less prone to soil-borne issues, but airborne pests can still be a concern.
Maximizing Your Herb Harvest
- Choose the Right Herbs: Select herbs that thrive in hydroponic conditions, such as basil, mint, chives, cilantro, parsley, and oregano.
- Stagger Planting: To ensure a continuous supply, plant new seeds or seedlings every few weeks.
- Optimize Light: Provide adequate light intensity and duration. Adjust light height as plants grow.
- Maintain Ideal Temperature: Most herbs prefer temperatures between 65-75°F (18-24°C).
- Air Circulation: Good airflow prevents stagnant air, which can lead to fungal issues. Small, quiet fans can be integrated into your wooden enclosure for this purpose.
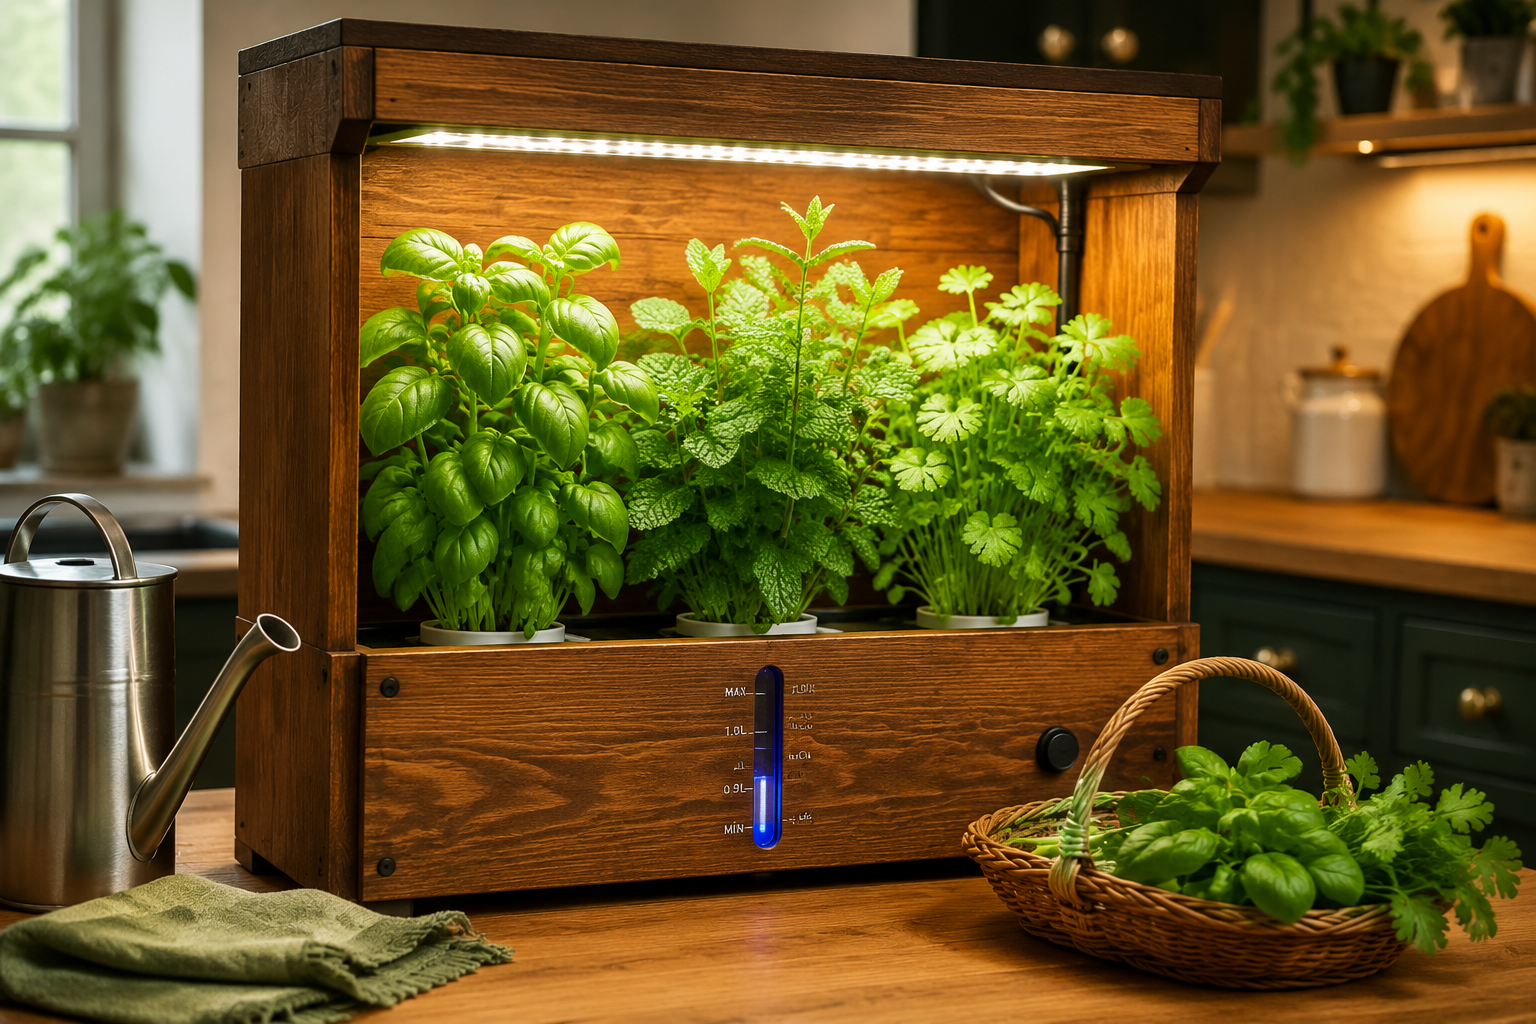
“With consistent care, your custom hydroponic herb garden will provide an abundant supply of fresh, flavorful herbs, enhancing your culinary creations and enriching your living space.”

Conclusion
Building a DIY Hydroponic Herb Garden with Custom Wooden Enclosures: Combining Woodcraft with Sustainable Living is more than just a project; it’s an investment in sustainable living, personal skill development, and the aesthetic enhancement of your home. In 2026, as interest in self-sufficiency and bespoke home elements continues to grow, undertaking such a venture positions you at the forefront of combining practicality with artistry. From the initial design to the first harvest of fragrant basil, each step offers a unique sense of accomplishment.
By carefully planning your hydroponic system, selecting appropriate materials, and applying sound woodworking techniques, you can create a beautiful, functional, and highly productive herb garden that seamlessly integrates into your living space. This endeavor not only provides you with fresh, organic herbs year-round but also stands as a testament to your craftsmanship and commitment to a more sustainable lifestyle. Embrace this fusion of woodcraft and cultivation, and enjoy the tangible rewards of your ingenuity.
Actionable Next Steps:
- Research & Design: Begin by thoroughly researching hydroponic methods and sketching out your ideal enclosure design.
- Gather Materials: Compile a list of all necessary hydroponic components and woodworking materials.
- Start Building: Take on the woodworking aspect, focusing on precision and safety. Consider exploring building a custom wood workbench if you need a solid foundation for your projects.
- Integrate Systems: Carefully install your hydroponic setup within the finished wooden enclosure.
- Plant & Enjoy: Introduce your chosen herbs and embark on the rewarding journey of hydroponic gardening.
References
- Jensen, M. H., & Maloof, R. J. (2018). Hydroponics for the Home Gardener. University of Arizona Extension.
- Chalker-Scott, L. (2015). The Informed Gardener: Hydroponics and Aquaponics. Washington State University Extension.
SEO Meta Title: Build a DIY Hydroponic Herb Garden with Custom Wood Enclosures SEO Meta Description: Learn to build a DIY hydroponic herb garden with custom wooden enclosures in 2026. Combine woodcraft with sustainable living for fresh herbs year-round.
