
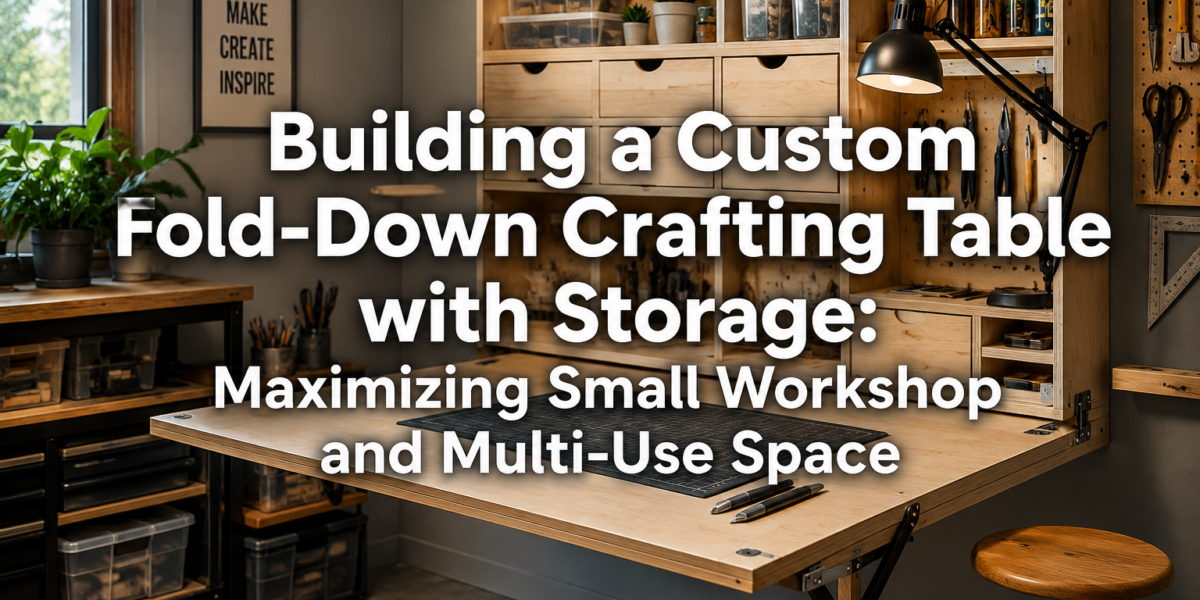
A staggering 63% of DIY enthusiasts and crafters cite lack of dedicated workspace as their biggest impediment to pursuing hobbies more regularly (Crafting Trends Report, 2025). This statistic underscores a universal challenge: how to carve out functional space for creative endeavors in homes where every square foot is precious. The solution often lies in intelligent, multi-functional furniture, and specifically, Building a Custom Fold-Down Crafting Table with Storage: Maximizing Small Workshop and Multi-Use Space. This article provides a comprehensive guide to designing and constructing a wall-mounted fold-down crafting table that offers ample workspace when deployed and discreetly conceals itself, revealing integrated storage for tools and materials, thus transforming any small area into a highly efficient crafting zone in 2026.
Key Takeaways
- Space Optimization: A custom fold-down table is ideal for small workshops, apartments, or multi-use rooms, effectively creating a dedicated workspace out of thin air.
- Integrated Storage: Design considerations should prioritize built-in shelving, drawers, and compartments to keep tools and materials organized and easily accessible.
- Customization is Key: Tailoring dimensions, materials, and features to specific crafting needs ensures maximum functionality and ergonomic benefits.
- Safety and Durability: Proper wall mounting, robust hardware, and stable construction are paramount for a safe, long-lasting table.
- Multi-Functional Design: This project isn’t just for crafting; it can serve as a temporary desk, sewing station, or even a compact Building a Custom Wood Workbench for light woodworking tasks.
Planning and Design: Laying the Foundation for Your Fold-Down Crafting Table
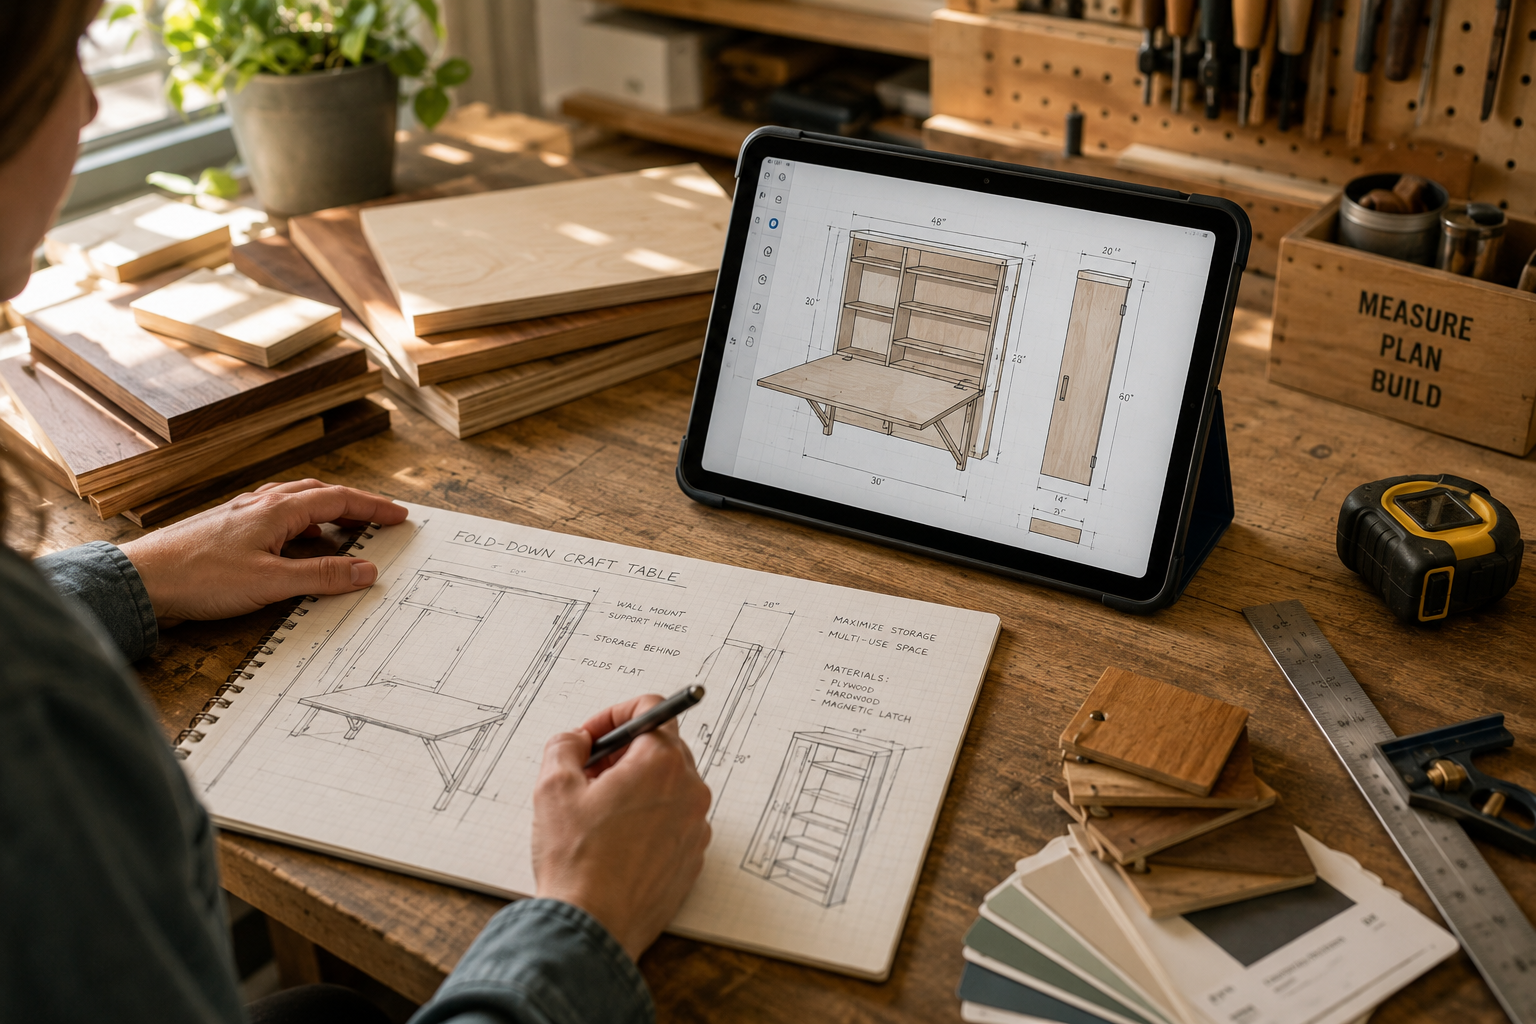
The success of Building a Custom Fold-Down Crafting Table with Storage: Maximizing Small Workshop and Multi-Use Space hinges on meticulous planning and thoughtful design. This initial phase involves evaluating your space, defining your needs, and sketching out a detailed blueprint.
Assessing Your Space and Needs 📏
Before cutting any wood, consider the environment where your table will reside.
- Available Wall Space: Measure the width and height of the wall where the table will be mounted. Account for clearances around doors, windows, and existing furniture.
- Depth Requirements: Determine how much projection from the wall is acceptable when the table is both folded down (for workspace) and folded up (for storage).
- Crafting Activities: What types of crafts will you be doing? This dictates the required surface area, strength, and specific storage needs.
- Sewing: May require a wider, deeper surface and storage for fabric, threads, and a sewing machine.
- Painting/Drawing: Needs a smooth, easily cleanable surface and compartments for brushes, paints, and paper.
- Light Woodworking: Requires a very sturdy surface and storage for hand tools, glues, and small stock. Consider our guide on Creating Ergonomic Workshop Furniture for ideas on comfortable heights.
- Ergonomics: What is your ideal working height? Will you be standing or sitting? A standard desk height is around 29-30 inches, but crafting often benefits from slightly higher surfaces.
- Weight Capacity: How much weight will the table need to support? This influences material choice and hardware selection.
Designing the Fold-Down Mechanism and Storage 🏗️
The core of this project is its dual functionality. The design must seamlessly integrate the fold-down tabletop with efficient, accessible storage.
Tabletop Design
- Dimensions: Based on your space and crafting needs, determine the ideal length and width. A common size might be 48 inches wide by 24 inches deep, but customize as necessary.
- Material:
- Plywood: A cost-effective and strong option. Baltic birch plywood is excellent for its stability and smooth finish. MDF can also be used but is heavier and more susceptible to moisture.
- Solid Wood: More durable and aesthetically pleasing but heavier and more expensive.
- Surface Finish: Consider laminates or a hard-wearing clear coat for easy cleaning and protection against spills.
- Hinges: Heavy-duty piano hinges or butt hinges are suitable for connecting the tabletop to the wall-mounted frame. Ensure they can handle the weight and repeated motion.
- Support Legs/Brackets:
- Folding Legs: Simple to implement, but may take up floor space when deployed.
- Folding Brackets: Provide excellent support and keep the floor clear. Look for heavy-duty, locking varieties for safety.
- Torsion Bar/Gas Struts: For larger or heavier tables, these can assist with lifting and lowering, making operation smoother.
Integrated Storage Solutions
When the table is folded up, the underside (now facing outwards) or the wall-mounted structure itself should transform into a storage unit. This is where the “storage” aspect of “Building a Custom Fold-Down Crafting Table with Storage: Maximizing Small Workshop and Multi-Use Space” truly shines.
- Shelving: Shallow shelves for small tools, jars of beads, or spools of thread.
- Drawers: Thin drawers or pull-out trays are perfect for keeping smaller items organized and dust-free. Our guide on DIY Modular Desk Organizers can offer inspiration.
- Pegboards: An excellent, versatile option for hanging tools, rulers, and scissors.
- Bins/Containers: Custom-sized slots for plastic bins to hold various supplies.
- Magnetic Strips: For metal tools like scissors or utility knives.
Table 1: Common Materials and Their Characteristics
| Material Type | Pros | Cons | Best For |
|---|---|---|---|
| Baltic Birch Ply | Strong, stable, smooth, good for joinery | Heavier, higher cost | Tabletop, structural components |
| MDF | Smooth surface, affordable | Heavy, weak screw retention, water sensitive | Cabinet backs, drawer bottoms (non-structural) |
| Solid Wood | Durable, aesthetic, long-lasting | Expensive, wood movement, heavier | Edging, decorative elements, main frame |
| Melamine-faced Ply | Easy to clean, scratch-resistant | Edges chip easily, heavy | Work surface (if moisture isn’t an issue) |

Sketching and Prototyping
Draw detailed plans, including dimensions, hardware placement, and joinery. Consider making a small-scale model or a cardboard prototype to test the folding mechanism and storage layout. This step helps identify potential issues before committing to cuts. Remember, precise measurements are critical for a functional and aesthetically pleasing outcome.
Construction and Assembly: Bringing Your Design to Life
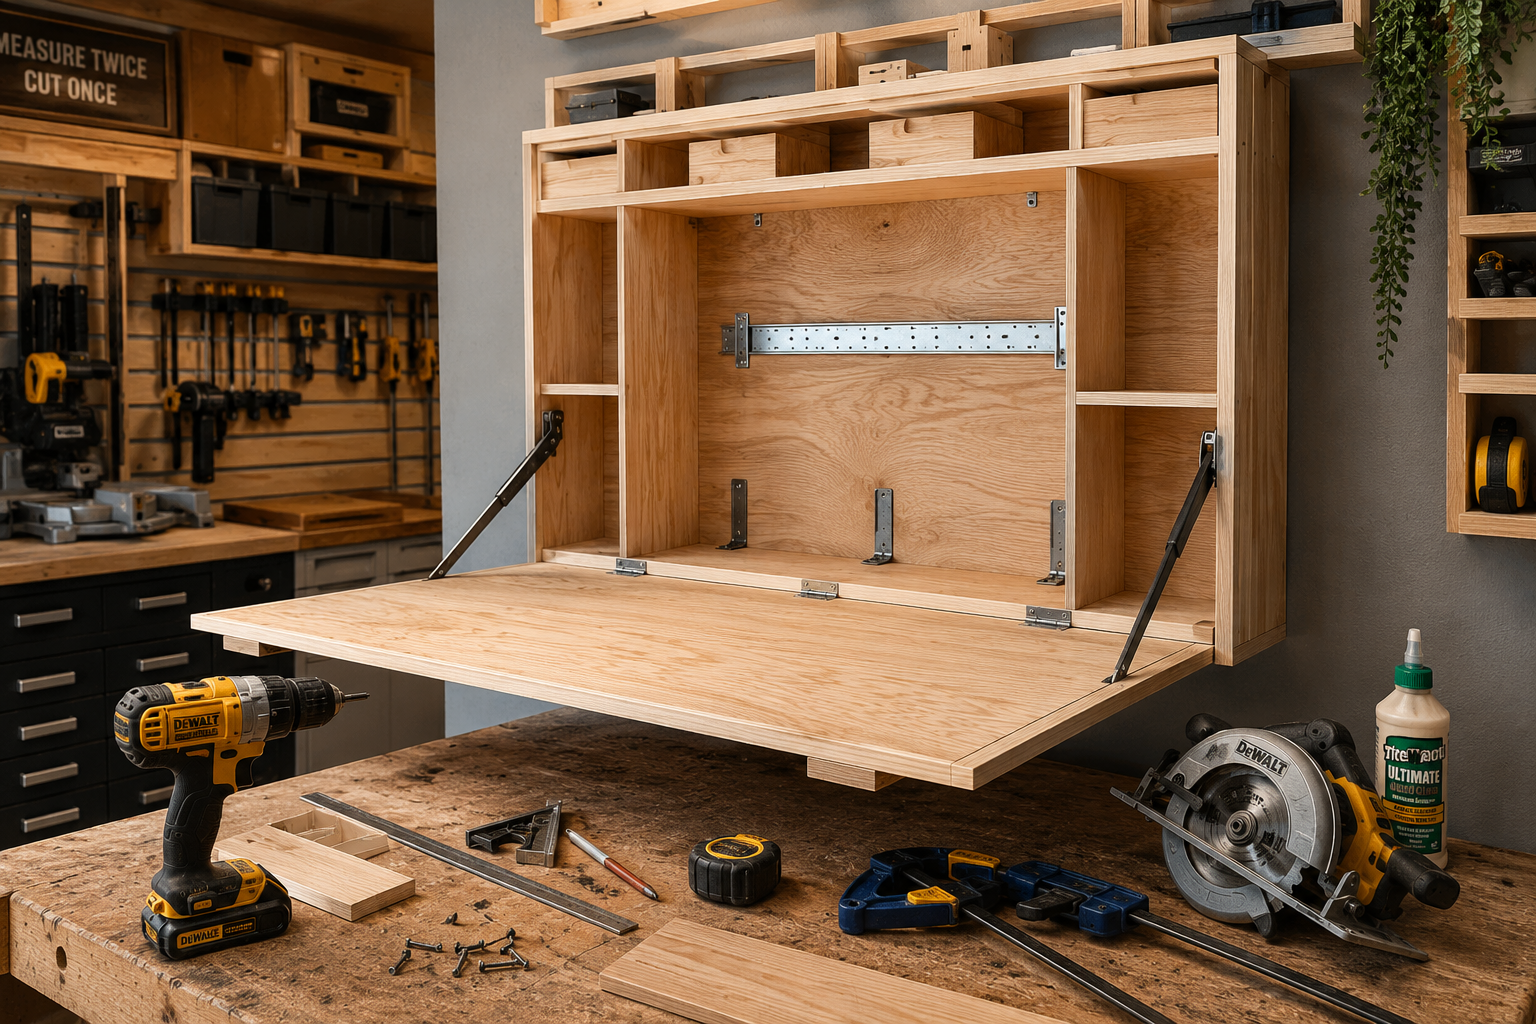
With a solid plan in hand, the next phase involves the actual construction and assembly of your custom fold-down crafting table. This section focuses on material selection, cutting, joinery, and secure installation.
Sourcing Materials and Cutting List 🪵
Based on your design, create a precise cutting list for all wooden components.
- Wood Selection: Choose high-quality lumber or plywood that matches your design specifications. For structural elements, ensure straight, knot-free pieces.
- Hardware:
- Hinges: Heavy-duty continuous piano hinge or multiple butt hinges for the tabletop.
- Support Brackets/Legs: Robust folding brackets (e.g., Kesseböhmer style) or strong, lockable folding legs.
- Mounting Hardware: Lag screws or heavy-duty toggle bolts suitable for your wall type (studs are always preferred).
- Drawer Slides/Pulls: If incorporating drawers.
- Latches: To secure the table in the folded-up position.
Step-by-Step Construction Process 🛠️
1. Building the Wall-Mounted Frame/Cabinet
This forms the base of your fold-down unit and houses the integrated storage.
- Cut Components: Precisely cut the side panels, top, bottom, and back of your wall unit according to your plans.
- Assemble the Frame: Use strong joinery methods like dados, rabbets, or pocket screws reinforced with glue for durability. Ensure the frame is perfectly square. This frame will directly bear the weight of the tabletop and its contents. For additional guidance on robust construction, refer to our article on Building Modular Wood Storage Systems for Small Workshops.
- Install Internal Storage: Before mounting, install any shelves, drawer slides, or pegboard sections within the frame. This is easier to do while the unit is still on the workbench.
2. Constructing the Tabletop
- Cut and Edge: Cut your chosen tabletop material to size. If using plywood, apply solid wood edging for a more finished look and to protect the edges from wear.
- Finish Prep: Sand all surfaces thoroughly, progressing through grits from coarse to fine (e.g., 80, 120, 180, 220).
3. Attaching the Tabletop to the Frame
- Hinge Placement: Position the piano hinge along the bottom edge of the wall-mounted frame and the corresponding edge of the tabletop. Ensure proper alignment for a smooth pivot.
- Secure Hinges: Use appropriate screws (typically flat-head wood screws) to firmly attach the hinge to both components. Pre-drilling pilot holes is crucial to prevent splitting the wood.
4. Installing Support Mechanisms
- Folding Brackets/Legs: Attach the folding brackets or legs to the underside of the tabletop. Ensure they are evenly spaced and will provide stable support when extended. Test their locking mechanism. The placement should ensure stability without interfering with the storage compartments when folded.
- Consider a magnetic or mechanical latch system to hold the table securely in its folded-up position. This prevents accidental deployment and ensures a neat appearance.

Finishing and Wall Mounting ✨
1. Finishing Touches
- Stain/Paint: Apply your desired stain or paint, following the manufacturer’s instructions.
- Protective Coat: Apply multiple coats of a durable clear finish (polyurethane, lacquer, or epoxy) to protect the tabletop and storage unit from wear, moisture, and chemicals. Lightly sand between coats for a smooth finish.
2. Wall Mounting
- Locate Studs: Use a stud finder to locate wall studs. This is critical for secure mounting. Mark their locations precisely. If studs aren’t available where needed, consider using a ledger board spanning multiple studs, to which your unit can then be attached.
- Level and Mark: Hold the assembled wall unit against the wall at the desired height. Use a level to ensure it’s perfectly horizontal and vertical. Mark the mounting screw locations.
- Pre-Drill: Pre-drill pilot holes through the back of the wall unit and into the wall studs.
- Secure Mounting: Use heavy-duty lag screws or structural screws to firmly attach the unit to the wall studs. For walls without sufficient stud access, heavy-duty toggle bolts or specialized wall anchors designed for substantial weight are necessary, though stud mounting is always preferred for this type of furniture.
- Final Checks: Once mounted, carefully lower and raise the tabletop several times. Check for smooth operation, stability, and secure locking of the support mechanism. Ensure the table is level when extended.
Maximizing Functionality and Longevity in 2026
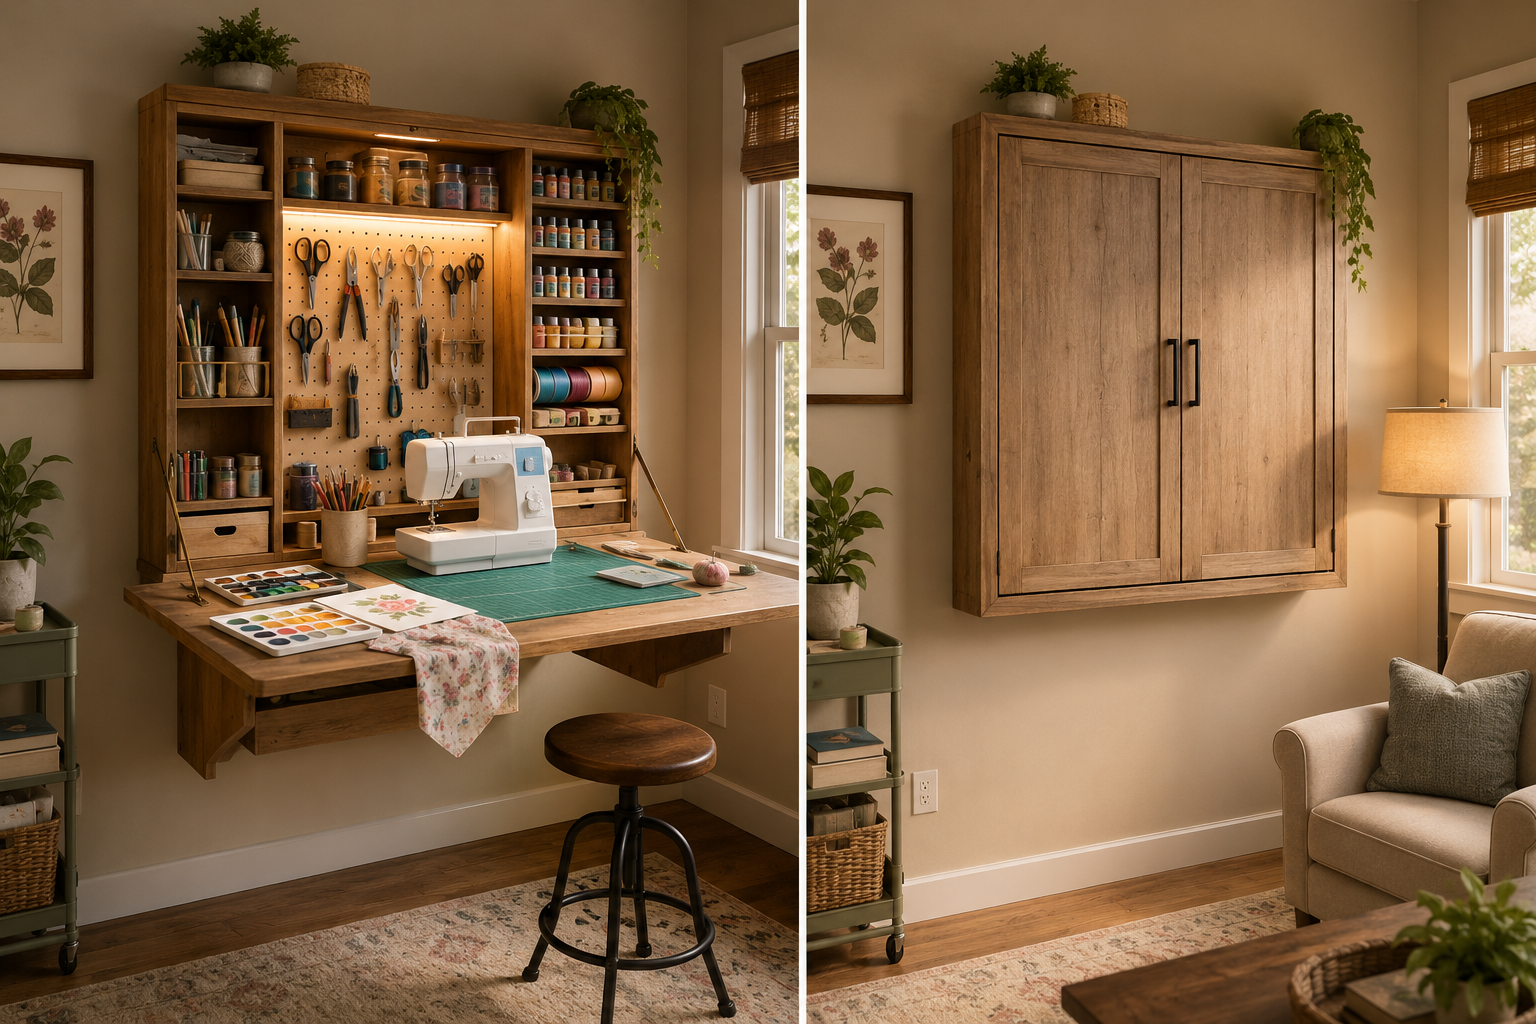
Once your custom fold-down crafting table with storage is built and installed, the focus shifts to optimizing its use and ensuring it serves you well for years to come.
Optimizing Storage and Workspace 🗃️
- Categorize and Organize: Dedicate specific storage compartments to categories of tools or materials. For example, one shelf for paints, another for brushes, drawers for small notions.
- Labeling: Label bins or drawer fronts for quick identification, especially helpful in a compact space where everything has its designated spot.
- Vertical Storage: Utilize every inch of vertical space within the wall unit. Adjustable shelves can be invaluable. Consider adding a small DIY Compact Entryway Organizer inspired section for quick-grab items.
- Lighting: Integrate task lighting, such as a battery-powered LED strip or a small, clip-on lamp, to illuminate your workspace when the table is deployed.
- Tool Accessibility: Arrange tools on the pegboard or shelves based on frequency of use. Frequently used items should be within easy reach.
Ergonomics and Comfort 🧘♀️
Even in a small space, comfort should not be compromised.
- Seating: Choose an adjustable stool or chair that fits neatly under the folded-down table or can be tucked away when not in use. An ergonomic chair can significantly enhance productivity and reduce strain during long crafting sessions.
- Working Height: Ensure the table’s height aligns with your ergonomic needs for the specific crafts you perform. If you primarily stand, a slightly higher table might be ideal.
Maintenance and Care upkeep
Regular maintenance will preserve the beauty and functionality of your custom table.
- Cleaning: Wipe down the work surface regularly to prevent buildup of dust, paint, or glue residue. Use cleaners appropriate for your finish.
- Hardware Checks: Periodically inspect hinges, support brackets, and mounting screws for any signs of loosening or wear. Tighten as needed.
- Lubrication: If hinges or folding mechanisms become stiff, apply a dry lubricant to ensure smooth operation.
- Wood Protection: If your table is in a high-humidity area, ensure your finish is intact to protect against moisture. Address any dings or scratches promptly to prevent further damage. Understanding Understanding Wood Movement can help you anticipate and mitigate issues.
By focusing on these aspects, your custom fold-down crafting table with storage becomes more than just a piece of furniture; it becomes an integral, highly efficient component of your workshop or multi-use room, adaptable to the demands of 2026’s diverse crafting landscape. It truly embodies the goal of “Building a Custom Fold-Down Crafting Table with Storage: Maximizing Small Workshop and Multi-Use Space”.

Conclusion
Building a Custom Fold-Down Crafting Table with Storage: Maximizing Small Workshop and Multi-Use Space is an incredibly rewarding project that addresses a common challenge for crafters and DIY enthusiasts alike. By thoughtfully designing a multi-functional piece that seamlessly integrates a sturdy workspace with clever, concealed storage, you can transform even the most confined areas into productive and inspiring creative hubs.
The journey from initial concept and space assessment to the final application of a protective finish requires careful planning, precise execution, and an eye for both aesthetics and functionality. The result is not just a table, but a highly efficient system that keeps your tools and materials organized, accessible, and out of sight when not in use, making it an invaluable addition to any small workshop, craft room, or multi-purpose living area in 2026. This project is a testament to the power of custom woodworking to solve practical problems and enhance daily life.
Actionable Next Steps:
- Measure Your Space: Accurately measure the wall area and consider the desired projection of your table.
- Sketch Your Design: Create a detailed drawing, incorporating the fold-down mechanism, storage types (shelves, drawers, pegboard), and ergonomic considerations.
- Source Materials: Compile a precise cutting list and gather all necessary wood, hinges, support brackets, and mounting hardware.
- Build with Precision: Follow the construction steps carefully, ensuring strong joinery and stable components.
- Finish and Install: Apply a durable finish and securely mount your table to wall studs for maximum safety and longevity.
- Organize and Personalize: Fill your new storage with categorized tools and materials, and personalize the space to inspire your creative endeavors.
SEO Meta Title: Build a Custom Fold-Down Crafting Table with Storage SEO Meta Description: Maximize small workshops and multi-use spaces in 2026 by building a custom fold-down crafting table with integrated storage for tools and materials.