
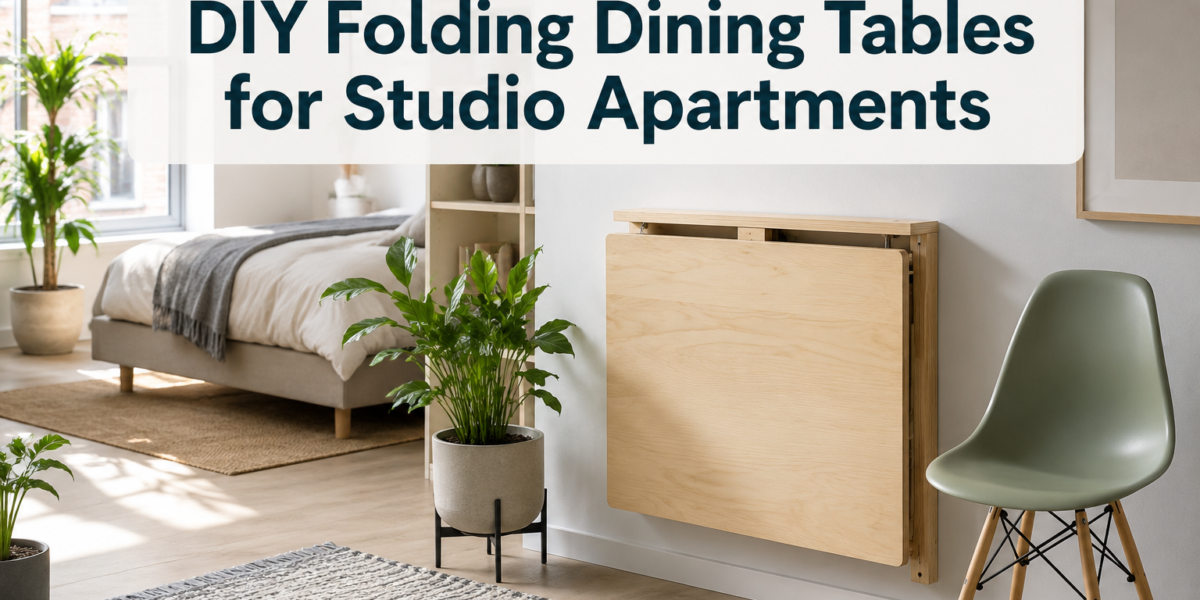
More than 3.7 million households in the United States alone reside in studio apartments, where every square inch of living space is a precious commodity. In such environments, traditional, fixed dining tables can quickly become cumbersome, turning a cozy home into a cramped obstacle course. This escalating demand for compact living solutions has fueled innovation in furniture design, particularly in the realm of DIY folding collapsible dining tables. These ingenious pieces offer a dual benefit: a functional eating surface when needed and an almost invisible presence when not, making them indispensable for anyone looking to maximize utility and maintain an open feel in a smaller dwelling. This article explores the construction, design principles, and essential considerations for creating your own DIY Folding Collapsible Dining Tables: Space-Saving Designs for Studio Apartments.
Key Takeaways
- DIY folding collapsible dining tables are crucial for optimizing space in studio apartments.
- Focus on stable leg mechanisms (e.g., cross-leg, drop-leaf) and durable hardware for safety and longevity.
- Material selection should balance durability, weight, and aesthetic appeal to suit a small living space.
- Finishing techniques are vital for protecting the table from daily wear and ensuring easy maintenance.
- Thoughtful design integrates the table seamlessly into the existing decor, enhancing functionality and style.
The Foundation: Stable Leg Mechanisms for Your DIY Folding Collapsible Dining Tables: Space-Saving Designs for Studio Apartments
The cornerstone of any functional folding dining table is its stability, especially when fully extended. For a DIY project, selecting and implementing the right leg mechanism is paramount. This choice dictates not only the table’s robustness but also the ease with which it can be deployed and stored.
Exploring Common Leg Mechanisms
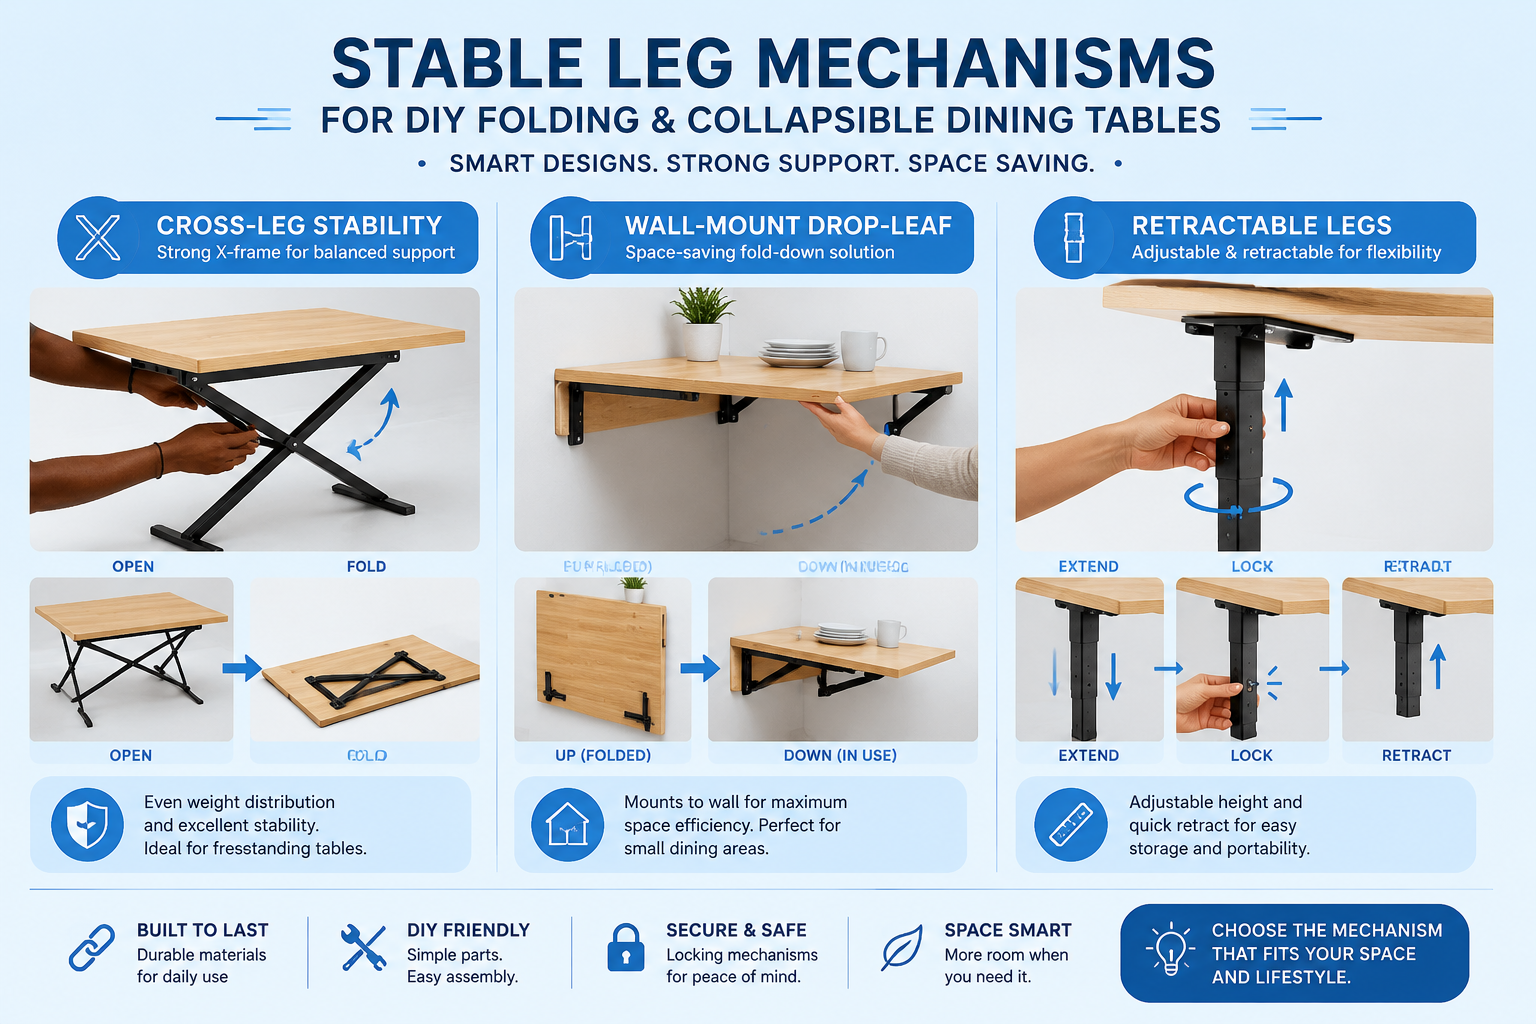
Several designs lend themselves well to DIY folding collapsible dining tables, each with distinct advantages:
Cross-Leg (Sawhorse) Design:
- Description: This classic design uses two X-shaped leg assemblies that pivot inward for collapse. When extended, they provide a wide, stable base.
- Advantages: Inherently strong and stable, relatively simple to construct, and often has a visually appealing, rustic aesthetic.
- Considerations: Requires careful joinery to ensure smooth folding and rigidity when open. Can be slightly bulkier even when folded compared to other options.
- Tip: Utilize robust hand tool joinery for visible wood joints to enhance both strength and appearance.
Drop-Leaf Mechanisms (Wall-Mounted or Freestanding):
- Description: These tables feature one or more hinged leaves that can be lifted to expand the table surface and dropped down to reduce its footprint. Wall-mounted versions can disappear almost entirely when not in use.
- Advantages: Extremely space-efficient, particularly the wall-mounted variants which free up floor space completely.
- Considerations: Relies heavily on strong hinges and support brackets. Freestanding drop-leaf tables often require additional support legs for the leaves.
- Tip: When building wall-mounted designs, ensure the mounting hardware is securely fastened into wall studs for maximum stability.
Gate-Leg Mechanisms:
- Description: Similar to drop-leaf tables, but with legs that swing out to support the extended leaves.
- Advantages: Offers excellent stability for the extended leaves, as each leaf has its own support.
- Considerations: More complex to construct due to the moving leg components. Requires precise alignment for smooth operation.
Retractable/Telescoping Legs:
- Description: Legs that slide into themselves or a central column, allowing the table to be lowered or shortened.
- Advantages: Modern, sleek appearance. Can offer variable height options.
- Considerations: Typically involves more specialized hardware and can be more challenging for a DIYer without advanced metalworking or precise routing skills.
Regardless of the chosen mechanism, the goal is always to achieve a table that feels solid and secure during use, eliminating any wobble or instability. Precision in cutting and assembly is non-negotiable for both functionality and safety.
Designing for Stability and Ease of Use
When planning your DIY folding collapsible dining table, consider these elements for enhanced stability and user experience:
- Materials: Opt for sturdy, yet manageable materials. Plywood, solid hardwoods like maple or birch, and even reclaimed wood can be excellent choices. Avoid overly heavy materials that could make folding difficult. For more robust options, consider high-demand woodworking projects for 2026 that utilize durable lumber.
- Weight Distribution: Design the table to distribute weight evenly across its supporting structure. This is especially important for drop-leaf or gate-leg designs where extensions might place uneven stress.
- Locking Mechanisms: Incorporate simple, reliable locking mechanisms (latches, pins, or strong magnets) to keep the table securely in its open position during use and its folded position during storage.
- Ergonomics: Ensure the table height is comfortable for dining (typically 29-30 inches) when fully extended. Also, consider the reach for folding and unfolding.
Hardware and Finishes: Ensuring Longevity and Style for Your DIY Folding Collapsible Dining Tables: Space-Saving Designs for Studio Apartments
The success of your DIY folding collapsible dining table hinges not just on the structural design but equally on the quality of its hardware and the resilience of its finish. These elements dictate the table’s durability, ease of operation, and how well it withstands the rigors of daily use in a studio apartment.
Essential Hardware for Smooth Operation
Selecting the right hardware is critical for a smooth-operating and durable table. Cheap or inadequate hardware can lead to frustrating operation, instability, or premature failure.
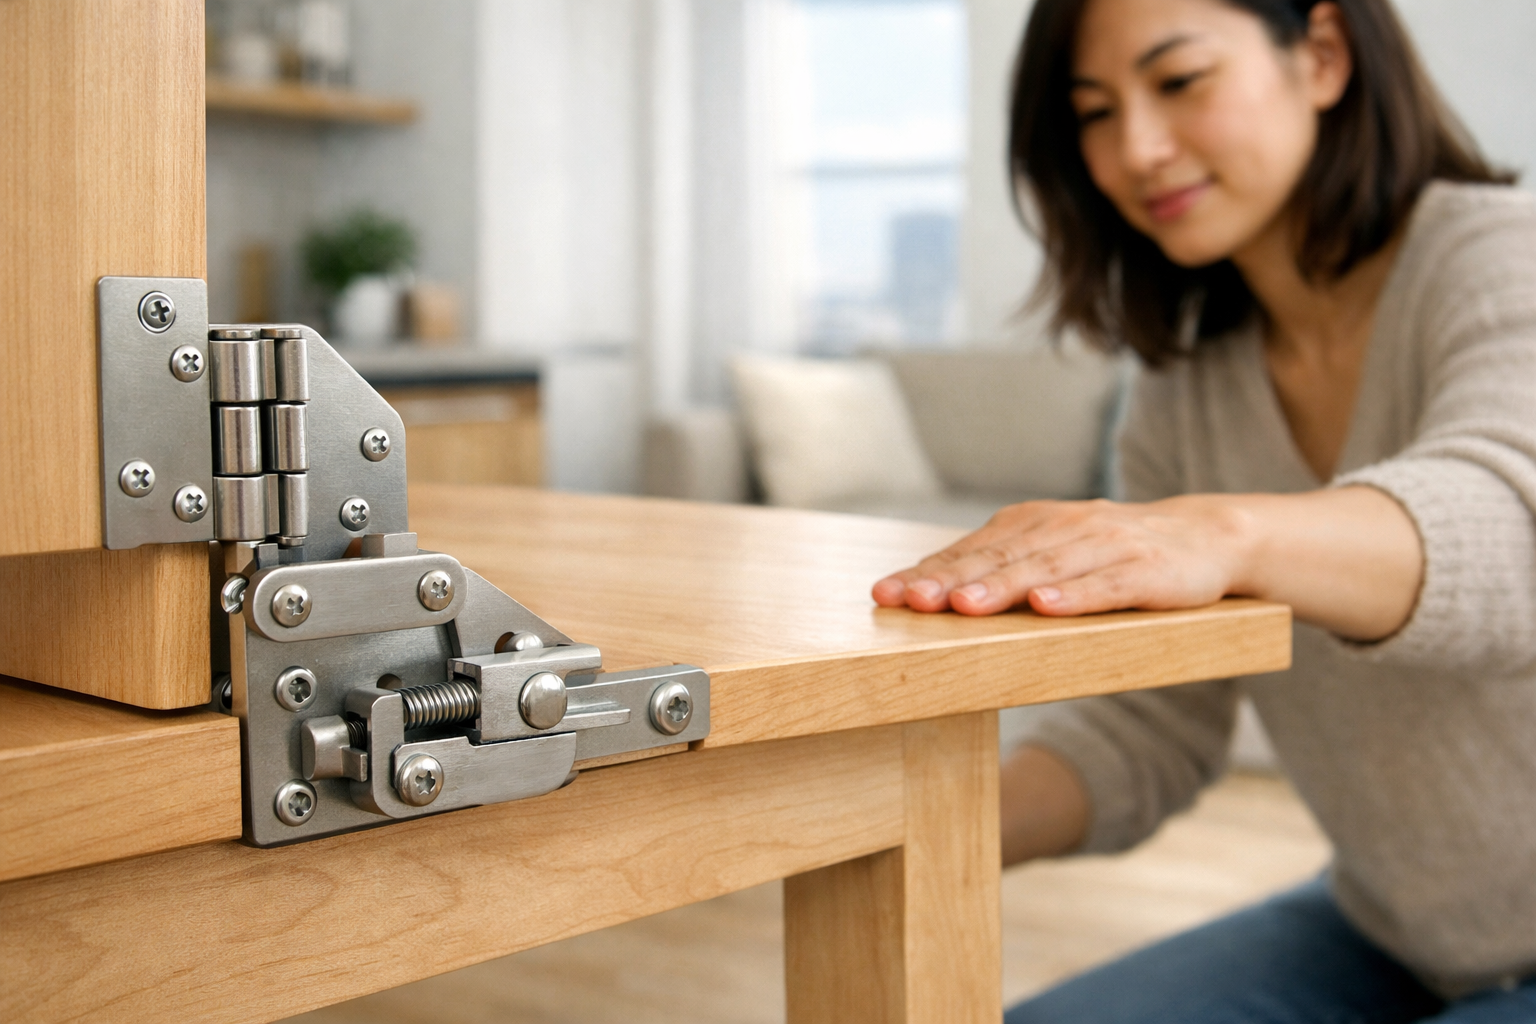
- Hinges: For drop-leaf or gate-leg designs, invest in heavy-duty, self-supporting, or locking hinges. Piano hinges are excellent for long, continuous leaves, providing strong, even support. Barrel hinges are good for more compact folding.
- Brackets: Wall-mounted tables will require robust folding shelf brackets. Look for options with a positive lock mechanism to prevent accidental collapse. Ensure they can bear significant weight.
- Latches and Catches: Simple, sturdy latches (e.g., barrel bolts, magnetic catches) can secure the table in its folded or extended positions, preventing accidental unfolding or swaying.
- Drawer Slides (for hidden compartments): If your design includes integrated storage, high-quality drawer slides are essential. These can also be adapted for innovative pull-out table extensions. Consider our guide on smart workshop storage solutions for ideas on compact solutions.
- Fasteners: Use appropriate screws for the wood type and thickness. Pre-drilling pilot holes is crucial to prevent splitting and ensure a strong, clean connection.
Table 1: Recommended Hardware for Folding Dining Tables
| Hardware Type | Application | Key Features |
|---|---|---|
| Heavy-Duty Hinges | Drop-leaf, gate-leg, folding tabletops | Self-supporting, locking, piano hinges, barrel hinges |
| Folding Brackets | Wall-mounted drop-leaf | Positive lock, high weight capacity |
| Magnetic Catches | Securing folded leaves, hidden compartments | Strong pull force |
| Barrel Bolts/Latches | Locking table in extended position | Durable metal construction |
| Nylon Glides/Casters | Leg bases for smooth movement/protection | Floor protection, easy repositioning |
Finishes That Survive Daily Meals
A dining table, especially one in a studio apartment, is exposed to spills, heat, and constant use. The finish isn’t just for aesthetics; it’s a protective shield.
- Durability is Key: Opt for finishes known for their hardness and resistance to moisture, heat, and abrasion.
- Polyurethane: A highly popular choice, polyurethane (oil-based or water-based) creates a durable, plastic-like film that is very resistant to scratches and spills. Multiple thin coats are recommended.
- Varnish: Offers excellent protection and can be rubbed to a beautiful sheen. Marine varnish provides superior water resistance, making it ideal for high-use surfaces.
- Epoxy Resin: For an extremely hard, waterproof, and high-gloss finish, consider a food-safe epoxy resin. This is particularly good for tables made from live edge slab selection and preparation or reclaimed wood restoration where you want to highlight the natural beauty while providing maximum protection.
- Oil Finishes (e.g., Tung Oil, Linseed Oil): These penetrate the wood, offering a more natural look and feel. While beautiful, they provide less surface protection than film-building finishes and require more frequent reapplication, especially on a dining surface.
- Stain + Topcoat: If you want to alter the wood color, apply a wood stain first, followed by several coats of a durable topcoat like polyurethane or varnish.
Before applying any finish, ensure the wood surface is meticulously sanded and clean. Proper preparation ensures optimal adhesion and a flawless result. For more detailed insights into woodworking finishes, exploring techniques for high-gloss wood finishing can elevate your project’s aesthetic and protective qualities.
Design Integration: Blending Your Folding Table with Studio Apartment Aesthetics
Creating a DIY folding collapsible dining table isn’t just about functionality; it’s also about seamlessly integrating it into the unique aesthetic of a studio apartment. The goal is to craft a piece that, when not in use, either disappears into the background or serves as a subtle design element, rather than an obvious, bulky piece of furniture.
Aesthetic Considerations for Small Spaces
A studio apartment benefits greatly from furniture that enhances the sense of space and light.
- Visual Lightness: Opt for designs that appear lightweight. This can be achieved through thinner tabletops, open leg designs, or lighter wood tones. Avoiding heavy, dark materials can prevent the room from feeling closed in.
- Color Palette: Match the table’s wood finish or paint color to the existing decor. Lighter woods (e.g., birch, maple) or painted finishes in neutral tones (white, grey, pastels) can make the table feel less imposing.
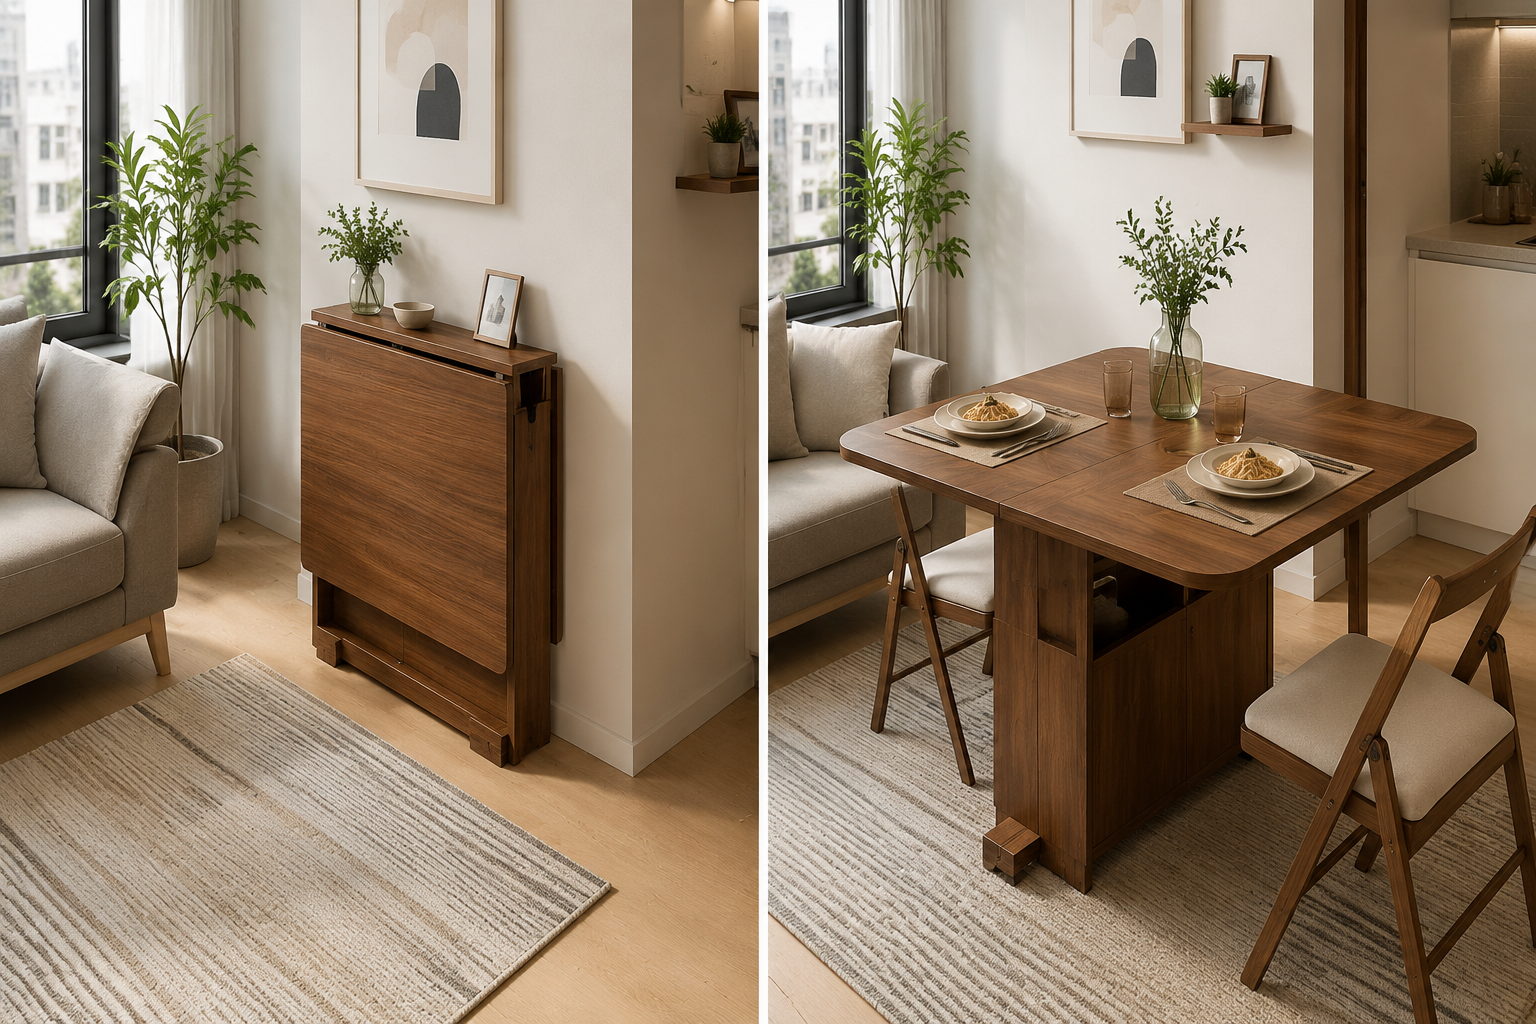
- Multifunctionality Beyond Dining: Can your folded table double as a narrow console table, a wall shelf, or even a decorative panel? Incorporating secondary functions maximizes its value even when not actively used for dining. For instance, a wall-mounted design could have a small shelf on top when folded.
- Integration with Existing Furniture: Consider how the table will look next to your modular home office desk system or other large pieces. Harmony in style, scale, and finish is key.
Crafting a Custom Look
The beauty of DIY is the ability to customize. Here are ways to personalize your folding dining table:
- Wood Selection: Beyond common hardwoods, consider unique woods or reclaimed wood that tell a story. This adds character without adding clutter.
- Edge Treatments: A simple chamfer or round-over on the tabletop edges can soften the look and make it safer in a tight space. Use a router table for precise edge work, referencing resources on mastering the router table.
- Hardware as a Design Feature: Instead of hiding all hardware, consider using attractive brass hinges or brushed steel latches that complement your apartment’s style.
- Integrated Storage: A small, shallow drawer under the tabletop can hold placemats, napkins (perhaps in a foldable wooden napkin holder), or even engraved wooden coasters.
- Wall Art Integration (for wall-mounted designs): If your table folds flat against the wall, consider adding a decorative panel or a simple frame that, when folded, transforms the table into a piece of wall art or blends with an existing handcrafted wooden wall clock.
Studio apartment living demands thoughtful design. Your DIY folding collapsible dining table should be a testament to both functionality and personal style, demonstrating that practical solutions can also be beautiful additions to a home.
Conclusion
The pursuit of efficient living in studio apartments necessitates innovative solutions, and a DIY folding collapsible dining table stands out as a prime example of form meeting function. By carefully considering stable leg mechanisms, selecting robust hardware, and applying durable finishes, you can construct a table that not only serves your dining needs but also seamlessly integrates into your compact living space. The ability to customize materials, finishes, and specific features ensures your creation perfectly reflects your personal style while providing unmatched utility. Embarking on this project offers the satisfaction of craftsmanship and the tangible benefit of a more organized, spacious, and adaptable home environment in 2026.
Actionable Next Steps:
- Research Designs: Explore various folding table designs (cross-leg, drop-leaf, gate-leg) to find one that aligns with your woodworking skill level and apartment layout.
- Gather Materials: Select durable wood (e.g., birch plywood, solid maple) and high-quality hardware (hinges, brackets, latches) that will ensure stability and longevity.
- Plan Your Build: Sketch your design, create a cut list, and identify any specialized tools you might need. Consider a compact workbench for your workshop if space is tight, as detailed in our guide on building a compact and ergonomic workbench for small workshops.
- Practice Techniques: If new to joinery or finishing, practice on scrap pieces before working on your final project.
- Finish Strong: Apply a hard-wearing finish like polyurethane to protect your table from daily wear and spills, ensuring it remains beautiful for years to come.
SEO Meta Title: DIY Folding Collapsible Dining Tables for Studio Apartments SEO Meta Description: Maximize space in your studio with DIY folding collapsible dining tables. Get build plans, stable designs, hardware tips, and finishes that last.