
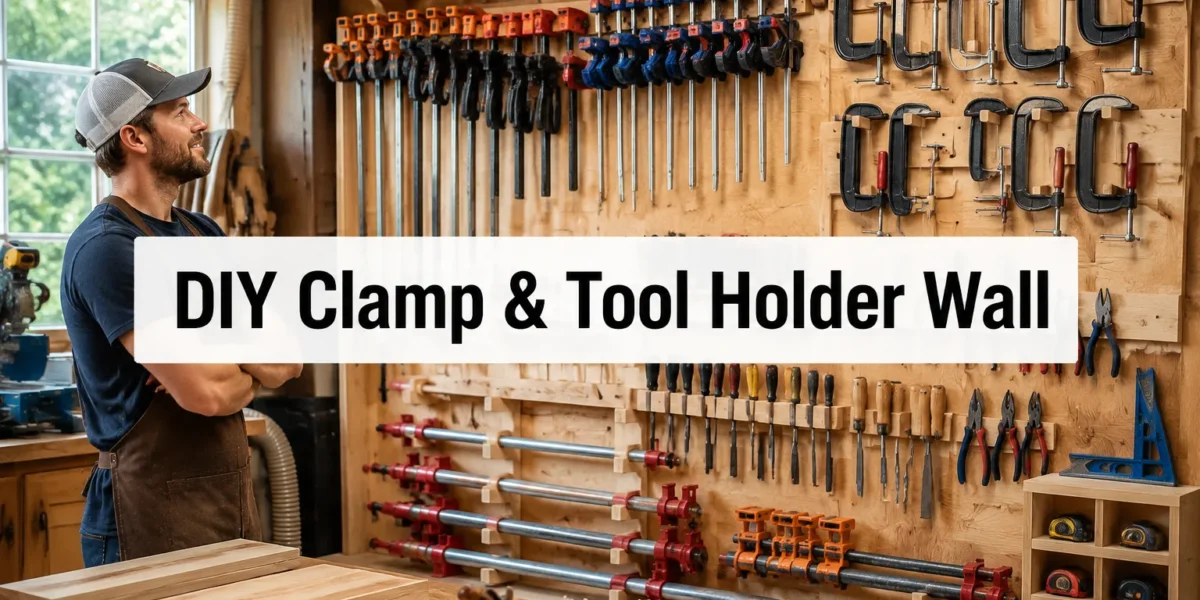
The average woodworker spends approximately 20% of their project time simply searching for tools, a statistic that underscores a profound inefficiency in many home workshops. Maximize your workshop efficiency and keep your most-used tools within reach by building a custom DIY clamp rack and tool holder wall system. This article will guide you through creating a bespoke storage solution tailored to your specific needs, transforming a chaotic space into a highly productive one. A well-designed DIY clamp rack and tool holder wall is not merely about tidiness; it’s about streamlining your workflow, protecting your valuable tools, and ultimately, enjoying your craft more.
Key Takeaways
- A custom DIY clamp rack and tool holder wall significantly reduces time spent searching for tools, boosting workshop efficiency.
- Designing your storage system around French cleats or pegboard offers maximum flexibility for future adjustments.
- Prioritize ergonomic placement of frequently used tools to minimize strain and speed up tasks.
- Utilize scrap wood and simple joinery techniques to create cost-effective, durable storage solutions.
- Regular maintenance and strategic expansion will ensure your tool wall remains effective as your tool collection grows.
Designing Your DIY Clamp Rack and Tool Holder Wall System
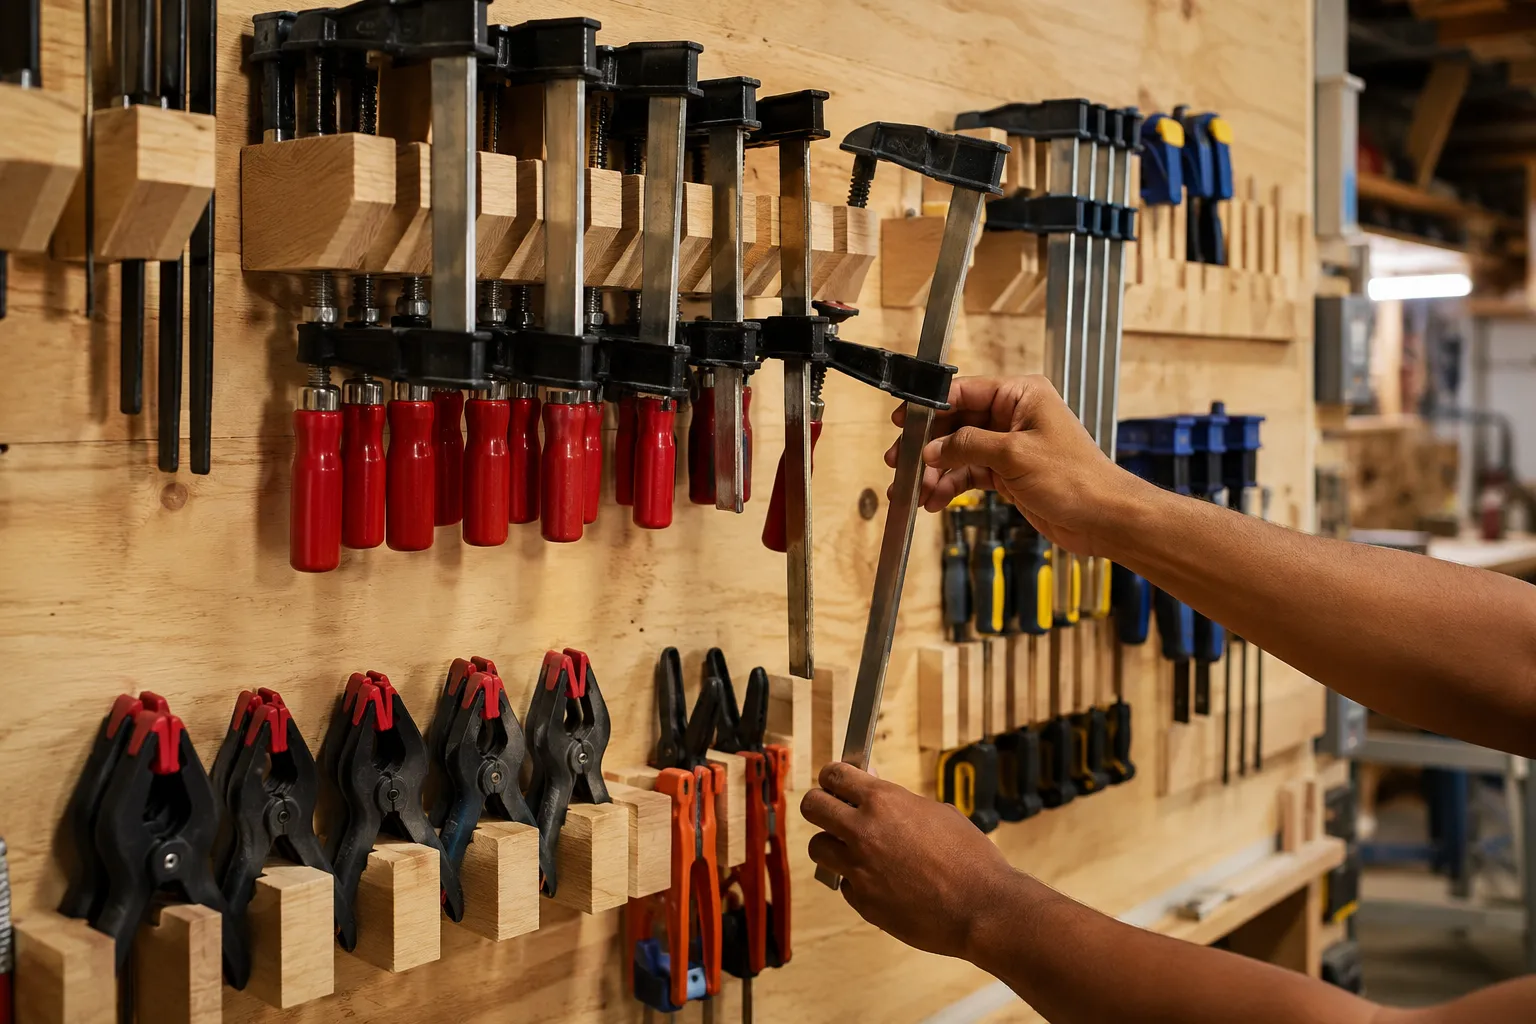
The foundation of an efficient workshop lies in thoughtful organization. A DIY clamp rack and tool holder wall provides a centralized, accessible location for your most frequently used items, ensuring they are always within reach. The initial design phase is crucial for creating a system that truly enhances your workflow.
Choosing Your Core System: French Cleats vs. Pegboard
When building a DIY clamp rack and tool holder wall, the choice between French cleats and pegboard dictates much of the system’s flexibility and aesthetic. Both offer distinct advantages:
French Cleat System:
- Pros: Incredibly strong, highly customizable, clean aesthetic, excellent for heavy tools and clamps, easy to rearrange components without fasteners.
- Cons: Requires more woodworking skill to build, takes up slightly more wall depth due to the cleat angle.
- Ideal for: Workshops with a consistent tool collection, those who prefer a robust, professional look, and individuals comfortable with basic joinery.
Pegboard System:
- Pros: Inexpensive, widely available, easy to install, offers countless pre-made hooks and accessories, thin profile.
- Cons: Can be less durable for very heavy items, hooks can sometimes come loose, a less refined aesthetic than French cleats.
- Ideal for: Budget-conscious workshops, renters, beginners, and those who need maximum flexibility for a constantly evolving tool set.
For a comprehensive DIY clamp rack and tool holder wall, a hybrid approach can be highly effective. Consider using French cleats for heavy clamps and custom tool holders, while integrating sections of pegboard for smaller hand tools, wrenches, and frequently accessed accessories.
Planning for Your Specific Tools and Clamps
Before cutting any wood, take inventory. Lay out all the clamps you own, bar clamps, pipe clamps, C-clamps, spring clamps, and note their sizes and quantities. Do the same for your most-used hand tools: chisels, planes, squares, screwdrivers, wrenches, measuring tapes.
Consider the following as you plan your layout:
- Frequency of Use: Tools you use daily (e.g., tape measure, pencil, utility knife) should be at arm’s length. Less frequently used tools can be placed slightly higher or lower.
- Grouping: Keep related tools together. For example, all chisels in one section, all squares in another. This minimizes searching.
- Ergonomics: Design for comfortable access. Avoid placing heavy clamps too high, or tiny items where you have to stoop excessively.
- Growth: Leave some empty space or design modules that can be easily expanded. Your tool collection will undoubtedly grow over time.
A sketch or digital drawing of your wall layout can be invaluable. Map out where different types of clamps will go, where hand tool holders will be, and even where you might include shelves for power tool accessories or glues. For those building custom storage for specific power tools, think about how those might integrate into your overall wall system or if they require dedicated separate solutions. See our guide on building custom storage solutions for specific power tools for more ideas.
Building Custom Holders for Clamps and Hand Tools
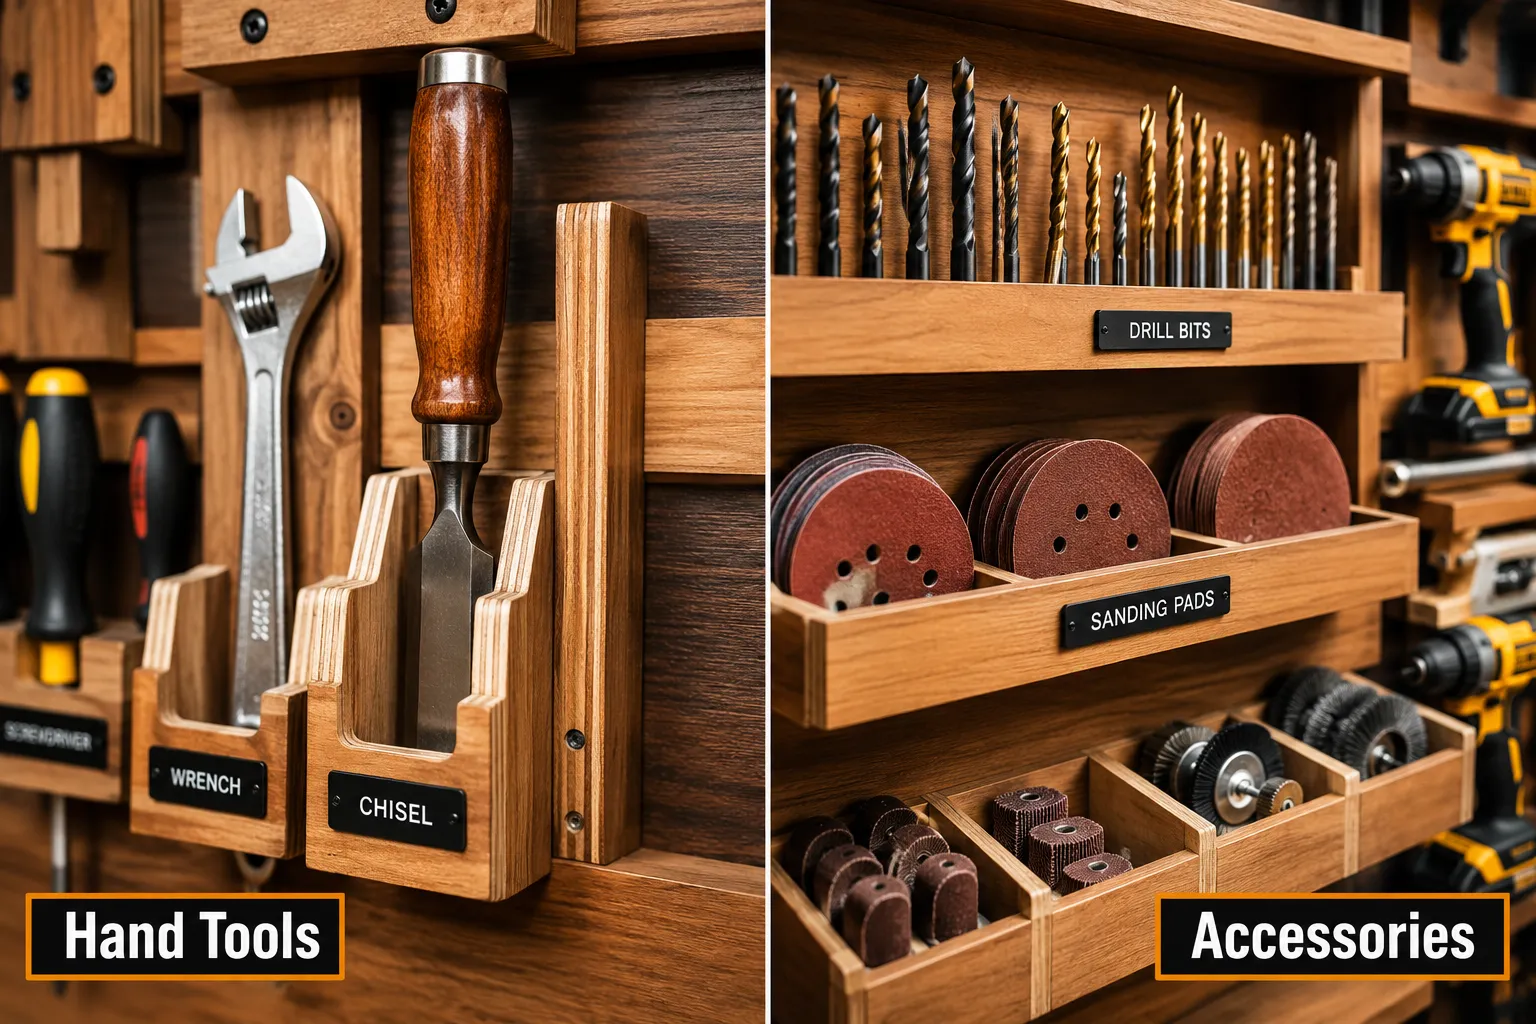
With your design finalized, it’s time to bring your DIY clamp rack and tool holder wall to life. The beauty of a custom system is its adaptability, allowing you to create specific solutions for every tool.
Constructing Clamp Racks
Clamp racks are often the heaviest component of a tool wall, requiring sturdy construction.
Bar Clamp and Pipe Clamp Racks:
These often benefit from a simple, strong design. A common method involves:
- Horizontal Support Board: Mount a sturdy board horizontally to your French cleat or directly to wall studs. This board will bear the weight.
- Vertical Spacers/Hooks: Attach smaller blocks or dowels vertically to the horizontal support. These act as separators or hooks for your clamps. Ensure adequate spacing to easily remove and replace clamps.
- Angled Slots: For an even more secure fit, especially for pipe clamps, cut angled slots into a thick horizontal board. This allows the pipe or bar to slide in and be held by gravity.
C-Clamp and Spring Clamp Storage:
Smaller clamps can be stored efficiently in several ways:
- Deep Shelves with Dividers: Create shallow shelves with vertical dividers to keep C-clamps from piling up.
- Hook Strips: A simple strip of wood with dowels or screws projecting outwards can hold multiple spring clamps.
- Custom Pockets: For specific sizes, build small wooden pockets that snugly hold each clamp.
Remember to consider the weight distribution. For extremely heavy clamps, attach the cleat or holder directly into wall studs for maximum security.
Crafting Hand Tool Holders
This is where your creativity can truly shine. Custom holders protect your tools and make them instantly accessible.
Chisel and Plane Racks:
- Chisel Rack: A common design uses a block of wood with a series of dados or slots cut into it to hold chisels upright, protecting their sharp edges. The block can then be mounted to a French cleat.
- Plane Till: For hand planes, build a small open-front box or a dedicated shelf with a retaining lip that allows the plane to sit safely on its sole.
Screwdriver and Wrench Organizers:
- Drilled Holes: A piece of wood with various sized holes drilled into it at an angle works perfectly for screwdrivers, awls, and files.
- Wrench Hooks: Individual hooks or a system of offset dowels can hold wrenches, allowing for quick selection.
- Magnetic Strips: For smaller metal tools, a heavy-duty magnetic strip can be integrated into your wall system.
When building these, consider the exact dimensions of your tools. Don’t make the holders too tight, or they’ll be difficult to remove. Don’t make them too loose, or the tools will rattle around. Our guide on building custom storage for hand tools offers additional techniques.
Power Tool Accessory Storage:
Beyond clamps and hand tools, a robust DIY clamp rack and tool holder wall can integrate storage for accessories.
| Accessory Type | Recommended Storage Solution |
|---|---|
| Drill Bits | Custom wooden blocks with labeled, drilled holes; clear plastic cases on small shelves. |
| Router Bits | Router bit trays with individual slots, often stored in a small drawer or on a dedicated shelf unit attached to the cleat system. |
| Sanding Discs/Pads | Small, open-front bins or specialized wall-mounted dispensers. |
| Fasteners/Hardware | Small transparent drawers or bins, clearly labeled, mounted on a shelf or cleat. |
| Adhesives & Glues | Dedicated shelf with a small retaining lip, ensuring bottles are upright and easily visible. |
Remember to use durable materials. Plywood, MDF, and solid pine are excellent choices for these custom holders. Consider the weight of your tools and select appropriate fasteners for mounting everything securely. Always prioritize safety, especially when working with power tools, by following essential safety practices for power tools in the home workshop.
Integrating and Optimizing Your Wall System
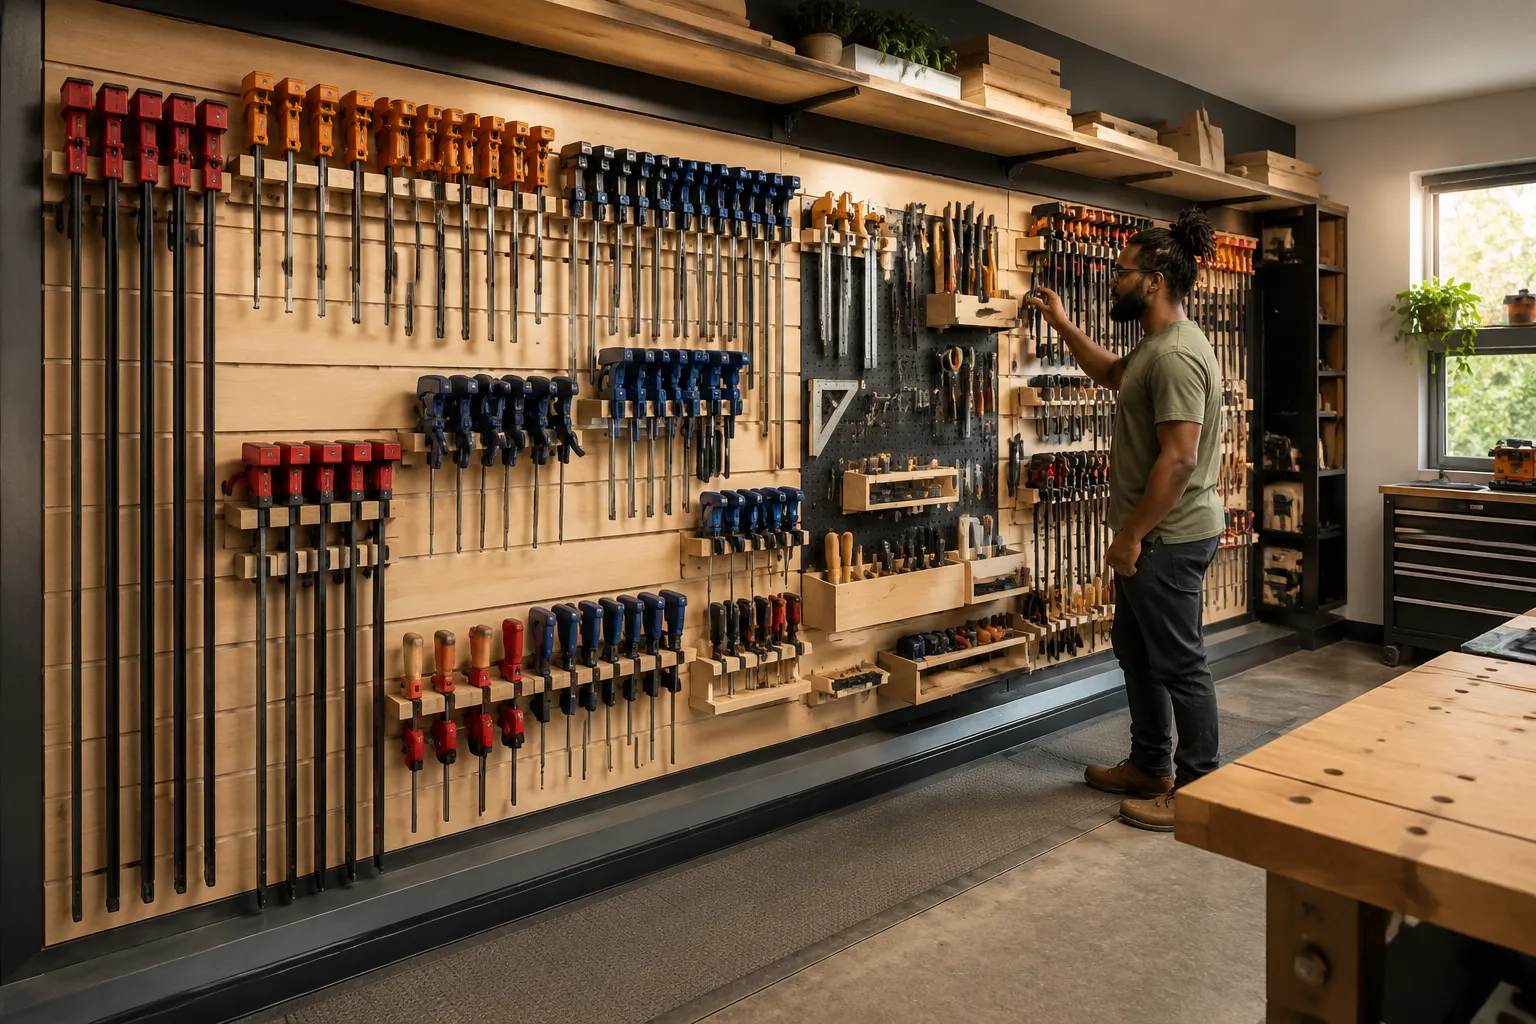
Once the individual components of your DIY clamp rack and tool holder wall are built, the next step is to integrate them seamlessly into your workshop. This phase focuses on layout, functionality, and ongoing optimization.
Strategic Placement and Installation
The effectiveness of your DIY clamp rack and tool holder wall hinges on its placement.
- Proximity to Workbench: Position the wall system immediately adjacent to your primary workbench. This minimizes steps and bending, allowing you to grab tools without breaking your workflow.
- Clearance: Ensure there’s adequate clearance around the wall for moving large projects or opening cabinets. Avoid blocking windows or existing outlets.
- Stud Finder is Your Friend: For French cleat systems or any heavy component, always locate wall studs and anchor directly into them. If studs aren’t available where needed, consider adding blocking between studs or using heavy-duty toggle bolts, though direct stud attachment is always preferred.
When installing French cleats, ensure they are perfectly level and spaced consistently if you plan for interchangeable components. For pegboard, use appropriate spacers to allow hooks to engage properly.
Maximizing Flexibility and Future-Proofing
A truly efficient DIY clamp rack and tool holder wall is one that can adapt.
- Modular Design: Design individual tool holders as modular units that can be easily moved or reconfigured. This is where French cleats truly shine, allowing you to lift and reposition entire sections.
- Standardized Spacing: If using a pegboard system, adhere to standard pegboard hole spacing (typically 1 inch on center) to ensure compatibility with off-the-shelf accessories.
- Unallocated Space: Intentionally leave some sections of your wall system empty. This provides room for new tools or expansion without needing to completely overhaul your existing organization. As your skills grow, you might explore building a DIY portable tool cart and assembly table to complement your wall storage.
Labels and Inventory:
A simple, yet often overlooked, optimization is labeling.
- Outline Tools: Trace the outline of frequently used tools directly onto the wall or tool holder. This makes it instantly clear where each tool belongs and helps identify missing items.
- Text Labels: Use clear, concise text labels for drawers, bins, and less obvious tool spots.
- Color-Coding: For specific categories of bits or fasteners, consider using a simple color-coding system.
Ongoing Maintenance and Evolution
Your DIY clamp rack and tool holder wall is not a one-time project; it’s a living system that should evolve with your workshop.
- Regular Purges: Periodically review your tools. Are there items you no longer use? Consider donating, selling, or re-homing them to free up valuable space.
- Adaptation: As you acquire new tools, resist the urge to simply cram them onto the wall. Take the time to design or adapt a proper holder. This might mean building new modules or repurposing existing ones.
- Cleanliness: A clean, dust-free workshop not only makes for a more pleasant environment but also extends the life of your tools. Dust your wall system regularly.
By building a DIY clamp rack and tool holder wall that is both robust and adaptable, you are investing in a more productive, enjoyable, and safer woodworking experience for 2026 and beyond. For further inspiration on optimizing small spaces, consider exploring efficient small workshop layouts for 2026.
Conclusion
Building a DIY clamp rack and tool holder wall is one of the most impactful upgrades you can make to your workshop. It moves beyond simple organization, fundamentally transforming your workflow and enhancing your efficiency. By carefully designing your system, whether through robust French cleats, versatile pegboard, or a combination of both, you create a space where every tool has a home and is always ready for action.
From custom holders that protect your chisels to sturdy racks for your heaviest clamps, each component contributes to a coherent and highly functional environment. Remember to prioritize accessibility for your most-used tools, and always plan for future expansion. An organized workshop saves time, reduces frustration, and allows you to focus on the joy of creating. Take the first step today towards a more efficient and enjoyable woodworking journey by planning your ultimate DIY clamp rack and tool holder wall.
References
- Kerswill, T. (2018). The Home Workshop: A Comprehensive Guide to Setting Up, Maintaining, and Improving Your Space. Taunton Press.
- Schwartz, P. (2021). Workshop Storage: Smart Solutions for the Home Woodshop. Fox Chapel Publishing.
SEO Meta Title: DIY Clamp Rack & Tool Wall: Efficient Workshop Storage SEO Meta Description: Build a DIY clamp rack and tool holder wall for efficient workshop storage. Optimize your space, organize tools, and boost productivity in 2026.